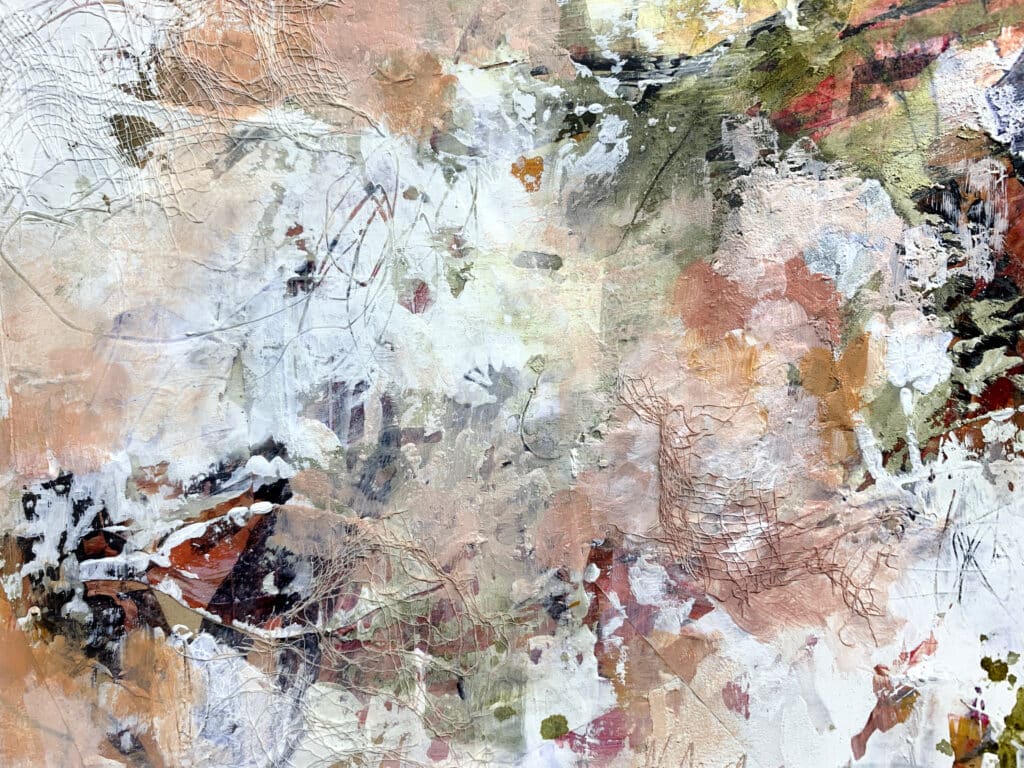
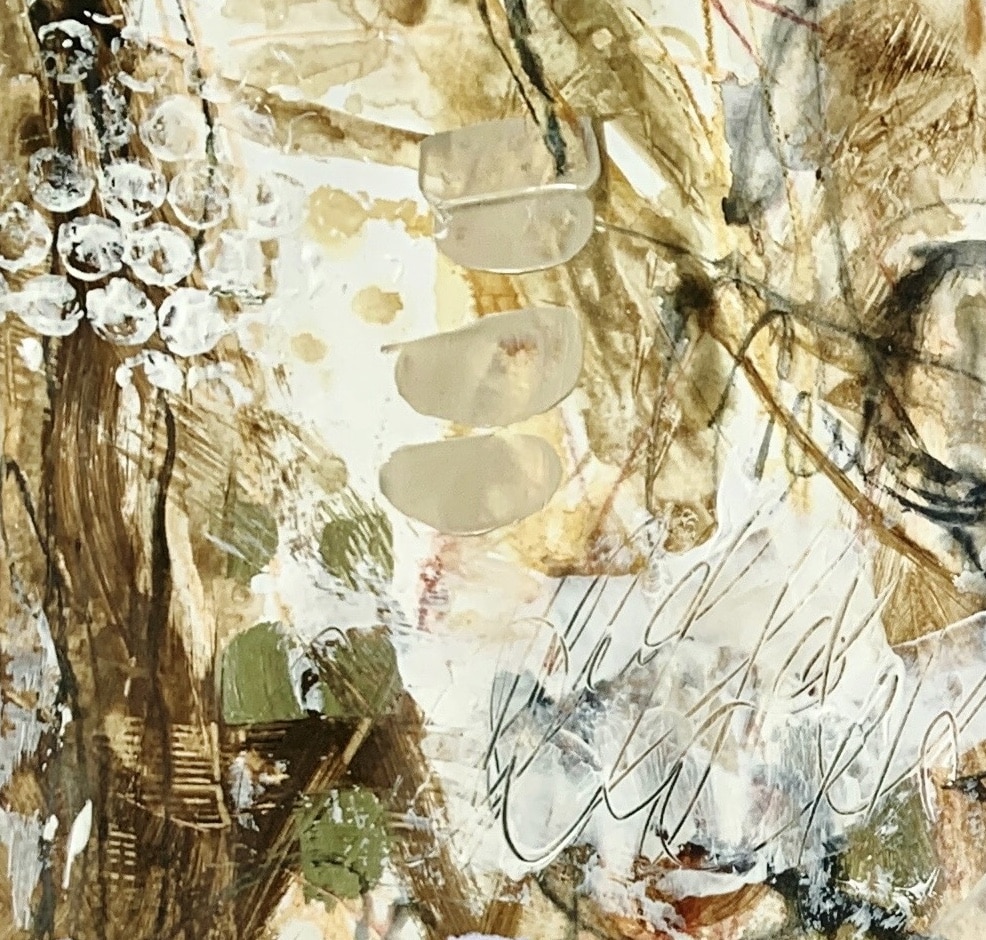
Layer 1: Scribbling and Foundations
Scribble with a Pencil
- Process: Close your eyes and let your hand move freely, making lines in all sections of your paper.
- Pointer: Focus on the sensation of movement. Let go of control and trust the lines to appear where they need to.
Blend with Gesso
- Process: Use a knife to spread gesso over the pencil marks, blending some areas to soften the lines.
- Pointer: This is a chance to create texture and movement. Let some marks disappear into the gesso while others stand out.
Layer 2: Pastel Play and Finger Smudging
- Soft Pastels and Gesso Blending
- Process: Make marks with soft pastels, then blend them with gesso using your fingers.
- Pointer: Enjoy the tactile sensation of blending with your fingers. Don’t hesitate to smear and mix—let your intuition guide you.
Layer 3: Creating Bold Contrast
Bold Marks with a Flat Brush
- Process: Use a large, 4-inch flat brush dipped in black paint to create big marks and lines in random areas.
- Pointer: Embrace the contrast between fine lines and bold, sweeping strokes. Let the brush move freely to create dynamic shapes.
Smaller Brush and Acrylic Marks
- Process: Switch to a smaller brush and use an acrylic color to make marks like swooping lines or small dots.
- Pointer: Experiment with different brush sizes and strokes. Ask yourself: Do you prefer big, loose marks or small, precise ones?
Layer 4: Building Layers with Acrylics
- Add More Acrylic and Make Marks
- Process: Continue adding acrylic paint, using both brush and knife to make marks and apply layers. Scratch through the paint as you go.
- Pointer: Compare how it feels to use a brush versus a knife. Which tool connects more with your process?
Layer 5: Stenciling and Textural Play
Use a Stencil for Textures
- Process: Add paint through a stencil using a brush, then take ghost prints by pressing onto other areas.
- Pointer: Let this be an experiment in texture. Explore how stencils change the look of the paint, and enjoy the unpredictability of ghost prints.
Scribble More with Pencil
- Process: Add more pencil scribbles over your layers.
- Pointer: Use this step to reintroduce the raw energy of your original marks, layering new thoughts over the older ones.
Layer 6: Finger Painting and Coverage
Blend Colors with Fingers
- Process: Use your fingers to blend paint, make marks, and explore how the colors mix.
- Pointer: Get hands-on—literally. Feel the connection between you and the artwork as you engage directly with the paint.
Trowel for Coverage
- Process: Use a trowel, palette knife, or wedge to spread white paint over muddy or messy areas.
- Pointer: Think of this as editing your canvas. Cover what feels too chaotic while leaving areas that still inspire you.
Layer 7: Final Refinements and Color Pops
Soft Pastel Marks
- Process: Use soft pastels on dry and wet areas. See how the texture varies based on the surface.
- Pointer: Enjoy the dual texture of dry versus wet—let the interaction of pastel and paint add depth.
Pops of Contrasting Color
- Process: Add small bursts of contrasting color to create focal points and visual interest.
- Pointer: These pops of color should catch the eye and bring harmony to the final composition.
This abstract mark-making process invites exploration, encourages contrast, and embraces both control and chaos. Let each step unfold organically, and enjoy the balance between spontaneity and refinement.


