Inky master sheets are an incredible way to explore your emotions and creativity through the fluidity of inks, watercolors, and mark-making. Inspired by the techniques I learned from Robin Marie, I’ve added my personal interpretations and emotional depth to this process.
This guide will take you through a series of steps to create a layered inky master sheet that can serve as the foundation for your art journaling or mixed media projects. Each step is designed to be flexible, allowing you to rearrange and adapt them as your intuition guides you. Let’s embark on a creative journey where every mark and every layer carries its own emotional weight and significance.


Steps for Creating a Layered Inky Master Sheet
Begin with Watercolor Marks
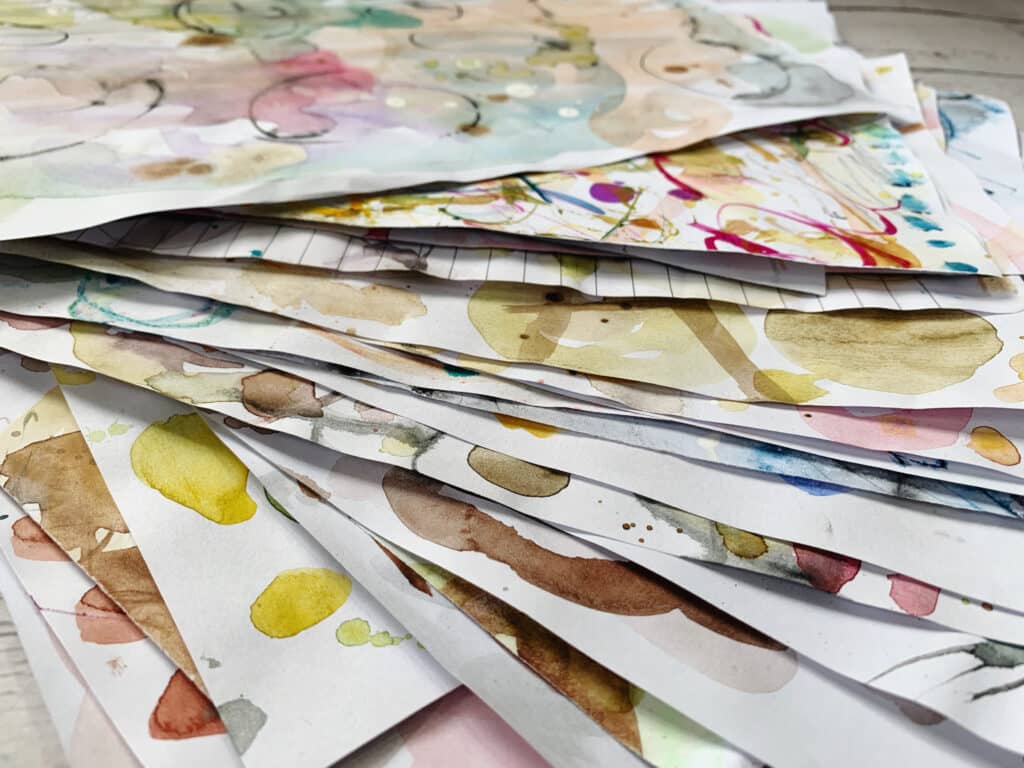
- What to Do: Start by making loose, spontaneous marks with watercolors and a brush. Let the colors flow freely across the paper, creating the initial layer of your inky master sheet.
- Emotional Pointer: This is your chance to let go and express your immediate emotions. Allow your brush to move intuitively, creating marks that feel natural and fluid.
Pencil Blending
- What to Do: Once the watercolor layer is dry, use colored pencils to blend into the watercolor marks, adding depth and subtle transitions between the colors.
- Emotional Pointer: Consider this step as blending your thoughts and emotions. The act of blending represents the merging of different ideas, feelings, and experiences.
Pause and Dry
- What to Do: Allow the sheet to dry fully before moving on to the next step. This break gives you time to reflect on the layers you’ve created so far.
- Emotional Pointer: Take this moment to connect with your work and think about where your intuition is guiding you next.
Build with a Second Watercolor Layer
- What to Do: Apply a second layer of watercolor, letting it interact with the first. This adds complexity and richness to your inky sheet.
- Emotional Pointer: This step represents personal growth. As you layer more colors, think about how your emotions evolve and deepen over time.
Add Ink Splashes and Spreads
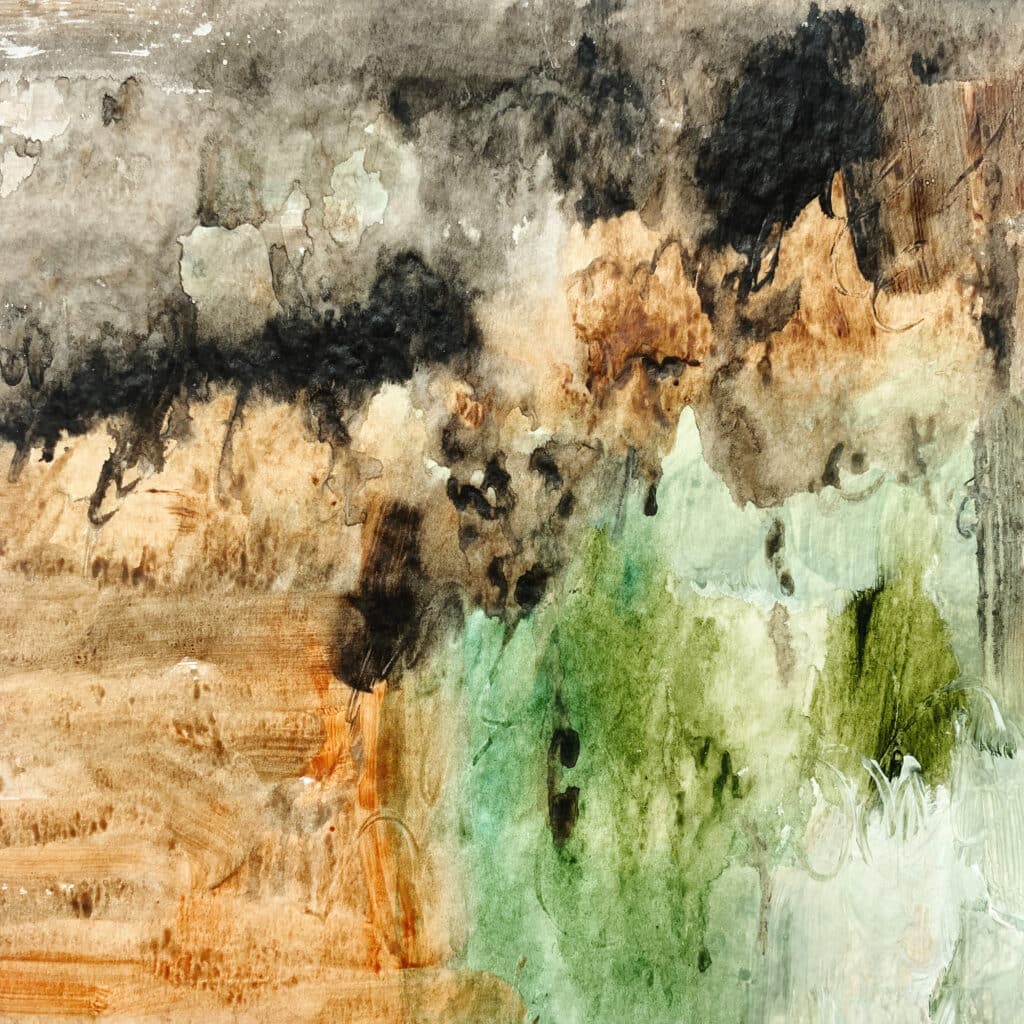
- What to Do: Splash alcohol or acrylic inks onto the watery background, then spray with water and spread the ink around with a brush. This introduces dynamic movement and contrast to the sheet.
- Emotional Pointer: The inks can symbolize bursts of energy or moments of clarity. Embrace their unpredictability and let them bring new life to your work.
Layer More Watercolor
- What to Do: Continue adding layers of watercolor, allowing them to blend and interact with the inks and the previous layers. This step builds texture and visual interest.
- Emotional Pointer: Think of these layers as representing the complexities of your inner world. As you paint, let your thoughts and feelings influence the way the colors interact.
Drip White Ink for Highlights
- What to Do: Drip white ink onto your sheet, letting it flow naturally over the colors and textures you’ve built up.
- Emotional Pointer: The white ink symbolizes clarity and moments of insight. Allow these drips to bring a sense of lightness and focus to your piece.
Finish with White Stabilo Marks
- What to Do: Use a white Stabilo pencil to make marks across your inky sheet, adding a final layer of texture and detail.
- Emotional Pointer: These marks are your personal signature on the piece. Let them represent your final thoughts, bringing cohesion and closure to your work.


Outro
Creating an inky master sheet is a personal and intuitive process where every mark and layer adds to the emotional depth of your work. Inspired by Robin Marie’s techniques and infused with my own meanings, this guide encourages you to explore your emotions and experiment with different mediums. The flexibility of this process allows you to rearrange and adapt the steps to suit your creative flow. Remember, there are no rules—only opportunities to express yourself. As you continue to craft your inky master sheets, let your intuition lead the way and enjoy the journey of artistic discovery and emotional expression.


