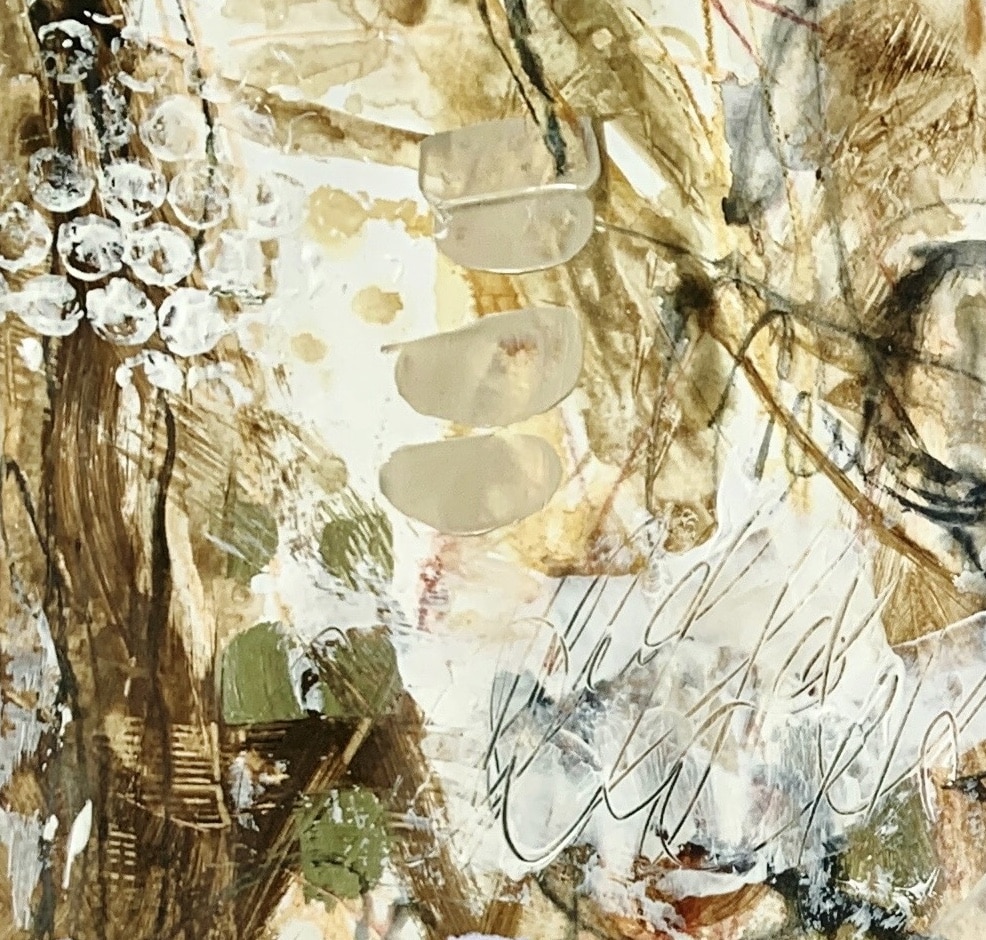
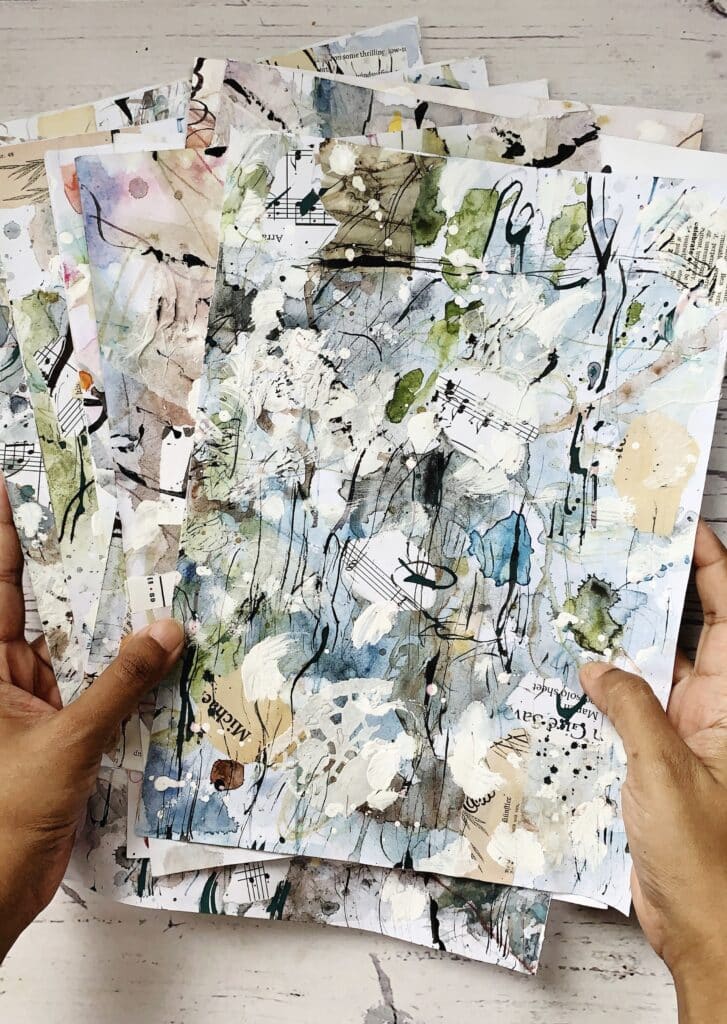
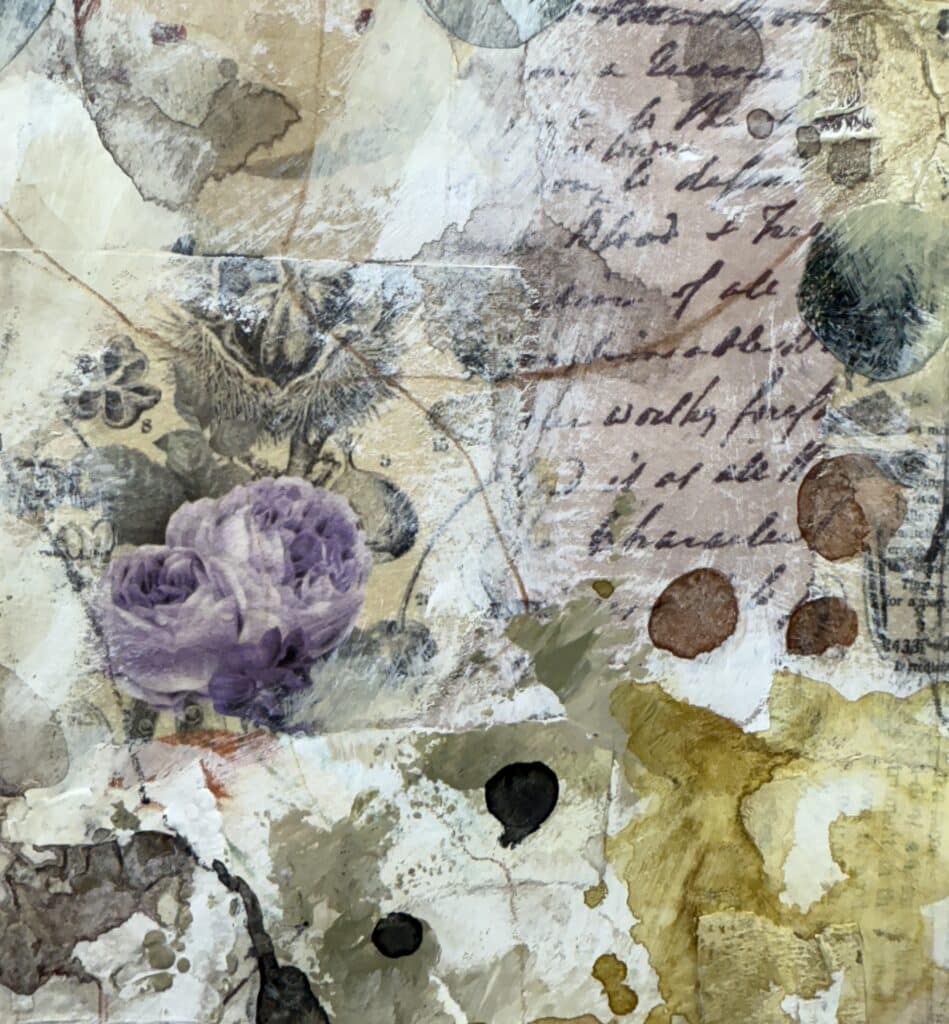
Abstract Mark Making Play – FLOW is an exploration of fluidity, unpredictability, and response. Rather than building layers through intention or planning, this approach invites you to follow the natural behaviour of water, ink, and paint as they interact on the surface.
From the very first step, water leads the way.
This practice is especially powerful when you feel stuck, over-directed, or disconnected from your intuition.
There is no pressure to resolve the painting quickly or neatly. The focus is on staying present, allowing messiness, and letting flow guide the work forward.
Layer I - Fluid mark making
Step 1: Initiating the Flow with Water & Ink
- Process: Start by spraying water onto the surface, then add more with a brush. Drop acrylic ink (burnt sienna) onto the wet areas, watching how it spreads, creating soft, ethereal shapes. In drier spots, it will stay bolder. Spray more water to encourage further bleeding.
- Pointers: Notice how water can make the ink behave unpredictably. Let go of control and let the ink create its own patterns. This is about embracing the natural flow of the medium.
Step 2: Scribble and Blend with Water-Soluble Pastels & Pencils
- Process: Use water-soluble pastels, pencils, or graphite to scribble over the wet ink, blending the lines into the background. Experiment with different colors and marks, letting them blend into the wet surface.
- Pointers: Feel how your gestures affect the marks. This is about expressing energy through motion, not perfection.
Layer II: Messy Middle with Acrylics
Step 3: Adding Depth with Acrylic Paint
- Process: Apply raw umber acrylic paint with a mid-size round brush. Thin it with water for a more translucent effect. Explore how it interacts with the ink underneath. Use a smaller brush for more intricate marks.
- Pointers: Focus on depth. Notice the balance between thick and thin areas, and how new layers build on the previous ones.
Step 4: Experiment with a New Color
- Process: Introduce a new color, like sage mint. Experiment with your brush to create different textures, and use gesso or white paint to tone down the intensity of the new color.
- Pointers: Think about how this new color brings contrast or harmony to the composition. Let the paint interact with the previous layers.
Step 5: Create Textures & Patterns
- Process: Use a pointed tool, fork, or the back of a brush to scratch through the wet paint, revealing the underlayers and creating textured patterns.
- Pointers: Play with the idea of what lies beneath. This step adds interest by uncovering parts of the past, just like peeling back layers of memory.
Step 6: Wet Marks with Pencils
- Process: While the surface is still wet, scribble random lines with watercolor pencils, graphite sticks, or a black Stabilo pencil. Spray water to let the lines bleed and drip high-flow white acrylic paint over the wet paper. Let it dry.
- Pointers: This step is about chaos. Let the wetness blur your marks and embrace the imperfections as they unfold.
Layer III - Final Refinements
Step 7: Light Acrylic Layer & Scratch
- Process: Use a catalyst wedge to scrape light beige acrylic paint across larger areas, partially covering previous layers. Experiment with different wedge marks and textures.
- Pointers: Use this step to unify the piece, softening any harsh transitions while leaving some layers peeking through.
Step 8: White Covering
- Process: Apply pure white paint to cover up any areas that feel too muddy. Use a palette knife to scrape and reveal underlying textures and patterns.
- Pointers: This is the step where you edit. You’re not erasing; you’re curating the elements that should shine through.
Conclusion
As the final layers come together, the work shifts from movement into discernment.
Flow does not mean everything stays open forever. It also includes moments of editing, soft covering, and quiet restraint. The lighter acrylic layers and white coverings are not corrections—they are acts of care. They help bring balance, clarity, and breathing space to what has already been expressed.
By the end of this process, the painting holds traces of every stage: the fluid beginnings, the messy middle, and the intentional refinements. Some marks remain visible, others are partially buried, and a few are revealed only through scratches and textures. This layering mirrors the nature of intuitive creation itself—nothing is wasted, even when it disappears from view.
More than a technique, this practice is an invitation to trust the rhythm of making.
To allow movement before meaning.
To let the surface lead.
And to recognise that flow is not something you force—it’s something you follow.


