
This process is not about creating a finished painting.
It’s about staying with the act of making—layer by layer—without rushing toward a result.
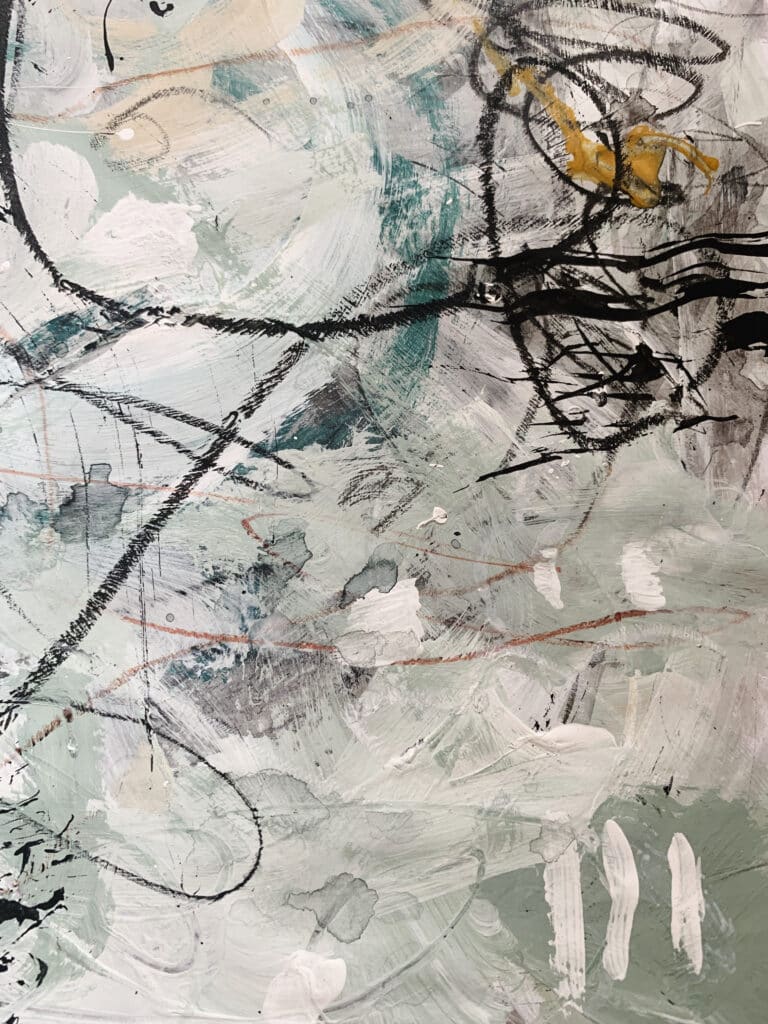
Abstract Markmaking Play Layers is an intuitive painting practice where each layer is an invitation rather than a decision. There is no fixed outcome in mind. The painting evolves through observation, play, and trust.
Some layers feel wild and untamed, others quieter and more deliberate. At times, you add clarity; at other moments, you intentionally disrupt it. Every mark—whether soft, messy, or bold—has a place in the conversation.
This approach is especially powerful if you tend to overthink, judge your work too early, or feel pressure to “get it right.” The focus here is not on perfection, but on allowing the painting to breathe, shift, and reveal itself over time. Layers are built, obscured, and rediscovered—just like thoughts, emotions, and lived experiences.
Think of this process as a playground rather than a plan.
A space where you explore materials, gestures, and intuition.
Layer 1: Setting the Foundation
1. Express Your Thoughts
- Process: Write down your thoughts and emotions. Scribble words or doodles with pencils and pastels.
- Pointer: Let this be raw and intuitive. Think of this step as creating a personal connection with your art.
2. Unleash Wild Marks
- Process: Choose 2-3 muted light colors and one dark color for contrast. Use a round brush to make fast, spontaneous marks, focusing on the center. Add gesso if needed.
- Pointer: Don’t overthink this. Let go of control and embrace the randomness of your strokes.
3. Splash Watercolors
- Process: Use a wide mop brush to splash watercolors onto the canvas, allowing it to drip and move over the acrylics.
- Pointer: Observe how the watercolor interacts with the acrylics. Let the flow guide your movements.
Layer 2: Deepening the Marks
4. Smudge and Spread
- Process: Make marks with charcoal, then use a wet brush to smudge and spread it. Add black pastel marks and blend with gesso to create grey tones.
- Pointer: Play with the pressure and water to explore different effects. Smudge freely.
5. Bold Marks with Handmade Brush
- Process: Use a handmade brush (e.g., made from branches) dipped in ink to create bold black marks.
- Pointer: Feel the organic, raw nature of the brush, and let the marks feel untamed.
6. Graphite Scribbles
- Process: Scribble with a pencil or graphite stick. Move the graphite around with a semi-dry brush.
- Pointer: Scribbling adds energy to the composition—explore the balance between chaos and control.
Layer 3: Playing with Contrast
7. Spread Acrylics
- Process: Add one acrylic color (and white if needed). Use a big round brush to spread it, leaving spaces where previous layers peek through. Scratch with a pointed tool to reveal what’s underneath.
- Pointer: Use this as a moment of restraint—let the layers breathe while still making bold statements.
8. Pastels and Moppy Brush
- Process: Make marks with pastels, then blend them with a big mop brush, holding it at the end for less control.
- Pointer: Allow freedom in your movements, embracing imperfections and natural strokes.
9. Watery Pools
- Process: Add more watercolors, allowing them to create pools, drips, and splashes. Splash coffee paint for added texture.
- Pointer: Don’t shy away from mess—let the colors mix, even get muddy, to add complexity.
Layer 4: Moving into Refinement
10. Refining with Acrylic
- Process: Add another acrylic color, spreading it around but letting the previous layers show.
- Pointer: Use this layer to bring clarity to areas that feel too chaotic. Find balance.
11. Reveal Layers with Tools
- Process: Use a color shaper to move the paint and reveal hidden layers.
- Pointer: This is about discovering what’s underneath—be playful yet deliberate in your approach.
12. Scratch New Marks
- Process: Use a pointed tool to scratch into the paint and expose earlier layers.
- Pointer: Think of this as carving into the work, adding dimension and texture.
Layer 5: Bringing in Contrast
13. Contrasting with Soft Pastels
- Process: Add burnt sienna, browns, or reddish tones with soft pastels. Scribble curvy lines and blend with a brush.
- Pointer: This layer introduces warmth and contrast, softening areas that feel harsh.
14. White Accents
- Process: Add white marks with pencils or soft pastels, creating lines, shapes, and scribbles.
- Pointer: Think of these as light touches, adding subtle details to brighten the composition.
15. Zoom In with Graphite
- Process: Focus on small areas and add details with a mechanical pencil.
- Pointer: This is where you refine the tiny details that pull the viewer in.
16. Scratching with Precision
- Process: Use a pointed knife to scratch fine marks into the surface.
- Pointer: Create intricate patterns or designs that contrast with the broader strokes.
Layer 6: Final Refinements
17. Charcoal Powder
- Process: Sprinkle charcoal powder over the surface and spray to fix it.
- Pointer: This step adds a moody, atmospheric texture—use it sparingly.
18. White on White
- Process: Make subtle white marks with soft pastels for a barely-there effect.
- Pointer: This creates delicate highlights, giving your piece a dreamy, light quality.
19. Textured Prints
- Process: Dip a small round brush in black acrylic paint, apply it to palette paper, then press the paper onto your artwork to transfer textured lines.
- Pointer: These broken lines add a sense of rough texture, grounding the overall piece.
20. Expressive Black Lines
- Process: Use a rigger brush dipped in black paint to make bold, expressive lines across the canvas.
- Pointer: Move your hand freely and trust your instincts—these lines should feel spontaneous.
21. Resist & Flow Marks
- Process: Apply white oil pastel and go over it with watercolor for a resist effect. Add more watercolor splatters.
- Pointer: Watch how the pastel resists the watercolor, creating dynamic tension between layers.
Final Layer: The Playground of Refinement
22. Edit the Chaos with White
- Process: Use white and one additional color to paint over areas you want to refine, letting previous layers peek through. Scratch through the paint with a pencil to create final marks.
- Pointer: This is your final chance to curate your work—simplify where needed, but keep the essence of each layer alive.
23. Cut Out Abstract Pieces
- Process: Use a composition window to isolate sections of the painting you love. Cut these out to create smaller abstract pieces.
- Pointer: Think of this as harvesting moments from your art—find parts that feel complete on their own.


