


If this Collage Clusters process resonated with you, Gentle Reminders takes it deeper.
In the class, you’ll:
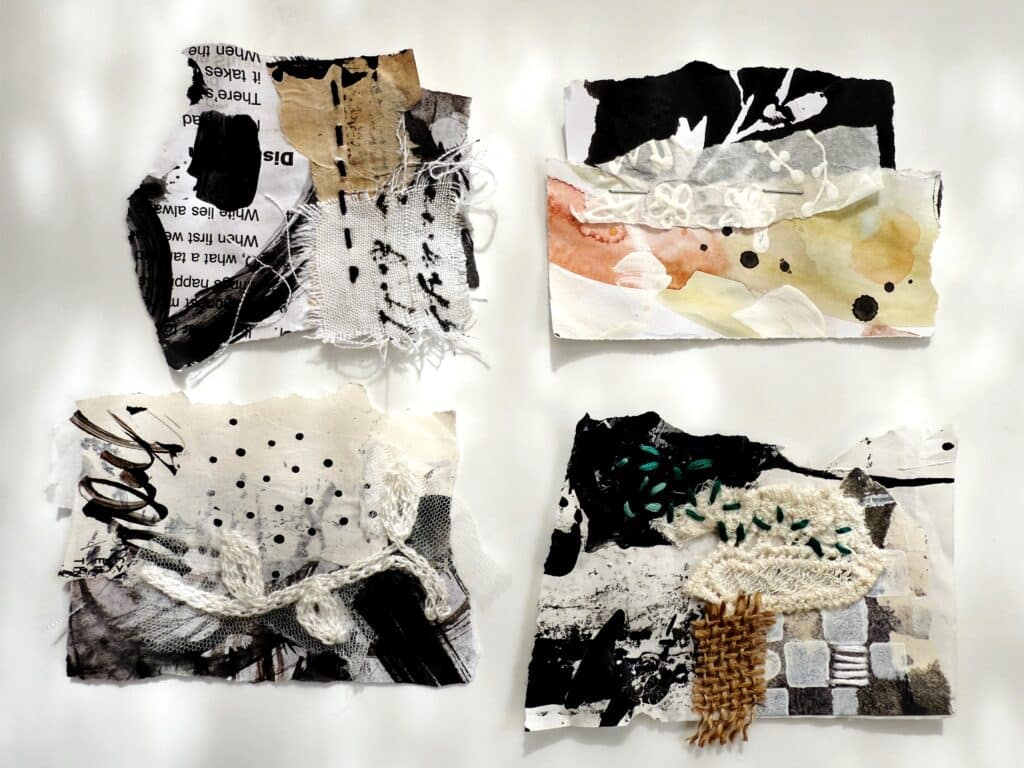
Turn Collage Clusters into story-filled pages
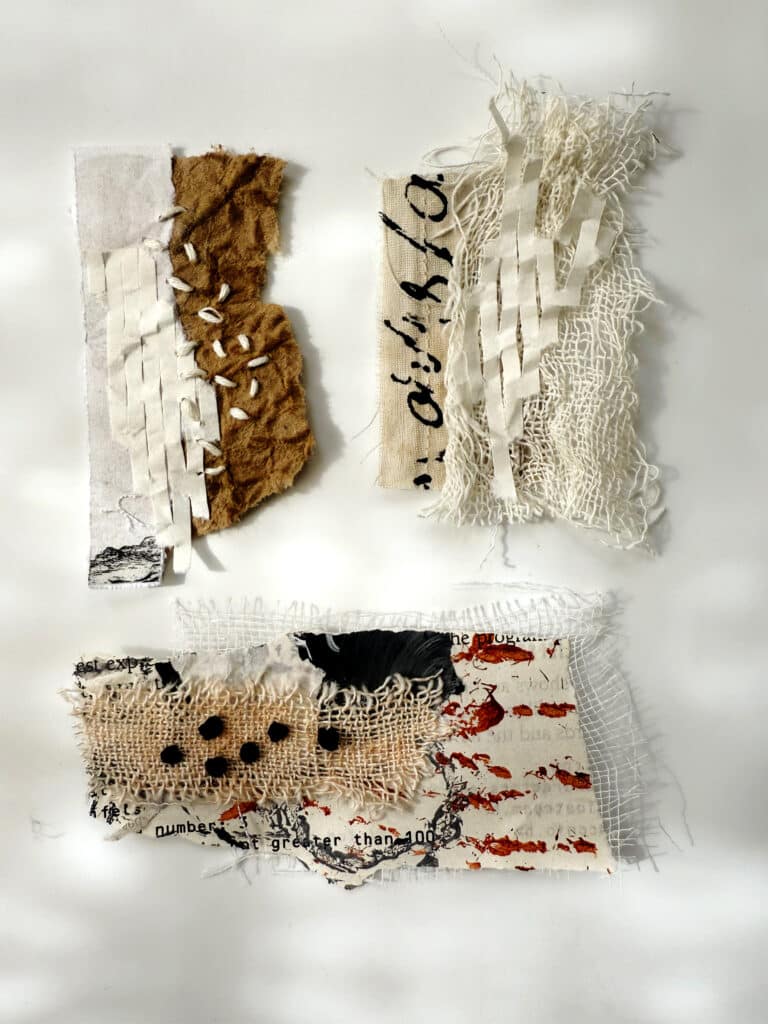
Build textured master sheets from scraps
Add stitching, pockets, and gentle words
Bind everything into a concertina-style artist book
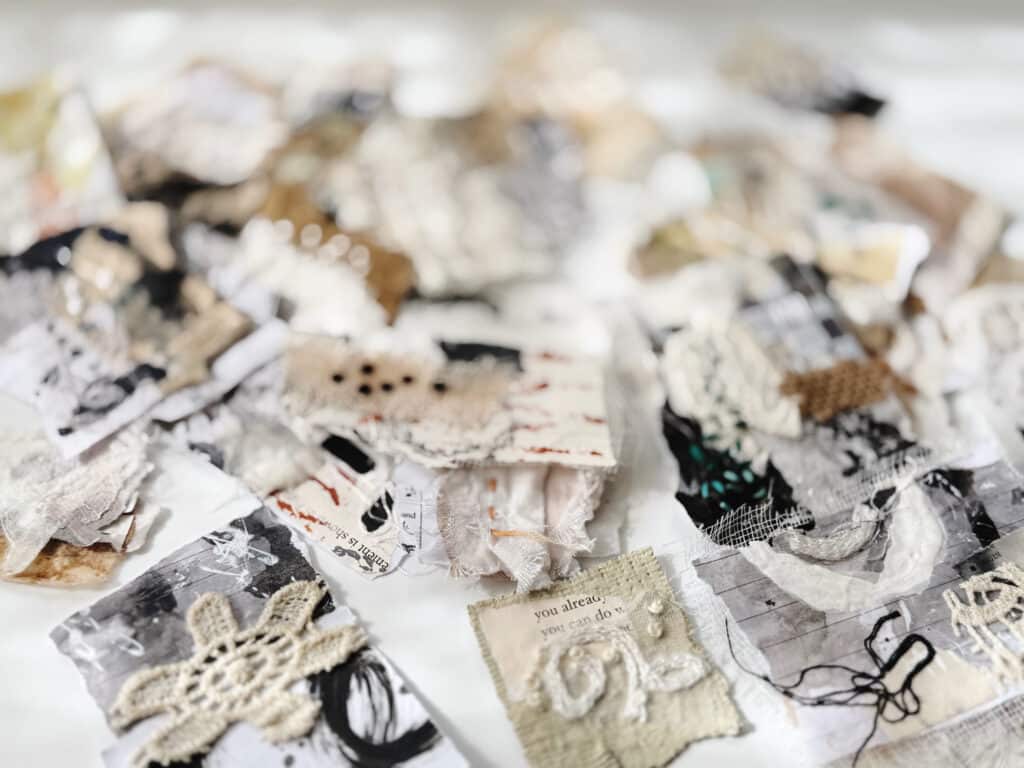
Nothing is rushed. Nothing is wasted.
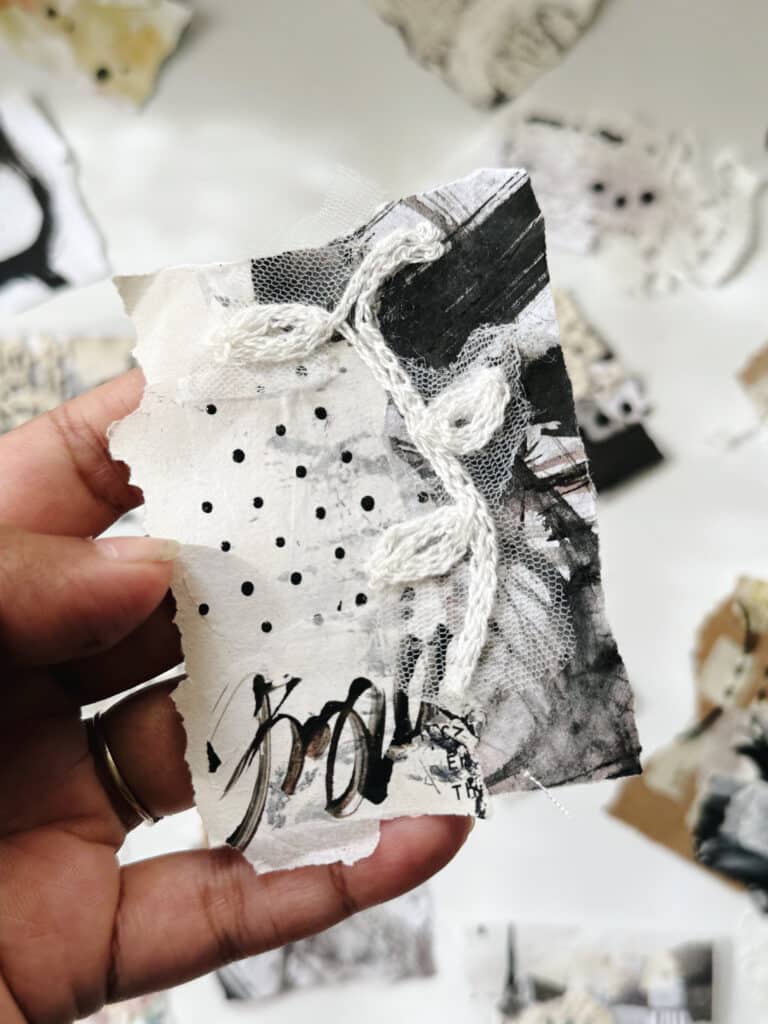
Every scrap finally finds its place.
 Turn your forgotten scraps into a soulful artist book.
 Join the Gentle Reminders class (Currently available at 50% off)