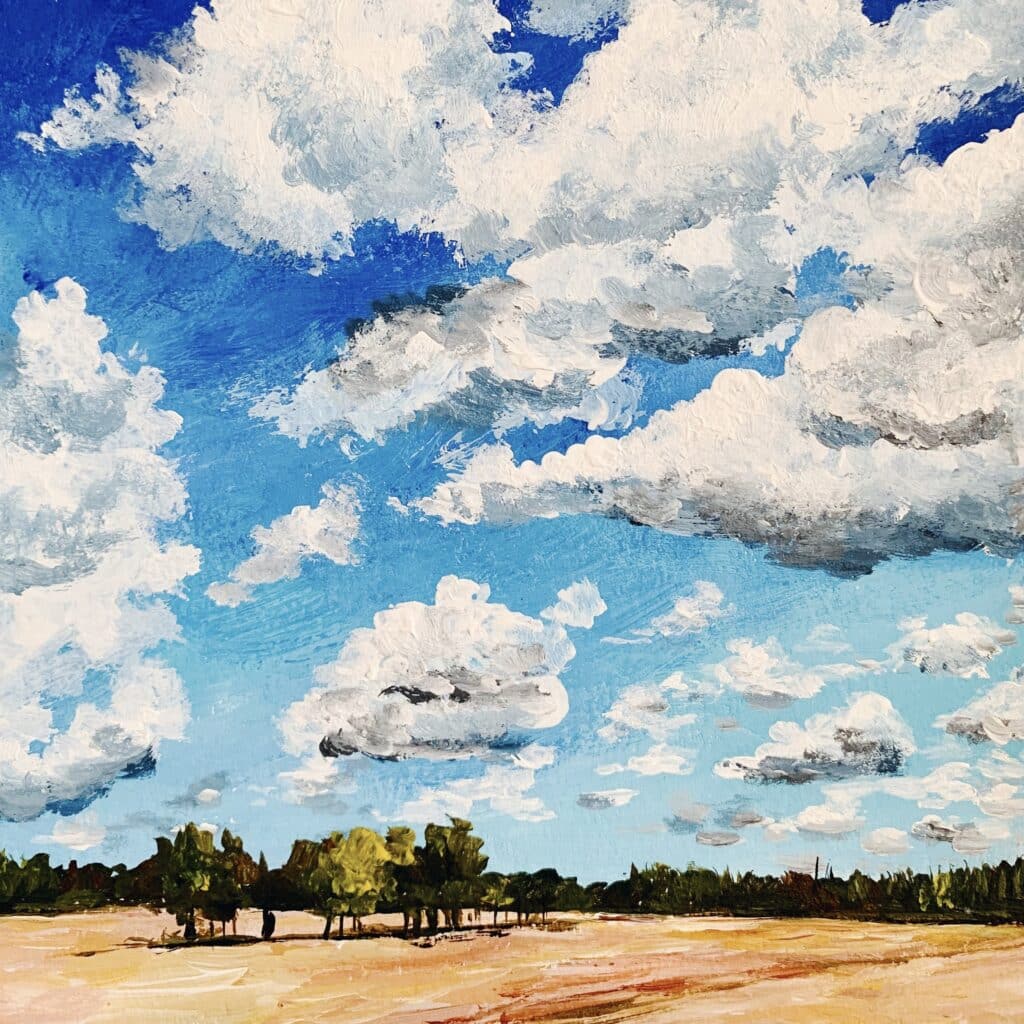
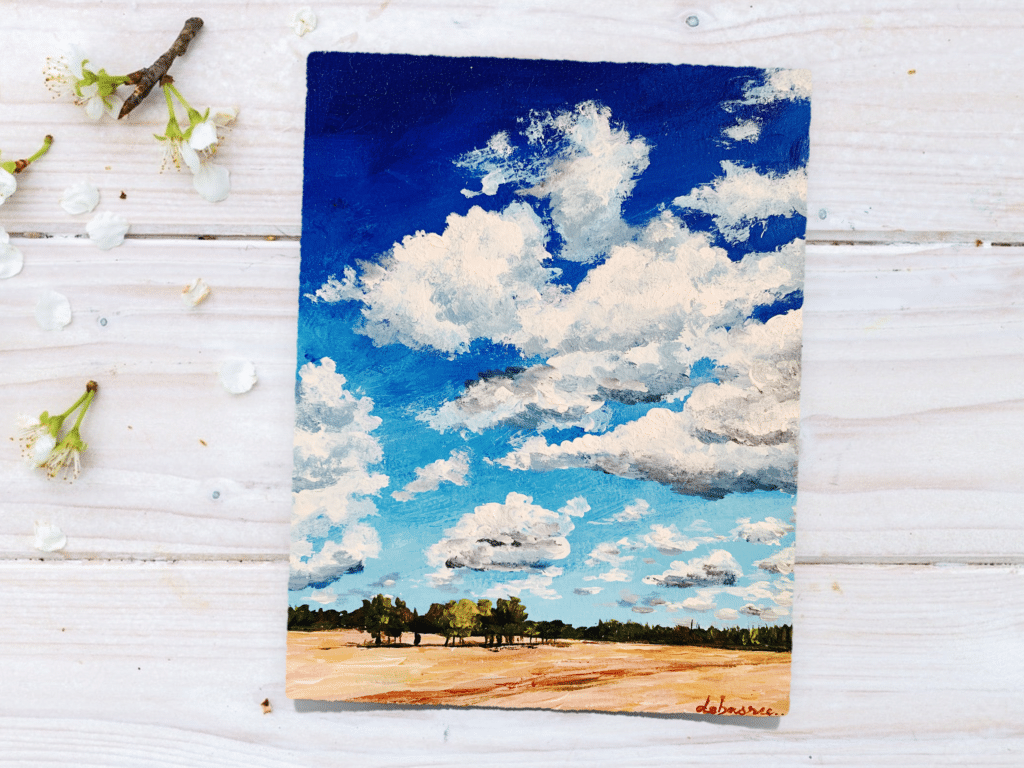
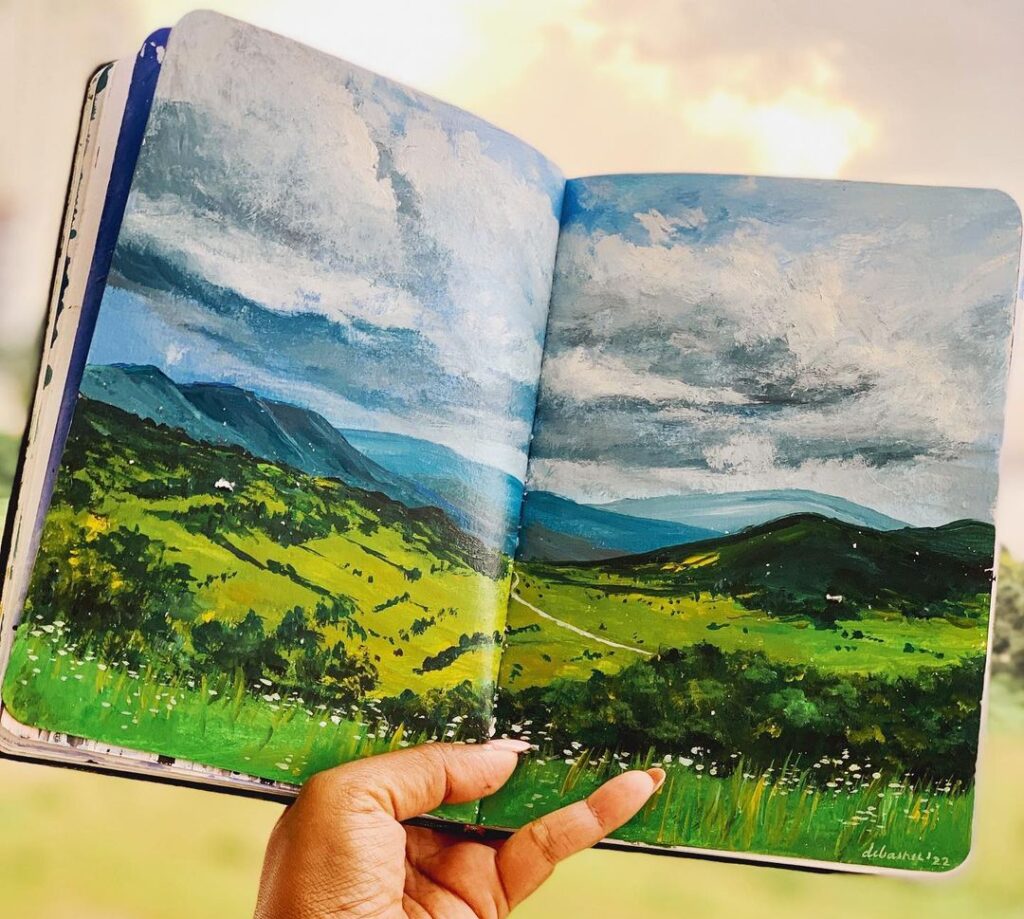
Do you want to create a breathtakingacrylic landscape paintingbut don’t know where to start? This step-by-step tutorial will guide you through painting avivid sky with fluffy clouds and a peaceful countryside sceneusing acrylics.
No matter your skill level, this method isbeginner-friendly yet effective, allowing you to create arealistic yet impressionisticpiece. So, grab your brushes, and let’s get started!
Love this class. It is so well explained with simple and easy steps to follow. After the first couple of painting I could see an improvement in my clouds. I followed Debasree’s instructions using gouache and love the outcome. This is a fantastic class. Loved every minute of it. – Breda Hughes
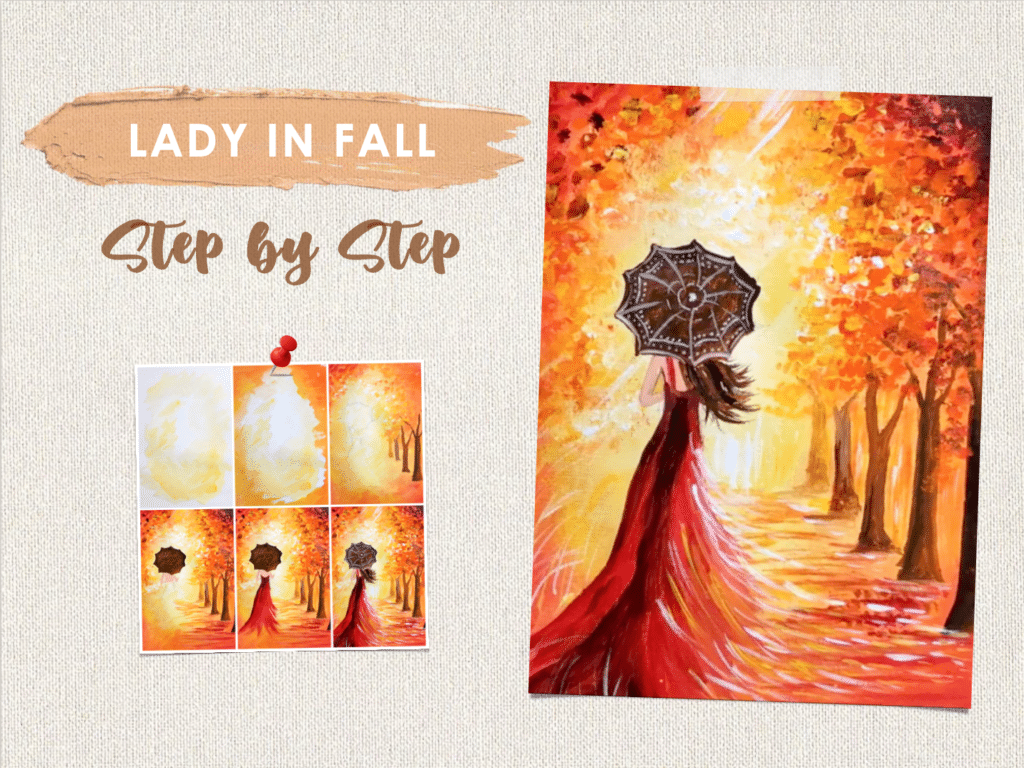
Pin for later
Materials You'll Need 🖌️
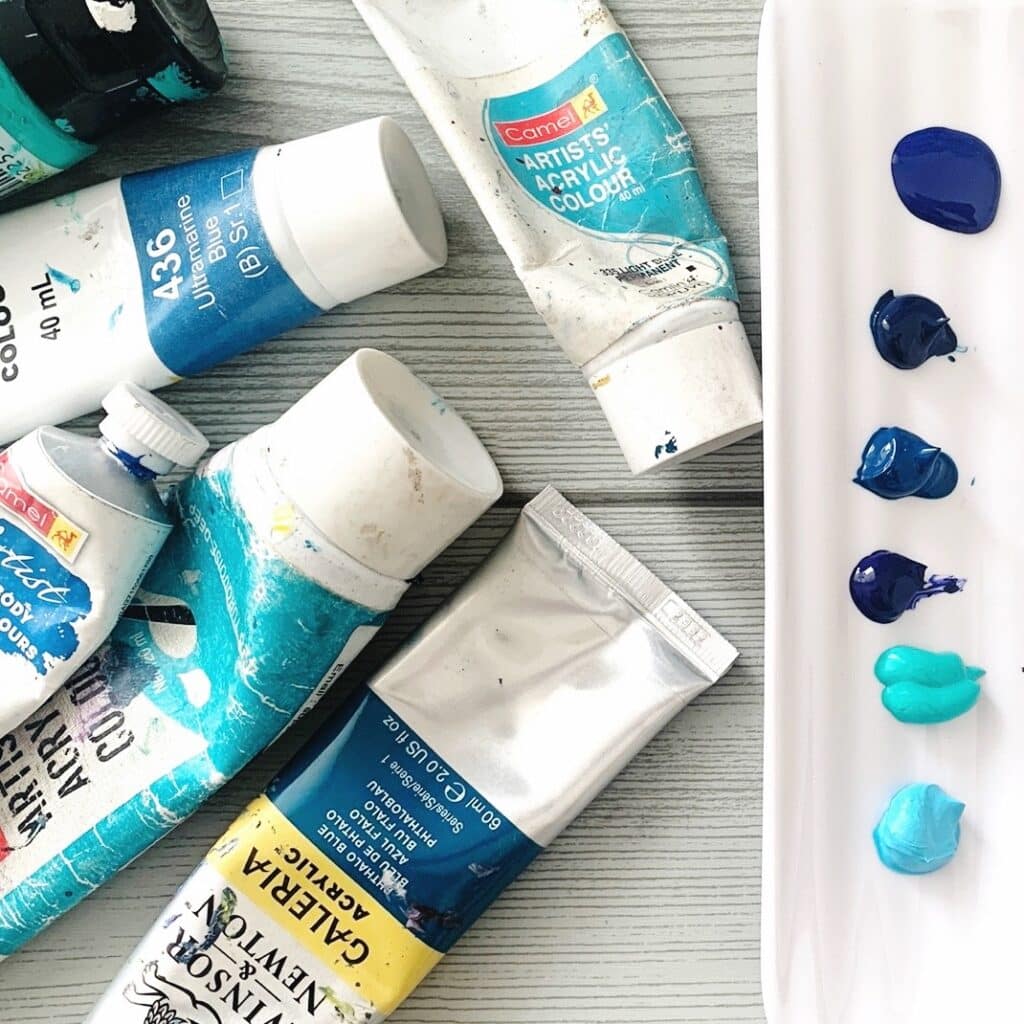
Acrylic Paints:Titanium White, Ultramarine Blue, Cerulean Blue, Burnt Sienna, Yellow Ochre, Sap Green, Mars Black
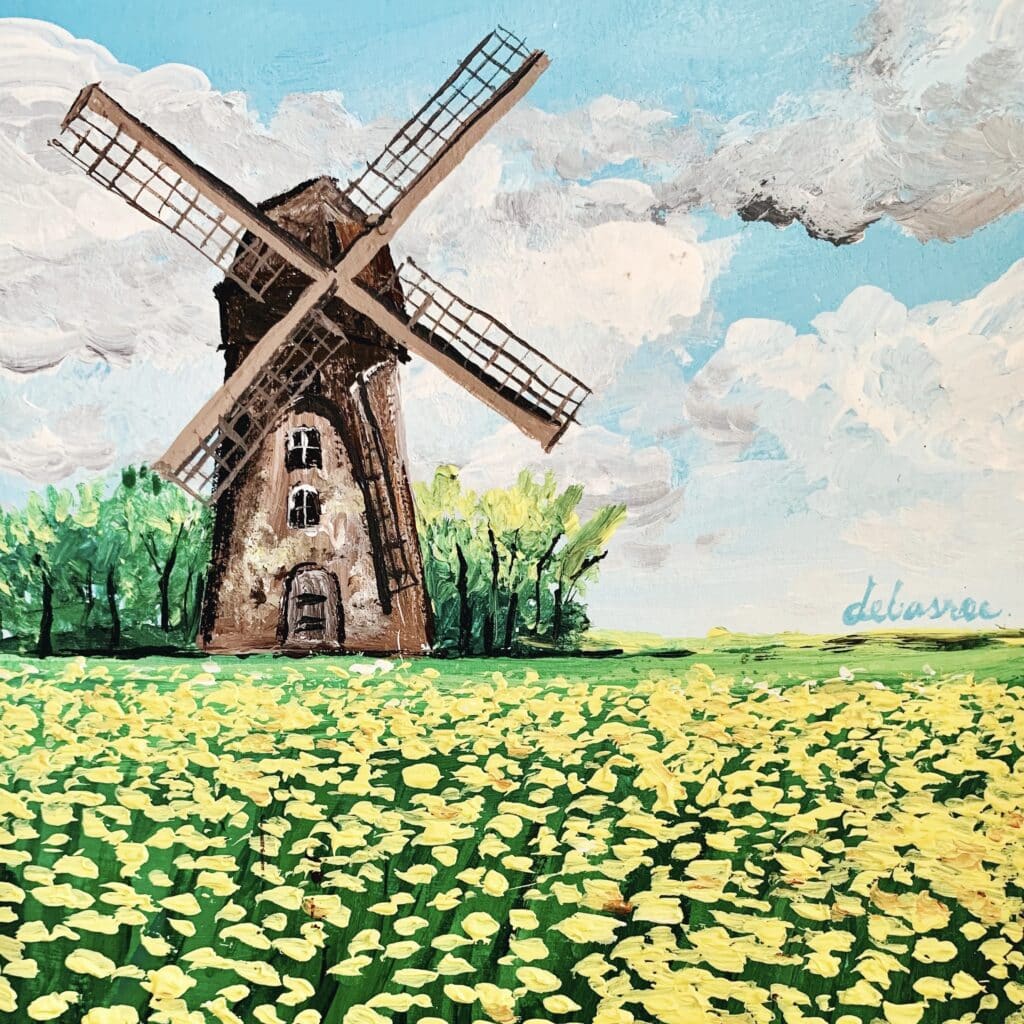
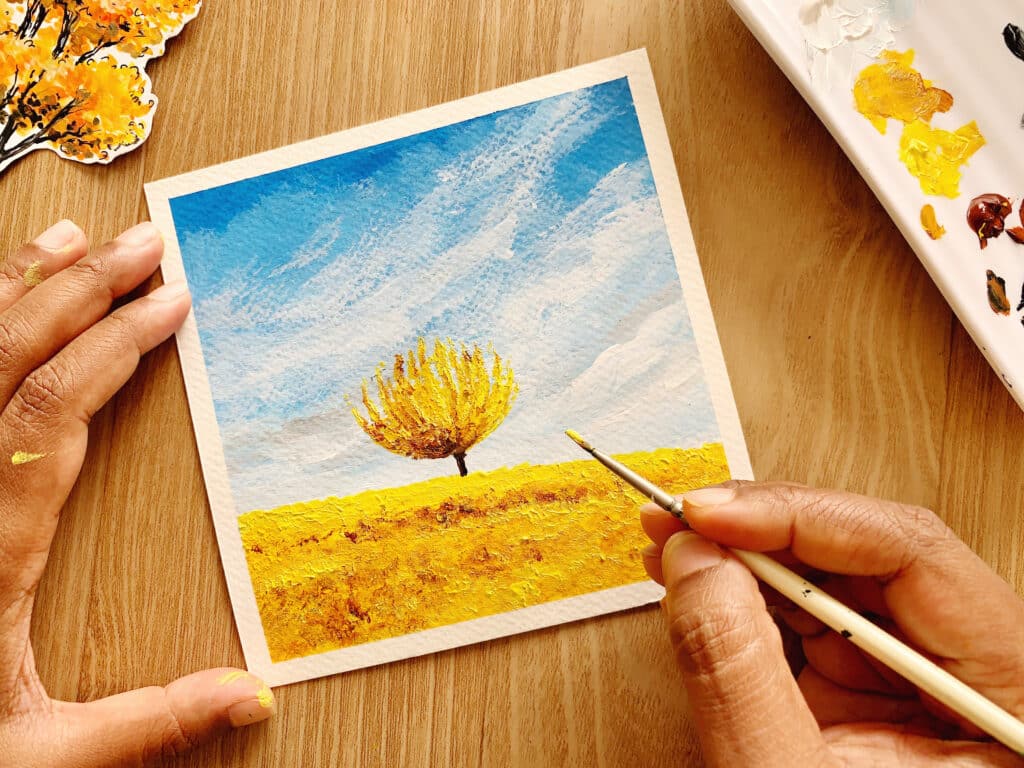
Explore more step-by-step painting tutorials to refine your skills & experiment with new techniques! From vibrant sunsets to misty mountains, there’s always something new to learn.
Painting Steps:
Step 1: Prepare the Canvas
Use a flat brush to apply a thin layer of gesso if needed.
Let it dry completely before starting the painting.
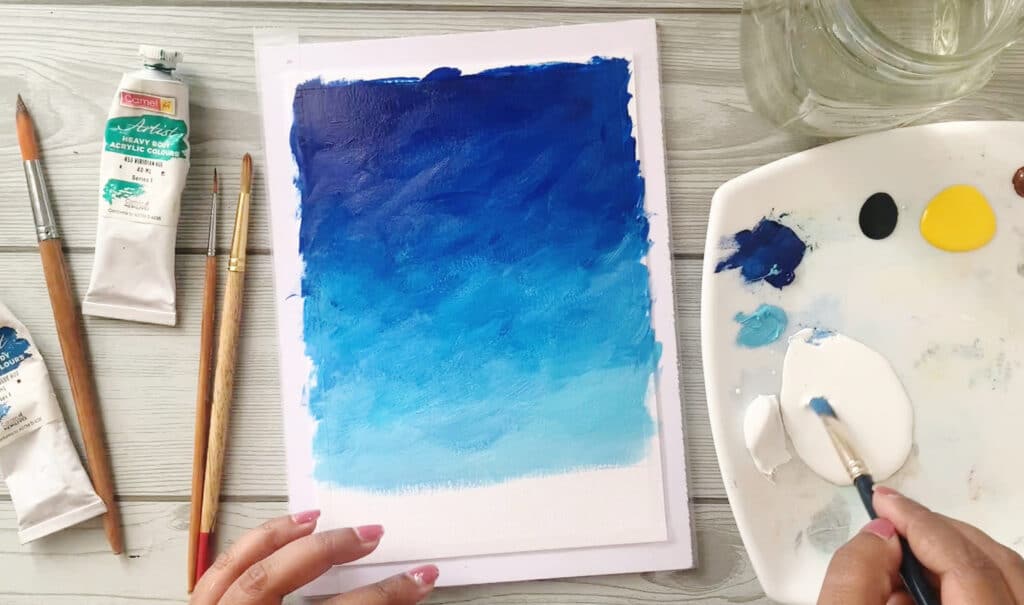
Step 2: Paint the Sky Background
Mix Ultramarine Blue with a touch of Titanium White to create a deep blue.
Start painting the upper part of the sky with this rich blue color.
As you move downward, mix in more Cerulean Blue and White to create a gradient effect towards the horizon.
Blend the colors smoothly using a damp brush to create a seamless sky transition.
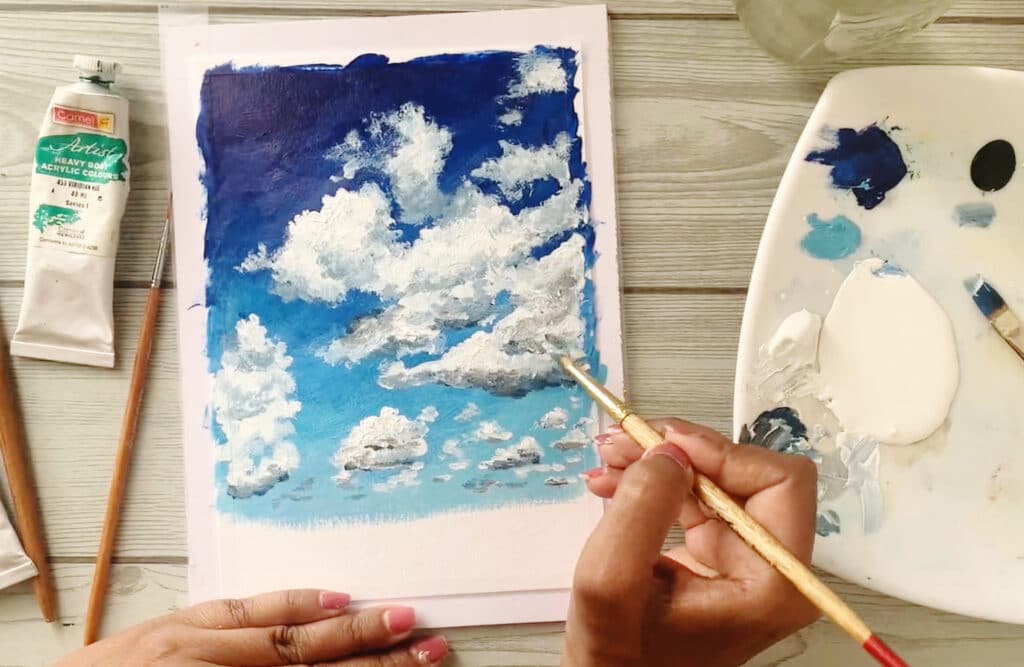
Step 3: Create the Clouds
Take a round brush or a palette knife and load it with Titanium White.
Start dabbing the white paint onto the sky, focusing on soft, fluffy shapes.
Add depth by mixing a bit of gray (White + Black + a hint of Blue) and applying it to the undersides of the clouds.
Use a dry brush technique to soften the edges and blend clouds into the sky.
Keep layering white to make some clouds stand out as highlights.
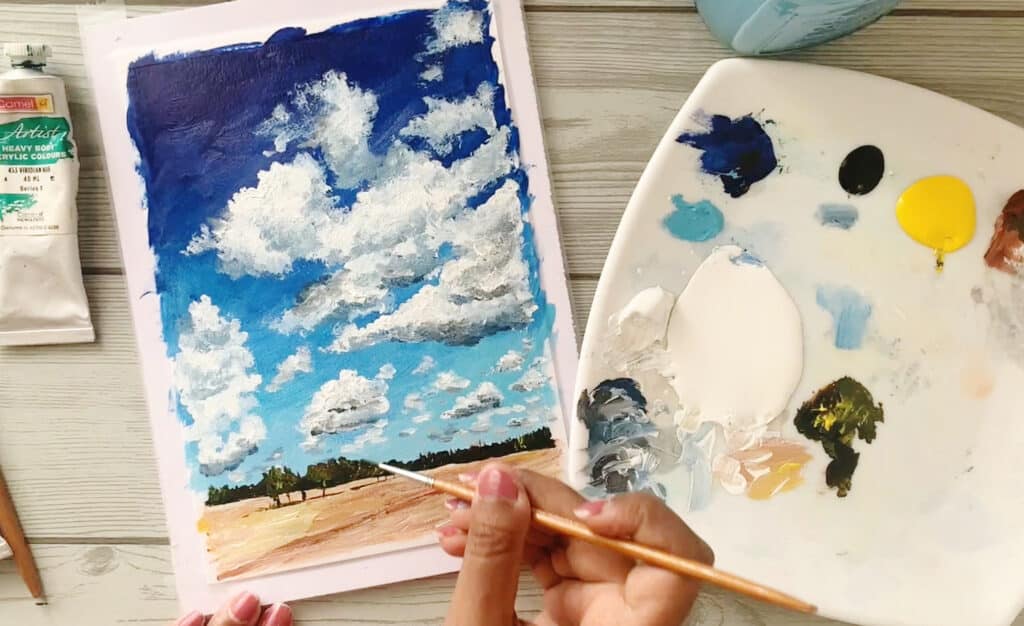
Step 4: Paint the Landscape
Use Burnt Sienna, Yellow Ochre, and White to create a warm earthy tone for the ground.
Apply the colors with a flat brush using horizontal strokes.
Add darker browns and hints of red for texture and shadows.
Step 5: Add Trees and Distant Elements
Use Sap Green mixed with a touch of Yellow Ochre for the tree foliage.
Paint the tree trunks with a thin brush using dark brown or black.
Dab on lighter greens and yellows to create highlights and depth in the trees.
6: Final Details and Refinements
Add small highlights to the trees where sunlight would hit.
Adjust shadows and highlights on the clouds for more realism.
Step back and make any final adjustments for balance and contrast.
Bonus Tips:
Use a palette knife to add thick textures to the clouds.
Layering is key—allow paint layers to dry slightly before adding new ones.
If you want softer clouds, use a blending brush to gently smooth edges.
FAQs🤔
1. What brush is best for painting clouds? Afan brushor asoft round brushis ideal for blending soft, fluffy clouds.
2. How do I make my landscape look more realistic? Uselight and shadoweffectively and add small details like grass, bushes, and highlights.
3. Can I use other colors for the sky? Absolutely! Trysunset toneslike oranges and pinks for a dramatic effect.
4. How do I prevent acrylic paint from drying too fast? Use aslow-drying mediumor mist your palette with water to keep it workable.
5. Should I varnish my painting? Yes! Agloss or matte varnishwill protect your artwork and enhance its colors.
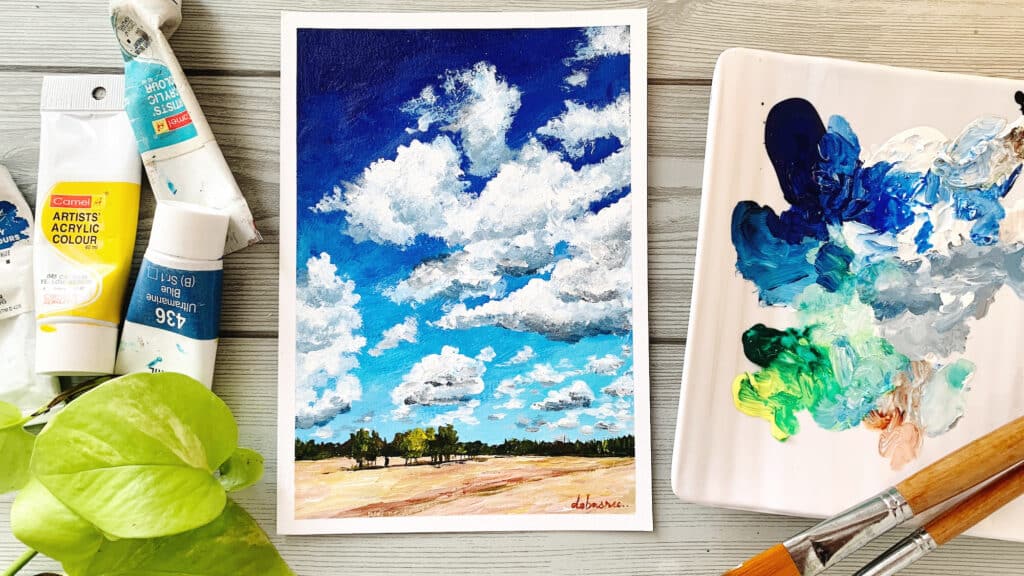
Final Thoughts🎨
Congratulations! You’ve just created abeautiful acrylic landscape paintingin only10 simple steps. Notice how the soft clouds contrast against the deep blue sky, while the warm tones of the land bring balance and harmony?
Now, I’d love to hear from you!What part of this painting did you enjoy the most?Drop a comment below!