Winter is a time of reflection, a season when nature pauses and the world is blanketed in white, softening the landscape. This mixed media process invites us to explore the quiet depth of winter, using white-on-white techniques, neutral tones, and dark contrasts to create a tactile piece that speaks to the soul. Through layered textures, delicate marks, and subtle journaling, we capture the essence of winter—its peaceful calm, hidden warmth, and the balance between light and shadow. Let’s dive into this creative journey and embrace the beauty of winter’s stillness.
Layer 1 - Building the Foundation
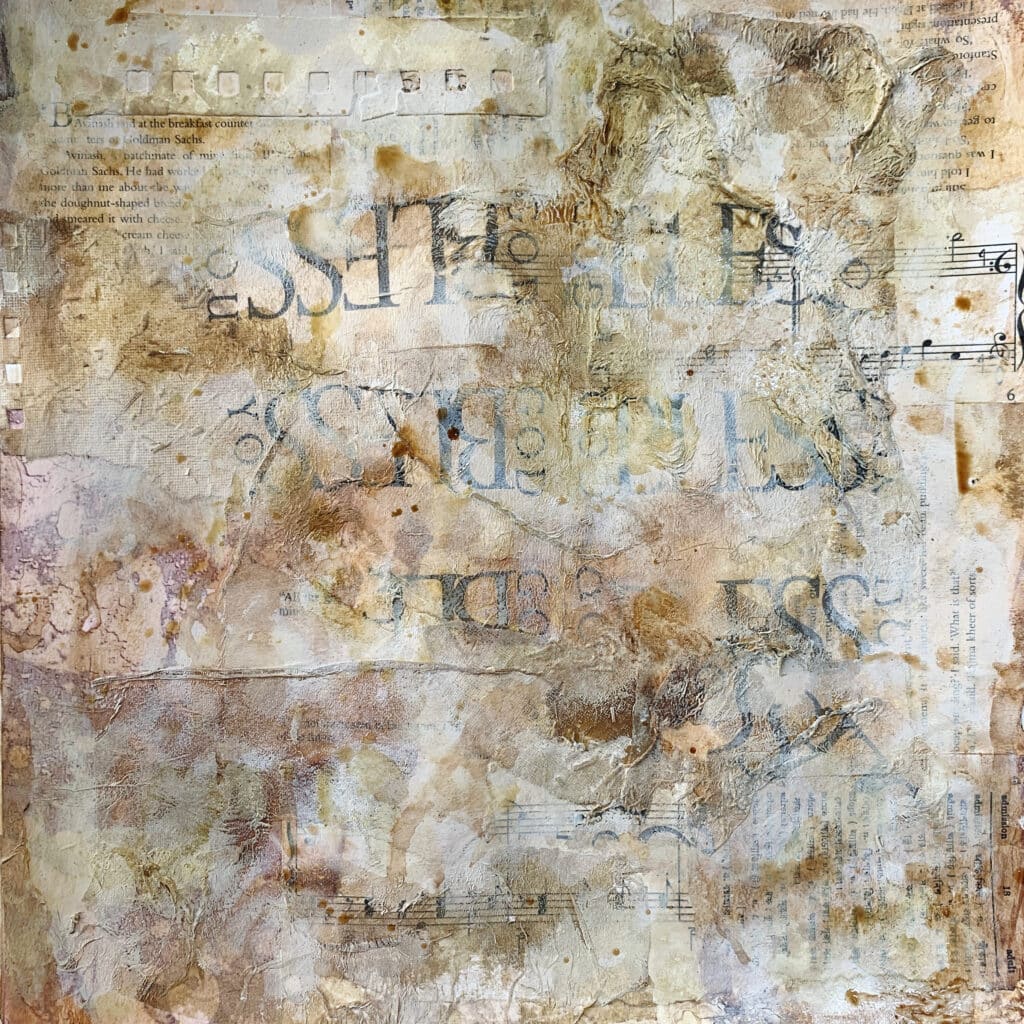
Step 1: Collage Base
Collage neutral vintage elements to create texture.
Start by collaging neutral-colored materials like vintage book pages, music sheets, calligraphy scripts, and plain vintage papers. Include brown tissue paper or printed tissue paper to introduce texture. Think about how these vintage elements bring a sense of history and nostalgia to your art. Let the layering be a foundation of memories, layering past moments into the present piece.
Emotional Pointer: While layering the papers, reflect on memories or moments from the past. Let each piece you add represent a part of your personal story or feeling.

Step 2: Creating Depth with Umber Wash
Add warmth and vintage charm with a touch of umber.
Drop a few spots of burnt or raw umber acrylic ink onto your collage. Spray with water and spread the ink with your fingers, feeling the connection with the piece. Smudge some distress inks along the edges to deepen the vintage, raw effect. Play with small touches of color alongside the umber wash to add complexity.
Emotional Pointer: As you spread the ink, imagine the warmth of a cozy winter day. Let your emotions guide the blending, evoking the feeling of time aging and softening everything.

Step 3: Highlighting Textures
Blend and highlight with acrylic paint.
With your fingers, apply unbleached titanium acrylic paint to blend some of the collage elements together, softening the textures. Once dry, add another layer of the umber wash, allowing it to seep into the crevices and emphasize the texture. Let this represent life’s balance between light and shadow, softness and strength.
Emotional Pointer: As you highlight the textures, think about the interplay between light and dark in your life. The cracks and crevices hold depth, just as life’s imperfections do.
Layer 2: Texture & Blending
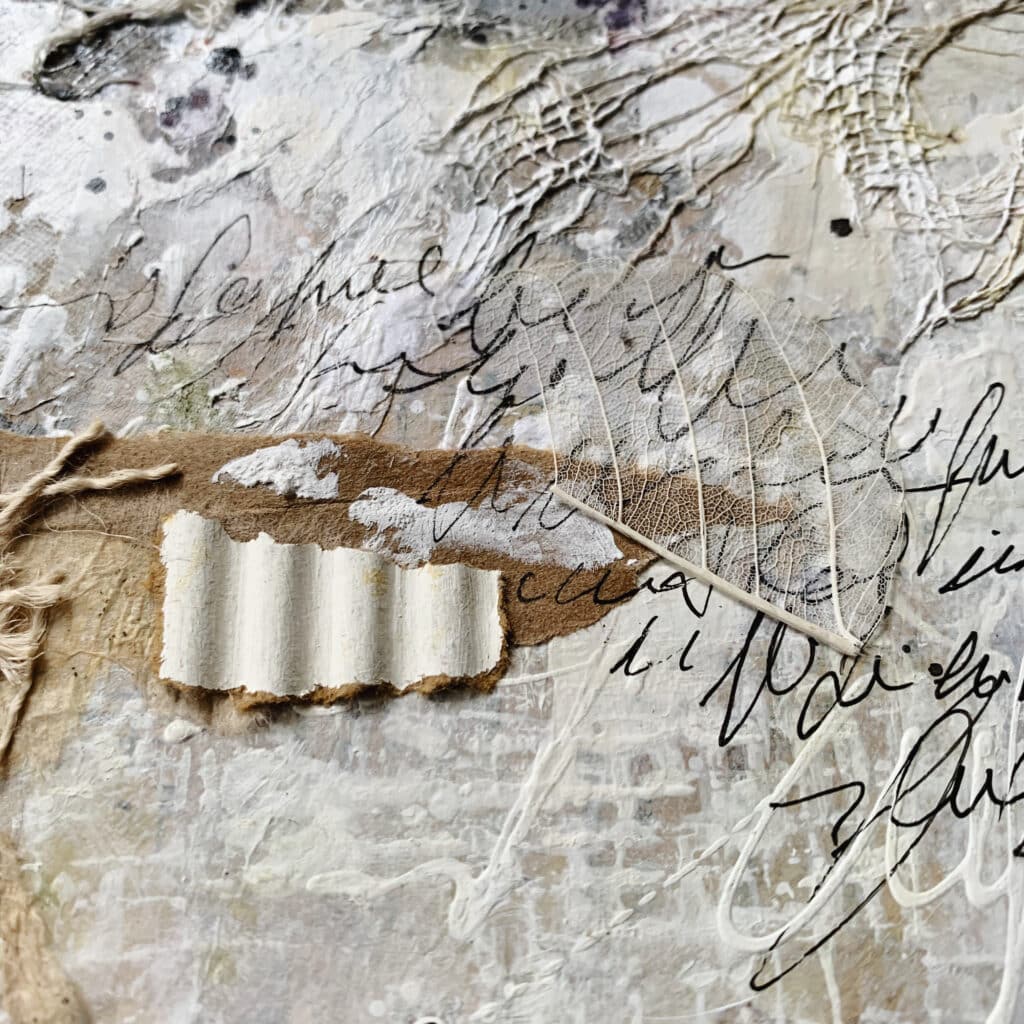
Step 4: Stamping and Mark-Making
Create texture and detail with stamping.
Use white acrylic ink to stamp different textures like bubble wrap, corrugated cardboard, wire mesh, burlap, or any found objects. Swipe a card dipped in white paint lightly over the background to add layers of interest, but leave parts of the background visible to maintain balance.
Emotional Pointer: While stamping, think about the imprints left in your life—relationships, experiences, or events that have shaped you. Each mark is a small echo of those moments.
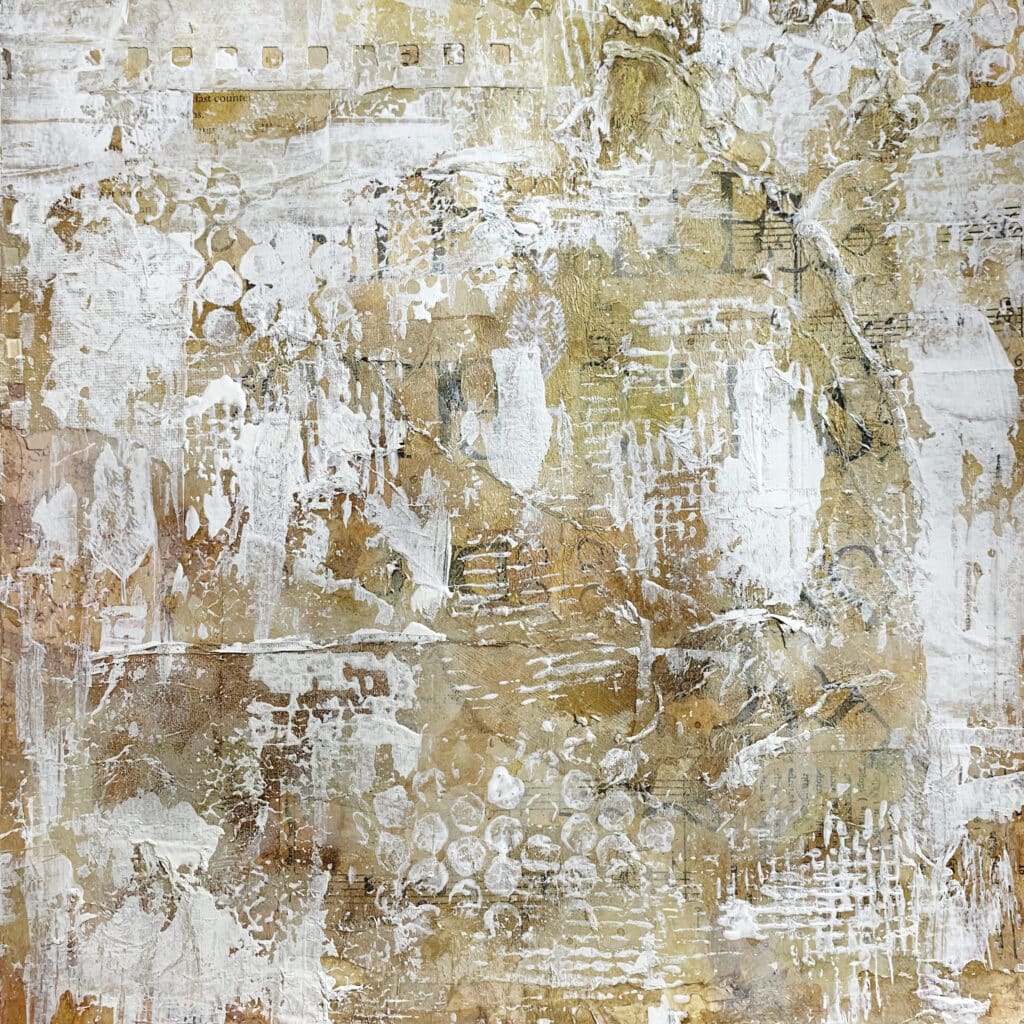
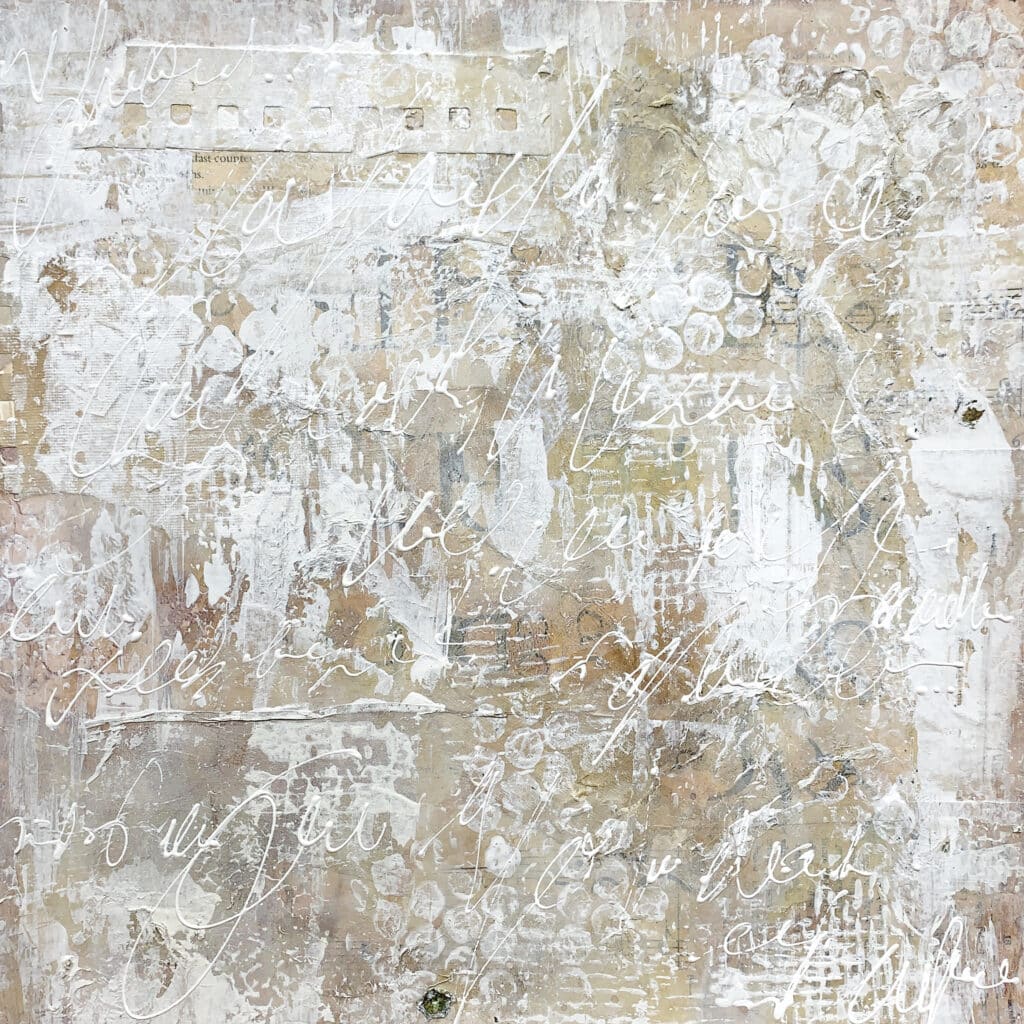
Step 5: Softening with White Wash
Mute down the background with a delicate wash.
Gently apply a light wash of white acrylic ink across the entire background using a wet wipe. This will soften and unify the layers, blending them into a harmonious whole while leaving the underlying textures intact.
Emotional Pointer: As you mute down the background, think of calm, peaceful winter days. Let the white wash represent the quiet pauses in life, the moments of reflection.

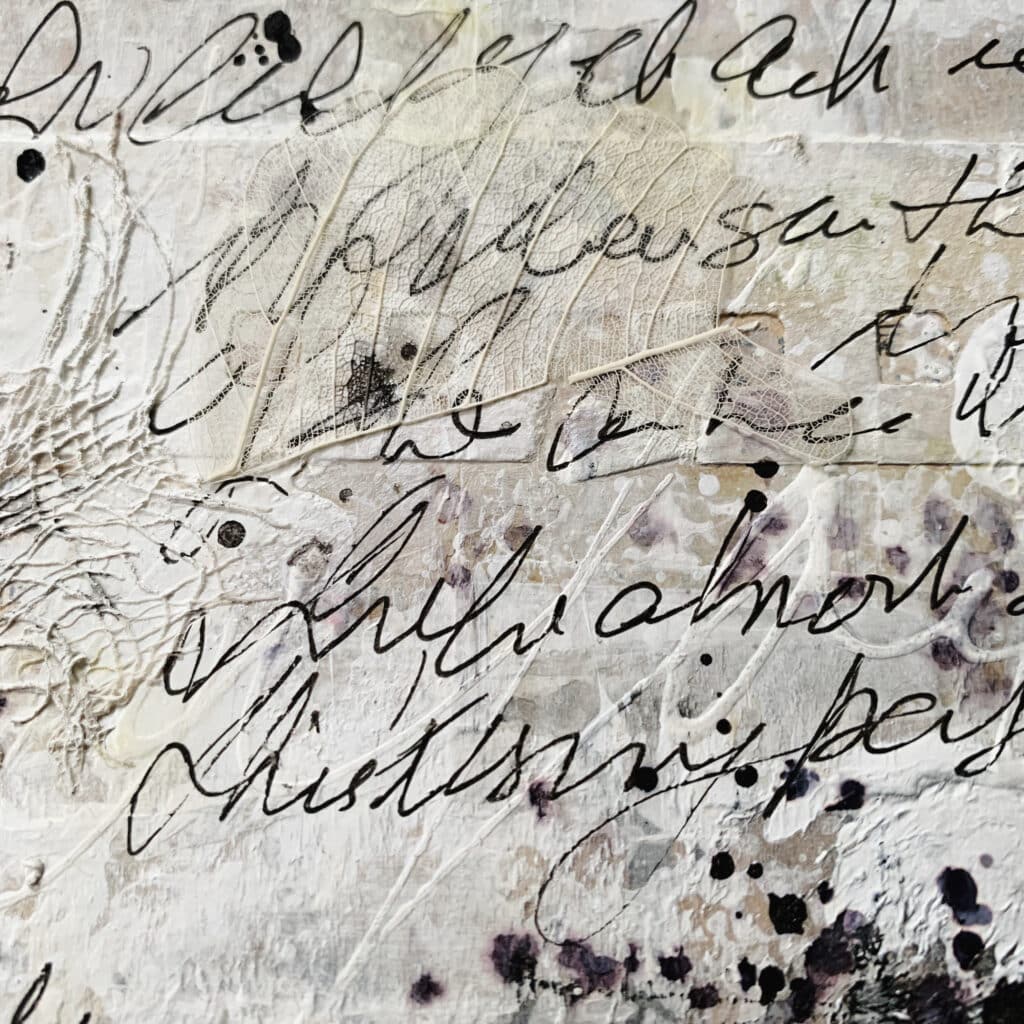
Step 6: Journaling Thoughts
Write your thoughts in white ink.
Use a white needle-tip applicator to journal your thoughts onto the canvas, embedding your feelings and reflections within the art. These words will be subtle, blending into the white-on-white effect.
Emotional Pointer: Write down what’s in your heart. Let the white ink represent whispers—quiet thoughts that don’t need to shout, yet hold deep meaning.
Layer 4: the Focal Point
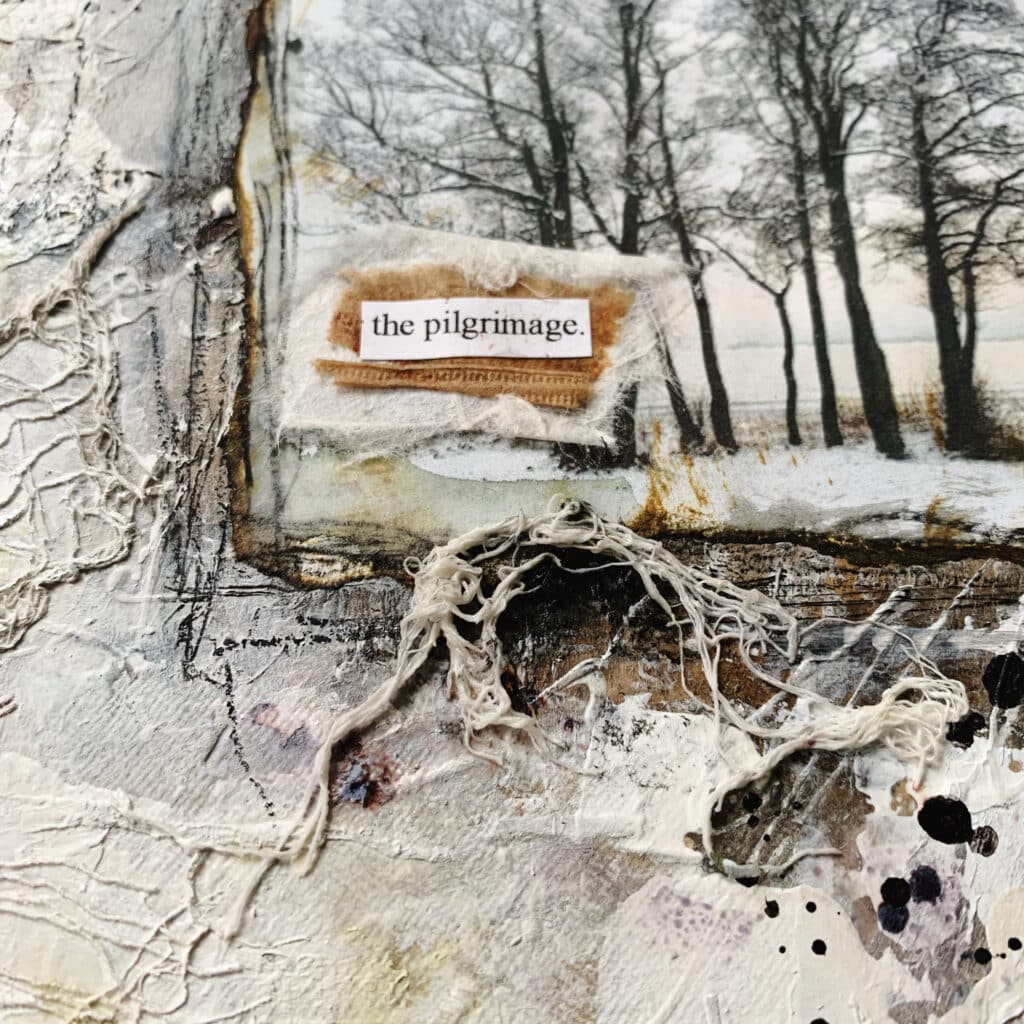
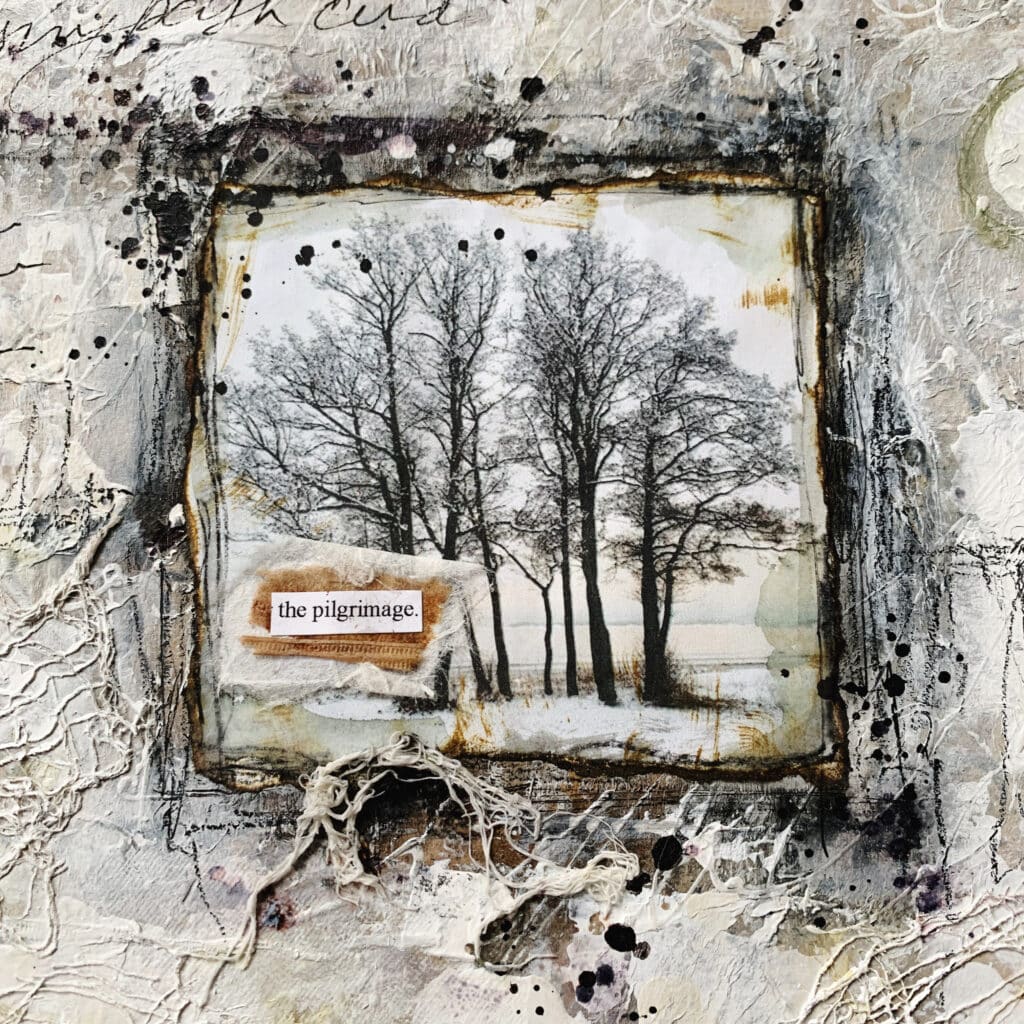
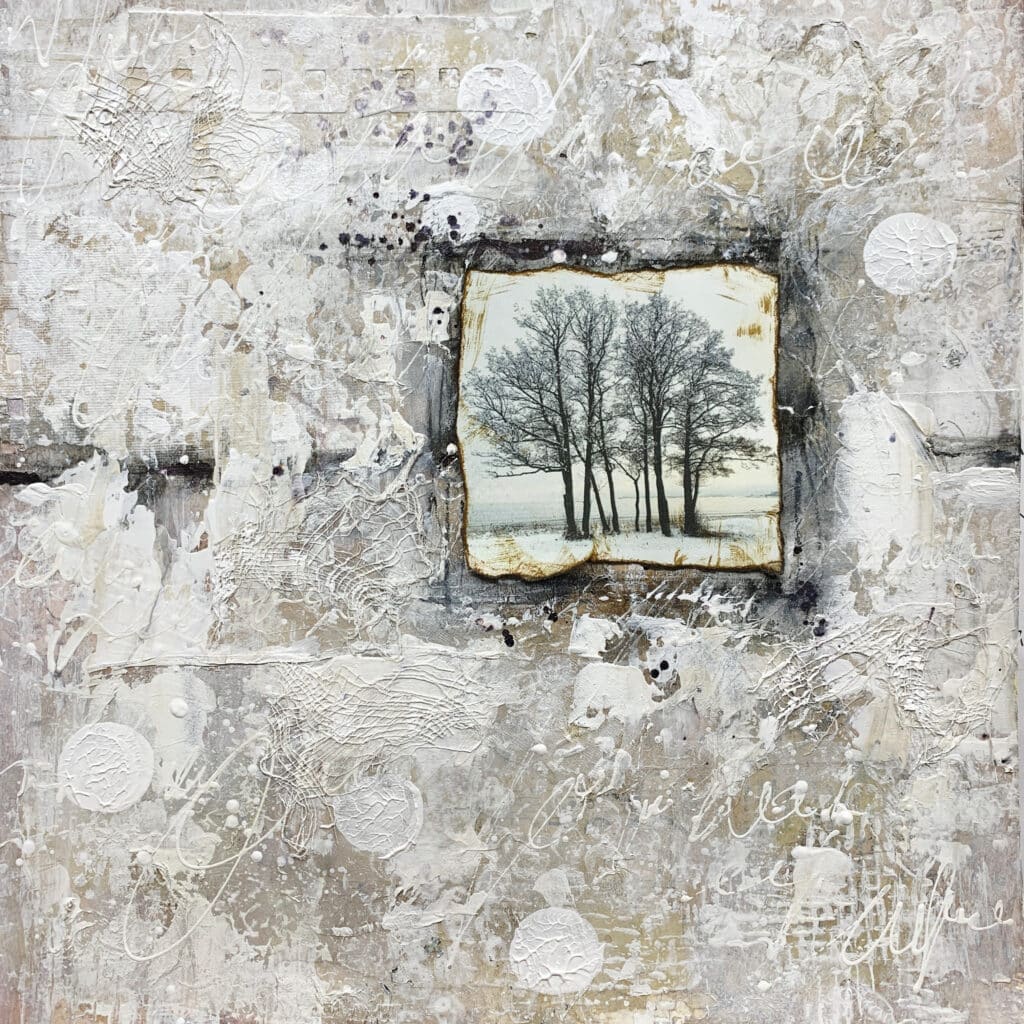
Step 7: Preparing the Focal Image
Tear edges for a vintage feel.
Prepare your focal image—perhaps a winter scene or nature-inspired figure—by tearing the edges to create an organic, worn look. Add distress ink to the edges for a weathered, timeworn effect.
Emotional Pointer: Think about the journey your focal image has taken to reach this moment. The torn edges symbolize the wear of time and experience, yet they carry beauty in their imperfection.
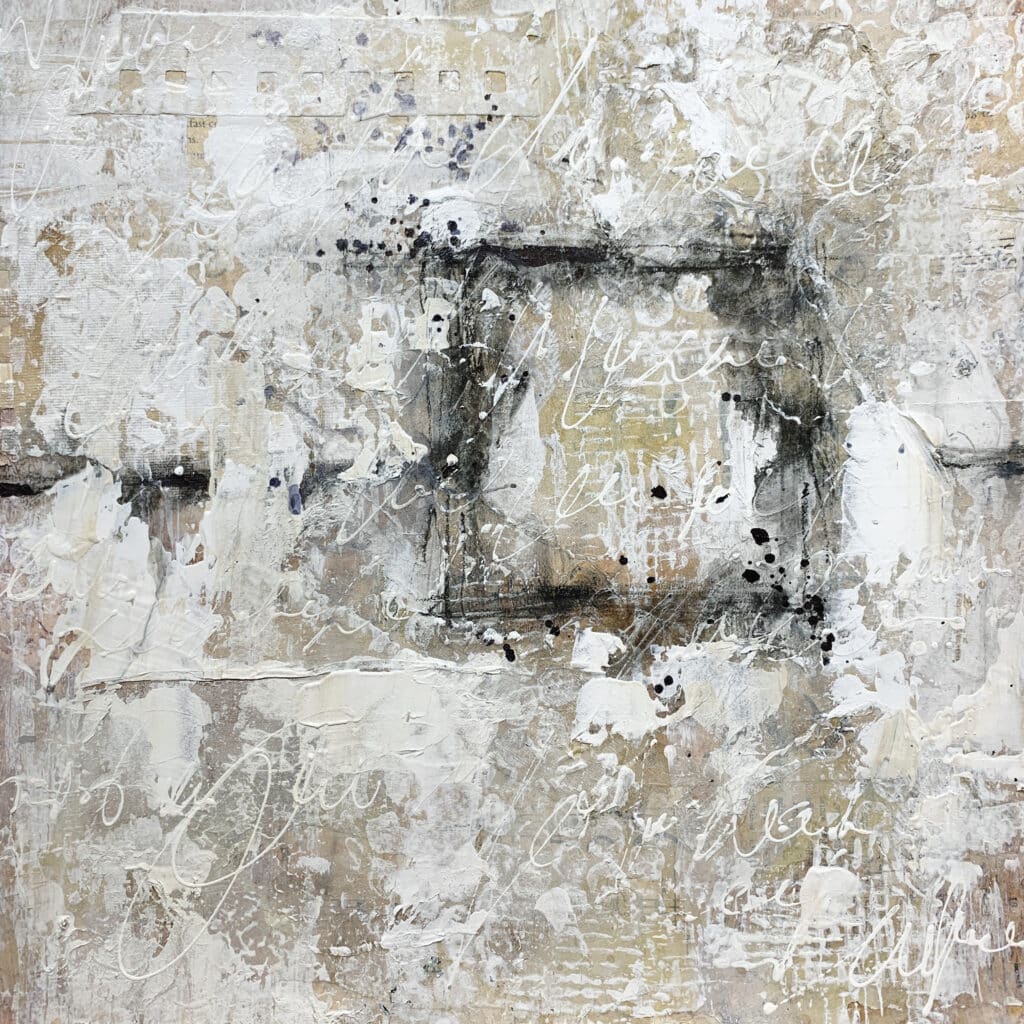
Step 8: Mark out the composition
Draw lines to showcase the area where the focal image will be placed with a black stabillo all pencil, and also make other lines to show the horizon, or as per the painting structure. Blend some of the line with water to create a grungy effect. This will add depth to the light background area before placing the focal image. Add a lil umber wash also to darken the area.

Step 9: Adding Dimension with White Paint
Build dimension with thick white paint.
Before adhering the focal image, use a palette knife to apply thick white paint to soften the dark grungy outline around the focal area. This will create a frosty, snow-like effect, adding dimension to your art.
Emotional Pointer: As you apply the white paint, think of it as a layer of protection, like snow covering the earth in winter, insulating and preserving it for renewal.
Step 10: Finalizing the Focal Point
Splatter black paint for contrast.
Splatter some black paint onto the background, then paste your focal point image. The black splatters will add striking contrast to the otherwise neutral and white composition, representing the balance between dark and light.
Emotional Pointer: Reflect on the contrast of life—how darkness and light coexist and complement each other. Let the black paint symbolize those challenging yet important moments that bring balance.
Layer 5: More Texture & mark-making
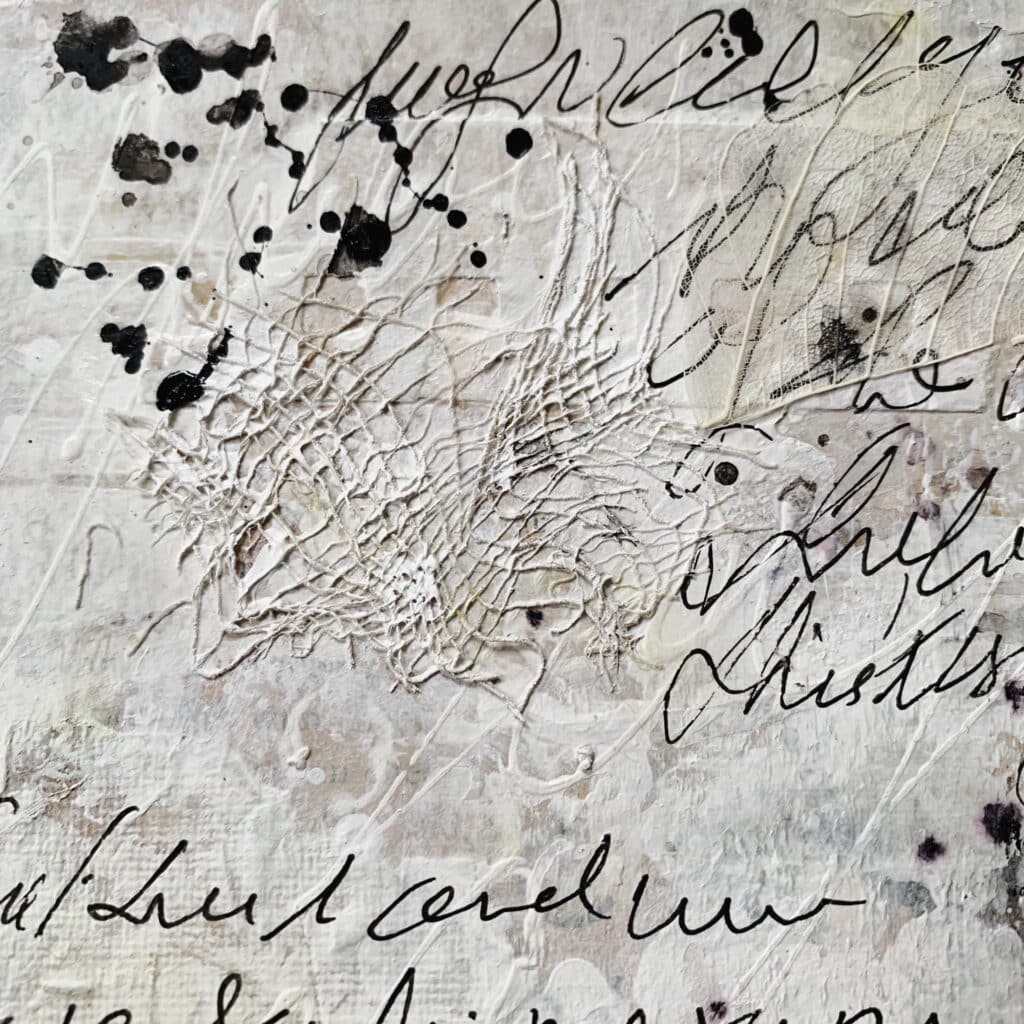
Step 11: Enhancing Texture with Gauze
Add gauze for extra texture.
Add gauze around your focal point, imagining it as the hidden roots of the bare trees, winding through the earth beneath the snow. Once dry, lightly brush gesso over the gauze with a makeup brush to highlight the texture. This will add softness while maintaining the wintery, textural feel.
Emotional Pointer: As you layer the gauze, think of it as the unseen strength that lies beneath—the roots that nourish and sustain, even when the world above appears barren. Let this step be a reminder of your inner resilience and the unseen growth happening in stillness.
Step 12: Adding Snowfall Effect
Create marks and splatters for a snow effect.
Use white acrylic paint to stamp circular shapes and splatter white paint across the canvas to mimic snowfall. Add small, colorful touches using needle-tip applicators, alcohol inks, or spray water to create marks that feel like fleeting winter moments.
Emotional Pointer: As you make these marks, think of them as moments of joy and fleeting beauty, like snowflakes drifting down—temporary, but magical.

Step 13: Layering with Neutral Scraps
Collage neutral elements to enhance texture.
Collage additional neutral scraps like tea bag paper, burlap, and leaf skeletons to add depth and texture. These elements will ground the artwork, offering a balance between delicate and earthy textures. Also create a cluster and layer it with appropriate word(s) over the focal image.
Emotional Pointer: Think about grounding yourself as you layer these natural elements. They represent the stability and warmth that lies beneath the cold surface of winter.
Step 14: Final Thoughts
Journal with a black pen.
Using a black pen, write down final thoughts or reflections. These will stand out against the neutral background, grounding your piece with personal meaning and providing a balance of dark and light.
Emotional Pointer: Let your words be bold and intentional. This final journaling represents clarity and truth, standing out in the snowy landscape of your art.
Step 15: Adding Balance with Black Ink
Splatter black ink to enhance contrast.
Splatter black ink sparingly over the canvas, concentrating more in some areas and less in others to maintain a dynamic balance between light and shadow.
Emotional Pointer: The black ink is like the night in winter—a time for introspection, but also for renewal. Let it represent the balance of light and shadow in your own life.

Conclusion
As we complete this winter-inspired mixed media piece, take a moment to reflect on the process. Each layer tells a story, from the soft textures to the bold contrasts. This artwork is more than a depiction of winter; it is a reflection of the quiet moments in our lives that bring clarity and depth. Let this piece remind us that even in the coldest, most barren seasons, there is beauty, warmth, and renewal waiting beneath the surface.