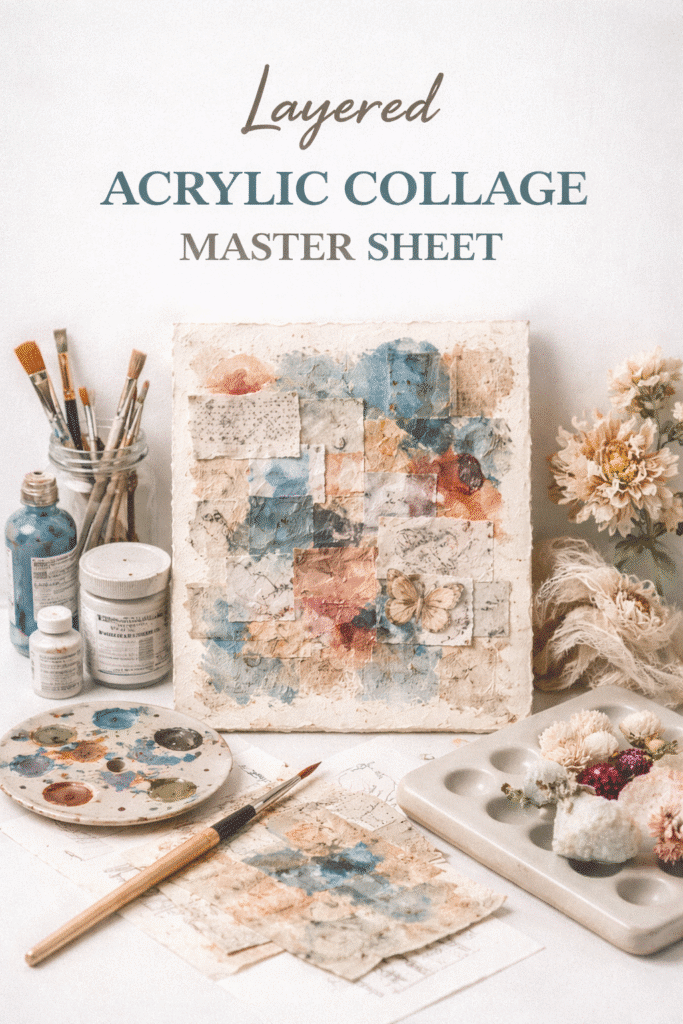
Creating a collage master sheet is more than just an art technique—it’s a journey of self-expression and discovery. Inspired by techniques I learned from the talented Kasia Avery, I’ve added my own personal meanings and emotional layers to this process.
This process allows you to combine different textures, colors, and elements that resonate with your emotions and memories.
Creating a collage master sheet is an inspiring way to bring your artistic vision to life. It’s less intimidating than working in an artjournal.
Let’s go through a series of steps designed to build a rich, layered foundation that can serve as the starting point for endless creative possibilities.
Step 1 – Gather Your Collage Papers
Take your time with this step; it’s where the emotional connection begins. Choose pieces that speak to you—vintage ephemera, old book pages, mark-making collage papers, or inky deli papers. Each piece should resonate with a memory, a feeling, or an aesthetic that excites you.
Step 2 – Tear and Layer for Texture
Instead of cutting all your collage pieces, tear some to create uneven edges. Layer these torn pieces over each other before gluing them down. This adds a tactile element to your master sheet, creating depth and texture that invites touch and curiosity.
Step 3 – Apply PVA Glue and Arrange the Papers
Use a card to spread PVA glue across an A3 sheet. This method ensures a quick and even application. Randomly place your collage papers onto the glued surface, but keep your scraps relatively large. Think of this as laying the foundation—every piece contributes to the story you’re telling.
Step 4 – Incorporate Transparent Layers
Add pieces of tissue paper, vellum, or tracing paper to introduce transparency. These layers allow the underlying collage elements to peek through, creating a sense of mystery and depth. Consider this step as adding whispers to your visual narrative—soft but impactful.
Step 5 – Add Circular Elements
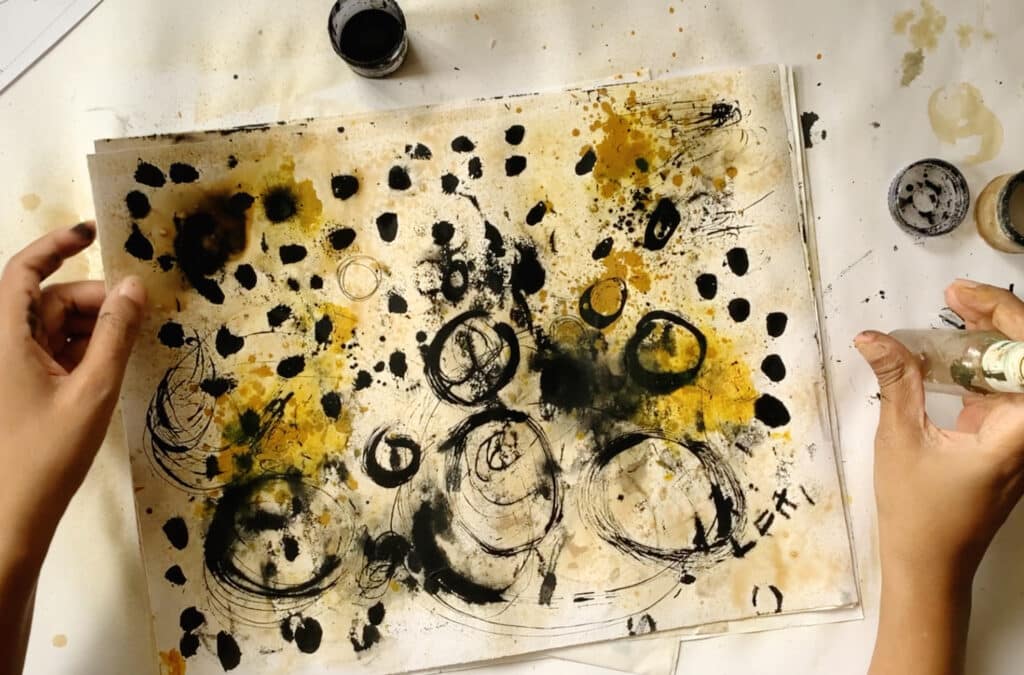
Cut out circles from black magazine paper or inky paper and glue them randomly across the sheet. These shapes add rhythm and movement to your composition, so place them where your intuition guides you.
Step 6 – Dry Brush with Gesso
Lightly brush gesso over your collage to unify the elements. This step is about softening the contrast and preparing the surface for the next layers. Think of it as giving your piece a breath of fresh air—gentle but transformative.
Step 7 – Paint with Dry Brush Acrylic Colors
Choose 2-3 acrylic colors from the same family and keep the palette neutral. Dry brush them over the collage, allowing some of the underlying textures to peek through. This adds depth and emotion, creating a subtle, cohesive feel.
Extra – Add the leftover paint from the brush on another collage paper.
Tip: Swap step 7 with step 6 and go over with a brayer and gesso / unbleached titanium to get another interesting look.
Step 8 – Add Watercolor Details
Allow the watercolors to flow naturally over the acrylics, creating organic, spontaneous marks. This step infuses your piece with fluidity and emotion, as the watercolor interacts with the acrylic textures, blending and pooling in unexpected ways. The result is a beautifully dynamic effect that adds depth and intrigue to your collage.
Extra – Make more marks by dipping a sponge/tissue in the watercolor pool, make marks with the brush and additional marks
Step 9 – Mark making
Enhance the rhythmic flow of your collage by adding circular marks around the cut-outs, and continue with additional marks to create dynamic patterns. Use graphite, pastel, or watercolor pencils to make these marks, letting your hand move freely and intuitively. This step adds a sense of movement and cohesion, tying different elements together while introducing a personal touch to the composition.
Step 10 – Stamp or Stencil Patterns
Use stamps or stencils to add patterns to your collage. This step introduces repeatable elements that can unify the piece. Choose patterns that resonate with the theme or any element you want to represent.
Step 11 – Incorporate Text Elements
Add fragments of text—words or phrases cut from books, magazines, or written by hand. Text can anchor your collage with meaning or leave it open to interpretation. Choose words that resonate with the mood you want to convey.
Step 12 – Create White Space with Gesso
If your composition starts to feel too busy, add some white gesso to create areas of calm. White space is essential—it gives the eye a place to rest and balances the overall design. Consider this as creating pauses in your visual narrative.
Step 13 – Finish with Splatter or Drip Techniques
Add a final layer of interest by splattering or dripping paint over the collage. This step adds energy and spontaneity to the piece, like the exclamation point at the end of a sentence. It’s the final flourish that brings everything together.
As you complete your collage master sheet, take a moment to reflect on the layers you’ve built and the emotions you’ve expressed. Each piece of paper, each brushstroke, and each added element contributes to a visual story that is uniquely yours.
This master sheet is not just a finished product but a springboard for future creativity. You can use it as a background for other projects, cut it into smaller pieces for collage work, or simply enjoy it as a standalone piece of art.
Remember, the beauty of mixed media lies in its limitless potential—so let this be the beginning of many more creative adventures!


