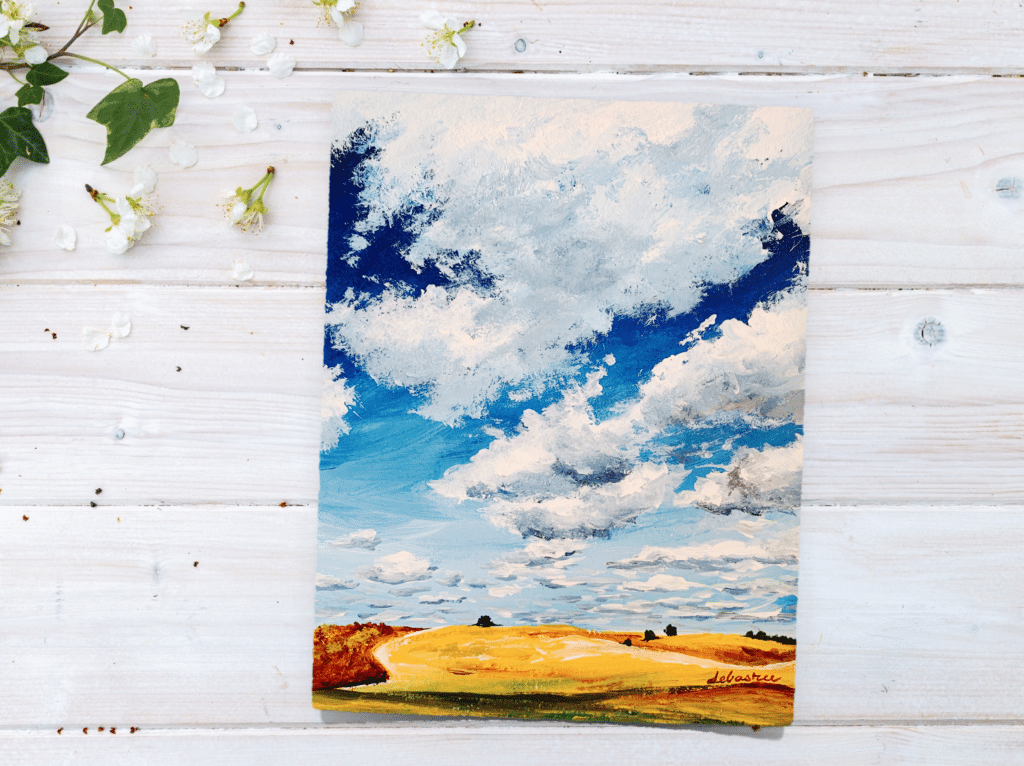
Acrylic painting is an exciting and versatile medium that allows artists to bring beautiful landscapes to life. Whether you’re a beginner or an experienced artist, this step-by-step acrylic landscape painting tutorial will help you create a breathtaking scene with a bright sky and rolling fields.
Follow along as we explore six easy steps to achieve a stunning acrylic landscape painting, complete with rich colors, texture, and depth.
If you want to learn more about clouds, check out my 15 Days of Summer Sky Masterclass.
15 Days of Summer Sky
Transform Your Canvas into Breathtaking Summer Landscapes
Love this class. It is so well explained with simple and easy steps to follow. After the first couple of painting I could see an improvement in my clouds. I followed Debasree’s instructions using gouache and love the outcome. This is a fantastic class. Loved every minute of it. – Breda Hughes
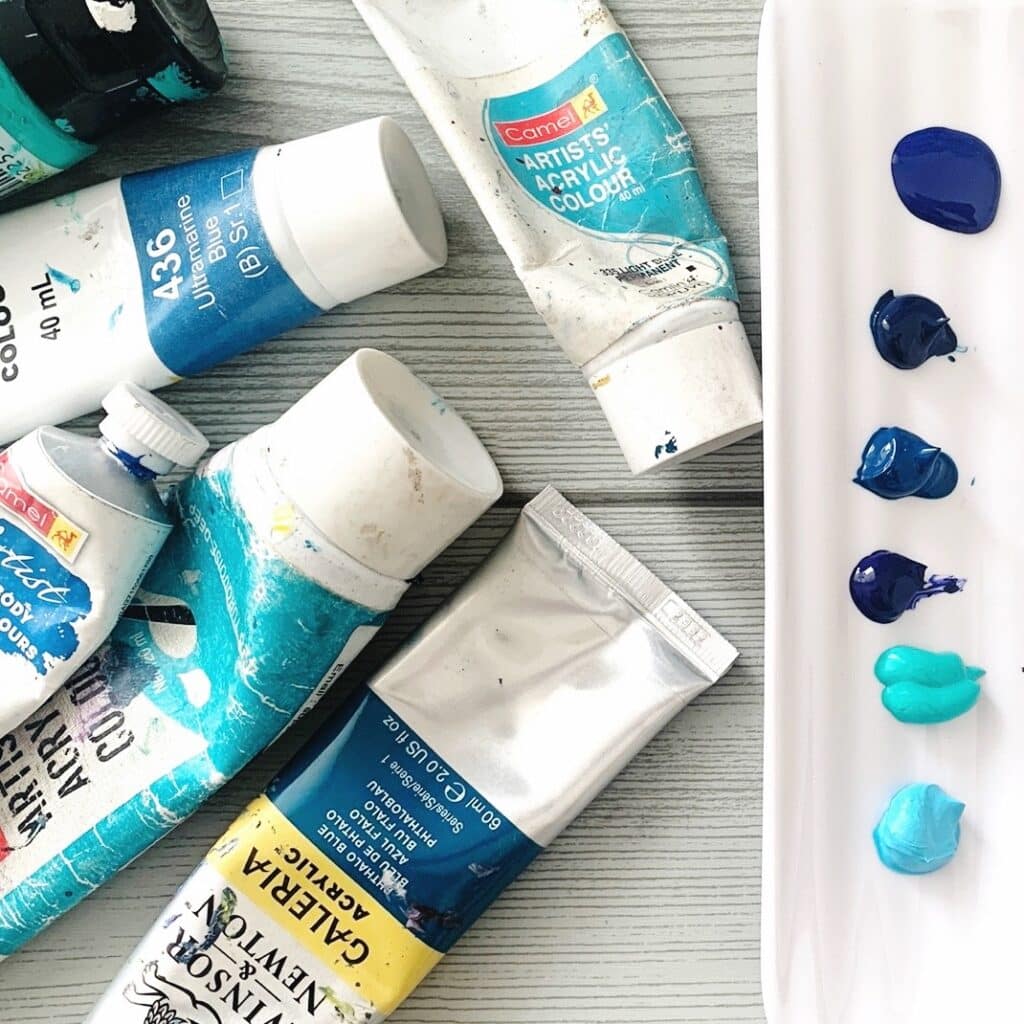
Materials You'll Need 🖌️
- Acrylic paints (Titanium White, Ultramarine Blue, Phthalo Blue, Burnt Sienna, Cadmium Yellow, Sap Green)
- Canvas or acrylic paper
- Paintbrushes (flat, round, and fan brushes)
- Palette knife
- Palette for mixing colors
- Water cup for rinsing brushes
- Paper towels or cloth
- Masking tape (optional, for clean edges)
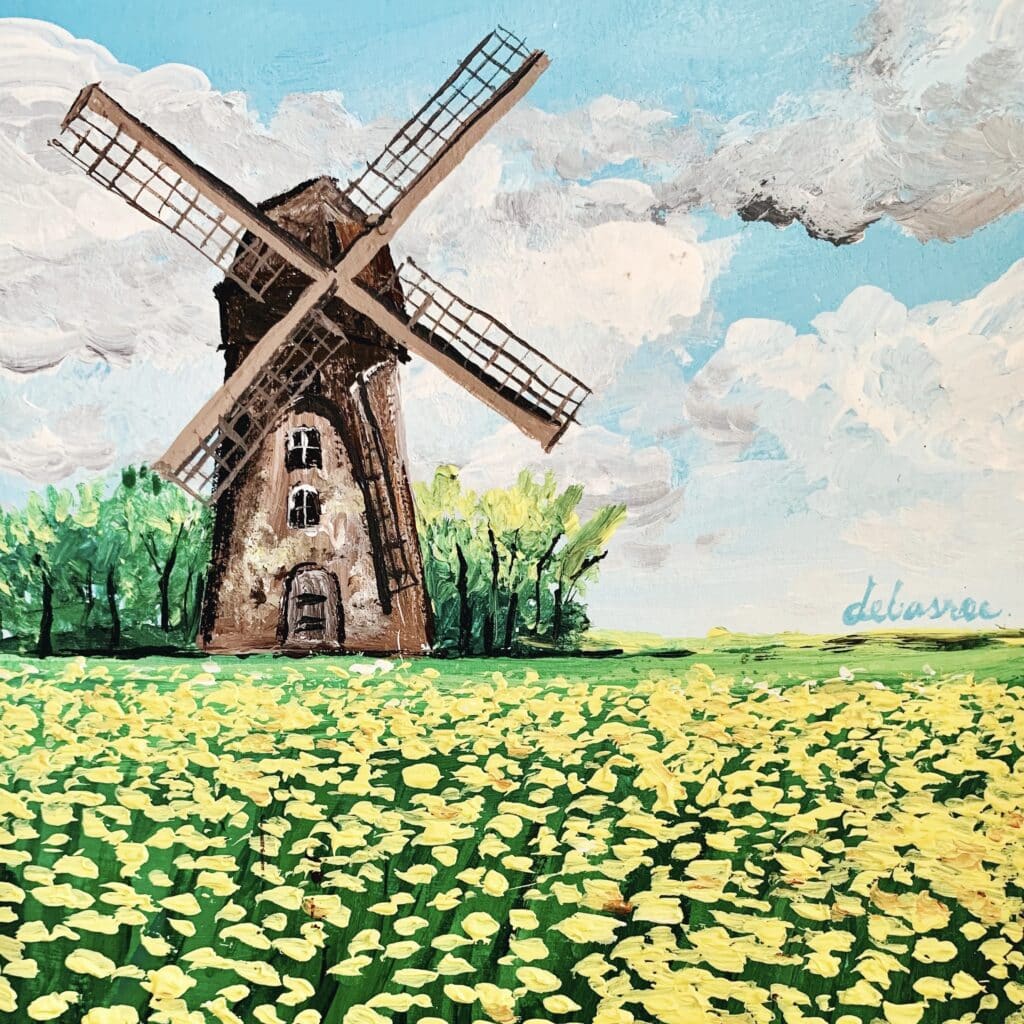
Love creating beautiful landscapes?
Explore more step-by-step painting tutorials to refine your skills & experiment with new techniques! From vibrant sunsets to misty mountains, there’s always something new to learn.
Pin for later

Painting Steps:
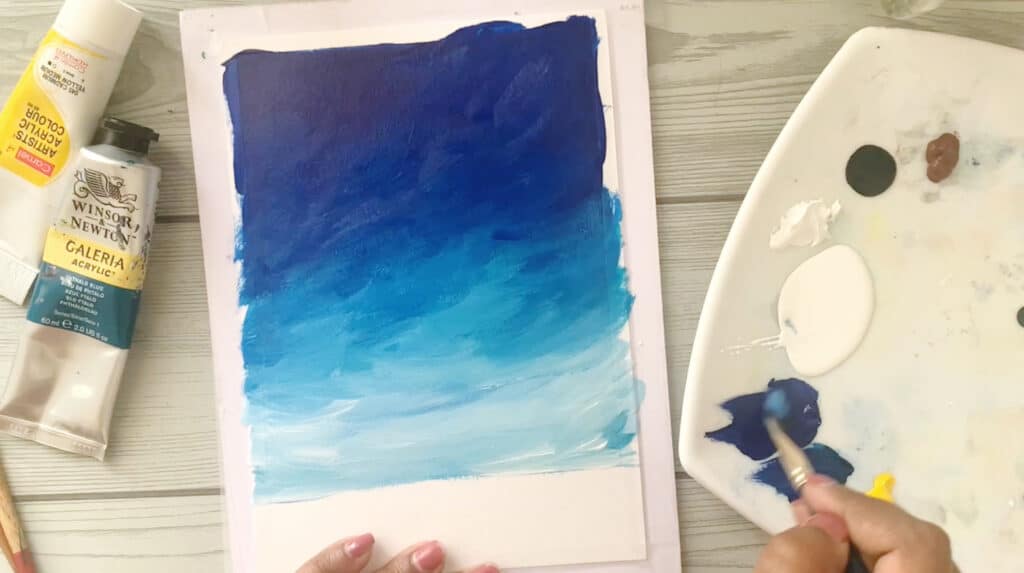
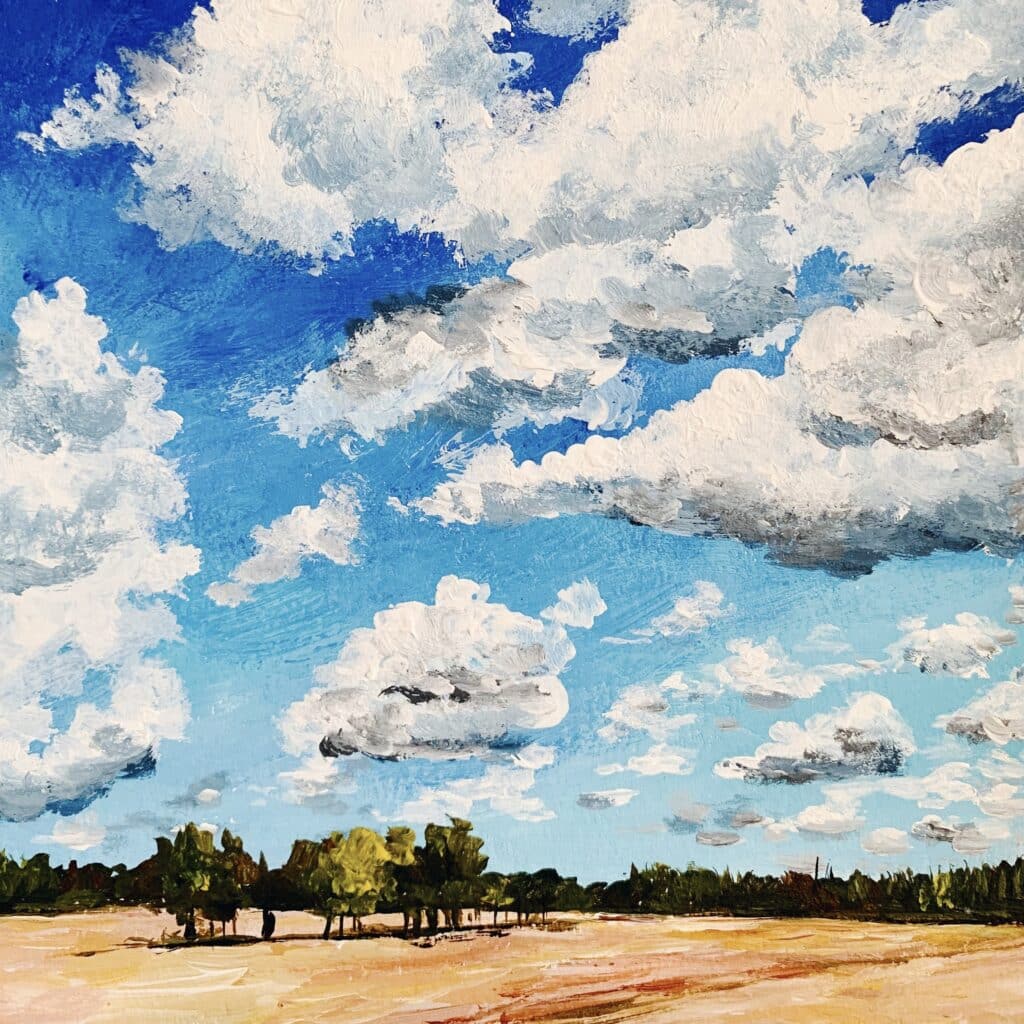
Step 1: Paint the Sky with Blended Blues
Instead of starting with a sketch, begin by blocking in the sky background.
- Load your flat brush with Titanium White and Ultramarine Blue.
- Apply the blue at the top of the canvas and gradually mix in more white as you move downward. This creates a smooth gradient from dark blue to a soft, pale blue at the horizon.
- Use horizontal strokes to keep the blending seamless.
- Let the sky dry before moving on to the clouds.
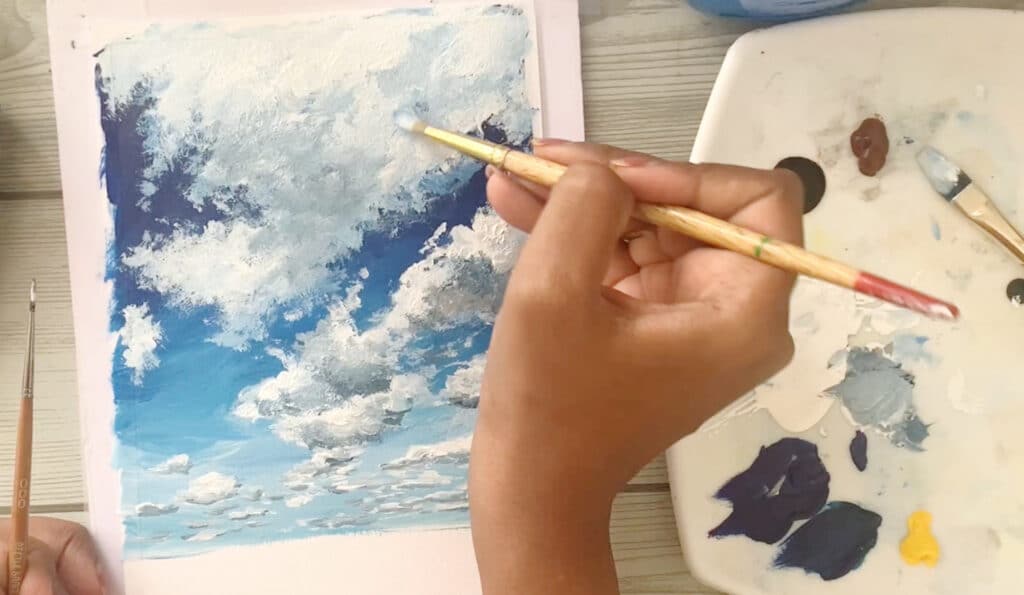
Step 2: Add Soft, Fluffy Clouds
Clouds add movement and dimension to your painting. Here’s how to paint them:
- Use a round brush and load it with Titanium White.
- Dab and swirl the brush gently to create irregular cloud shapes.
- For depth, mix in a touch of Burnt Sienna and blue to add shadows under the clouds.
- Blend with a dry brush for a softer, more realistic effect.
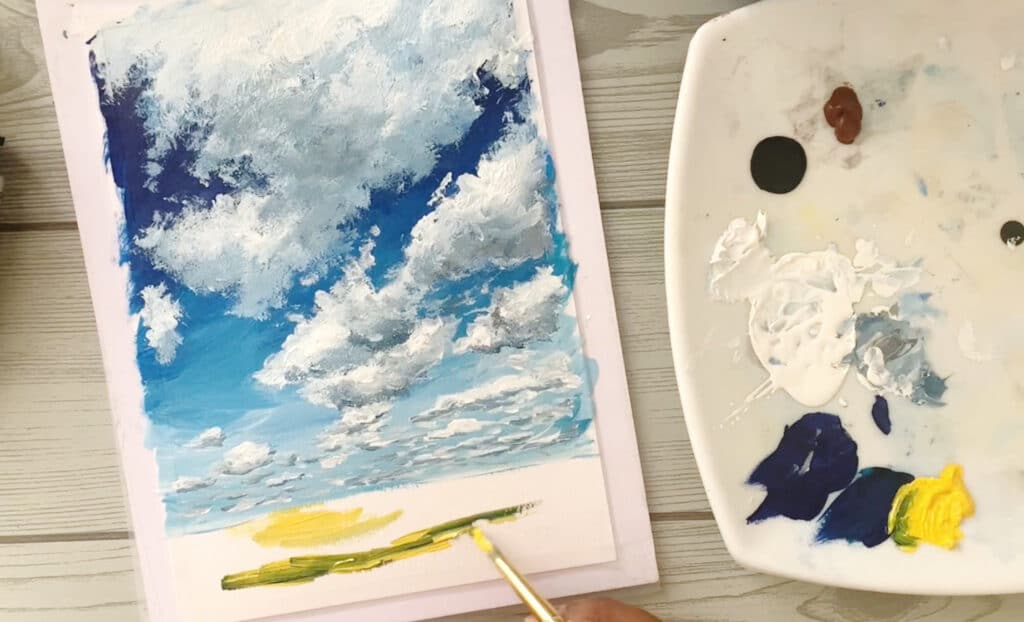
Step 3: Block in the Fields with a Warm Underpainting
To give depth and richness to the landscape, start with an underpainting:
- Use a mix of Burnt Sienna and Yellow Ochre to paint the base layer of the hills.
- Apply broad horizontal strokes with a flat brush.
- Let it dry before adding details.
This step provides a warm undertone that will make the final layers pop.
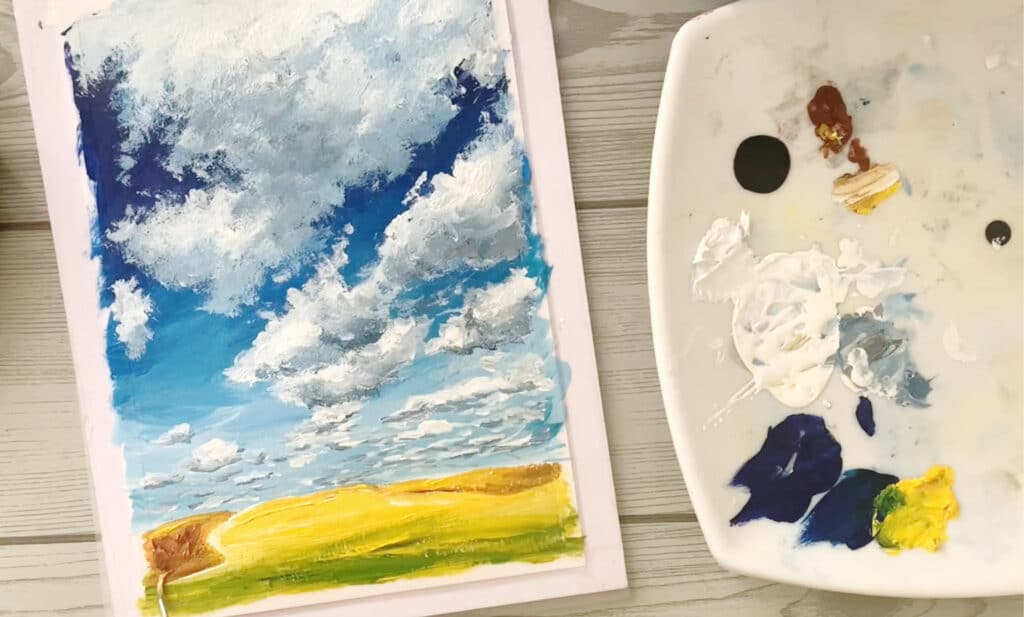
Step 4: Create Depth with Layers of Grass and Shadows
Now, let’s build up the grassy fields with more color:
- Use Cadmium Yellow and Sap Green to paint patches of grass.
- Add darker tones (mix green with a bit of blue) in the foreground for depth.
- Use a fan brush to create soft, grassy textures.
To make the fields look more natural, apply lighter shades of yellow and green on the sunlit areas and darker tones in the shadows.
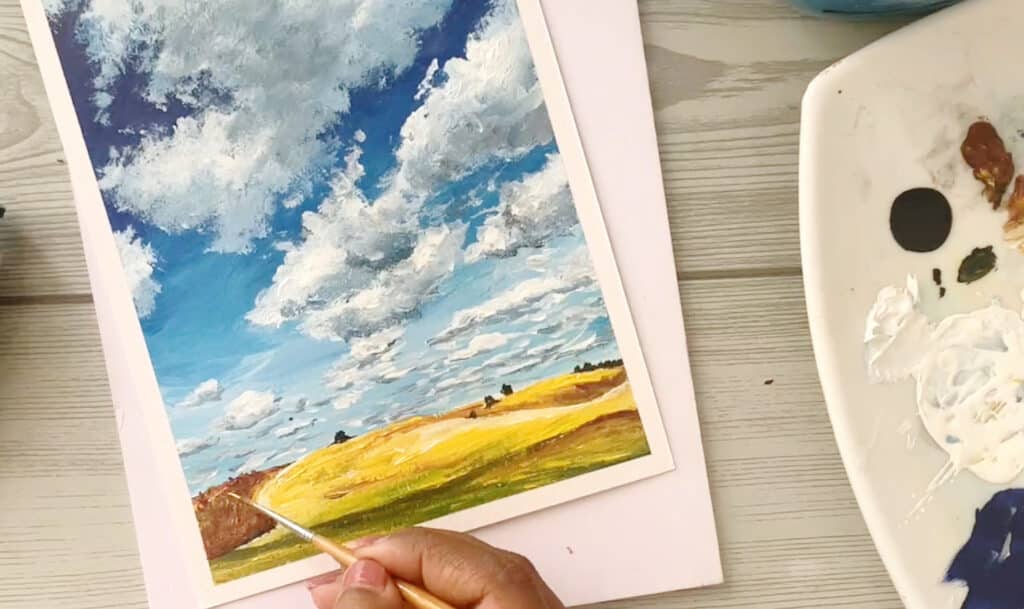
Step 5: Define the Landscape with Highlights and Details
Now, it’s time to refine the details:
- Use a palette knife to add texture to the land with thick strokes of paint.
- Add small trees or bushes in the background using a fine brush.
- Paint shadows under the clouds to create depth in the sky.
This step makes the scene look more three-dimensional and lifelike.
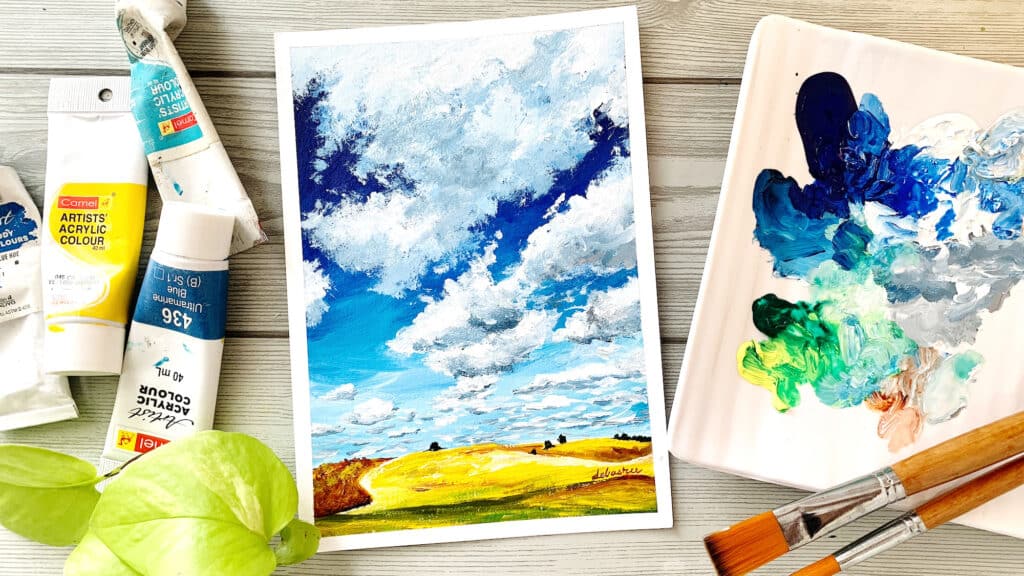
Step 6: Final Touches for a Professional Finish
Before calling your painting complete, do a final check:
- Adjust any colors or blends that need refining.
- Add highlights to areas that need more brightness.
- Sign your artwork in the corner with a fine brush!
Now, step back and admire your stunning acrylic landscape painting!
Bonus Tips for a More Beautiful Painting
- Use bold brushstrokes for expressive, dynamic textures.
- Experiment with a palette knife for thick, impasto-style details.
- Try glazing techniques to add depth with transparent layers.
- Don’t overblend the clouds—let some rough edges stay for realism.
- Step back often to check your composition and balance.
FAQs 🤔
1. What is the best brush for painting clouds?
A soft round brush or a fan brush works best for fluffy, blended clouds.
2. How do I create realistic grass textures?
Use a fan brush or dry-brush technique to add layers of color for a natural look.
3. What colors work best for a vibrant sky?
A combination of Ultramarine Blue, Phthalo Blue, and Titanium White creates a rich, bright sky.
4. How can I prevent acrylic paint from drying too quickly?
Use a palette spray bottle or a slow-drying medium to extend drying time.
5. Should I varnish my acrylic painting?
Yes! A coat of glossy or matte varnish protects your artwork and enhances colors.
Final Thoughts:
Acrylic landscape painting is a relaxing and rewarding experience. By following this step-by-step acrylic landscape painting tutorial, you’ll create a vibrant and professional-looking piece.
Which step was the most challenging for you? Let me know in the comments below! 🎨✨
Don’t forget to check out my 15 Days of Summer Sky Masterclass.
What You'll Learn
☁️ MASTER CLOUDS THAT LOOK GOOD ENOUGH TO FLOAT AWAY
🌈 COLOR THEORY MADE SIMPLE (AND MAGICAL)
🌻 15 LANDSCAPES, 15 WAYS TO FALL IN LOVE WITH PAINTING
Pin for later