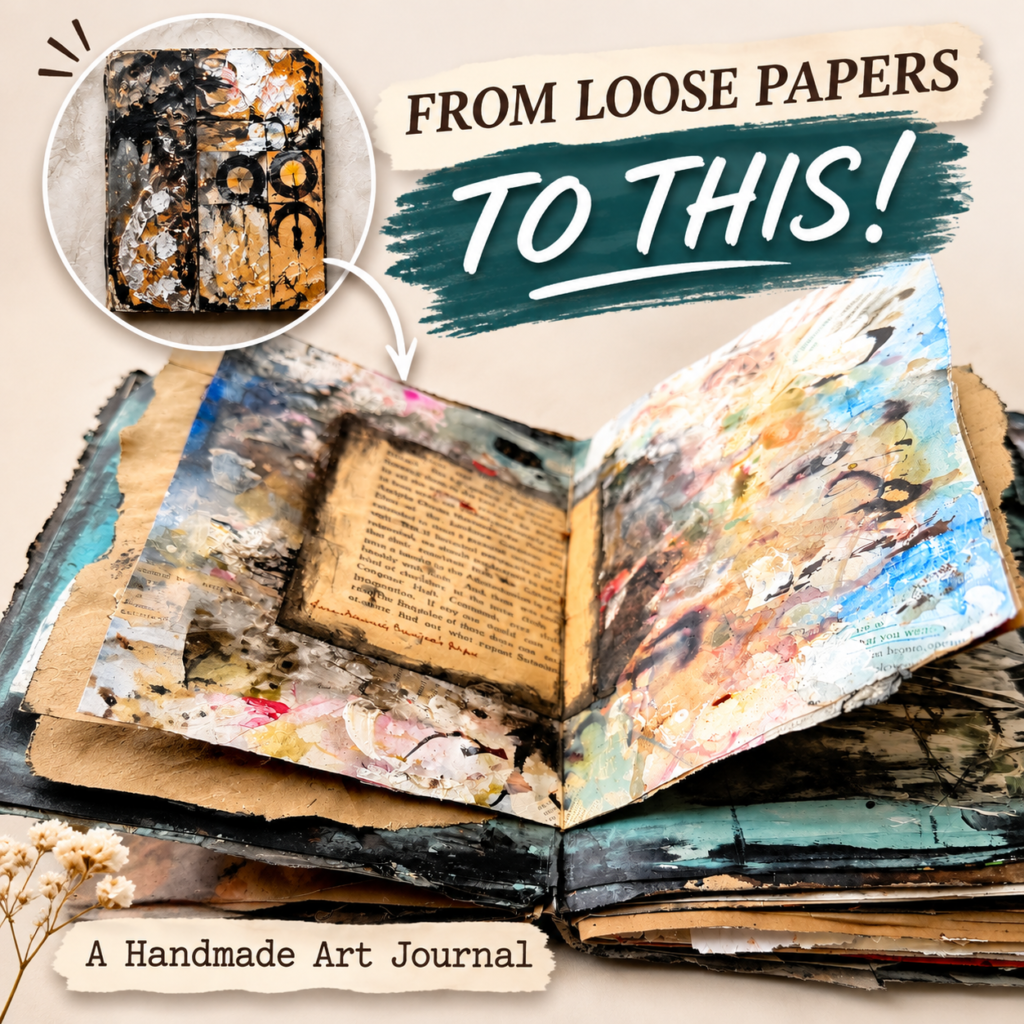
Do you have a growing collection of painted papers, collage experiments and unfinished backgrounds sitting in your studio? Perhaps you’ve created beautiful textures, played with acrylic paints, experimented with mark-making and layered different papers, but haven’t quite figured out what to do with all of them.
One of my favourite ways to bring these experiments together is to make an art journal using the papers I’ve already created. Instead of starting with blank pages, I love working with existing painted papers, adding fresh layers, introducing new textures and turning them into something completely different.
In this project, I’m combining old master sheets, painted papers, magazine collage, fabric, tissue papers and a little bit of recycled cardboard to create a handmade mixed media art journal.
It’s a wonderful way to use what you already have, revisit old experiments and discover new possibilities in papers that might otherwise remain forgotten.
If you enjoy mixed media art, collage and art journaling, I hope this project inspires you to look at your collection of painted papers a little differently.
🎥 Watch the Video
1. Gather Your Painted Papers and Mixed Media Experiments
Before you make an art journal, start by looking through the papers you’ve accumulated over time.
I often work on loose sheets of paper when experimenting with acrylic paints, collage, mark-making and different mixed media techniques. These experiments gradually build into a collection of painted papers and master sheets.
I like to think of these papers as a library of creative possibilities. Some are beautifully layered, some are unfinished, and others are simply experiments that didn’t quite turn out the way I expected.
For this art journal, I brought together a mixture of:
- Acrylic-painted papers with different colours and textures.
- Master sheets containing multiple layers of paint, collage and mark-making.
- Magazine pages with interesting patterns and images.
- Vintage book pages and printed papers.
- Tissue papers and handmade collage papers.
- Fabric pieces and other textured materials.
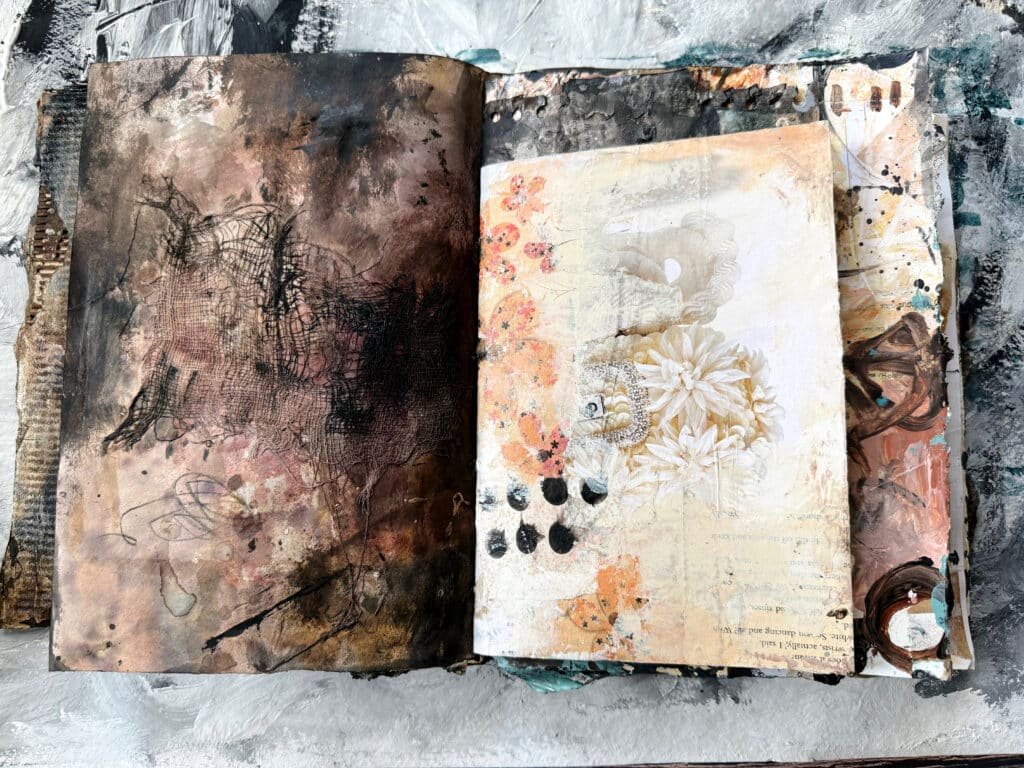
What's the difference between painted papers and master sheets?
I make a distinction between these two types of papers.
Painted papers are usually simpler surfaces with one or two layers of paint, colour or texture. They can be created using acrylics, watercolours, inks, pastels or different mark-making tools.
Master sheets, on the other hand, are much more layered. They can have five, six or even more layers of paint, collage, textures and marks. Each layer builds on the previous one, creating a rich, complex surface.
Both are wonderful for mixed media paper collage and art journaling. Combining them gives your journal pages a variety of colours, textures and visual interest.
If you’d like to explore this process further, I’ve created a detailed MasterSheets guide that explores seven different ways to use your painted master sheets.
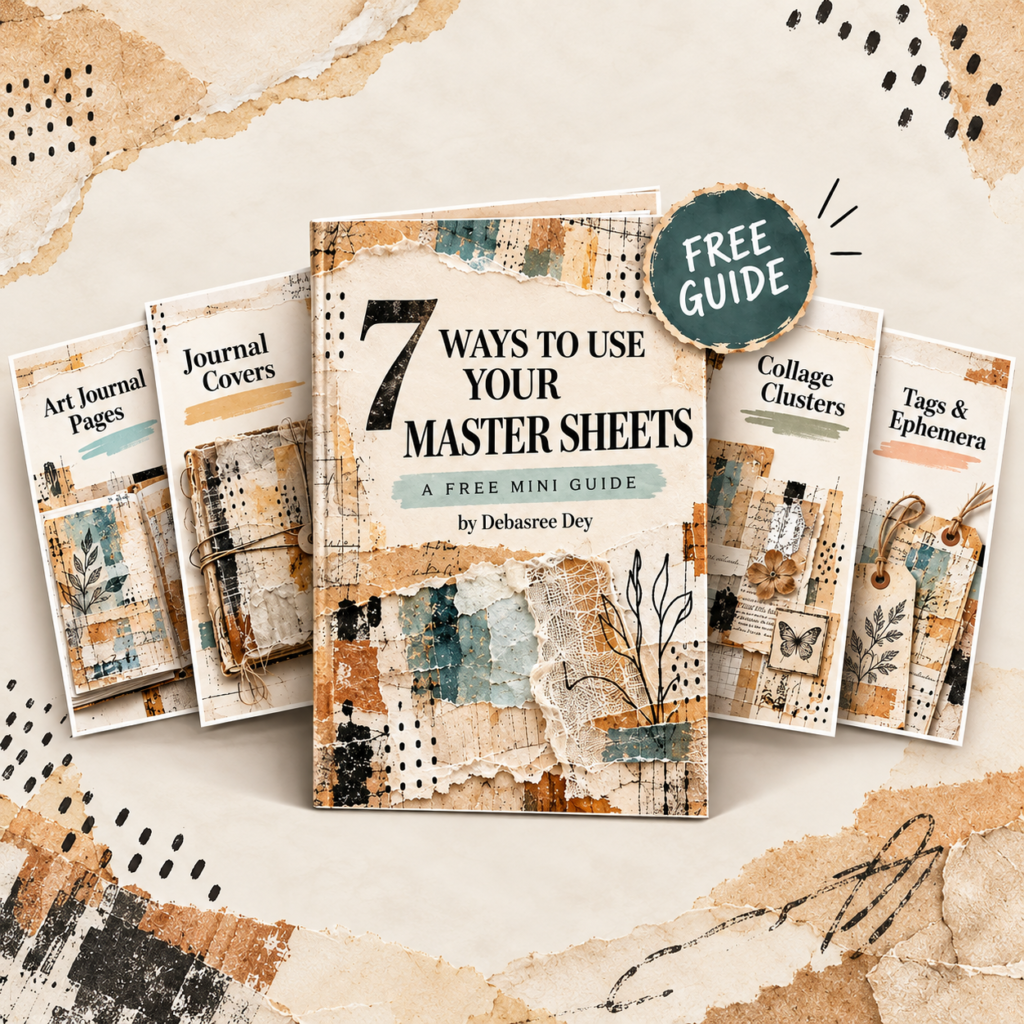
Seven ways to use your Mastersheets
A creative guide that shows artists how to see possibilities within your painted surface, and explores 7 transformations.
FREE RESOURCE
Explore the Artist Resource Library
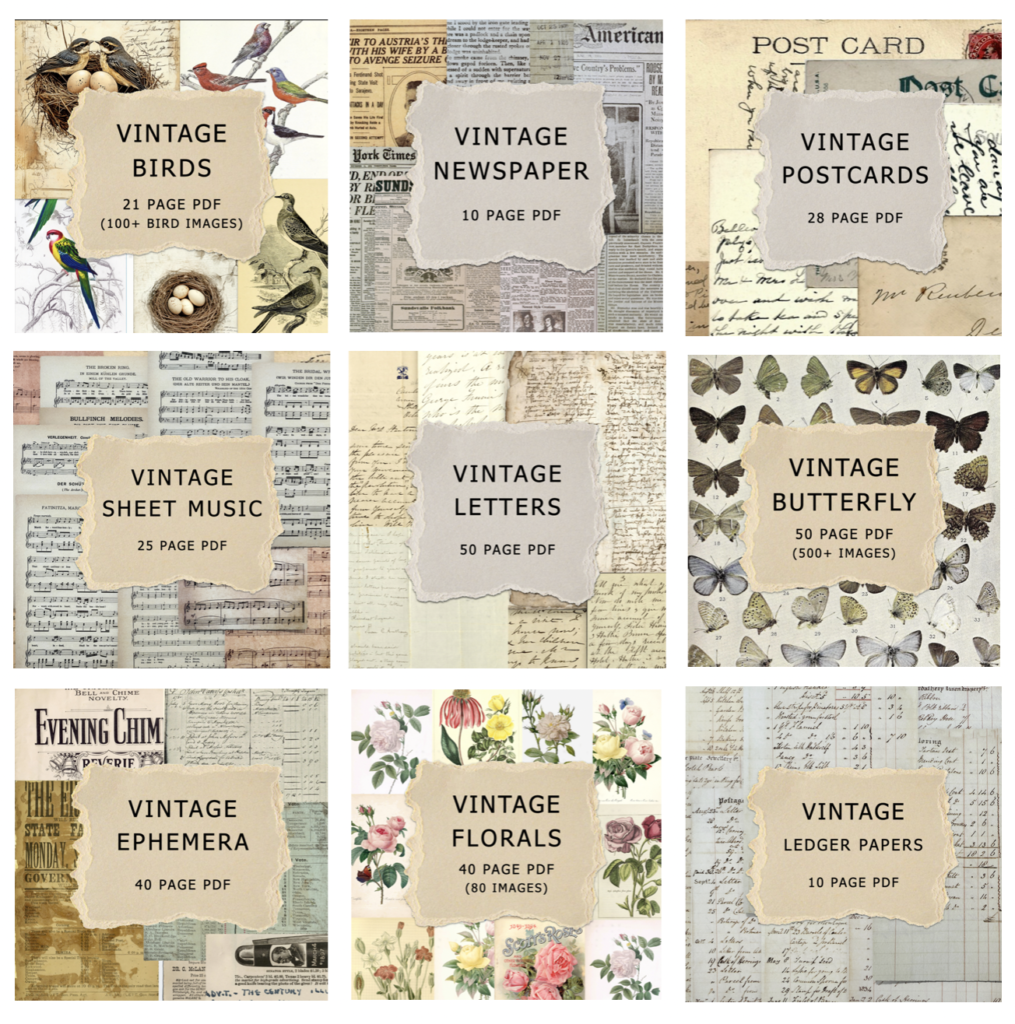
If you need more collage materials to experiment with, visit my Mixed Media Artist Resource Library. You’ll find hundreds of creative resources, including printable collage papers, vintage ephemera, digital downloads, prompts and guides to use in your art journals.
2. Revisit Your Old Painted Papers and Add New Layers
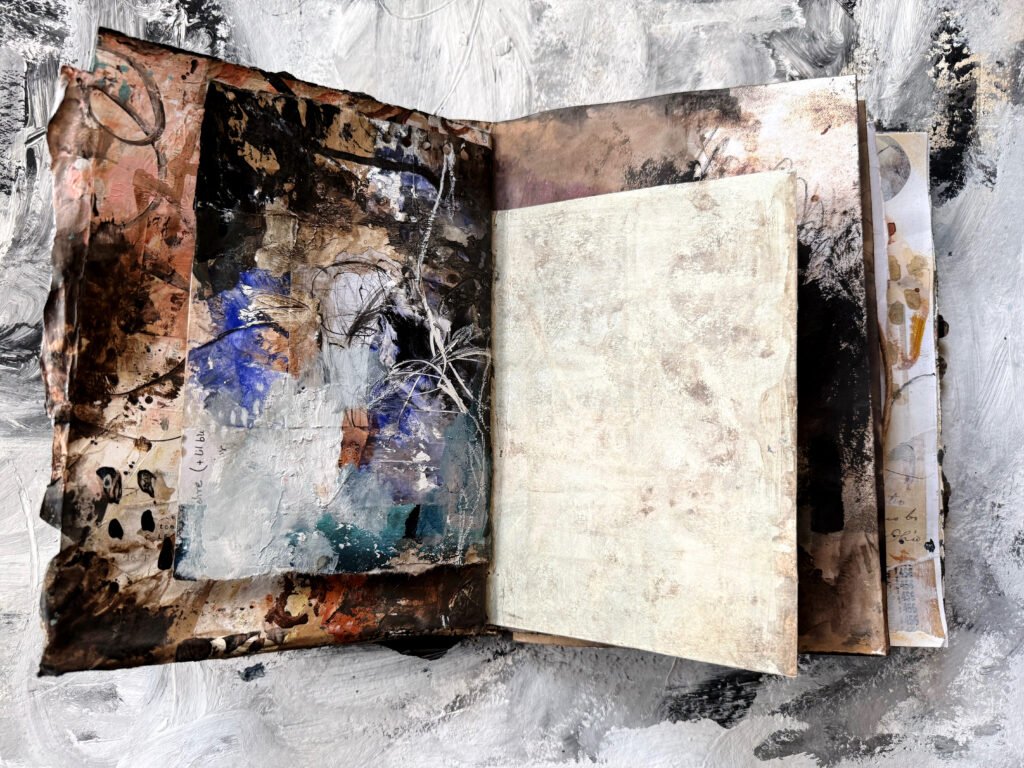
One of the things I enjoy most when I make an art journal is revisiting papers I’ve created in the past.
Quite often, I’ve only worked on one side of a sheet of paper. Before bringing it into my journal, I like to turn it over and experiment with the other side as well.
This gives me an opportunity to play with colours, add new marks, introduce collage and build more interesting backgrounds.
You don’t need to start with a specific composition or have a finished page in mind. Simply respond to what’s already there.
Here are some ways you can rework your old painted papers:
Add acrylic paint and new colours
Try adding a few new colours over your existing backgrounds. You can use a brush, palette knife, sponge or even an old credit card to spread the paint.
You don’t need to cover the entire surface. Allow some of the original colours and marks to remain visible.
Experiment with mark-making
Use pencils, pastels, brushes, palette knives or any mark-making tools you enjoy.
Try repetitive dots, scribbles, lines, circles and abstract patterns. These marks can bring new energy to an otherwise unfinished background.
Introduce collage and textures
Layer magazine images, vintage book pages, tissue papers and other painted papers over your existing surfaces.
You can also experiment with texture paste, fabric and translucent papers to create interesting mixed media paper collage backgrounds.
The idea is to build layers without worrying too much about the final outcome.
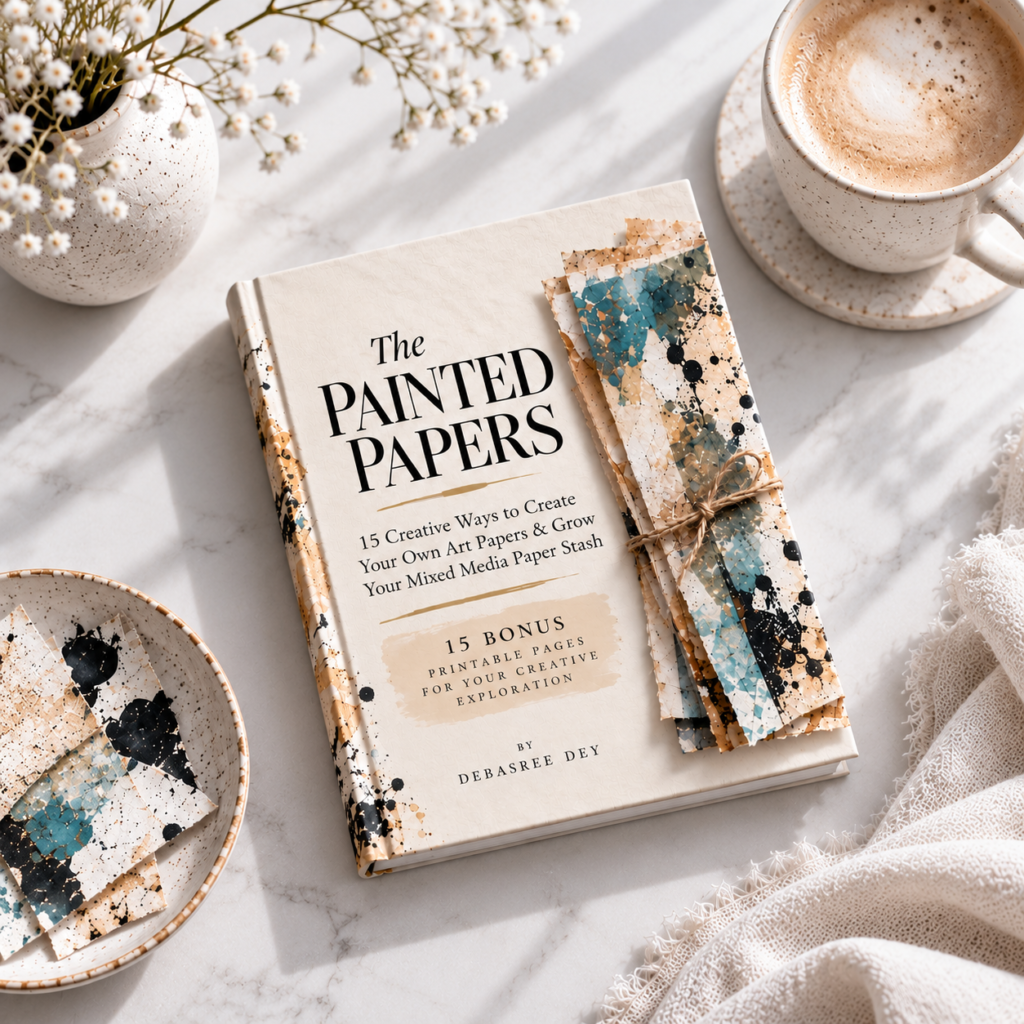
Painted Papers eBook
An e-book featuring 15 techniques for transforming everyday materials into beautiful, textured art papers + 15 bonus printable pages
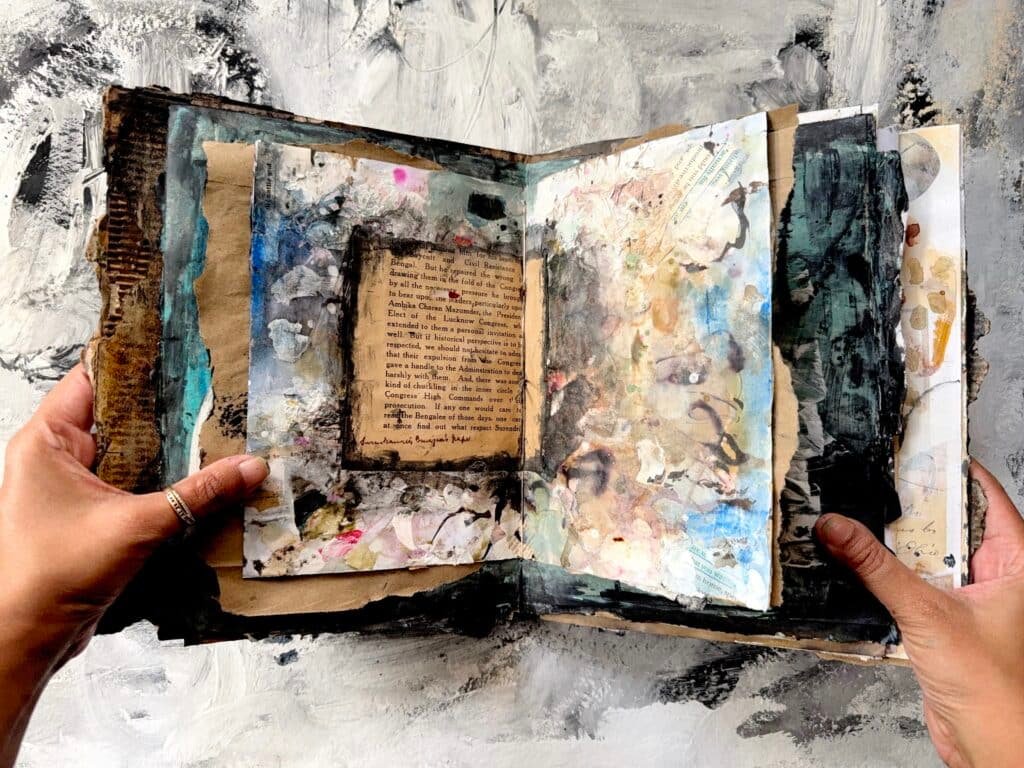
3. Create Interesting Art Journal Backgrounds With Collage
Painted paper collage is one of my favourite ways to build interesting art journal backgrounds.
You don’t always need to begin with a blank sheet of paper. Sometimes, combining a few existing papers is enough to create a beautiful starting point.
For example, you can take a magazine page, tear it into smaller pieces and arrange the fragments across your paper. Add some acrylic paint to blend the different elements, and you’ll have an interesting collage background.
Here are a few combinations you can try:
Magazine images combined with acrylic paint.
Vintage book pages layered with tissue paper.
Black and white collage papers with muted acrylic colours.
Painted papers combined with fabric and gauze.
Textured tissue papers layered over darker backgrounds.
I particularly enjoy combining different types of papers because each one brings something unique to the composition.
You can also experiment with translucent materials like tissue paper, deli paper and tea bag paper. These allow some of the layers underneath to remain visible, creating beautiful depth.
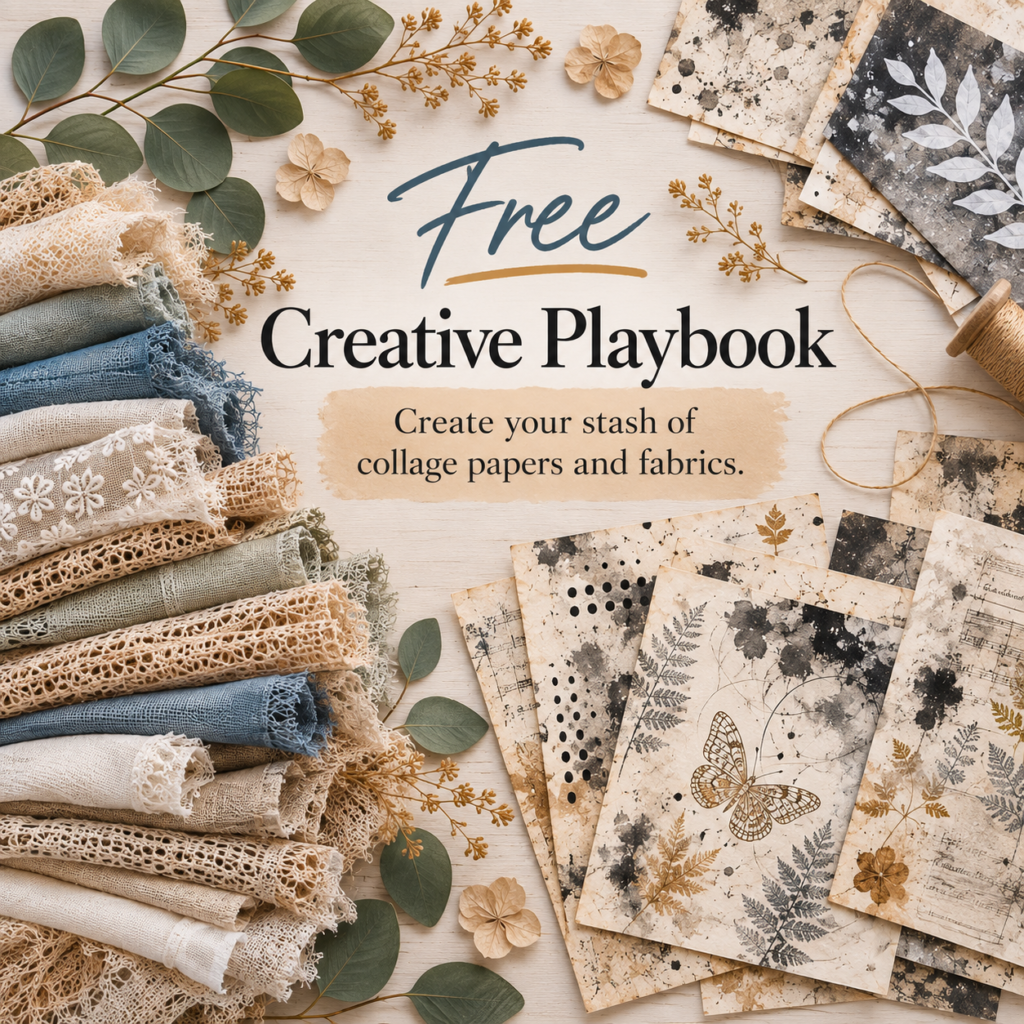
Create Unique Collage Papers & Fabrics
3 inspiring lessons that will show you how to create a stash of unique, artful materials for your mixed-media projects.
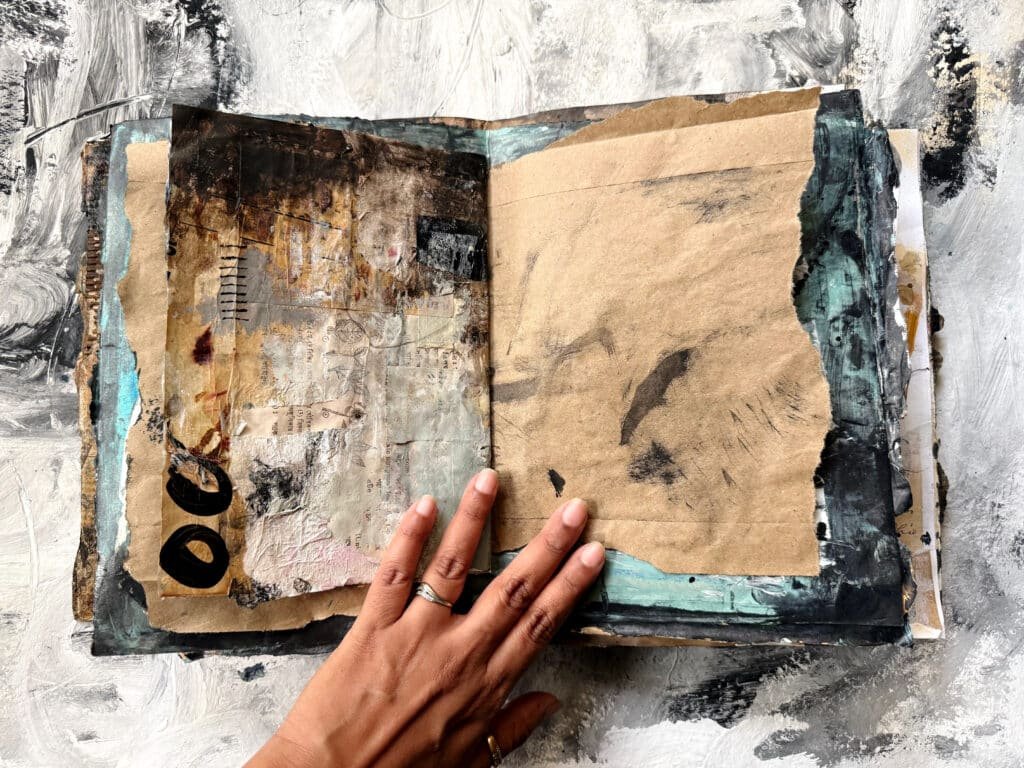
4. Work With Loose Pages Before Binding Your Art Journal
When I make an art journal using acrylic paints and mixed media materials, I particularly enjoy working with loose pages before binding the book.
For this project, I’ve arranged my pages into three signatures, but I’m keeping them separate while I work on the individual sheets.
There is a practical reason behind this.
When working with acrylic paints, collage and multiple layers, you often need to wait for the pages to dry. If your journal is already bound, you’re restricted to working on one or two pages at a time.
With loose pages, you can easily move from one sheet to another.
While one page is drying, you can work on a different one, experiment with another colour combination or add collage to a completely different background.
Arrange your pages into signatures
A signature is a group of folded pages that will eventually be stitched together to form your book. For this project, I’ve created three signatures. As I continue working, I can move the pages around and decide which ones work well together.
I also like combining different types of papers rather than making every spread look the same. Some pages have lots of colour and collage, while others are simpler, with more open spaces.
This variety makes a handmade art journal much more interesting to explore.
5. What to Do With Painted Papers You Don't Like
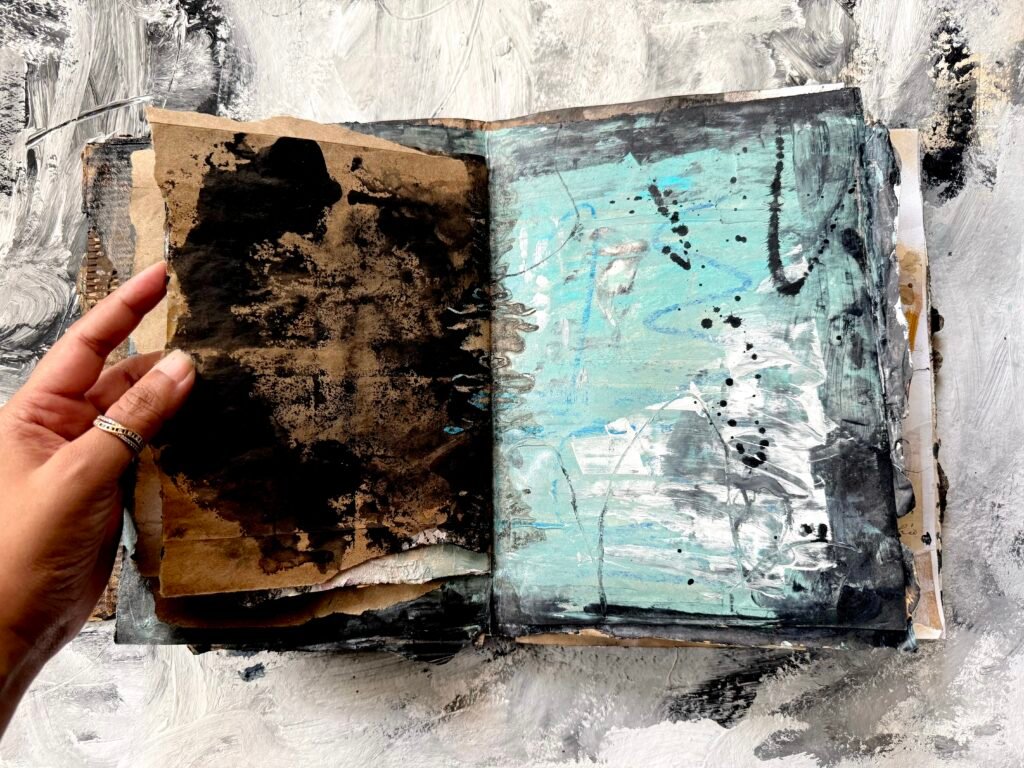
Here’s something I want to encourage you to try: don’t throw away every page that doesn’t turn out the way you expected.
When working on mixed media paper collage, not every experiment will become a favourite. Sometimes, a composition feels too busy, the colours don’t work together or the page simply doesn’t feel right.
But that doesn’t mean the paper has no value.
There are several ways to give these pages another chance.
Option 1: Paint over the existing artwork
Add a layer of acrylic paint or gesso over some sections. You don’t necessarily need to cover everything.
Allow a few original colours, marks and textures to peek through. These underlying details can make your new composition much more interesting.
Option 2: Tear the paper into smaller pieces
Sometimes a page doesn’t work as a complete composition, but individual sections can be beautiful.
Tear the paper into smaller fragments and add them to your collage collection. You can use these pieces later for art journal backgrounds, collage clusters, tags and other mixed media projects.
Option 3: Add new collage elements
Try covering a section you don’t like with an old book page, fabric, tissue paper or another painted paper.
A little collage can completely change the balance of a composition.
I also love using leftover tissue papers from cleaning brushes and wiping paint. These papers often have beautiful accidental patterns and textures that can be used in future projects.
The important thing is to remember that an experiment doesn’t have to become a finished artwork to be useful.
6. Make an Art Journal Cover From Recycled Cardboard
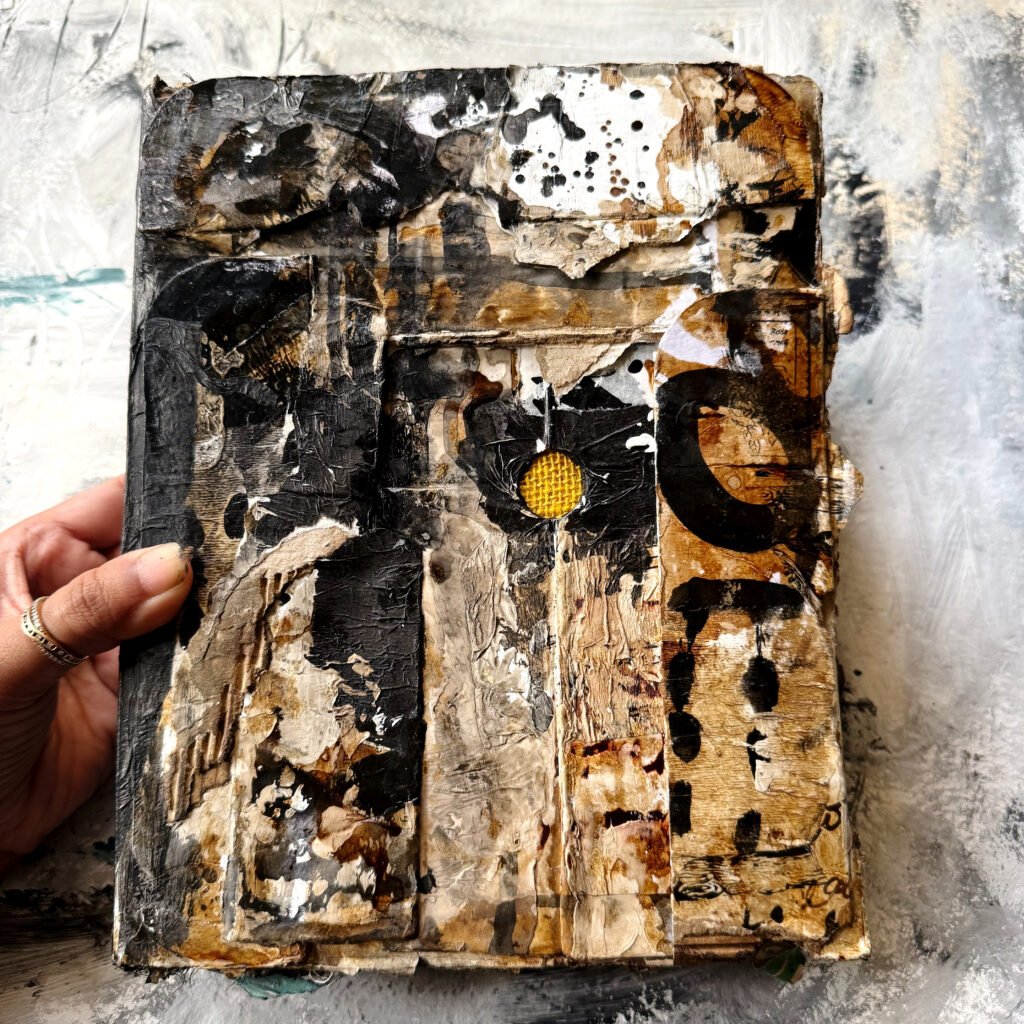
For the cover of this handmade art journal, I’m using a discarded corrugated cardboard delivery box.
I love turning everyday packaging into something useful, and cardboard boxes make wonderful foundations for handmade art journal covers.
You don’t need expensive bookmaking materials to create an interesting journal. Look around your home for sturdy packaging, delivery boxes and other discarded materials.
For this cover, I’ve used:
- Corrugated cardboard from a discarded box.
- Black and white collage papers.
- Black tissue paper.
- Gauze to strengthen the spine.
- India ink and coffee for colour and texture.
- Small pieces of fabric for contrast.
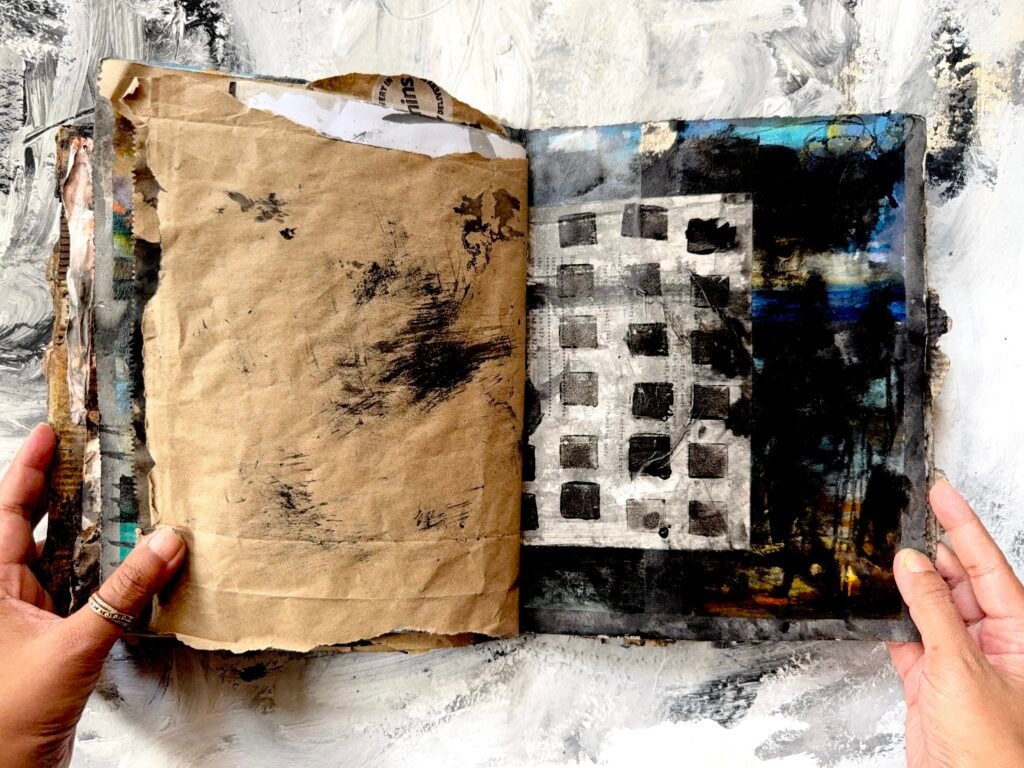
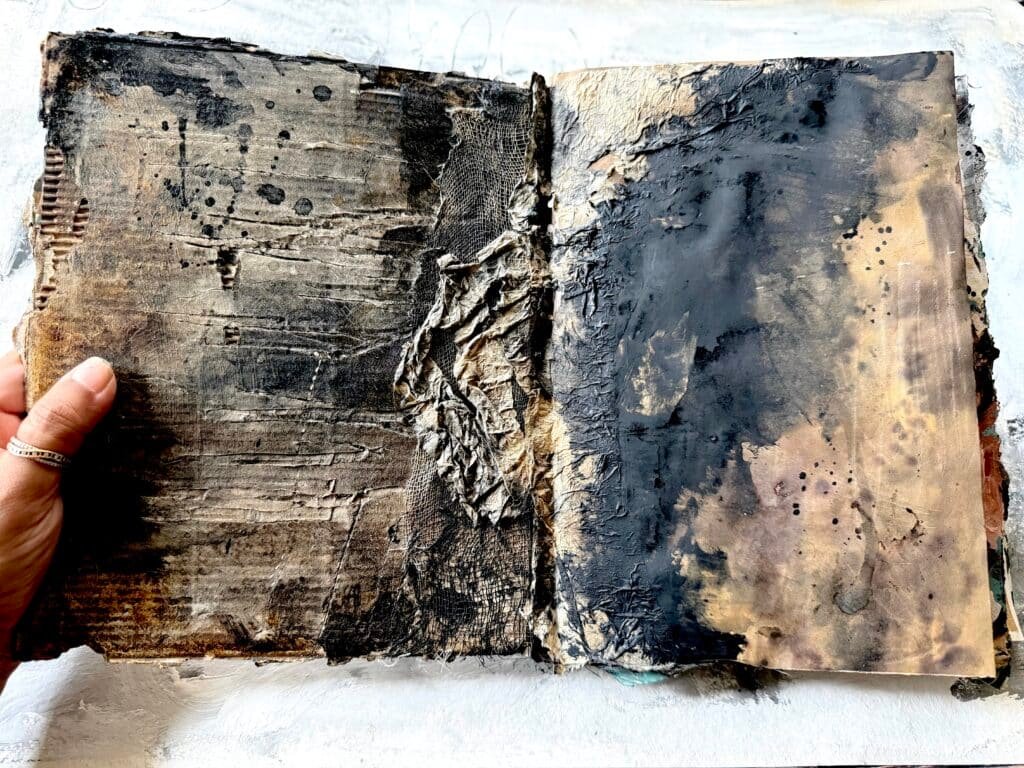
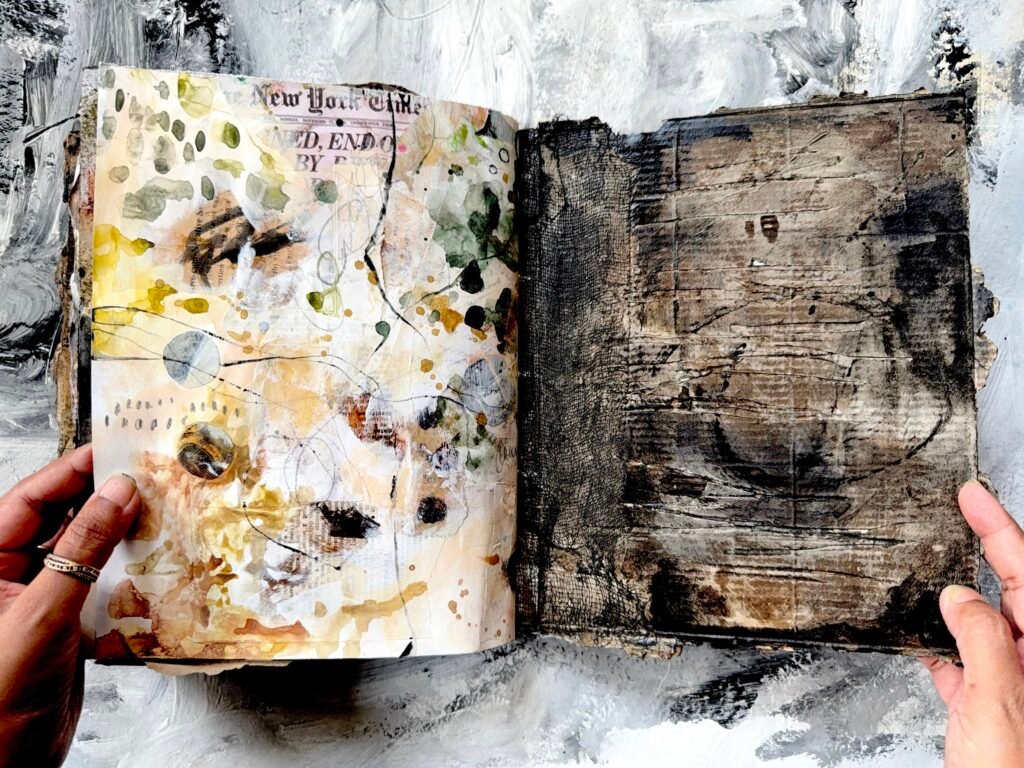
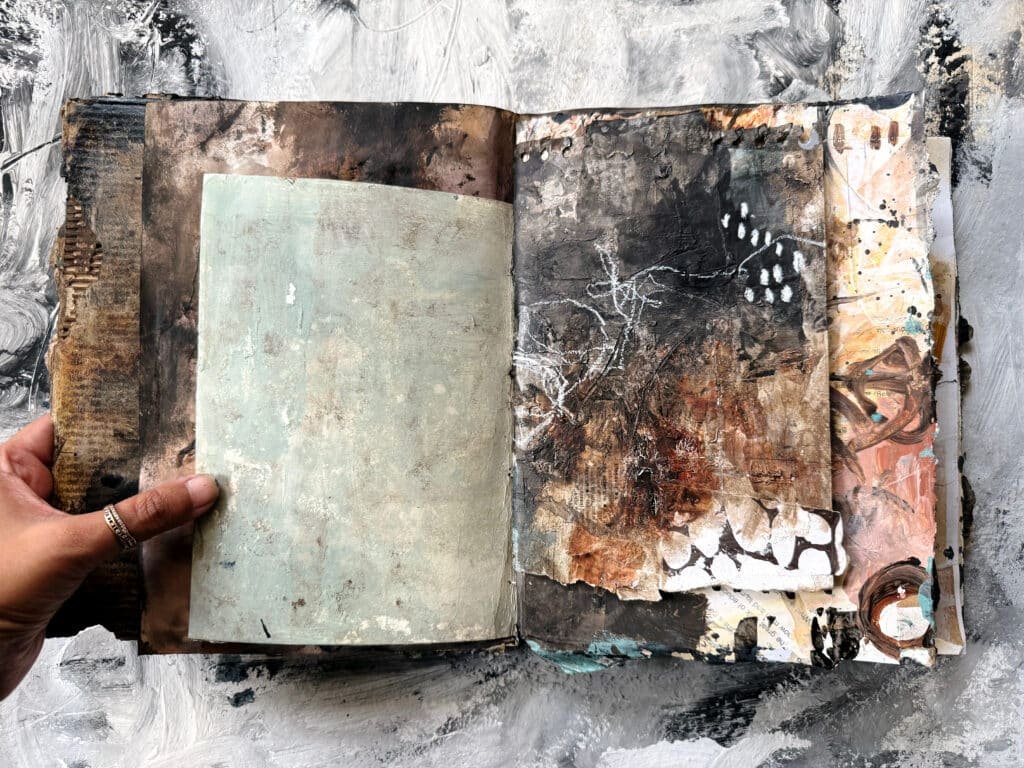
I also used some of the flaps from the original box, cutting them out and adding them to the cover to create additional dimension. For the inside of the cover, I used shades of brown and black. I particularly love how the coffee and India ink create a naturally aged, textured appearance.
The spine is reinforced with gauze, which I’ve coloured black. I’ve also added black tissue paper over the spine to create the look of a traditional composition notebook.
There are so many ways to decorate a recycled cardboard journal cover. You can use painted papers, fabric collage, vintage book pages, tissue paper or even some of your old master sheets.
Let the materials guide you!
A Free Art Journal Class
Learn how to create mixed media art journals using found papers, painted papers and discarded boxes as cover.
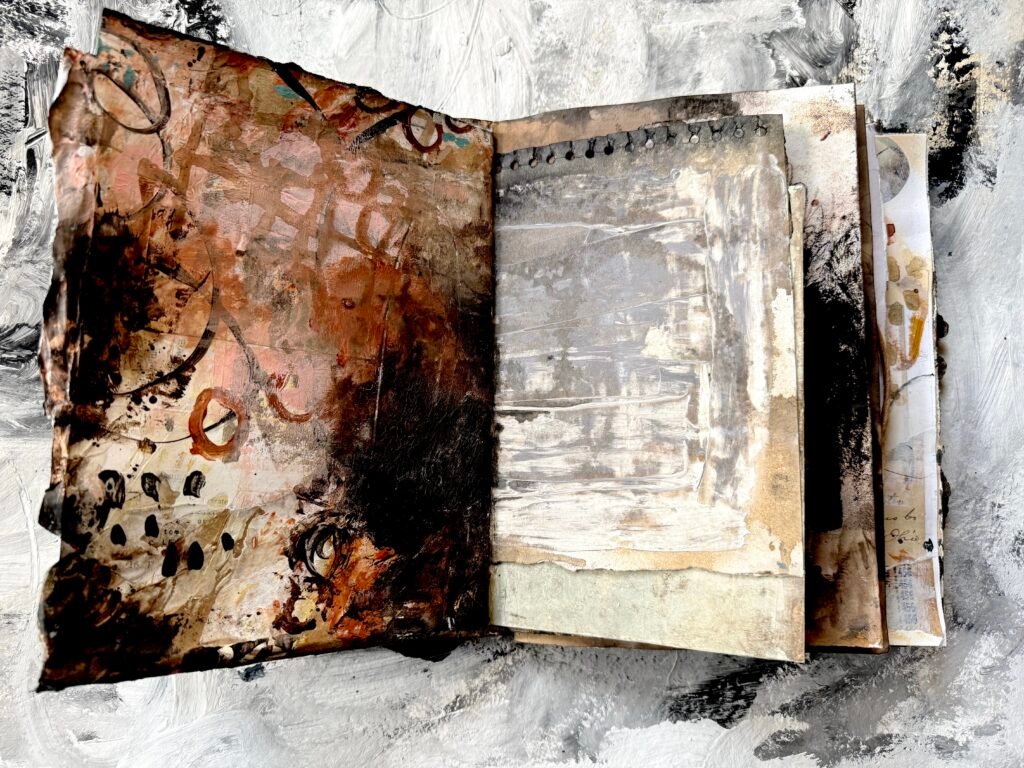
7. Bind Your Handmade Art Journal
Once the pages and cover are ready, it’s time to bring everything together.
For this journal, I’m using a five-hole pamphlet stitch. I usually work with a three-hole pamphlet stitch, but because this journal has a longer spine, I decided to use five holes for the binding.
The signatures are arranged inside the cover and stitched together to create the finished book. I love how the visible stitching becomes part of the overall design, especially when combined with the textured cardboard cover and layered papers.
If you’re new to bookbinding, you can start with a simple pamphlet stitch and gradually experiment with different binding methods as you become more comfortable.
Grid Guide
If you enjoy making handmade books, you might also like my free One-Sheet Artist Book Grid Guide.
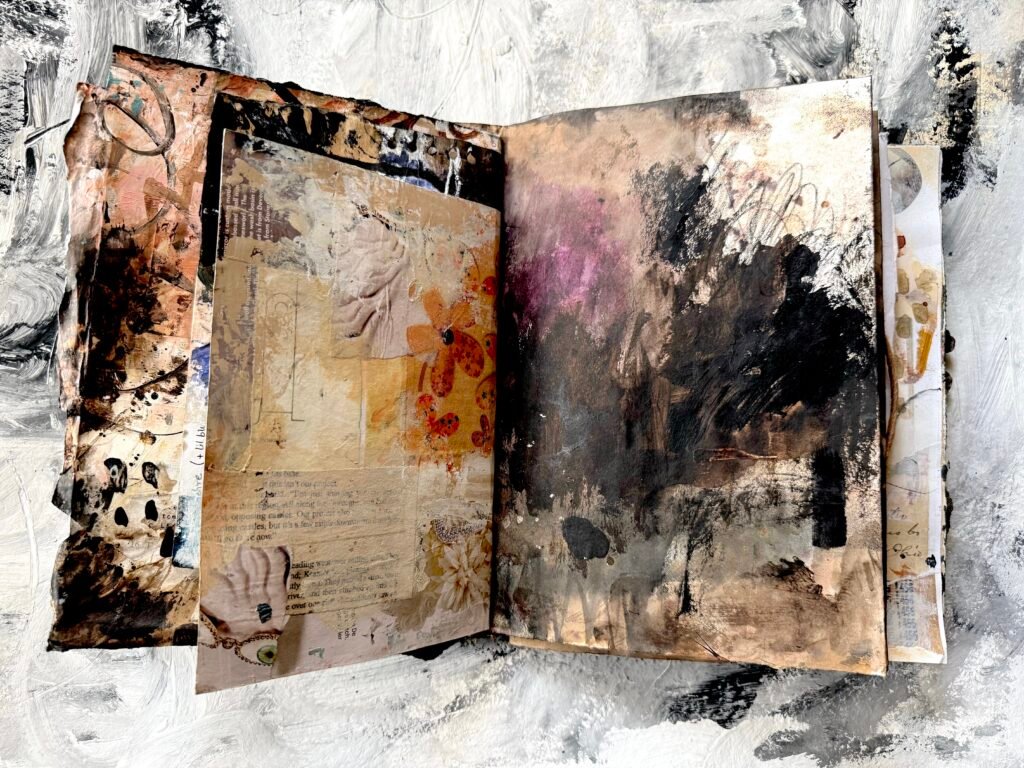
8. Continue Creating Inside Your Art Journal
Once the book is bound, the creative process doesn’t have to stop.
In fact, I love working inside my handmade journals after assembling them.
Some of the pages might already have beautiful painted paper collage backgrounds, while others may need more layers, marks or additional collage elements.
You can continue adding:
- Acrylic paint and abstract marks.
- Vintage book pages and magazine collage.
- Fabric, lace and gauze.
- Textured tissue papers.
- Handwritten marks and scribbles.
- Small collage clusters and painted paper fragments.
I don’t feel the need to finish every page in one sitting. Sometimes, I leave a background as it is because I love the colours and textures. Other times, I return to a page and add more layers.
You can also combine colourful painted papers with blank white pages. This creates a lovely balance between finished backgrounds and open spaces where you can continue experimenting.
Make an Art Journal and Give Your Old Papers a New Life
One of the things I love most about this way of making an art journal is that it gives me an opportunity to revisit all those little experiments that have accumulated in my studio.
Papers that once seemed unfinished or uninteresting suddenly become part of something much bigger. A little collage here, some new marks there, and before you know it, you have a collection of beautiful journal pages.
You don’t need to start with new materials every time you create. Look through your old painted papers, revisit those unfinished experiments and see what you can bring together.
Your art journal doesn’t have to be perfectly planned or every page beautifully finished. Let it evolve as you work.
Sometimes, the most interesting creative discoveries happen when you simply allow yourself to play.
So gather those painted papers, find an old cardboard box and make an art journal of your own. I’d love to see what you create!
Pin for later!
Browse Blogs By Category