Are you looking for a fun, intuitive way to create mixed media art while also making something beautiful and useful?
In this tutorial, we’ll dive into the joy ofabstract mark making, layering paints, pastels, and coffee to create a unique textured page. Then, we’ll transform that abstract artwork intohandmade gift tags, perfect for adding a personal touch to your gifts.
Plus, there’s a bonus! Before cutting your page into tags, you can take photos of small sections and turn them intoprintable collage papers—a fantastic addition to your mixed media stash!
Let’s get started!
Video:
Want to see exactly how I created these abstract mark making layers and transformed them into handmade tags? Watch my full tutorial on YouTube!
MATERIALS YOU NEED
A3 sketchbook paper
Acrylics (burnt sienna + crimson red)
Watercolors,
Instant coffee powder
Soft pastels, crayons, watercolor pencils
Black/white pens, gesso
Fabric scraps,
Needle and threads
DIY viewfinder (tag-shaped stencil)
Grow Your Collage Stash
My free Pink Abstract Collage Papers has 10 pages. Use them for art journal backgrounds or tear & collage them in messy abstract play (like this)
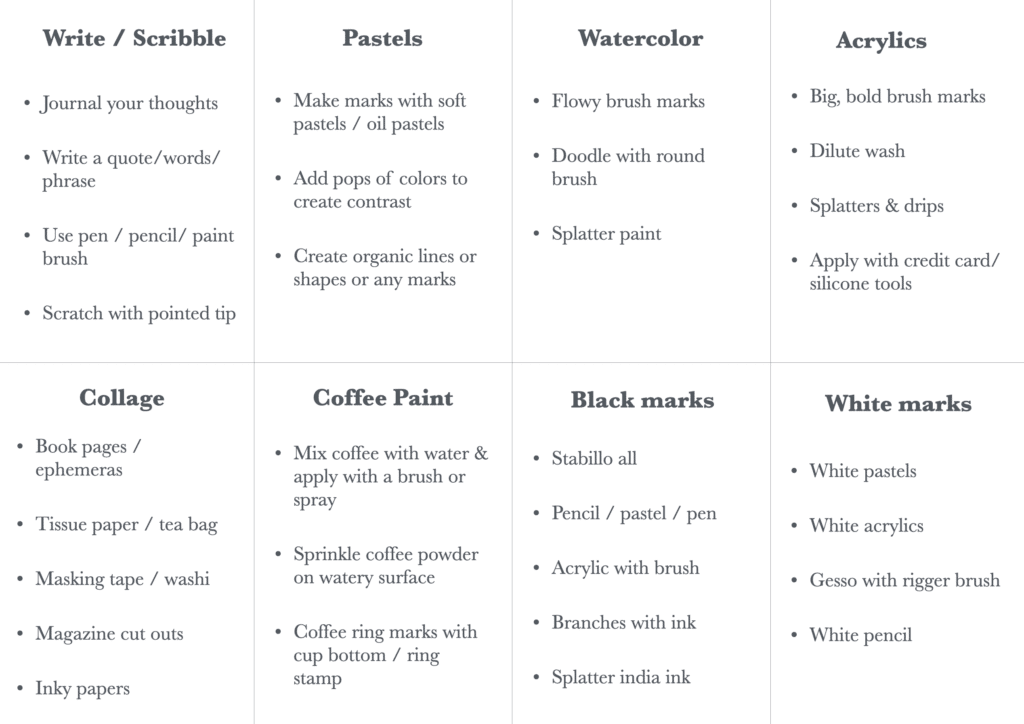
We begin with a large A3 sketchbook page, which serves as our creative playground. The goal here is to build layers freely without overthinking. Print your prompts and keep them handy for reference.
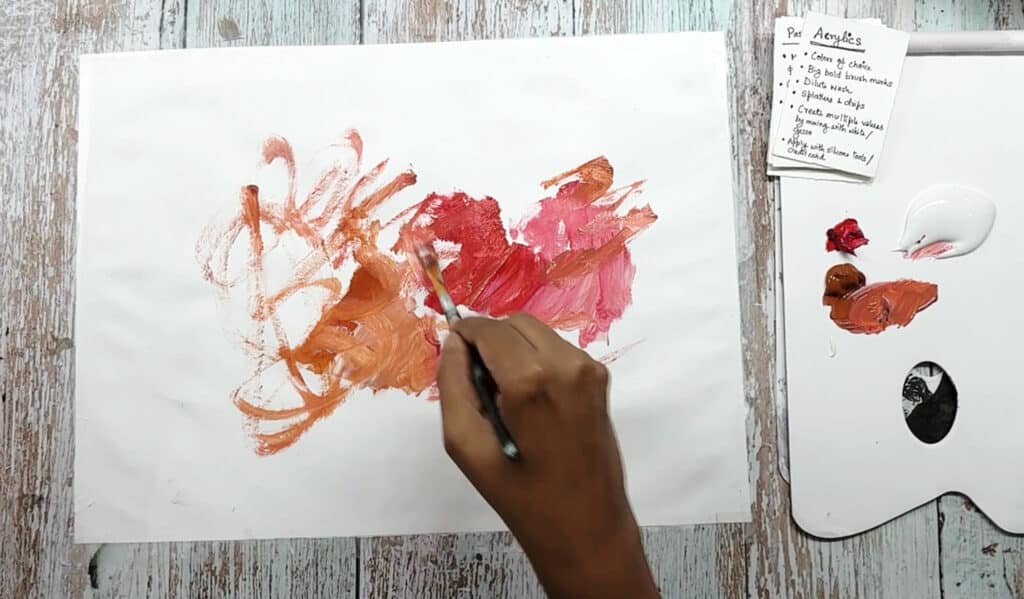
Step 2
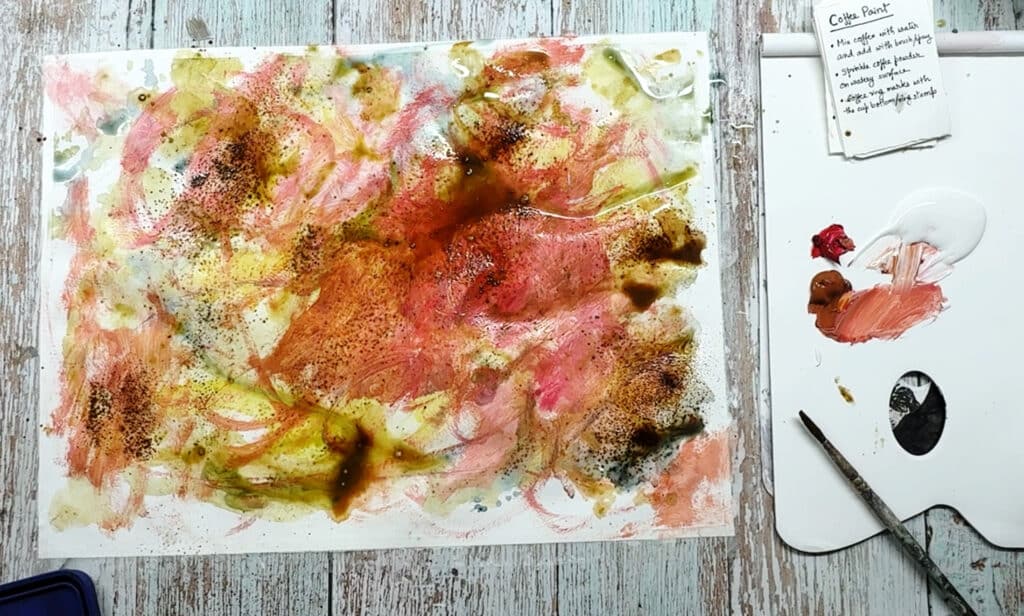
Start with acrylic paint– I choseburnt sienna and crimson red, resulting in a warm, pinkish tone. Apply the paint randomly across the page.
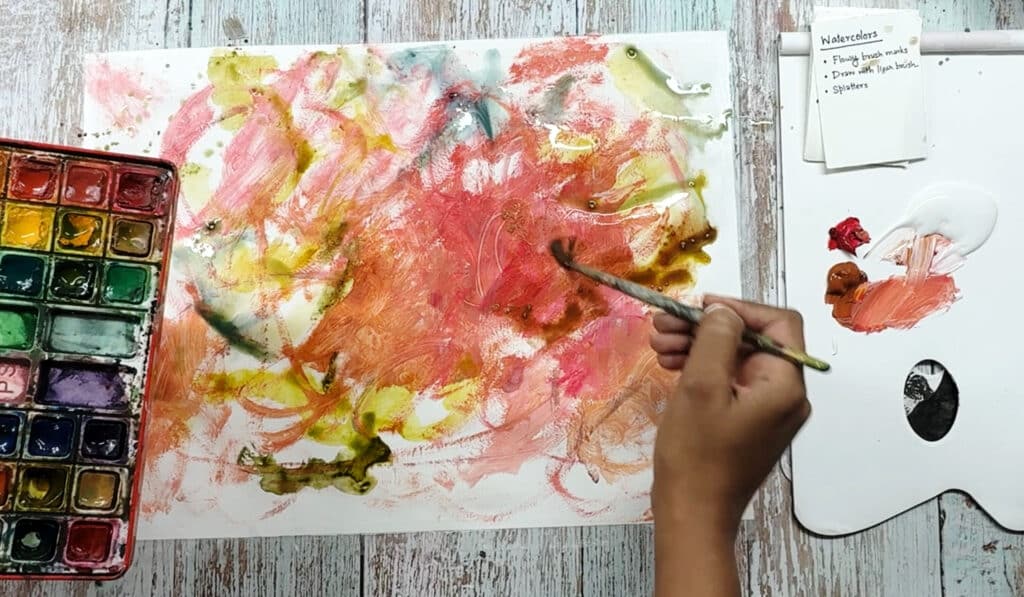
Step 3
Add watercolor – Once the acrylics are dry, introduce watercolors to create fluid effects and add depth.
Step 4
Layer coffee stains – This adds a vintage, organic feel to the composition.
Step 5
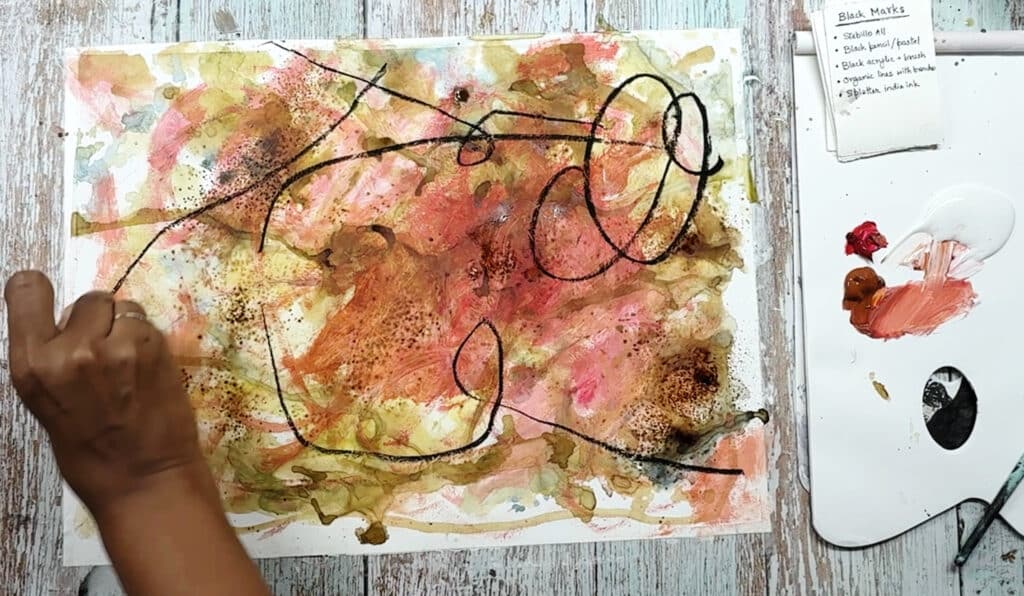
Make black marks – Use black soft pastel, crayons, ink, or acrylics to add contrast.
Step 6
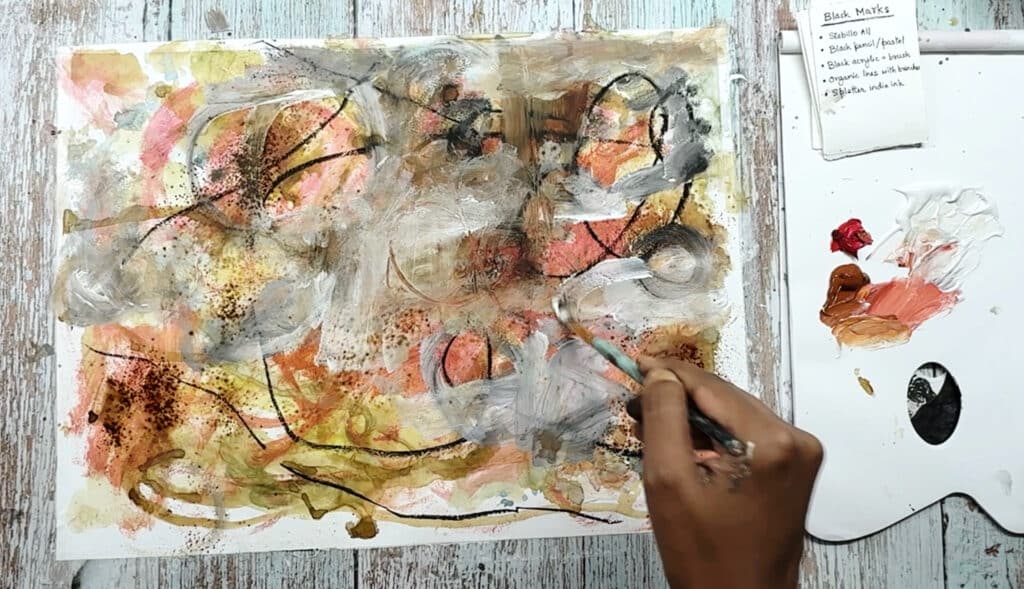
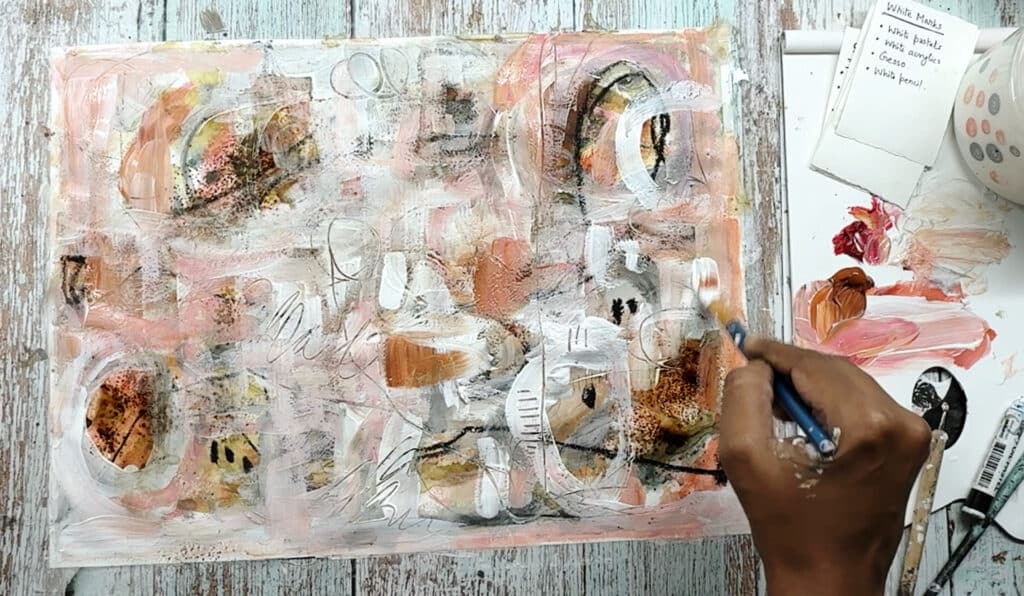
Make white marks – Use gesso to blend in some black and add white/grey.
Step 7
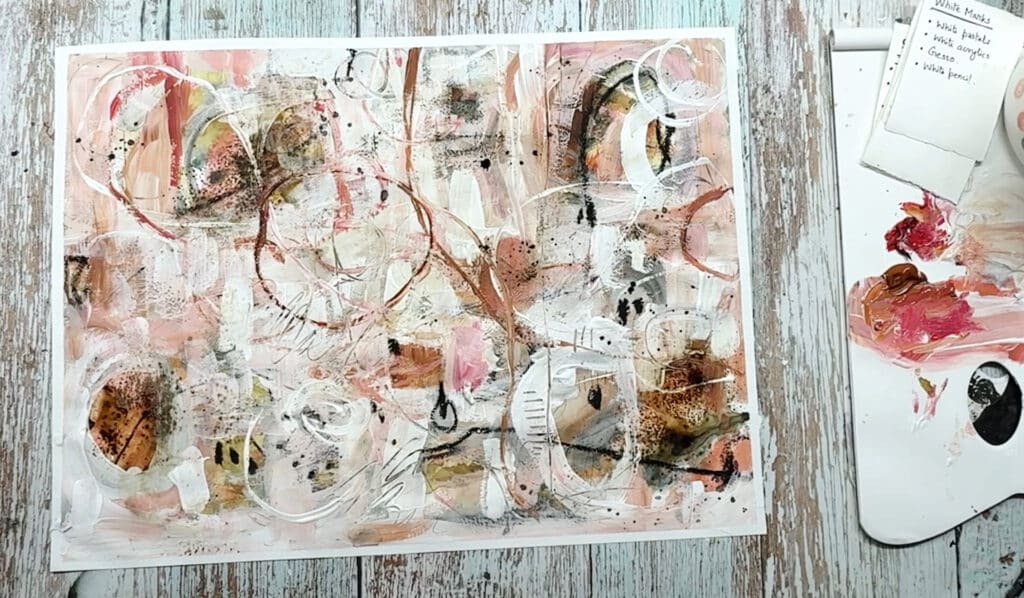
More acrylics – Keep layering with more acrylic colors from step 2.
Step 8
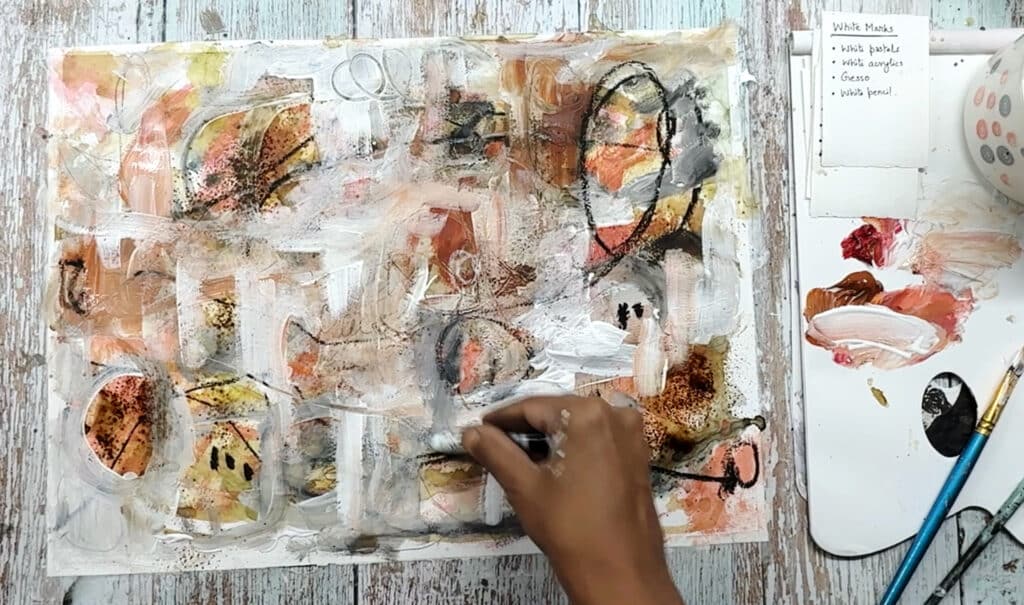
Scribble – Scribble with the back of the brush and scratch through the wet paint. Scribble with pencils and pens.
Step 9
Keep layering – Continue adding colors, textures, and lines until your page feels rich and dynamic.
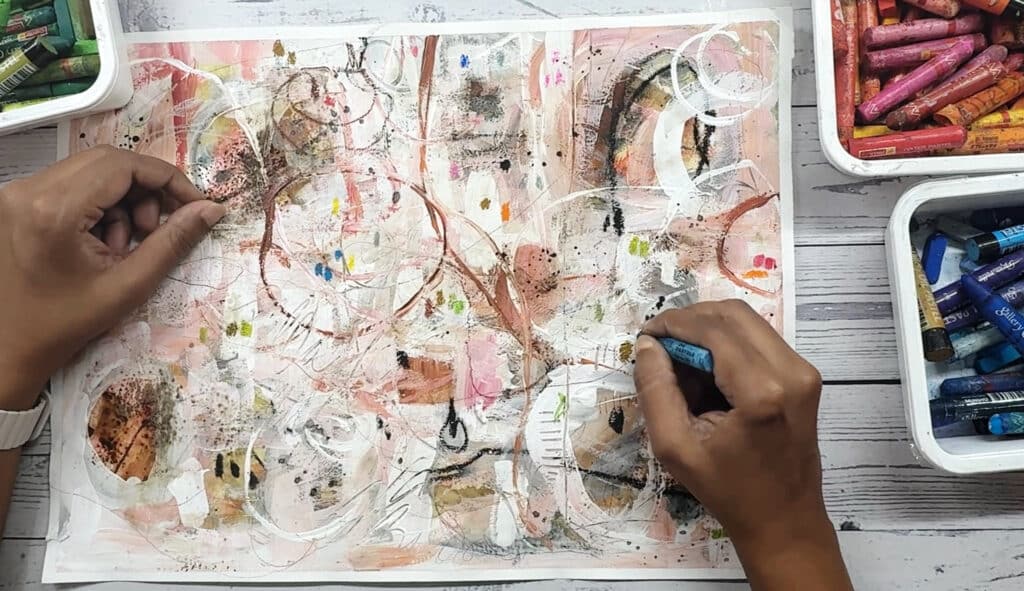
Step 10
Scribble with pastels – Introduce soft pastels, colored pencils for extra pops of color.
Step 11
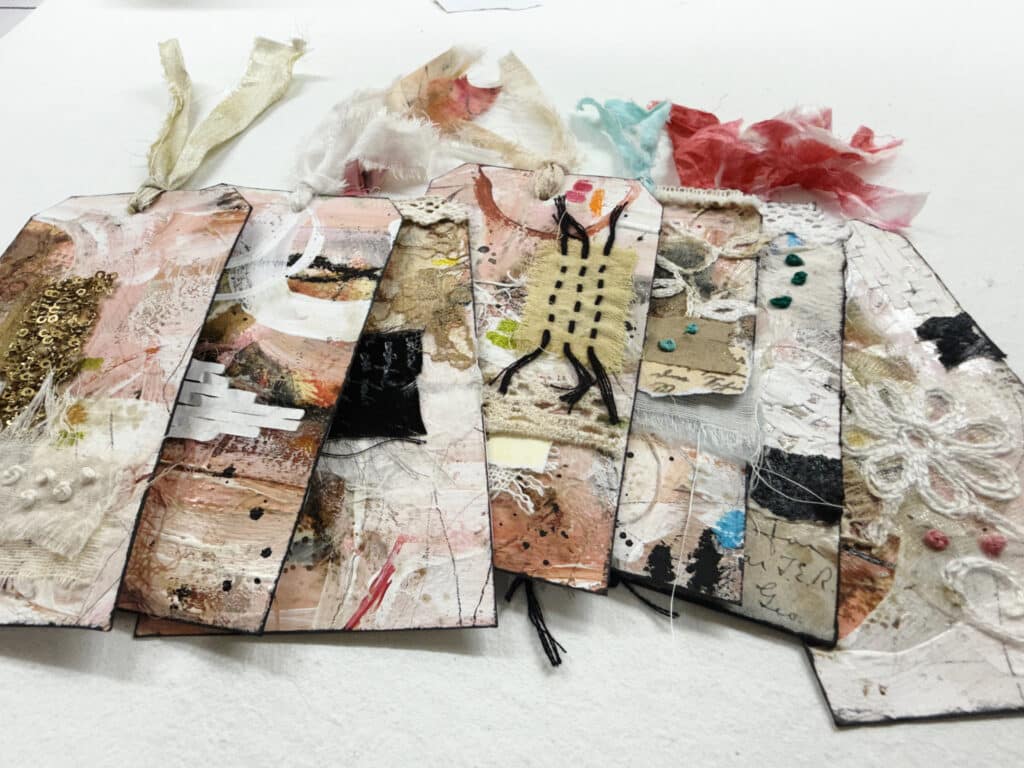
Once your abstract mark making page is complete, it’s time to transform it into DIY gift tags. Here’s how:
Take a viewfinder (cut in the shape of a tag) – This helps you select the most interesting sections of your artwork.
Cut out your tags – I was able to create seven unique tags from my A3 page. Each one has a different composition and color balance, making them truly one-of-a-kind.
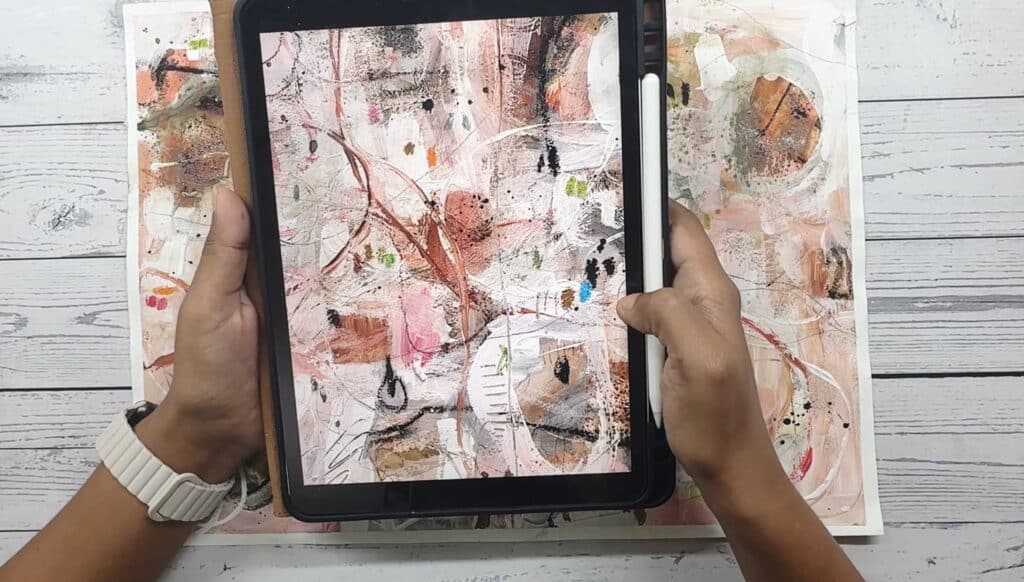
Step 12
Photograph small sections – Before cutting, snap some close-up shots of different areas. These images can be turned into collage papers, which you can download and print for future projects. (You can grab my free PDF download!)
Step 13
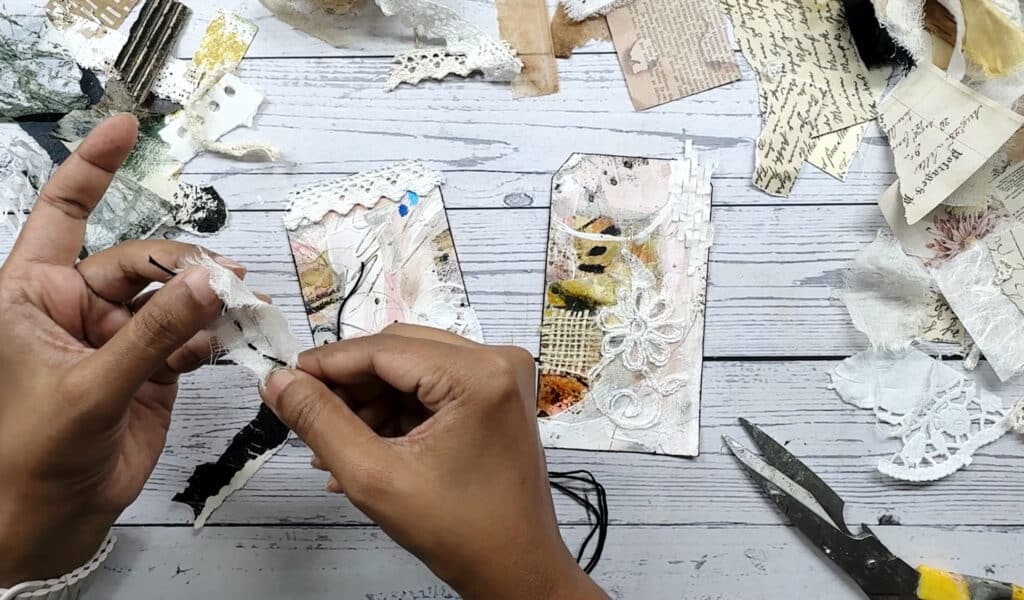
Now that we have our cut-out tags, it’s time to embellish them with mixed media elements:
Add fabric scraps – Layer small fabric pieces onto the tags for texture.
Incorporate stitched details – I stitched through some of my fabric pieces, adding a beautiful handmade touch.
Attach extra paper scraps – Use vintage book pages, lace, or torn papers to add more layers.
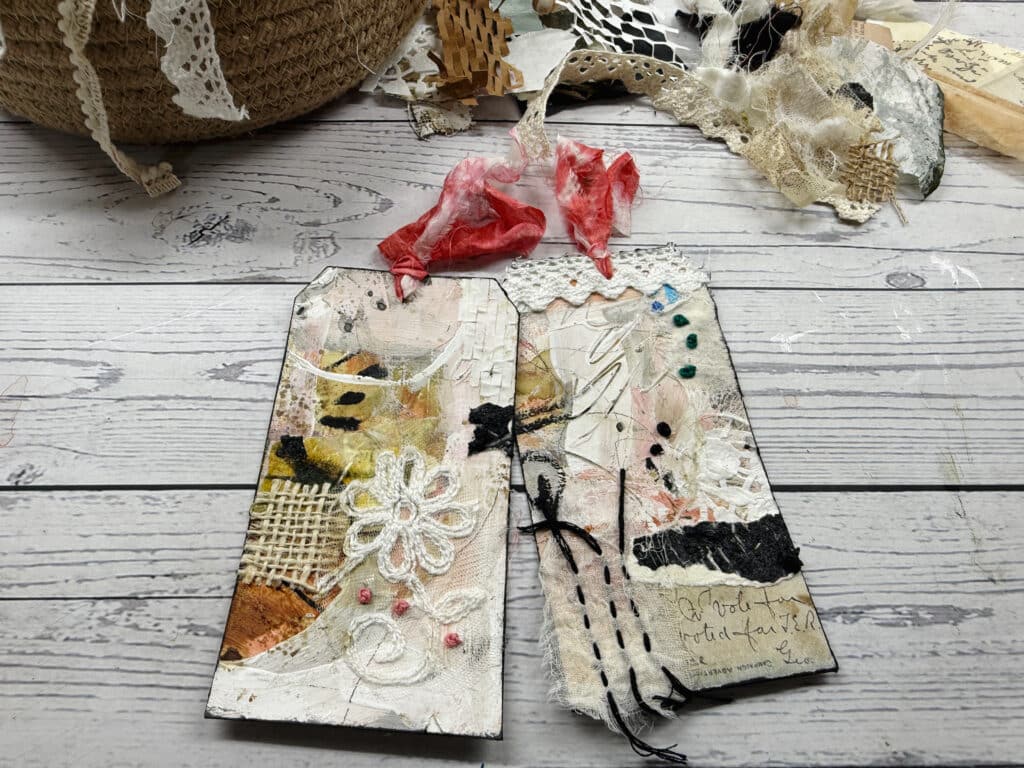
Step 14
Back the tags with cardboard – To cover the stitching and make them sturdier, I glued a second piece of cardboard to the back.
Finish with ribbons or torn fabric – Punch a hole at the top of each tag and thread through a ribbon or a strip of torn fabric. I used torn fabric since I didn’t have ribbons on hand, but either works beautifully to add a delicate, handmade feel.
At this point, your handmade tags are ready to use! You can write a personal message on the back and use them as gift tags or even as decorative elements in your journal.
This project is a perfect way to exploremessy abstract mark makingwhile also creating something tangible and useful. Whether you use theseDIY gift tagsfor presents or as additions to your art journal, they carry the energy of free artistic play. Plus, with the added bonus of printablecollage papers, you get even more value from a single art session!
Let me know in the comments—would you try this technique? How do you use your abstract pages in your art?
I’ve put together a free resource library designed just for you, packed with everything you need to fuel your creativity. It’s my way of giving back to the mixed media community with resources to inspire your next project. Click here to join.