
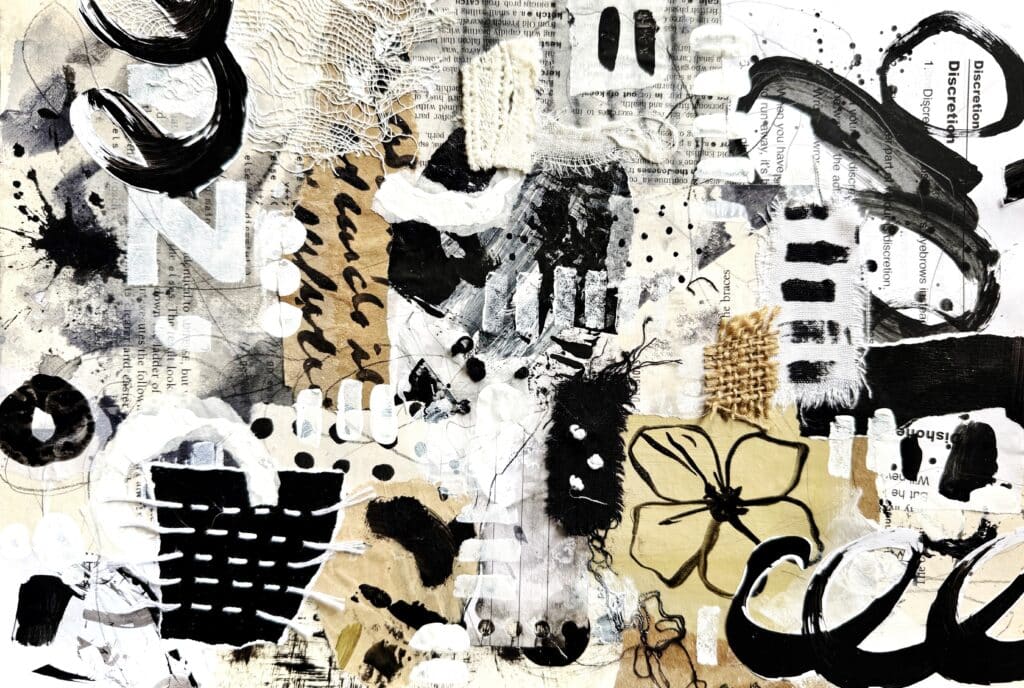
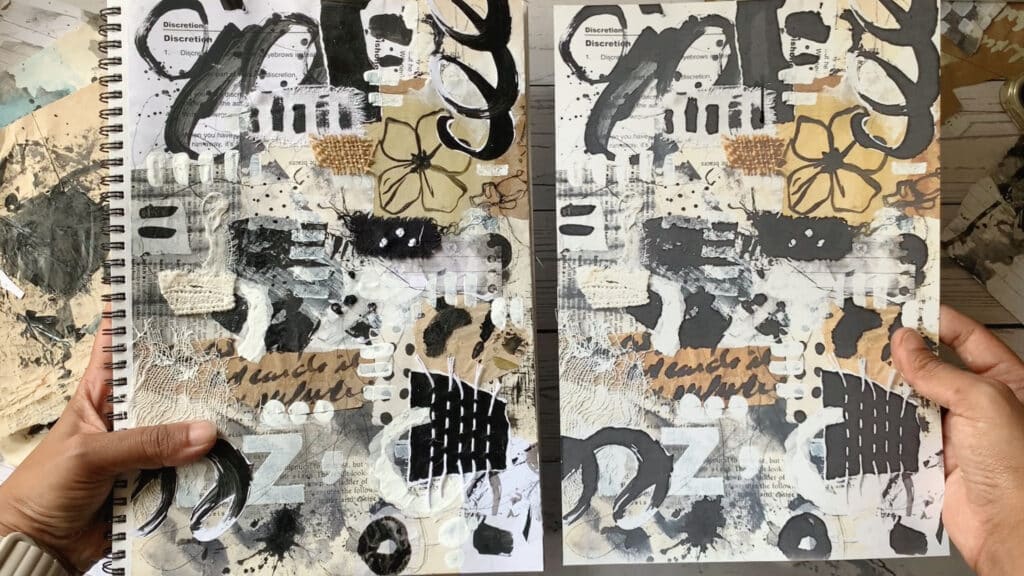
Welcome to your next creative adventure! In today’s post, we’re diving into how to build a versatile collage master sheet—a multi‑layered foundation you can return to again and again for mixed‑media experiments, art journaling, or as inspiration for larger works.
Whether you’re an experienced collage artist or just curious to play with textures and shapes, this step‑by‑step guide will help you craft a rich, textured sheet of paper that’s uniquely yours.
▶️ Watch the Full Process on YouTube
Want to see these layers come together in real time? Head over to my channel where I walk you through every tear, stitch, and mark—plus share tips for staying playful and present as you build your own collage master sheet.

Materials Required
Torn or cut painted papers (your own painted scraps, watercolor test sheets, inked papers)
Vintage ephemera (letters, postcards, ticket stubs)
Additional collage bits (magazine snippets, text fragments)
Translucent fabrics (cheesecloth, gauze, organza)
Ultra‑thin papers (tissue paper, deli paper)
Glue stick or gel medium
Pencil, fine brush, or small sponge for mark making
Camera or smartphone for photographing your sheet
Printer and paper for future print‑outs
Optional: embroidery thread and needle for simple stitching
Don’t have your own collage stash yet? Download free printable collage materials from my Artist Resource Library and get started immediately—no special supplies needed!

Mixed Media Artist Resource Library
Free printables, collage papers, creative prompts & how-to guides
I’ve put together a free resource library designed just for you, packed with everything you need to fuel your creativity. It’s my way of giving back to the mixed media community with resources to inspire your next project. Click here to join.
Step‑by‑Step Guide
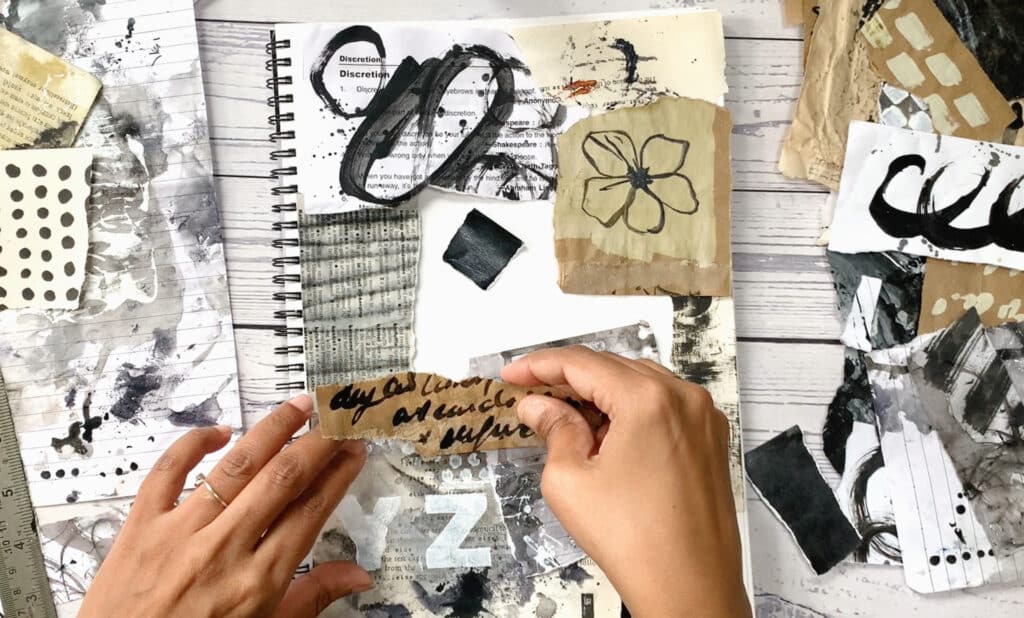
Layer 1: The Big‑Piece Foundation
Gather a variety of painted papers and ephemera.
Tear or roughly cut them into larger, bold shapes.
Arrange until you feel a pleasing balance.
Photograph your layout for reference.
Lift and glue each piece down, covering about 90–95% of the surface.
Layer 2: Mid‑Size Clusters
Select smaller collage bits or pre‑made paper clusters.
Tuck and overlap these over the big‑piece base.
Focus placement on areas that need more visual interest or contrast.
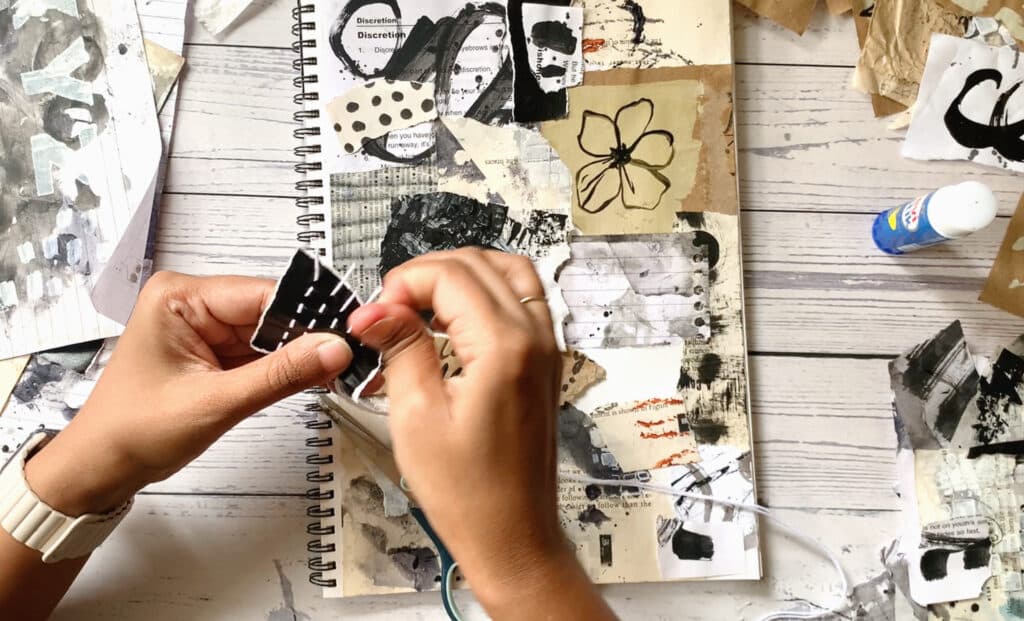
Layer 3: Whispered Textures (Fabrics & Gauze)
Choose lightweight, translucent fabrics.
Drape or press them over select areas of your collage.
Secure with tiny stitches or dabs of glue, integrating fabric and paper.

Layer 4: Soft Mark‑Making Connections
Use pencil, brush, or sponge to add gentle marks along the seams between pieces.
Create short lines, dots, or smudges to visually “bridge” adjacent elements.
Keep marks subtle to maintain the collage’s prominence.
Layer 5: Translucent Overlays & Final Marks
Tear or cut ultra‑thin papers into small shapes or strips.
Adhere them lightly over your collage (gel medium or spray adhesive works well).
On these layers, add final scribbles, dots, or faint watercolor washes to deepen the overall harmony.
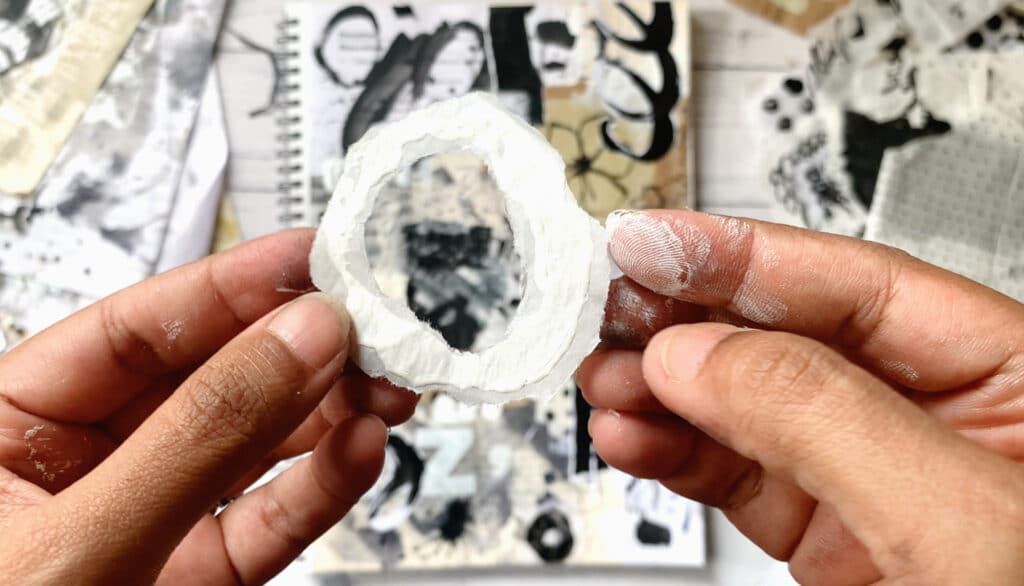
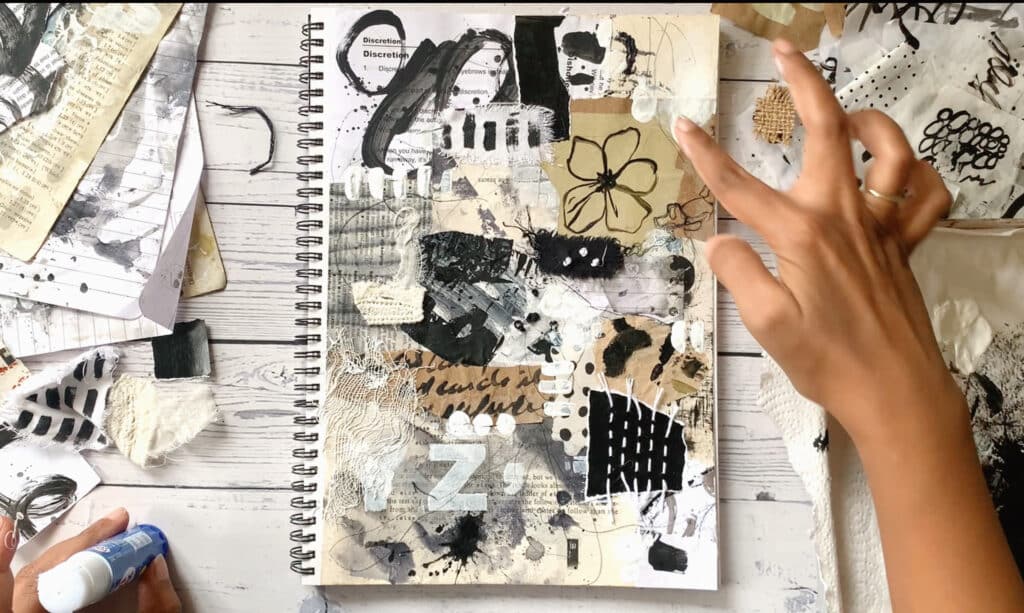
Step 6: Capture & Repurpose
When your collage master sheet is complete and fully dry, take a high‑resolution photo.
Print the image at any size—you can shrink it for journaling accents or enlarge it for canvas work.
Store these prints in your sketchbook or resource binder.
Use them as ready‑made backgrounds, painted overlays, or cut‑apart elements in future projects.

Download your digital guide
Good news! This exact master‑sheet template is available in my Artist Resource Library — Download, then print and start creating immediately!
♻️ Upcycle Your Scraps: Collage Clusters
Once you’ve laid out and finished your collage master sheet, you’ll likely have bits and pieces left over—tiny torn scraps, snippets of text, and little painted edges. Don’t let them languish in a pile! Here’s how to turn those leftovers into playful collage clusters:
👉 Read my next blog to see exactly how I combine these small scraps into dynamic collage clusters—and get my top tips for creating ready‑to‑use collage elements every time!
Create Collage Clusters from Scraps »
🌿 Tips for Success
Work loosely: Allow your eye to guide you rather than planning every move.
Mix scales: Play with big, medium, and tiny pieces for dynamic depth.
Embrace imperfection: Irregular tears and smudged marks add personality.
Photograph each layer: It helps you remember what worked and what to try next time.
Let it breathe: Don’t feel the need to cover every inch—white space can be powerful.
❓FAQs
Q: How big should my master sheet be?
A: Any size works! Start with an 8½×11″ page or go larger on mixed‑media paper.
Q: Can I use digital collage materials?
A: Absolutely. Print out images from my Artist Resource Library, tear them by hand, and treat them just like physical ephemera.
Q: How long does it take?
A: Plan for 30–60 minutes. Let fabrics and adhesives dry between layers if needed.
Q: What’s the point of a collage master sheet?
A: It’s a playful playground of textures, shapes, and colors you can repurpose endlessly—making brainstorming hands‑on and instant.
💬 Final Thoughts
And there you have it—a beautiful, layered collage master sheet ready to spark your next mixed‑media adventure! Whether you’re building it physically or printing it out from the download in the Artist Resource Library, this master sheet will serve you as a creative springboard for years to come. Happy layering!


