

A Playful Experiment in Color & Texture
Spray painting. When I first imagined it, I pictured cans of aerosol art, stenciled motifs, and vibrant bursts of color dancing across walls.
But as a mixed-media artist deeply in love with the creamy, tactile world of acrylics, I craved something different—something fluid, intimate, and full of surprise.
Thus began my journey of DIY acrylic sprays, born from leftover fluid acrylics and a spirit of playful experimentation.
Why Acrylic Sprays?
While the market offers alcohol-based sprays, watercolor mists, and industrial aerosols, I found each had quirks that didn’t always align with my mixed-media papers and layered techniques. Alcohol sprays can eat into your substrates, and watercolor sprays can bleed too softly. I wanted the body and richness of acrylics—so I decided to make my own.
Creative Control: You choose the color, opacity, and intensity.
Economical: Use up excess fluid acrylics instead of letting them sit unused.
Textural Delight: The fine droplets create a network of speckles and pools that you simply can’t replicate with a brush.
Materials You’ll Need
Fluid Acrylics: Any brands you already love—tubes or bottles of high-flow acrylics work best.
Water: To dilute the paint to a sprayable consistency.
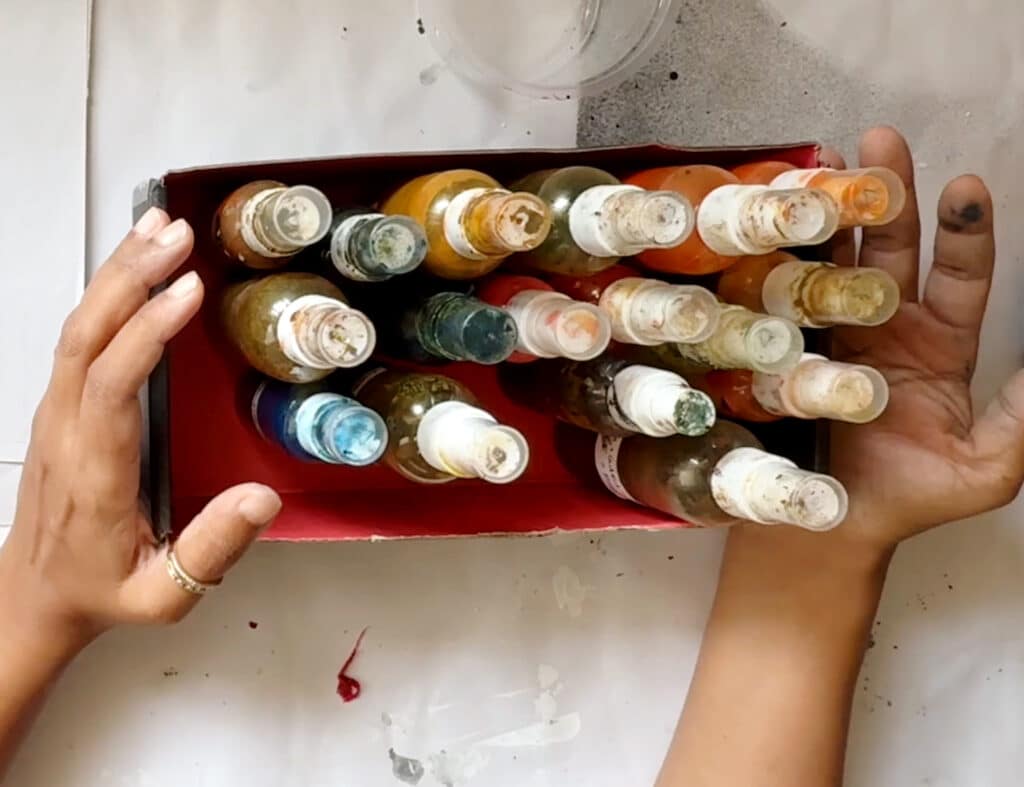
Spray Bottles: I recommend 100–200 ml cheap plastic mist sprayers—you can find them at craft stores or online.
Papers: Regular printer paper for quick tests; newsprint or lightweight mixed-media papers for that leathery, organic finish.
Palette Cups or Jars: For pre-mixing and storing custom hues.
Gloves and Apron: Spray painting can get messy—in the best possible way!
Labels: To mark your favorite mixes so you can recreate them.

Mixed Media Artist Resource Library
Free printables, collage papers, creative prompts & how-to guides
I’ve put together a free resource library designed just for you, packed with everything you need to fuel your creativity. It’s my way of giving back to the mixed media community with resources to inspire your next project. Click here to join.
Step-by-Step Process
1. Mix Your Colors
Start simple: Pour about 2 parts fluid acrylic to 1 part water into a palette cup.
Test and adjust: Spray a scrap of paper; if the droplets are too thick, add more water. Too thin? Add a touch more paint.
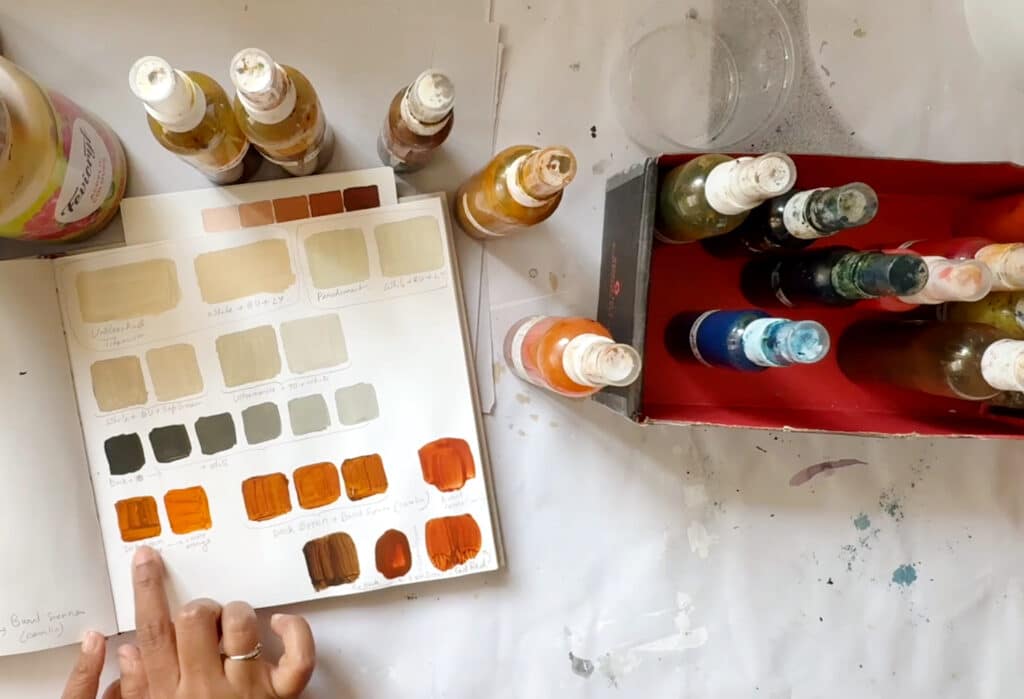
2. Create Muted and Moody Hues
While pure pigments can be dazzling, I’m drawn to muted, earthy tones that whisper rather than shout. Here are some of my go-to blends:
Muted Blue: Ultramarine + a dab of Burnt Umber
Dusty Red: Crimson + Burnt Umber
Apple Green: Sap Green + Yellow + a hint of Burnt Umber
Soft Taupe: Raw Umber + Titanium White
Once you find a mix you love, label the cup and transfer the mixture into your spray bottle.
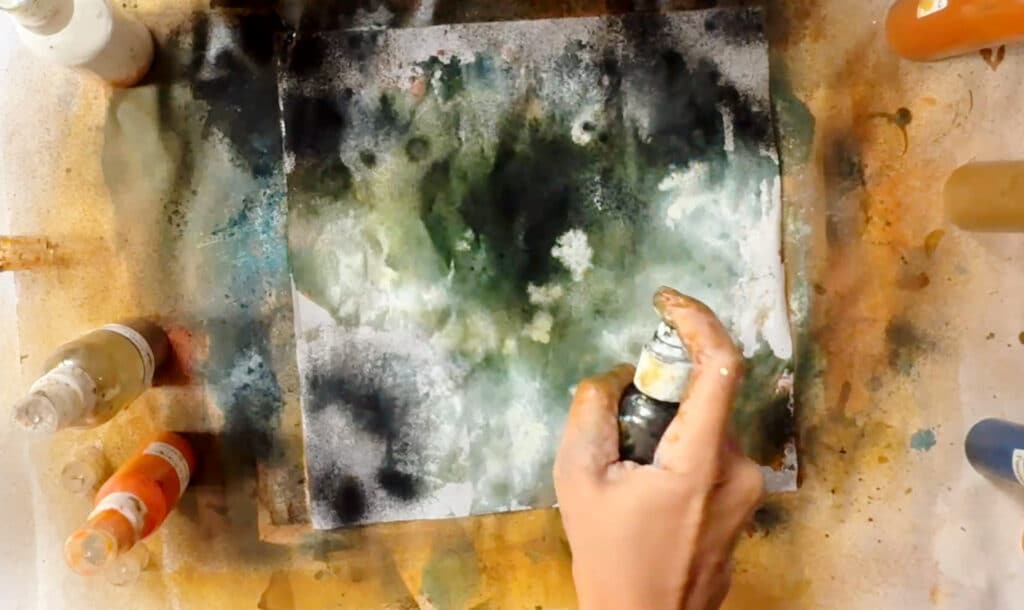
3. Spray and Play
Layering: Begin with lighter tones; let them settle for a minute, then overlay darker sprays.
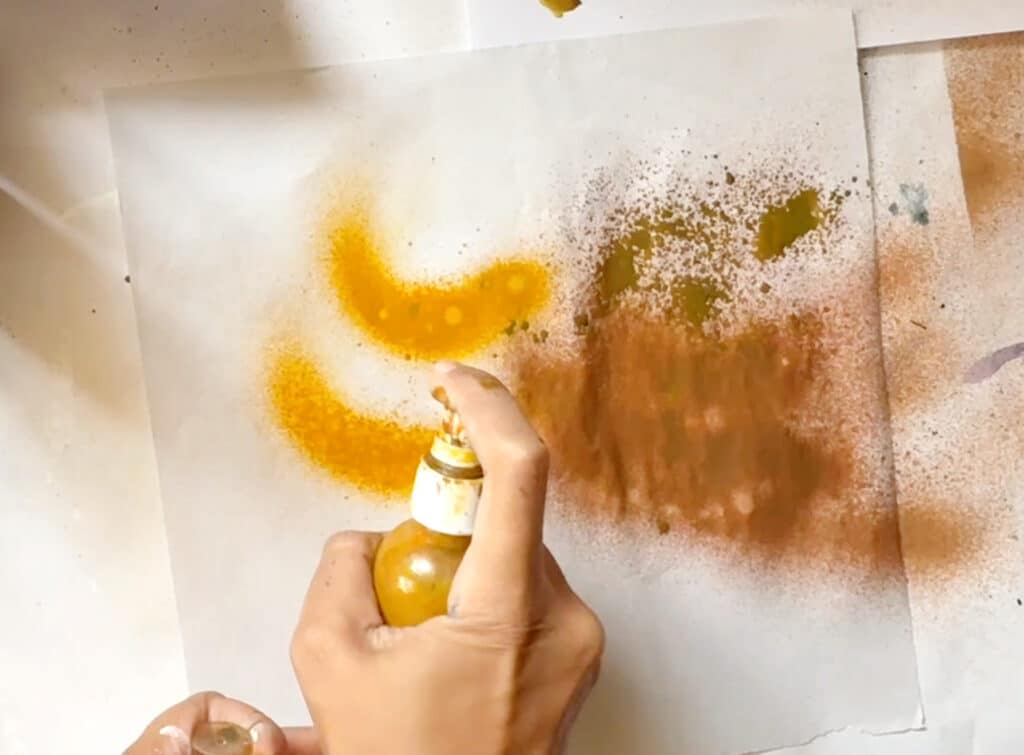
Directional Sprays: Hold the bottle close for concentrated dots or farther away for a soft mist.
Mix on the Page: While one color is still wet, spray another and watch the pigments blend and repel in unexpected ways.
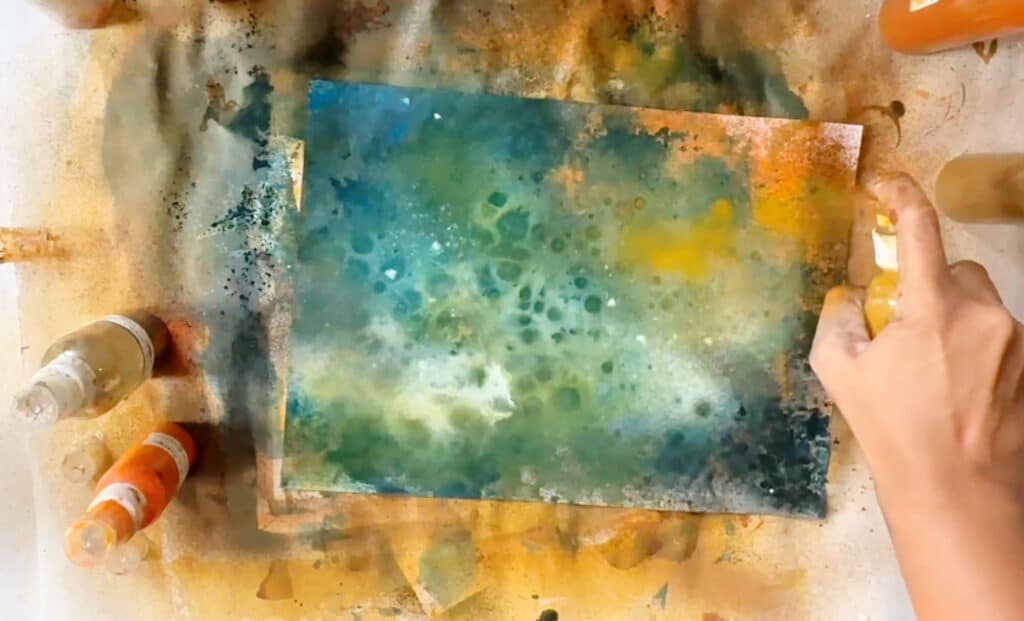
4. Tilt & Drip
Once you’ve layered two or more wet sprays, gently lift one edge of the paper and let gravity pull the pigments downward. The colors will mingle, flow, and form drips—plus, where heavier pigments meet lighter ones, you’ll often see spontaneous dot-like textures emerge. Rotate the sheet to experiment with different drip directions.
5. Let It Dry
Newsprint will buckle and feel damp for a while. Embrace the wait—it builds anticipation. As it dries, the paper tightens and the color settles into a matte, leathery texture that’s utterly delightful.
Tips & Tricks
Keep a Sketchbook Handy: Test new color combos in a dedicated spray-paint sketchbook. It becomes a reference of favorite recipes.
Protect Your Workspace: I work atop an old shower curtain or chipboard to catch overspray—easy cleanup!
Use Rubber Bands for Patterns: Stretch a few bands over your surface and spray over them for organic stripe effects.
Combine with Brushwork: Spray first, then add defined shapes or highlights with a brush. The contrast feels fresh and dynamic.
Why You’ll Love This Technique
Spontaneity: Each spray creates unique “constellations” of pigment that no two times will ever exactly match.
Accessibility: No need for expensive hardware or vast outdoor spaces—just a small mist bottle and a sunny corner.
Sustainable Creativity: Turning leftover paints into new tools feels like alchemy.
✍️ Frequently Asked Questions (FAQ)
Q: How long will my homemade acrylic sprays last?
A: Stored in a cool, dark spot with the cap tightly closed, your diluted acrylic mixtures should stay usable for 1–2 weeks. After that, pigments may settle or the water may evaporate slightly—just give the bottle a good shake and top up with a little water as needed.
Q: How do I clean my spray bottles?
A: Once it’s over, rinse the bottle and nozzle under running warm water. Fill halfway with clean water, shake vigorously, spray until clear water comes through, then let everything air-dry before your next color mix.
Q: Can I use these sprays on canvas or wood panels?
A: Absolutely! Just be aware that porous surfaces will absorb more paint, so you may need additional layers or slightly stronger pigment concentrations. Test on a scrap piece first to adjust your mix ratio.
Q: What papers work best?
Newsprint: For that leathery, vintage finish.
Lightweight Mixed-Media Paper (90–120 gsm): Holds sprays well without too much buckling.
Watercolor Paper: If you want more absorbency and texture, though drying time will be longer.
Q: Is there a way to control overspray?
A: Yes—create simple masks or stencils from scrap cardstock, or hold a piece of cardboard as a shield to direct the mist precisely where you want it.
🧪 Ways to Improvise the Technique
Salt Texture
Sprinkle coarse salt onto your wet spray layer. As it dries, the salt crystals push paint away and leave crystalline patterns—remove the salt once fully dry.Sgraffito Marks
While the spray is still damp, drag a stick, palette knife, or even the tip of a credit card across the surface to reveal underlying layers or create linear textures.Tilt & Drip Dynamics
After spraying multiple hues, lift and tilt your paper so the wet paint runs. The flowing pigments blend organically, and varying pigment densities will naturally form speckles and cellular textures as they drip.
Glitter & Mica Powders
Lightly dust metallic powders onto the wet spray. They’ll adhere in the droplets and catch the light beautifully.Resist with Wax
Rub a white candle or a block of wax over areas of your paper before spraying. The acrylic will bead around the waxed spots, leaving interesting negative shapes.Layer with Collage
Spray a base color, let dry, then adhere torn paper bits on top and spray again. The collage edges peek through and create depth.Tone-on-Tone Stencils
Use a stencil, spray a mid-tone, let it dry, then overlay a lighter or darker hue through the same stencil to build nuanced patterns.Spray + Brush Combo
Spray a wash of color, then immediately go in with a soft brush and a little undiluted acrylic to pick out details or create drips and pooling.Monoprint Transfers
Spray onto a smooth surface (like a gel plate or even a piece of laminate), then press your paper on top to lift a unique print.Experiment with Grain Direction
Hold the spray bottle at different angles—horizontal for fan-like spreads, vertical for gravity-drips, or sideways for directional streaks.Build “Fireworks”
Load a pipette or dropper with undiluted fluid acrylic, place a few drops onto your wet spray, and watch as concentrated spots push outward in explosive shapes.
Final Thoughts
Spray painting with homemade acrylic mists is more than a technique—it’s a playful conversation between you, your pigments, and the paper. It invites you to relinquish control, to revel in happy accidents, and to discover new textures that can inform the rest of your mixed-media practice. So gather your fluid acrylics, fill those spray bottles, and let the color rains begin!
Happy spraying, and may your papers be ever vibrant and surprising. 🌈✨


