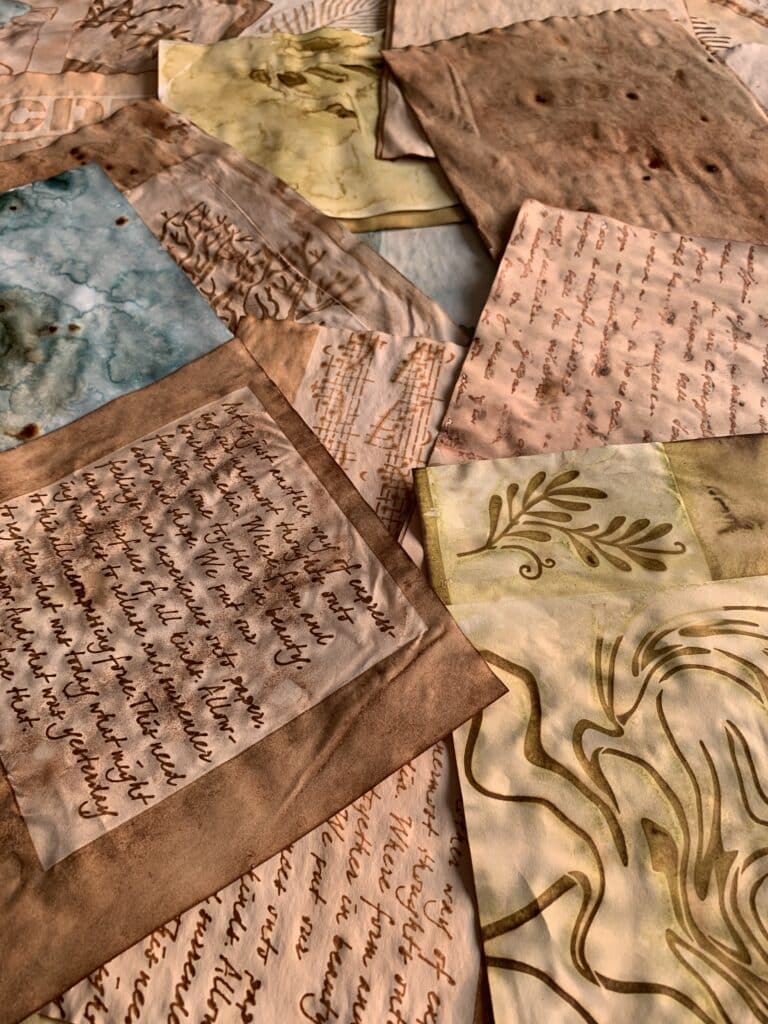
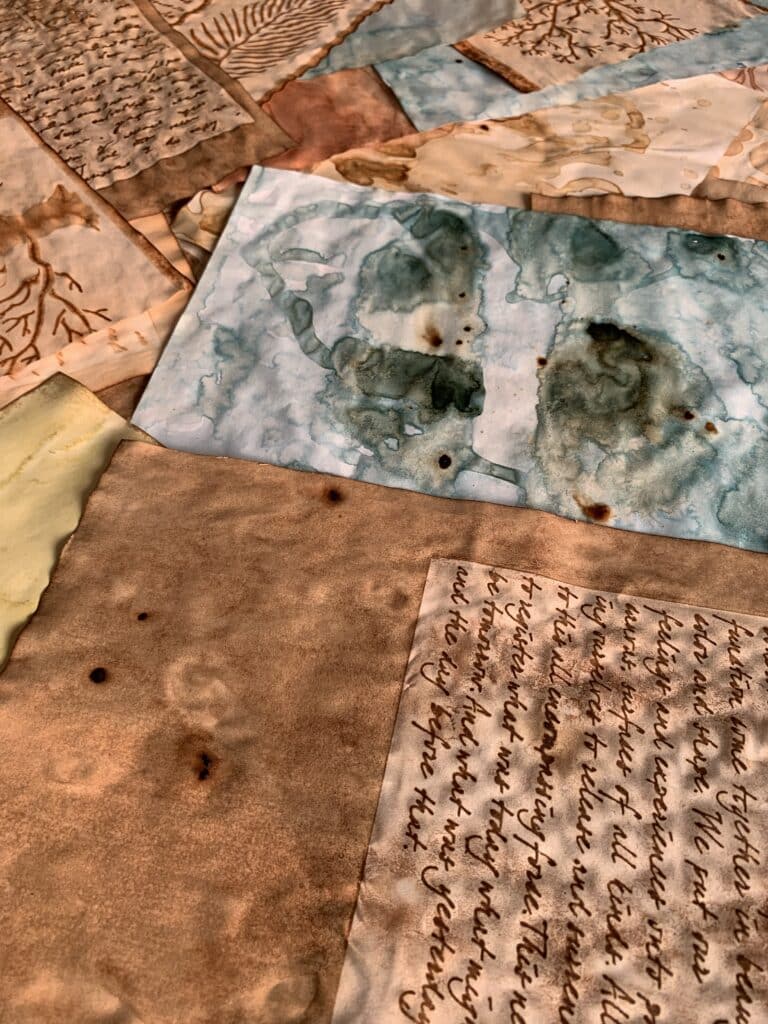
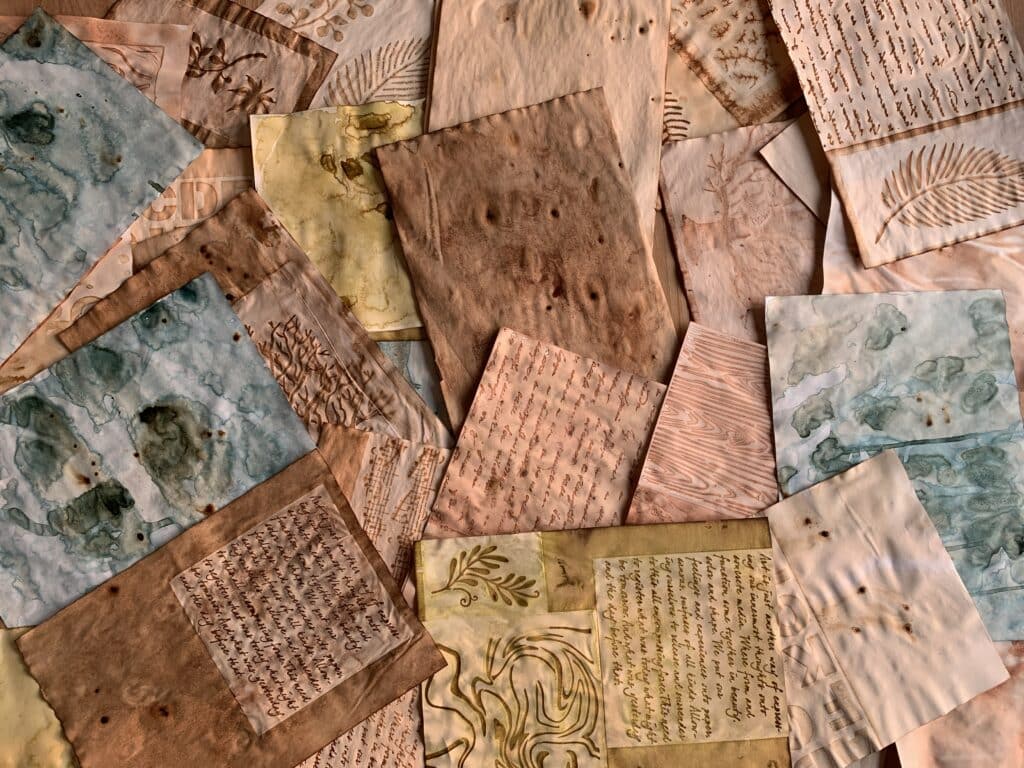
As I’m learning to create different mixed media collage papers, one thing I’m particularly enjoying is creating coffee dye papers.
I tried 3 types of dyeing – using coffee, tea and onion skins.
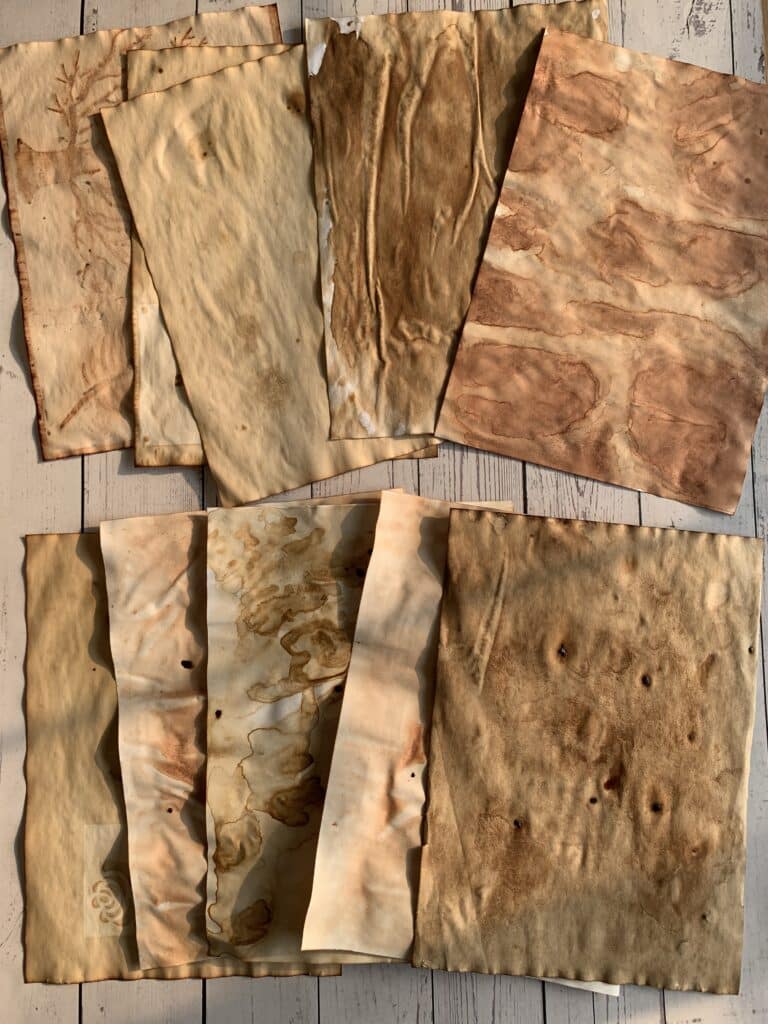
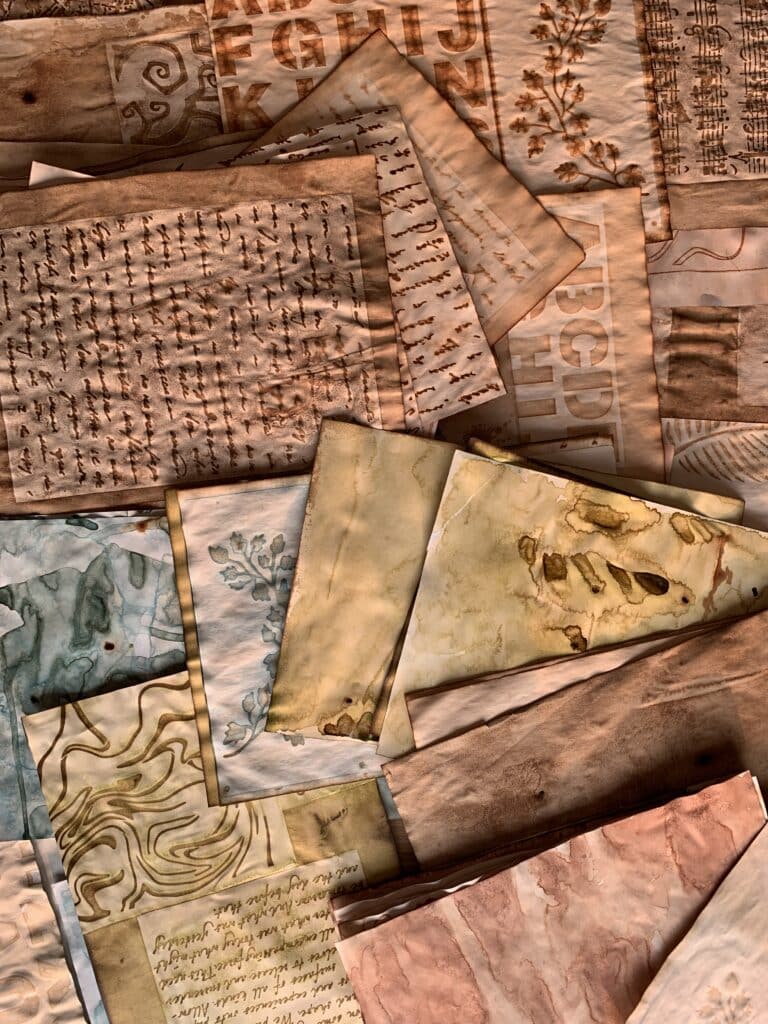
The coffee dye papers are a bit dark brown, tea dye is brownish and onion skin dye is reddish brown. I love all the 3 colors that they create on papers.
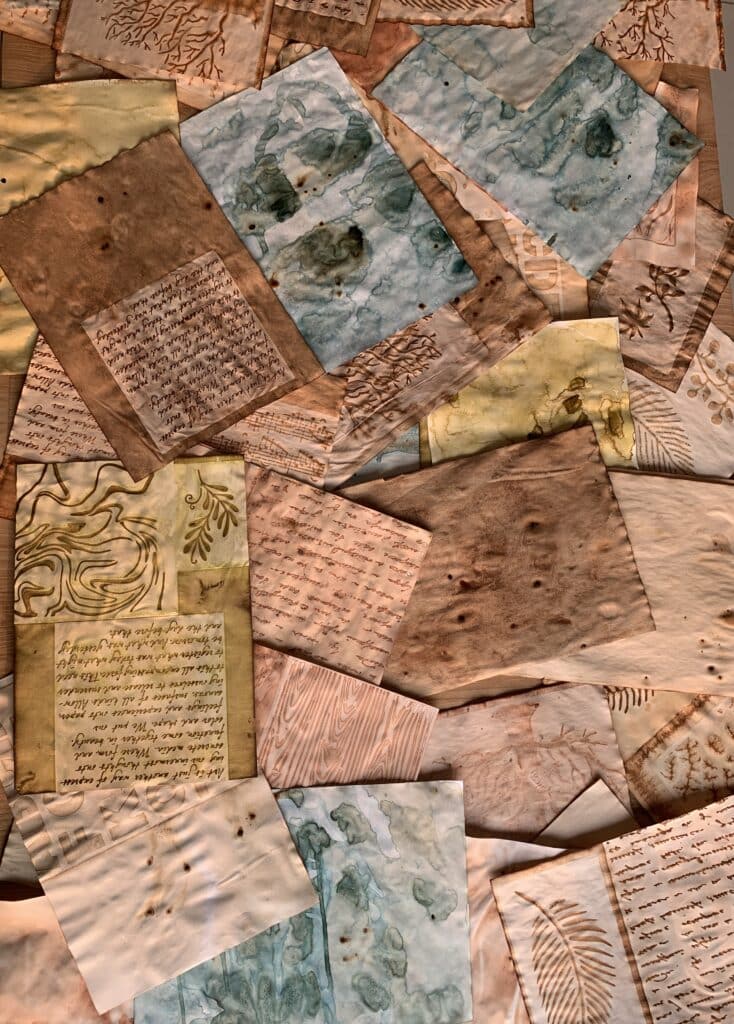
I wanted to experiment with acrylics and got some amazing results. It works with all the 3 types of dye, but I find coffee dyeing the easiest process of all – it’s as if I’m making myself a cup of coffee. So I added a little bit of green and blue with the coffee and tea mix and got some brilliant results.
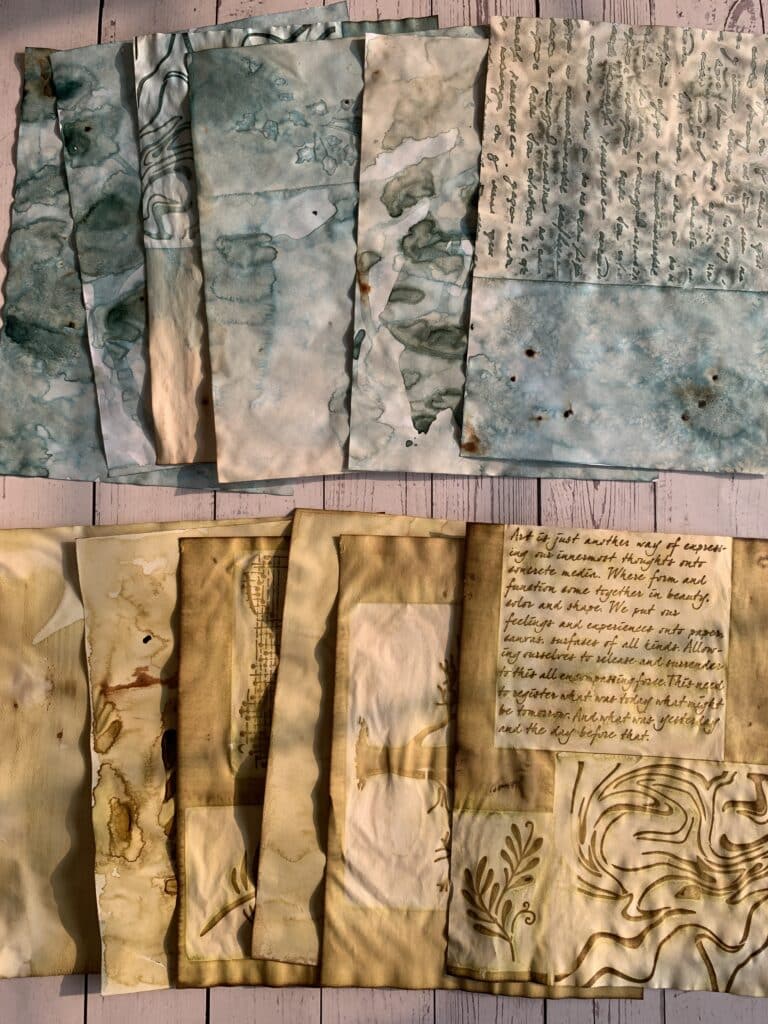
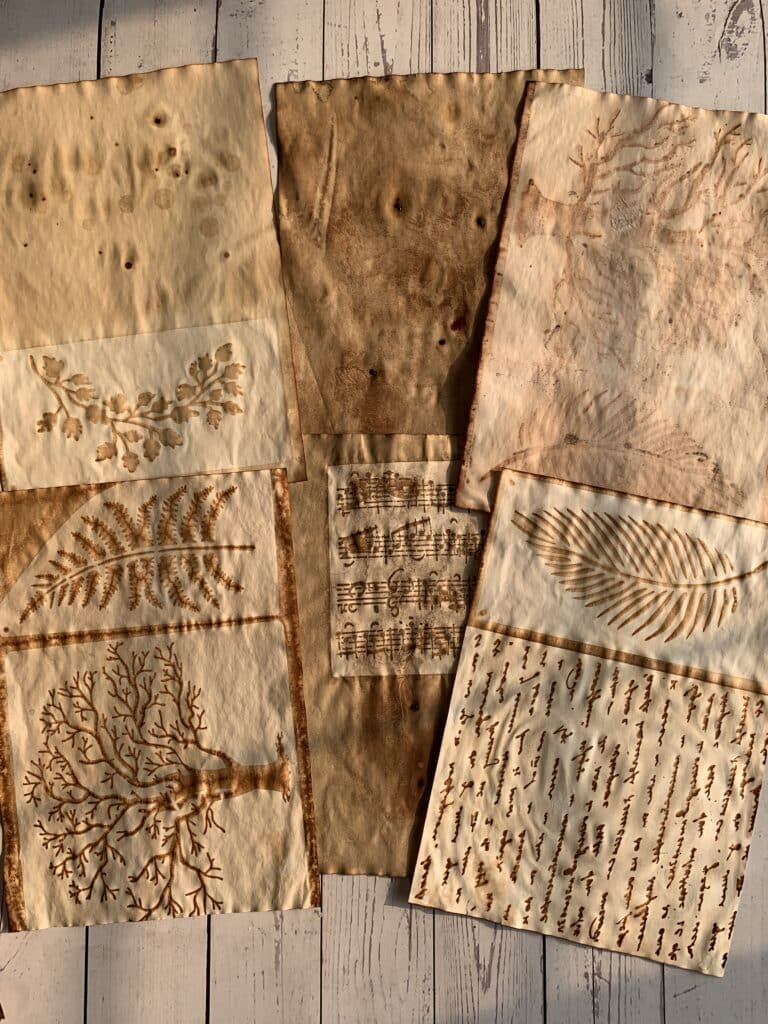

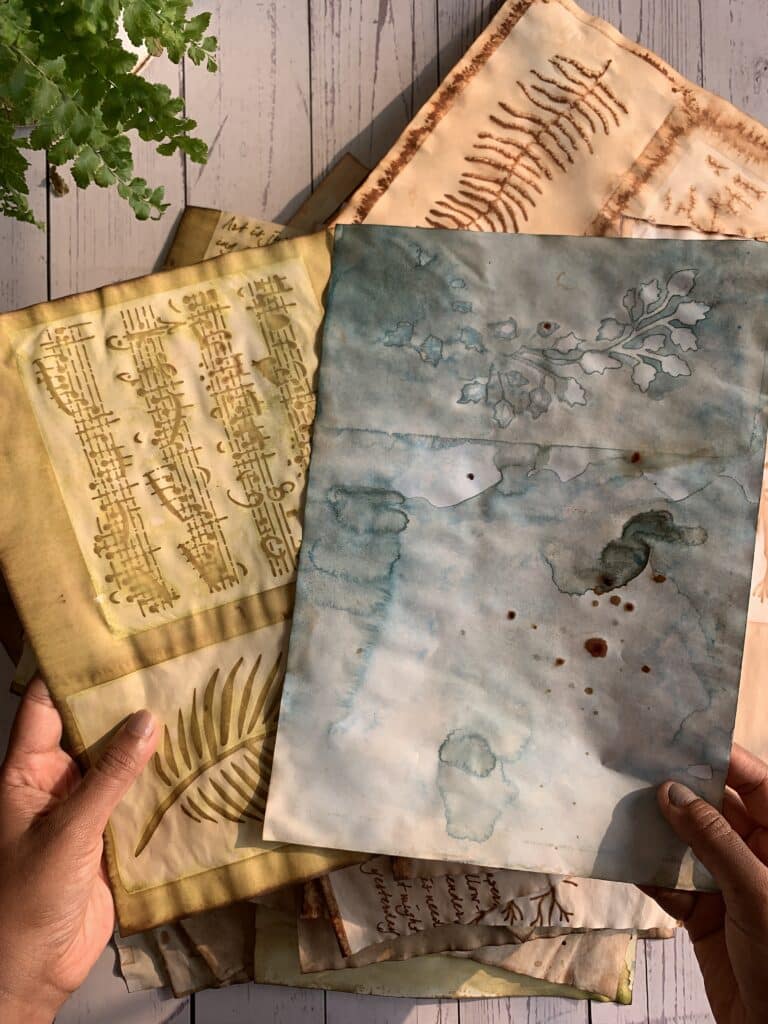
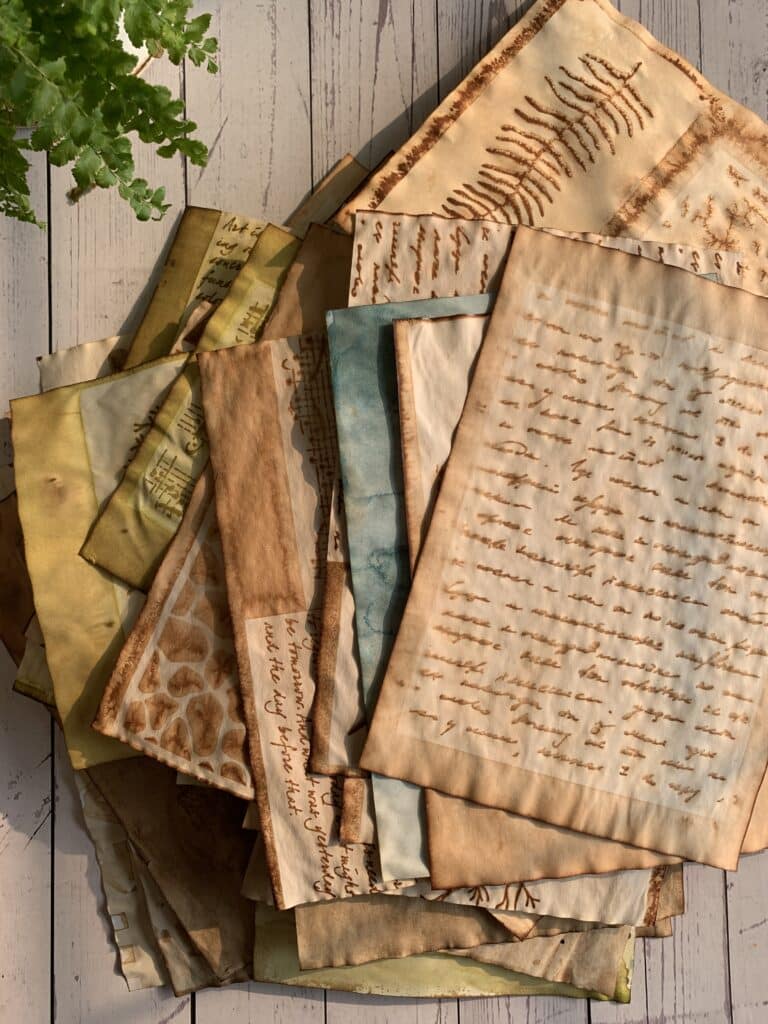
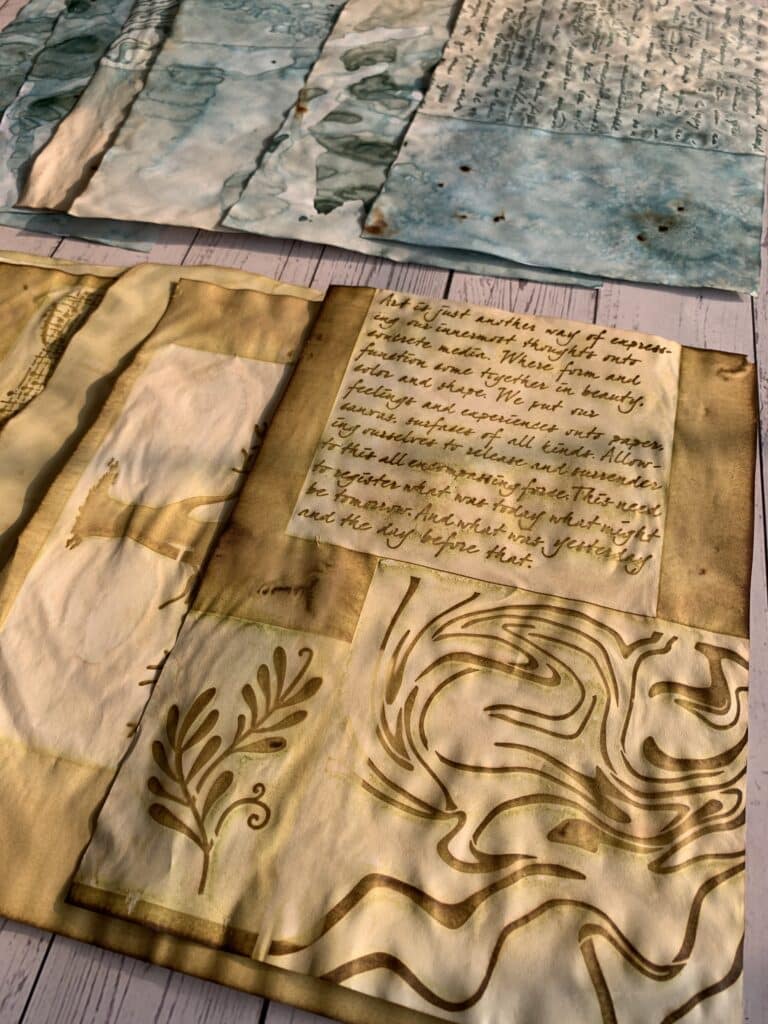

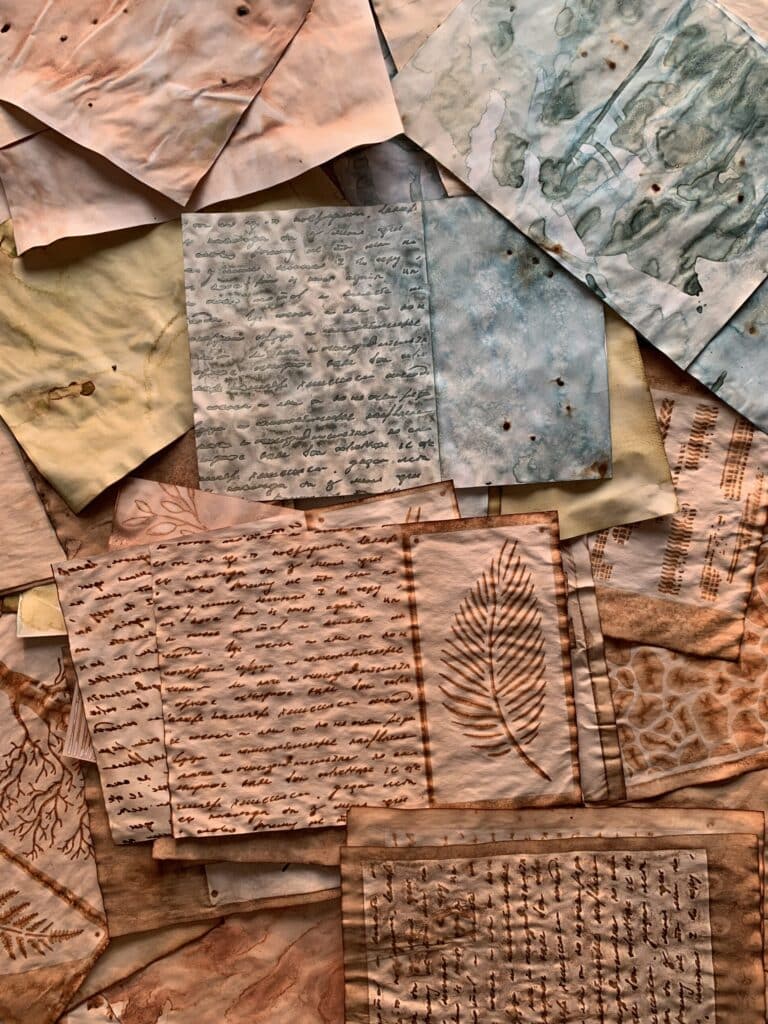
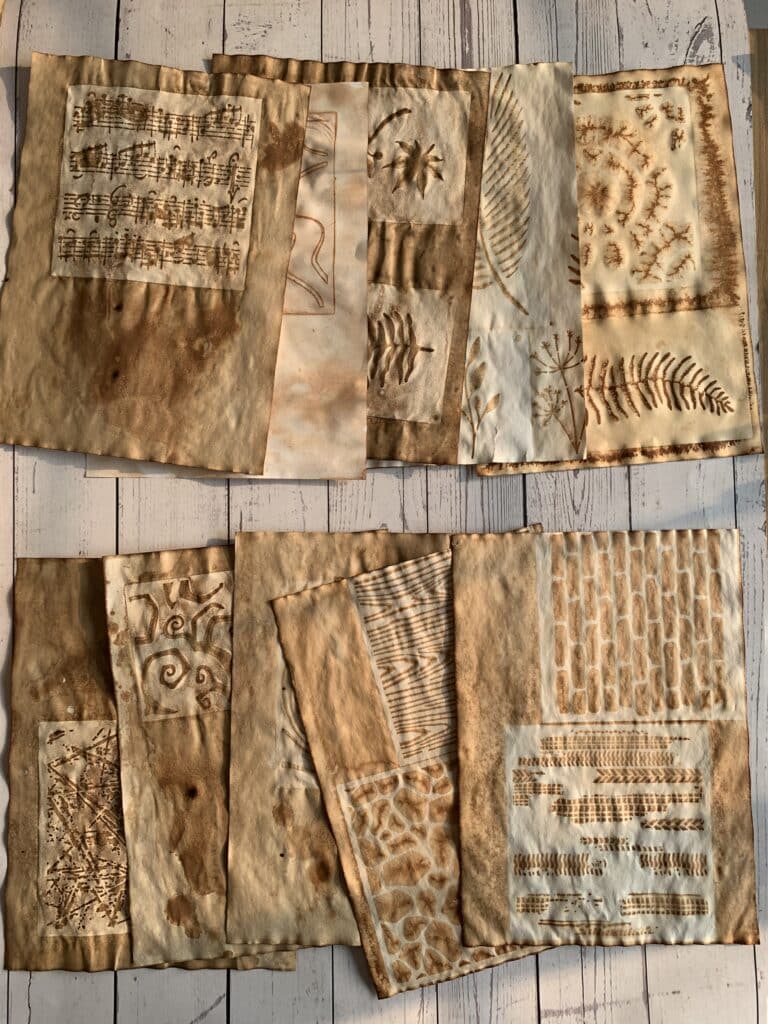
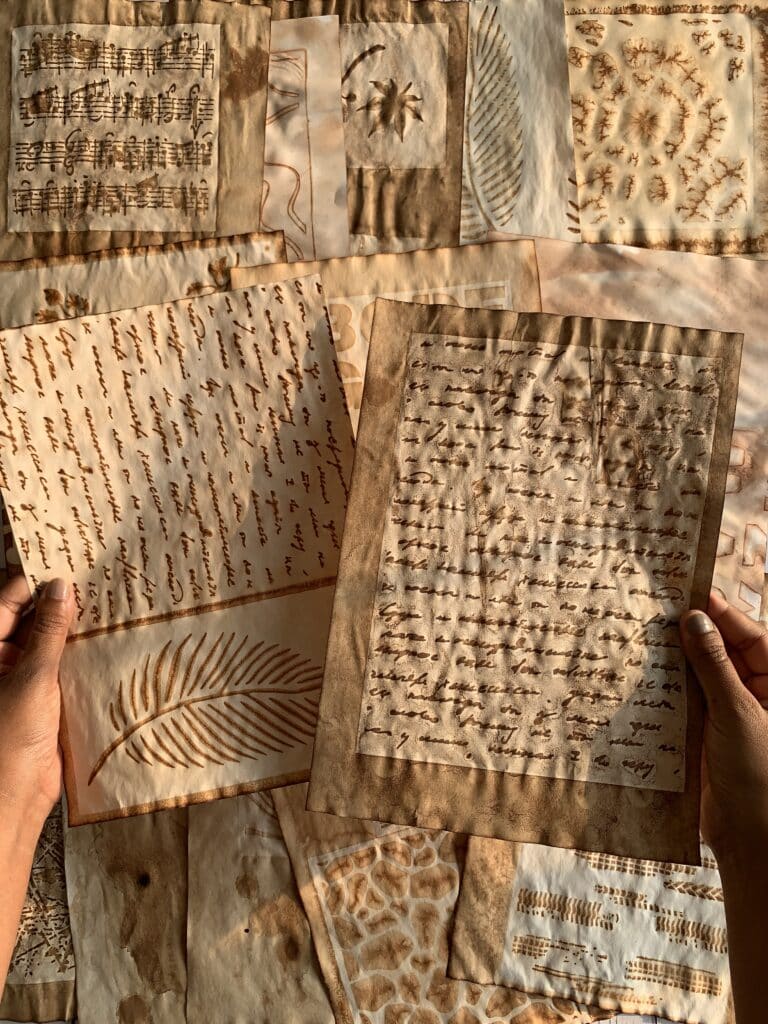
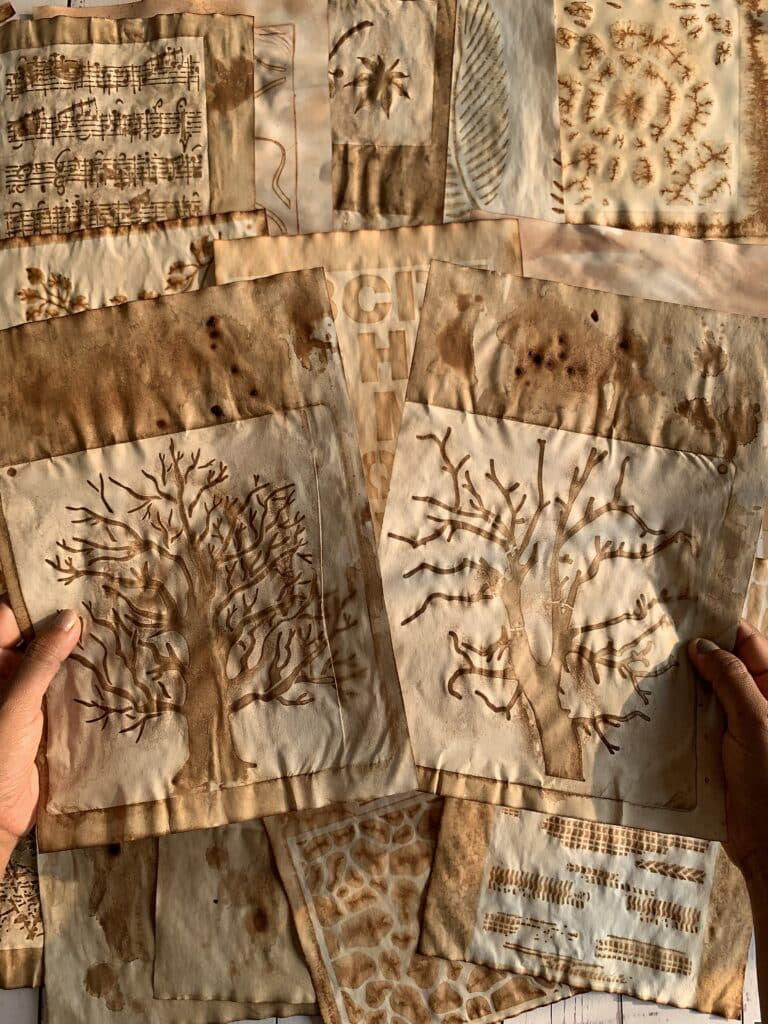
All the beautiful designs you see, is created by all the stencils.
The process is really easy – you add hot water to coffee, dip tea bags, or boil the onion skins in hot water. Let it cool down enough for you to dip your hand in it.
Then I transfer the solution to a tray that I had. In this image, you see tea solution mixed with green.
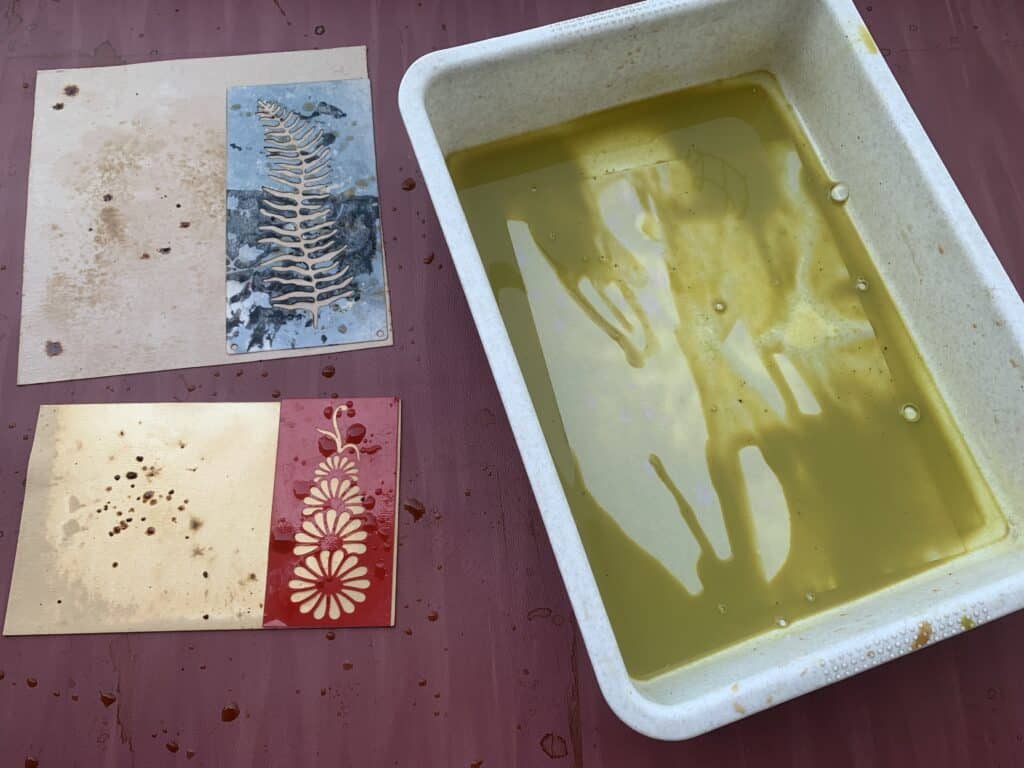
Then all you do is dip the paper into the tray and lay it out on some surface. I laid all my papers on a 6 feet long table mat out in the balcony.
Then u just place some stencils on top of the papers and sprinkle some of the water solution on top of the stencils. Without any stencils, the papers give a vintage look. You can also sprinkle some coffee powder to create some brilliant textures.
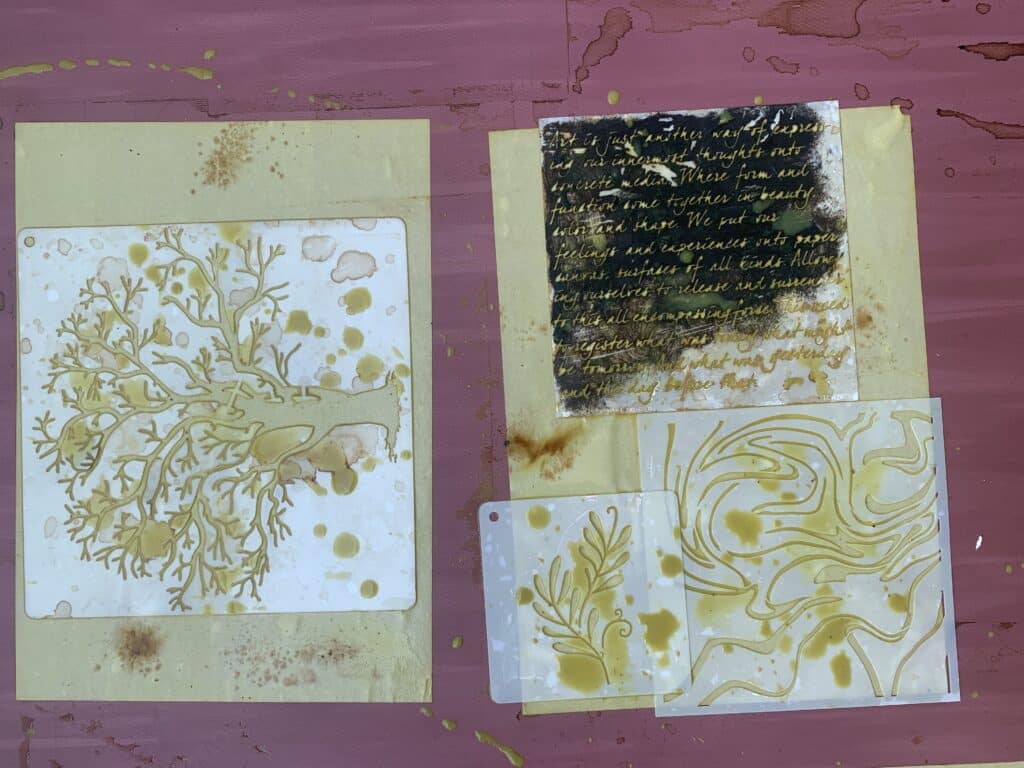
Here you can see all the papers spread out – some with stencils, some blank and with coffee powder sprinkled. This is one of the many sessions that I’ve done – this is the only one I photographed because I loved the green color mixed with tea solution.
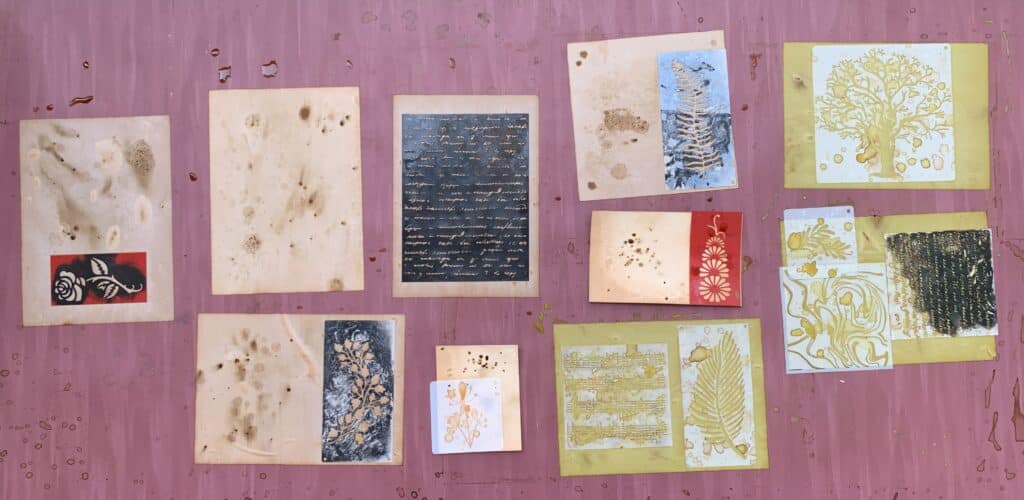
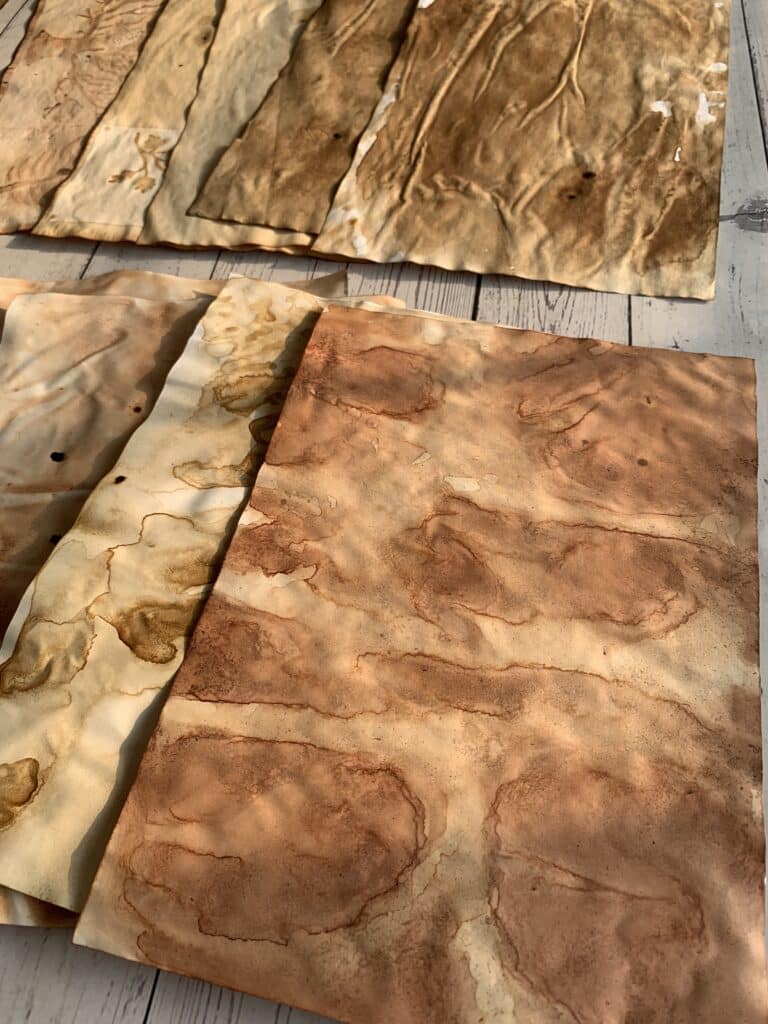
My balcony gets a lot of afternoon sunrays. After almost 3 hours, the papers dried and started crumpling. In the below photos you can see the papers starting to dance.
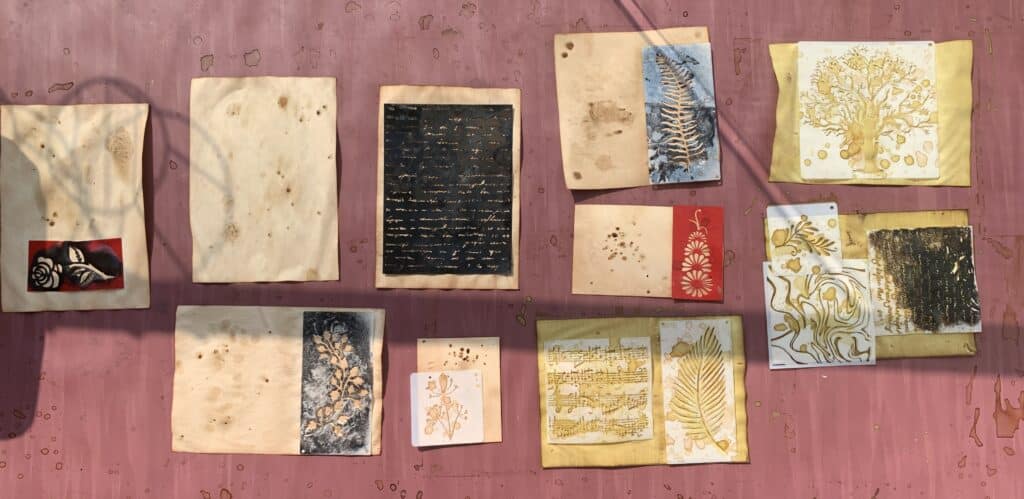
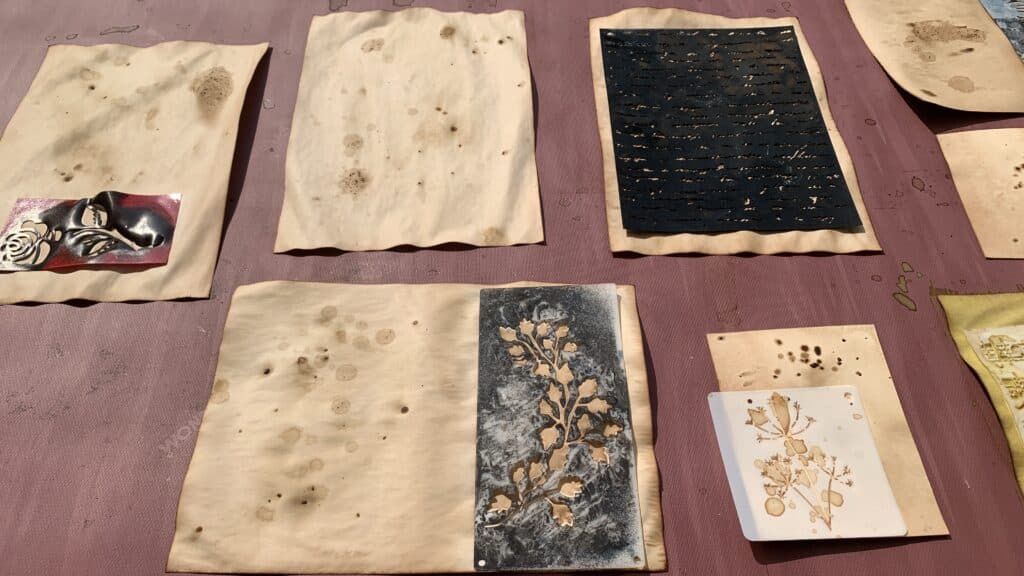


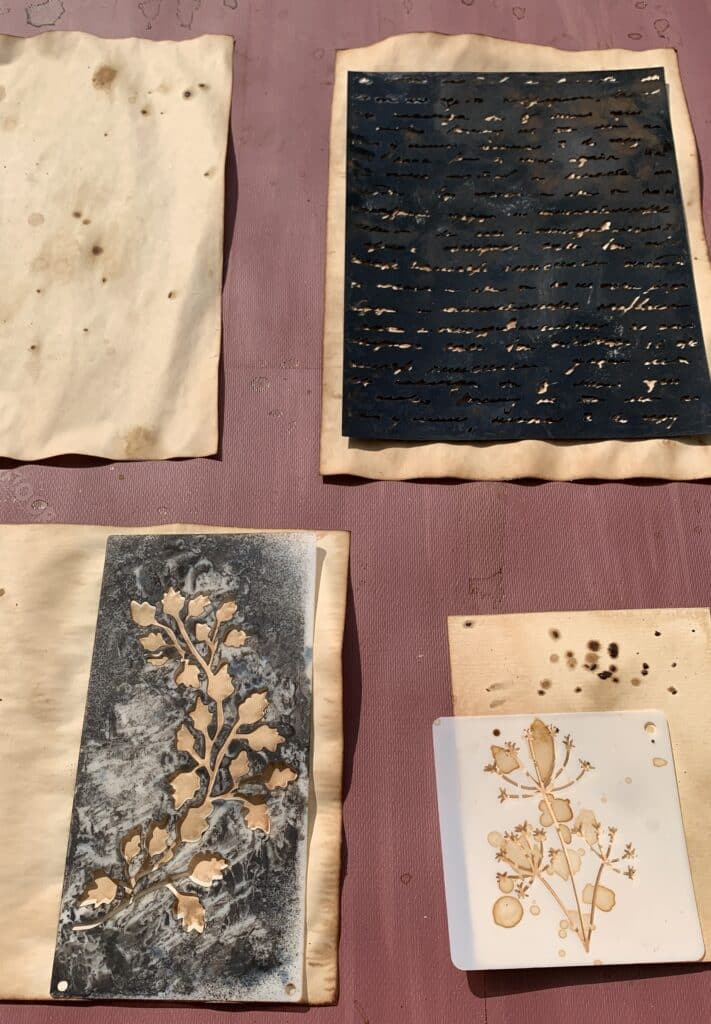
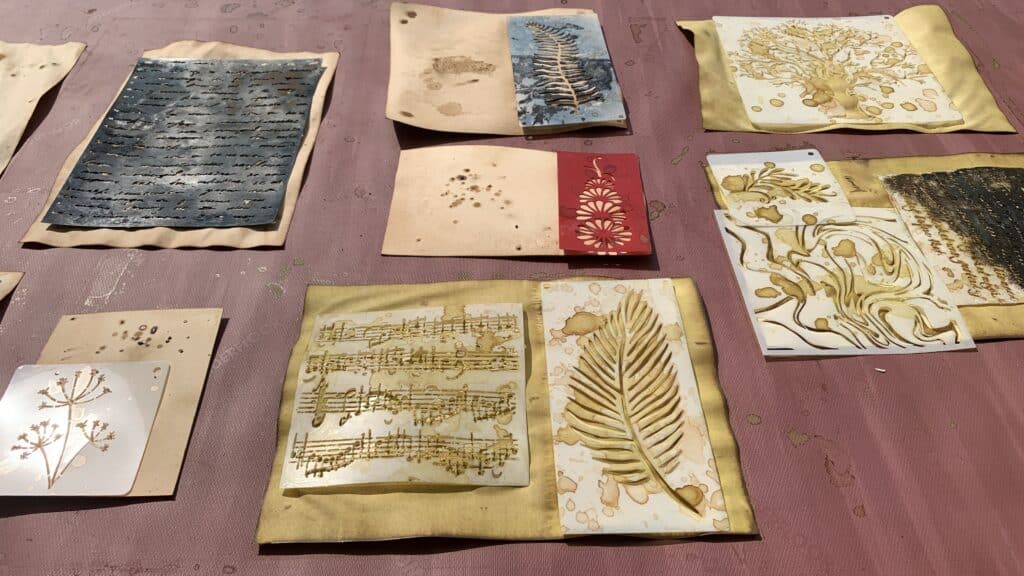
Then you remove the stencils, and the beautiful marks are created on the papers by the Sun.


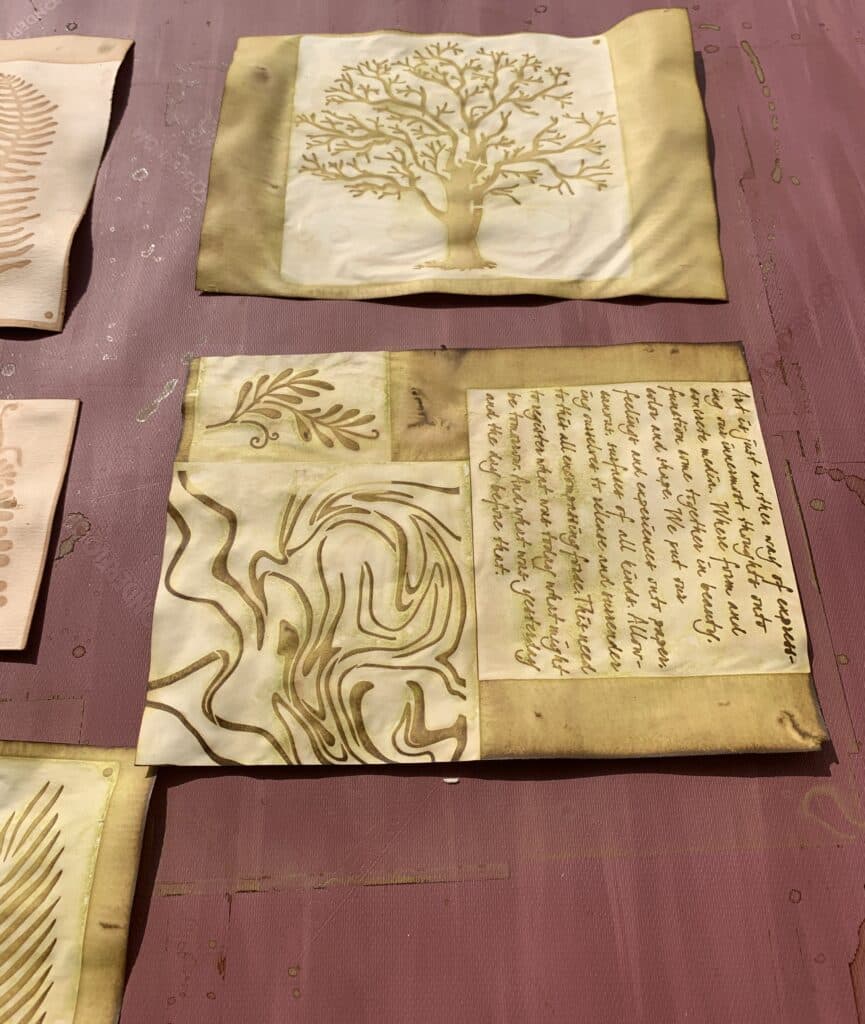

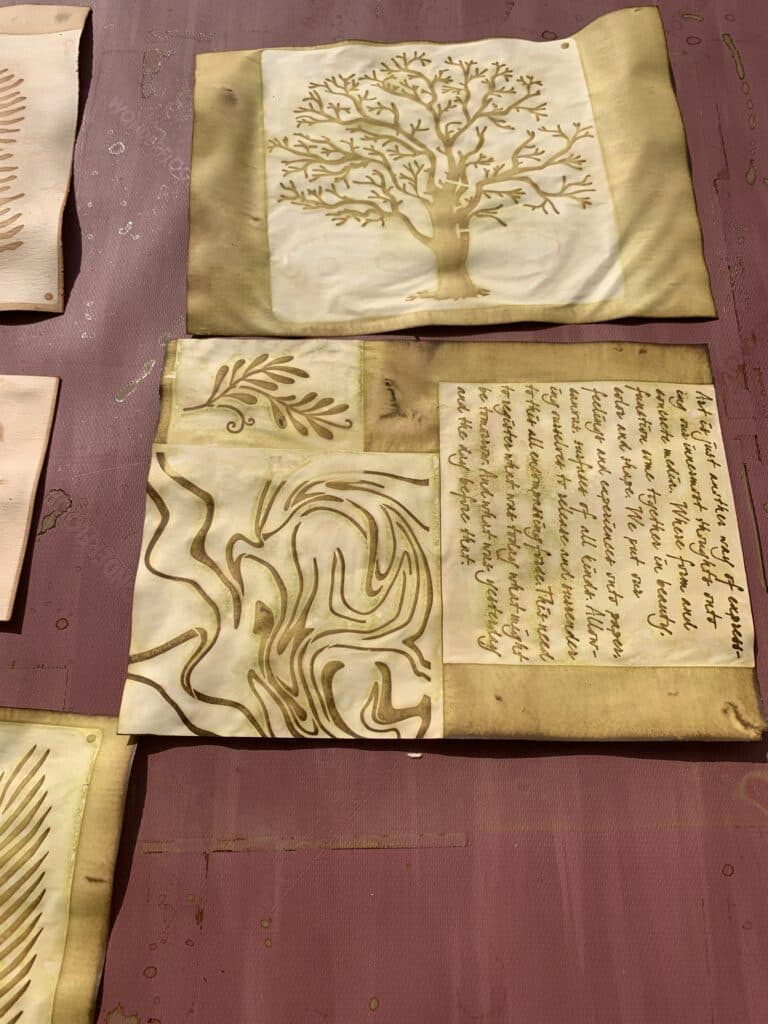
So I hope you understood the process and give it a try!
Here are some pictures from my other sessions too for your viewing pleasure.
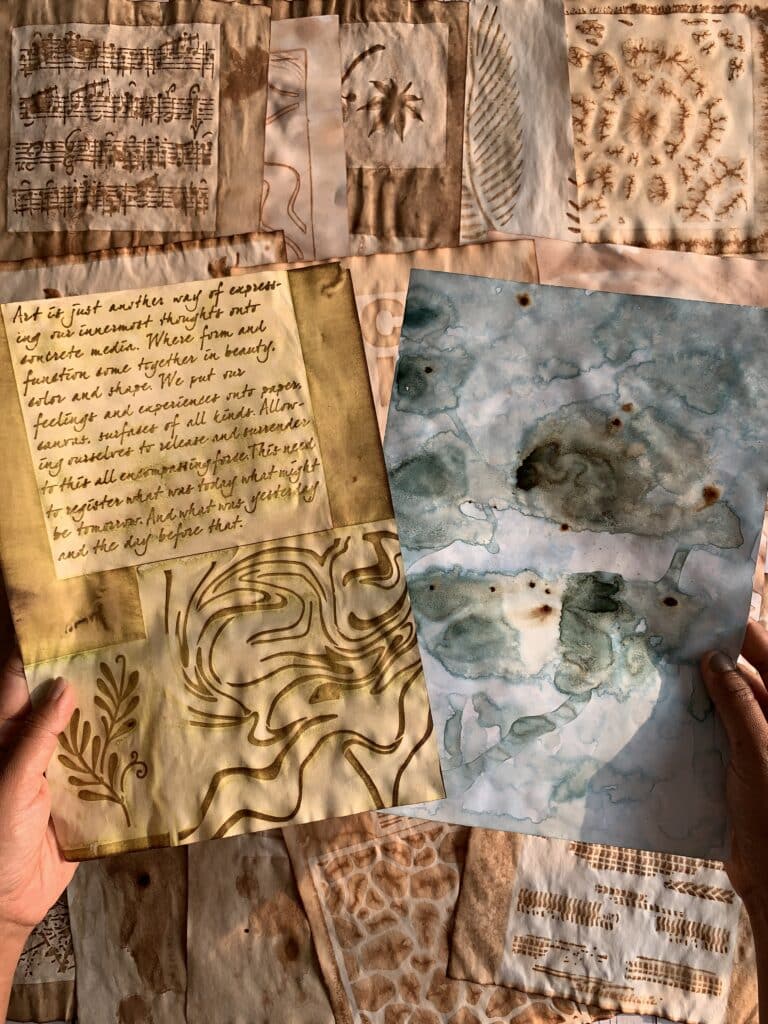

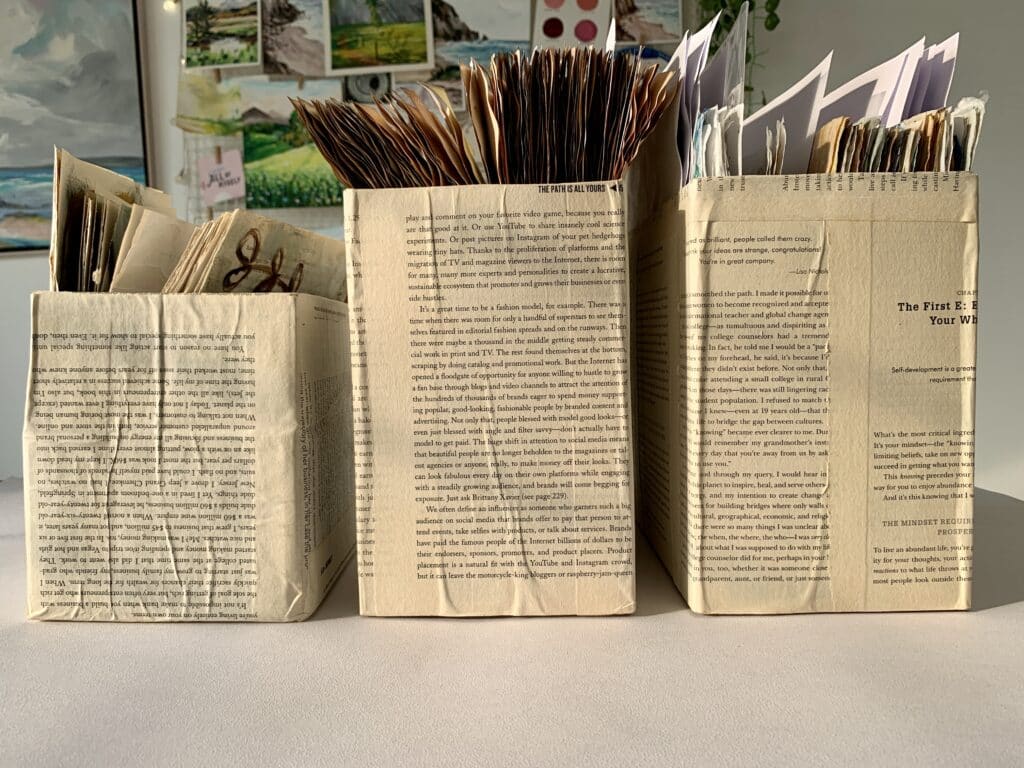
Now store all the papers in a storage box. I created this box by gluing old book pages and then I use a seperator to distinguish between the different types of papers, for easy use.
If you wana know how I created these boxes, check out this blog.

