
Acrylic painting is a popular and versatile medium that allows artists of all levels to express their creativity on canvas. However, for beginners, it can be a bit overwhelming to navigate through the various techniques, materials, and processes involved in acrylic painting. In this blog post, we will address 21 commonly asked questions by acrylic painting beginners to help you gain a better understanding and set you on the path to artistic success.
From understanding essential supplies to mastering techniques and overcoming challenges, this article serves as a valuable resource. Discover the secrets to color mixing, and avoiding common mistakes. Gain insights on caring for brushes, fixing mistakes, and varnishing your artwork for protection.
Unravel the mysteries of acrylic painting and unlock your creativity.
Let’s get started on this exciting artistic adventure!
1. What is acrylic paint, and why is it a good choice for beginners?
Acrylic paint is a water-based pigment that becomes water-resistant and permanent when it dries. It is a popular choice for beginners because it dries quickly, allowing for layering and corrections. Acrylics are also versatile, offering a wide range of techniques and applications, from thin washes to thick impasto textures.
2. What supplies do I need to start acrylic painting?
To begin your acrylic painting journey, you’ll need essential supplies that form the foundation of your artistic toolkit. These include acrylic paints, paintbrushes, a palette, canvas or painting surface, water for dilution, and cleaning materials.
Acrylic paints come in a wide range of colors, and it’s recommended to start with a basic set of primary colors along with black and white. Invest in a variety of brushes suitable for different techniques and sizes, ensuring you have flat, round, and detail brushes. A palette helps you mix and blend colors, and canvas or painting surfaces provide the base for your artwork. Keep a container of water nearby for diluting paints and cleaning brushes, and have paper towels or cloth for blotting and drying brushes.
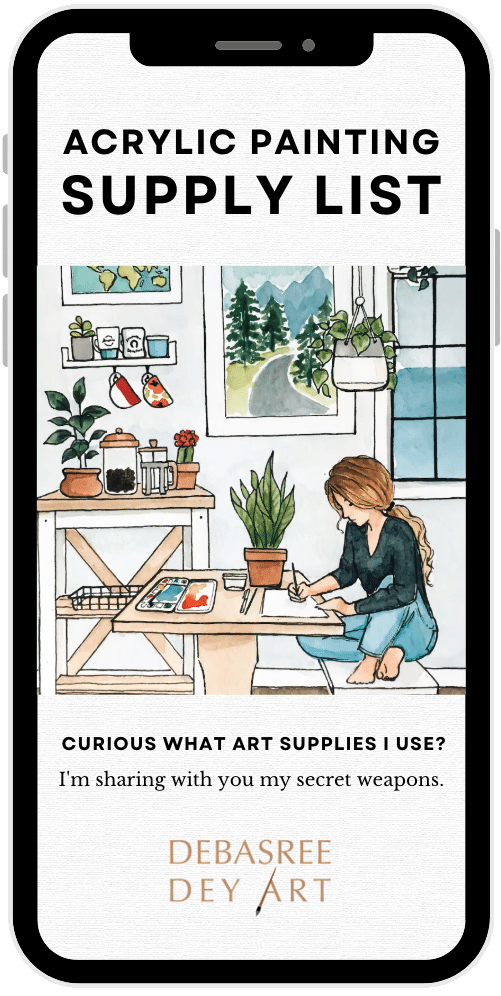
Get my exact supply list for acrylic paintings, with helpful color mixing tips that you can start implementing right away!
3. How do I choose the right acrylic paint brushes?
Choosing the right acrylic paint brushes depends on the desired effect and technique. Brushes come in various shapes (round, flat, filbert) and sizes (measured in numbers or letters). Generally, a set of synthetic brushes with a range of shapes and sizes is a good starting point. Consider the bristle type (soft or stiff), the handle length, and the quality of the brushes when making your selection.
4. What surfaces can I paint on with acrylics?
Acrylics can be applied to various surfaces, including canvas, canvas boards, wood panels, watercolor paper, and even rocks or ceramics. Ensure that the surface is properly prepared and suitable for acrylics to adhere well. Applying a gesso primer or preparing the surface with an appropriate sealer may be necessary, depending on the material you choose to paint on.
5. How do I prepare the canvas before painting?
Preparing the canvas or painting surface before you start painting is essential for ensuring optimal adhesion and longevity of your artwork. Start by ensuring that the surface is clean and free from dust or debris. If you’re using a new canvas, it’s recommended to apply a layer of gesso. Gesso is a primer that creates a smooth, consistent surface for paint application. It helps to prevent the paint from seeping into the canvas fibers and provides a stable foundation for your artwork. Apply gesso using a wide brush or a foam roller, making sure to cover the entire surface evenly. Allow the gesso to dry completely before starting your painting.
6. How Do I Mix Colors Effectively With Acrylic Paints?
Color mixing is a fundamental aspect of acrylic painting and allows you to expand your color palette and achieve the exact hues you desire. To mix colors effectively, begin by squeezing small amounts of the desired colors onto your palette. Use a clean brush or palette knife to mix the colors together thoroughly. Start with a 1:1 ratio of the colors you want to mix and gradually adjust the proportions to achieve the desired shade or tone. Remember to clean your brush or palette knife between color mixing to prevent muddying the colors.
7. How can I improve my color mixing skills?
Improving color mixing skills is a gradual process that comes with practice. Here are some tips to help you enhance your color mixing abilities:
- Start with a limited palette: Begin by working with a basic set of colors, preferably the primary colors (red, yellow, blue), white, and black. By understanding how these colors interact and mixing various combinations, you’ll gain a better understanding of color theory.
- Practice color mixing exercises: Set aside dedicated practice sessions to experiment with mixing different colors. Start with simple exercises like creating color gradients, mixing complementary colors, or exploring temperature variations.
- Use a color wheel or mixing guide: Utilize a color wheel or mixing guide to understand color relationships and harmonies. These tools can help you predict and achieve specific color combinations.
- Observe and study from life: Study colors in real-life objects and scenes. Pay attention to subtle color shifts, temperature variations, and how colors interact with each other in different lighting conditions. Observe and try to replicate these colors in your paintings.
- Keep a color mixing journal: Maintain a journal or notebook to document your color mixing experiments. Note down the combinations, ratios, and observations. This will serve as a valuable reference for future artworks.
With consistent practice and observation, your color mixing skills will improve over time.
This Color Theory Masterclass will help you learn and implement these concepts better in your art practice!
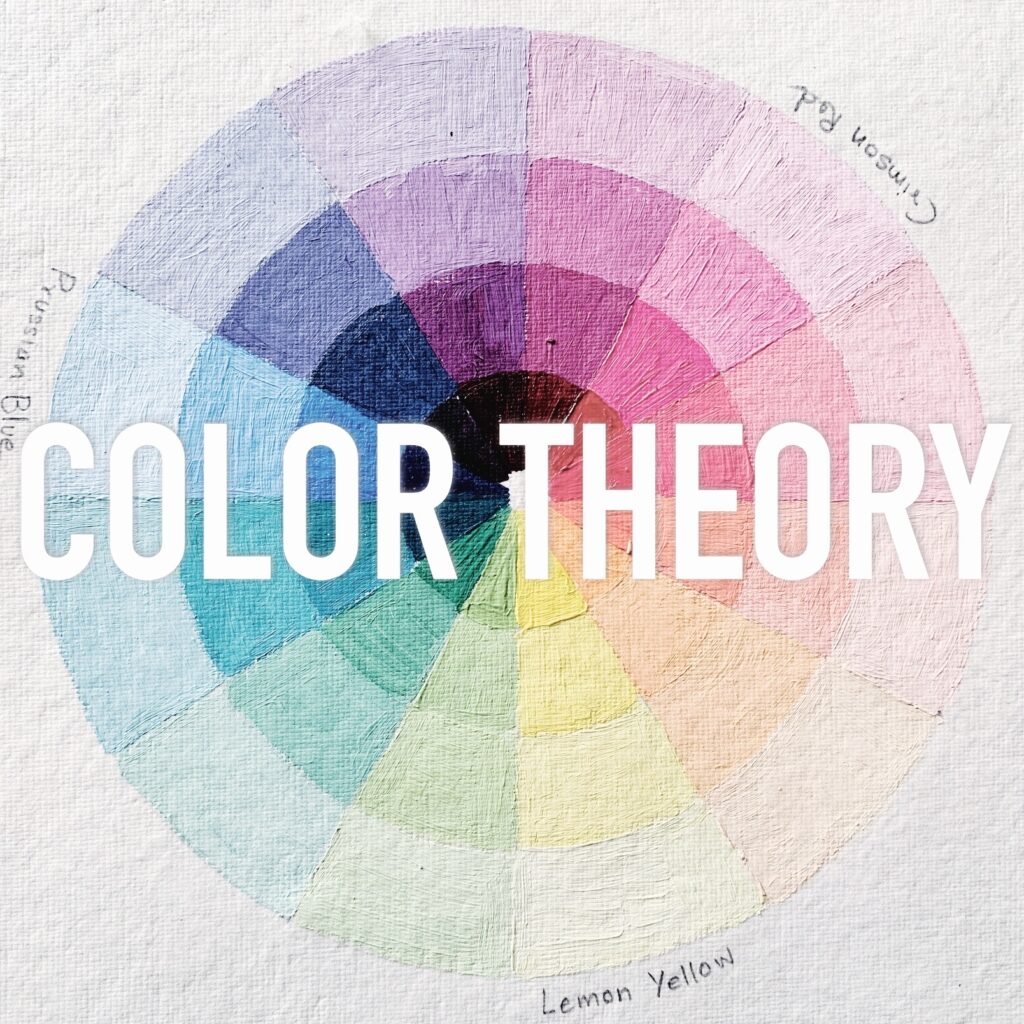
This Color Theory Masterclass will help you learn and implement these concepts better in your art practice!
8. What is the best approach to blending colors in acrylic painting?
Blending colors in acrylic painting can be achieved through various methods. Wet-on-wet blending involves applying wet paint on top of wet paint, allowing the colors to mix directly on the canvas. Wet-on-dry blending involves layering wet paint over dry layers, enabling controlled blending and layering.
9. How do I achieve smooth blending in acrylics?
Smooth blending is a technique that allows colors to seamlessly transition into one another, creating soft gradients and realistic shading. To achieve smooth blending:
- Work quickly: Acrylic paints dry rapidly, so it’s essential to work swiftly when blending colors. Prepare your palette with the colors you intend to blend and keep a spray bottle of water handy to keep the paint moist.
- Blend wet paint into wet paint: Apply the first color onto the canvas, then quickly apply the second color next to it while the first color is still wet. Use a clean brush or a blending brush to gently blend the colors where they meet. Repeat the process as needed to achieve the desired blend.
- Blend colors on the palette: Mix the desired colors on your palette before applying them to the canvas, ensuring a smooth transition between hues.
- Work in layers: Apply thin layers of paint, allowing each layer to dry before adding the next. This helps to build up the desired colors gradually and achieve smoother transitions.
- Use a wet palette or palette spray: Keeping your paint wet for longer can aid in blending. Consider using a wet palette or periodically misting your palette with water to keep the paint moist.
- Blend with a dry brush: After applying the paint, use a clean and dry brush to gently blend the edges between colors, creating a softer transition.
Remember to practice blending techniques on a separate surface or canvas to become comfortable with the process before applying it to your actual artwork. With practice and experimentation, you will develop your own techniques for achieving smooth blends and transitions that suit your style.
10. What techniques can I use with acrylic paints?
Acrylic paints offer a wide range of techniques that allow you to explore different styles and create unique effects in your artwork. Some commonly used techniques include:
• Wet-on-wet: This technique involves applying wet paint onto a wet surface, allowing the colors to blend and merge together.
• Dry brushing: With this technique, you use a brush with minimal paint and apply it lightly over the surface, creating texture and highlighting raised areas.
• Glazing: Glazing involves applying thin layers of transparent or translucent paint over dry layers, creating depth and luminosity.
• Impasto: Impasto is a technique where thick layers of paint are applied with a palette knife or brush, creating texture and three-dimensional effects.
• Layering: Layering involves building up multiple layers of paint, allowing each layer to dry before applying the next. This technique helps to create depth, add details, and adjust values.
Experimenting with these techniques will not only enhance your skills but also allow you to develop your own artistic style.
11. How do I prevent my acrylic paint from drying too fast?
Acrylic paint dries quickly, but there are a few methods to extend its drying time:
• Use a palette with a lid or cover it with a damp cloth: This helps to keep the paint moist for longer periods.
• Mist your palette and paints with water: Spraying a fine mist of water over the palette and paints can slow down the drying process.
• Use a slow-drying medium or retarder: These additives can be mixed with the paint to increase its working time. Follow the instructions provided by the manufacturer when using such mediums.
Remember that acrylics dry from the outside in, so even if the surface feels dry, the paint underneath may still be wet. Adjust your painting techniques and work in smaller sections to manage the drying time effectively.
12. How do I create texture in my acrylic paintings?
Acrylics are well-suited for creating texture due to their thick consistency and fast-drying nature. Here are a few ways to add texture to your acrylic paintings:
• Use a palette knife: Apply paint directly with a palette knife to create bold and textured strokes. You can scrape, push, or twist the knife to achieve different effects.
• Add texture mediums: Mix texture gels or pastes into your paint to create various textures. These mediums come in different types, such as heavy gels, molding pastes, or granular additives, each providing unique textural qualities.
• Experiment with different tools: Explore unconventional tools like sponges, brushes, or even household items to create texture. Dabbing, stippling, or dragging these tools through wet paint can yield interesting results.
Remember to allow the textured areas to dry thoroughly before applying subsequent layers of paint to avoid muddying the textures.
13. Can I use water to thin acrylic paint?
Yes, you can use water to thin acrylic paint. Adding water helps to dilute the paint, making it more transparent and fluid. It allows for smoother brushstrokes and easier blending. However, be cautious not to add too much water, as it can affect the integrity and adhesion of the paint. It’s recommended to use a water spray bottle to add water gradually and mix it well with the paint until you achieve the desired consistency.
14. What is the difference between thinning medium and water for acrylic paint?
Water can be used to thin acrylic paint, making it more transparent and easier to work with. Thinning medium, on the other hand, is a professional acrylic medium designed to thin the paint without affecting its adhesive properties or color intensity. Thinning medium also helps extend the drying time.
15. How do I clean my acrylic paint brushes?
Proper cleaning of your acrylic paint brushes is essential to maintain their longevity. Here’s a simple process to clean them effectively:
- Rinse: Rinse the brushes under warm water to remove excess paint. Gently massage the bristles with your fingers to loosen the paint.
- Cleanse: Use a mild soap or brush cleaner and work it into the bristles. You can also use a mixture of water and gentle dish soap.
- Rinse again: Rinse the brushes thoroughly under warm water until the water runs clear and all the soap is removed.
- Reshape: Gently reshape the bristles with your fingers.
- Dry: Lay the brushes flat or hang them upside down to air dry. Avoid standing them upright as water can accumulate in the ferrule, causing damage.
Regular cleaning and proper maintenance will ensure that your acrylic brushes remain in good condition for longer.
16. What are common mistakes to avoid in acrylic painting?
As a beginner, it’s common to make mistakes while exploring acrylic painting. Being aware of these common mistakes can help you avoid them and enhance your painting experience. Here are a few to be aware of:
- Using too much water: Excessive water can dilute the paint, affecting its opacity and vibrancy. Use water sparingly and gradually when necessary.
- Not allowing layers to dry: Acrylic paints dry quickly, but applying wet layers over partially dried ones can result in unwanted blending or muddy colors. Allow each layer to dry before adding subsequent layers.
- Using dull or dirty brushes: Clean your brushes thoroughly before each painting session to prevent unwanted color mixing or contamination. Working with clean, well-maintained brushes ensures better paint application and color accuracy.
- Using too much paint: Start with thin layers of paint and gradually build up the desired colors. Using excessive paint can lead to extended drying times, muddy colors, and a loss of detail.
- Overblending: While blending is important, be mindful not to over-blend every stroke. Leaving some brushwork visible adds texture and energy to your painting.
- Neglecting color mixing: Experiment with color mixing to expand your palette and create unique hues. Relying solely on tube colors can limit your creative possibilities.
By being mindful of these common mistakes, you can elevate your acrylic painting skills and produce high-quality artworks.
17. How can I fix mistakes or make changes in my acrylic painting?
Acrylic paint is forgiving and allows for easy corrections. Here are a few methods to fix or make corrections in acrylic paintings:
• Painting over: If the mistake is small, you can simply paint over it once the layer is dry. Make sure to match the color and value of the surrounding area.
• Scraping or sanding: For thicker mistakes or texture adjustments, you can use a palette knife or sandpaper to scrape off or sand down the unwanted area. Be careful not to damage the underlying layers.
• Blending and layering: If a transition or blend needs fixing, you can gently blend or layer new paint over the problematic area to correct it.
• Gesso and starting over: In some cases, you may need to apply a layer of gesso to the specific area and start again. This method is useful for major mistakes or when the overall composition needs adjustment.
Remember that mistakes are opportunities for growth and learning. Embrace them as part of the artistic process, and don’t be afraid to experiment and make corrections when necessary.
18. How do I prevent my acrylic paint from drying too quickly on the palette?
To avoid acrylic paint drying too quickly on your palette, there are a few strategies you can employ.
- One method is to use a wet palette, which involves placing a damp sponge or paper towel at the bottom of a shallow container and covering it with palette paper or parchment paper. This helps to maintain moisture in the paint.
- Additionally, you can spray a fine mist of water over your palette to keep the paint moist.
- Another option is to limit the amount of paint squeezed out onto the palette, working with smaller quantities to prevent wastage.
Finally, you can use a palette seal or cover to create an airtight environment and slow down the drying process.
19. How do I varnish and protect my finished acrylic paintings?
Varnishing your acrylic paintings helps protect them from dust, dirt, and UV damage while enhancing their appearance. Here’s a general process for varnishing:
- Ensure the painting is completely dry: Acrylic paintings should be fully cured (at least a few weeks) before varnishing.
- Choose a varnish: Select a varnish specifically designed for acrylic paintings, available in gloss, satin, or matte finishes. Follow the manufacturer’s instructions.
- Prepare the painting: Make sure the painting surface is clean and free of dust or lint. If needed, gently wipe the surface with a soft, lint-free cloth.
- Apply the varnish: Use a soft brush or spray to apply the varnish in thin, even coats, following the instructions on the product. Allow each layer to dry completely before applying additional coats.
- Let it cure: After varnishing, allow the painting to cure in a clean, dust-free environment for the recommended time specified by the varnish manufacturer.
Properly varnishing your acrylic painting will provide long-term protection and ensure its longevity.
20. What are some tips for beginners to improve their acrylic painting skills?
- Experiment with different techniques, materials, and subjects to discover your style.
- Practice regularly and be patient with yourself. Improvement takes time and dedication.
- Take inspiration from other artists, study their work, and learn from their techniques.
- Don’t be afraid to make mistakes. Embrace them as opportunities for growth and learning.
- Join art communities or take classes to learn from experienced artists and receive constructive feedback.
- Keep an art journal or sketchbook to practice new ideas, color combinations, and compositions.
- Enjoy the process and have fun with your artwork. Remember, it’s about self-expression and exploration.
21. Are there any recommended tutorials or resources for beginner acrylic painters?
There is an abundance of tutorials and resources available for beginner acrylic painters. These resources can provide guidance, inspiration, and step-by-step instructions tailored specifically for beginners. Here are a few recommended sources:
- Online tutorials: Platforms like YouTube and dedicated art websites offer a vast collection of video tutorials and demonstrations by experienced artists. Search for specific techniques, subjects, or styles that interest you. Check out all the free acrylic painting tutorials here.
- Online courses: Many websites and educational platforms like Skillshare & Udemy offer online courses specifically designed for acrylic painting beginners. These courses provide structured lessons, feedback, and guidance to help you progress. Check out all the online acrylic painting courses here.
- Books and instructional guides: Explore art instruction books or guides that focus on acrylic painting for beginners. These resources often provide comprehensive information, tips, and techniques to help you build your skills.
- Local art classes or workshops: Joining local art classes or workshops can offer hands-on learning, interaction with other artists, and guidance from experienced instructors.
Remember that learning is a continuous process, and exploring different resources can expand your knowledge and help you develop as an artist.

Congratulations on taking the first step in your acrylic painting journey! By addressing these commonly asked questions, we’ve equipped you with valuable knowledge and insights to guide you on your artistic path.
Remember to experiment, practice, and embrace your creativity as you explore the endless possibilities of acrylic painting. Whether you’re a beginner or an experienced artist, there is always room to grow and develop your skills.
Enjoy the process, express yourself, and let your imagination flourish on the canvas.
Now, it’s your turn! What questions or concerns do you have as a beginner acrylic painter? Is there anything specific you would like to learn or explore further? Share your thoughts and questions in the comments section below.
Let’s continue this artistic journey together, supporting and inspiring one another as we unleash our creativity through the vibrant world of acrylic painting.


This blog post serves as a comprehensive resource for beginners in acrylic painting, addressing a wide range of commonly asked questions. Covering topics from basic techniques to equipment and paint selection, it offers valuable insights that can help newcomers navigate the initial challenges of acrylic painting. Whether someone is wondering about the drying time of acrylics or seeking advice on blending colors, this post is likely to answer their questions and help them feel more confident as they start their acrylic painting journey.
Thank you for such a great read. I am just restarting to paint. My room now is VERY limited for painting but I will make it do. This post has given me encouragement and lots of information to think about and use. THANK YOU! Barbara