
If you love making tags for your art journal, happy mail, or collage projects, you’re going to love this! In today’s blog, I’m sharing a simple and creative way to make embellished mixed media tags using scraps of fabric, easy hand stitching, and a master sheet of mini abstract paintings.
These tags were cut out from the same master sheet I created in this blog post, where I shared how I painted a large intuitive background and then cut it down into smaller mini abstracts. If you haven’t seen that yet, go check it out first – it’s all part of the free tester workshop, and you can even join the class to learn how to create your own expressive master sheet for free.
Once I had my mini paintings, I realized there was more goodness left on the page – so I used the leftover sections to cut out tags!
🎟️ 100% FREE
Make Create Express free creative retreat weekend featuring 26 artists from around the world, each offering a unique mini-workshop designed to spark your creativity.
▶️ Watch This Video
In this video tutorial, I’m showing you how I embellish those handmade tags using simple materials you probably already have:
Here’s what I used:
Tags cut from the mini abstract master sheet
Fabric scraps and lace bits
Needle and thread for hand stitching
Cartridge paper for backing
Watercolors
Hole punch + fabric ribbons

Mixed Media Artist Resource Library
Free printables, collage papers, creative prompts & how-to guides
I’ve put together a free resource library designed just for you, packed with everything you need to fuel your creativity. It’s my way of giving back to the mixed media community with resources to inspire your next project. Click here to join.
🧵 Embellishment Process (Updated with Stitch Details):
Cut Tags from Master Sheet:
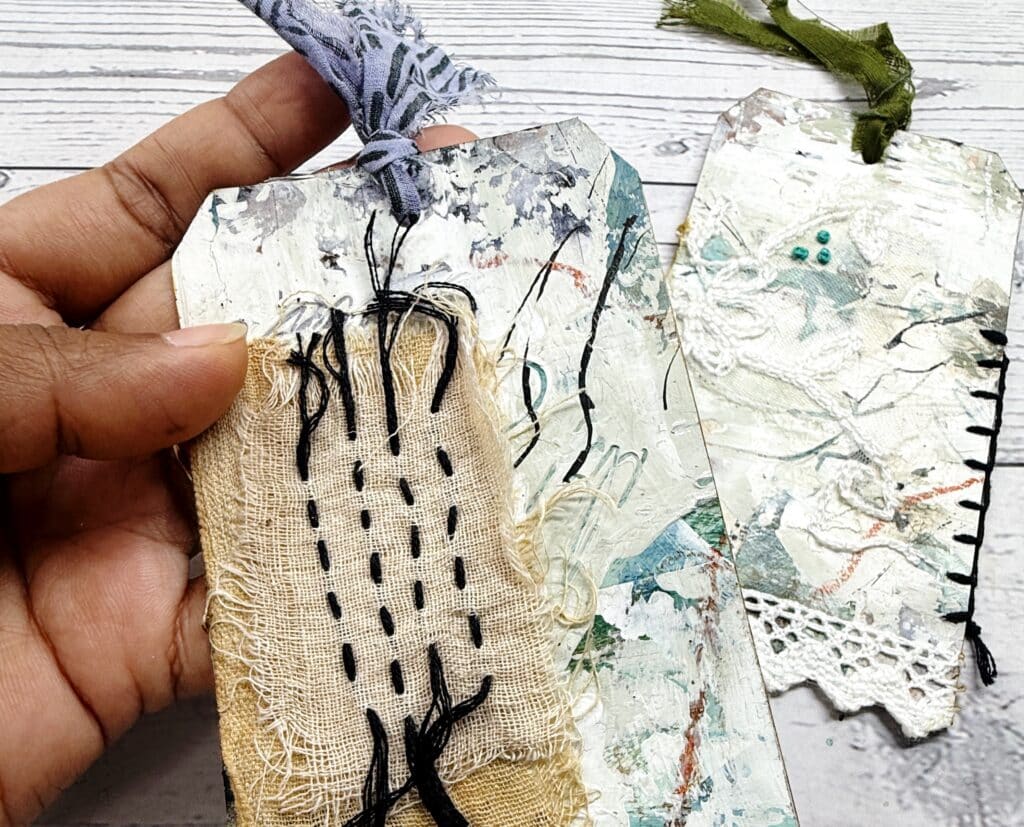
I started by cutting out tags from leftover areas of my mini abstract master sheet. These already had beautiful layers of color and texture, so they made the perfect base for embellishments.Layer Fabric Scraps:
I arranged small clusters of fabric scraps and lace—usually 2 or 3 pieces layered together. This adds soft texture and dimension to the tags.Add Hand Stitching:
I used a few simple embroidery stitches to secure the fabric and add extra detail. These are easy to learn and make a big impact:Round Stitch (or running stitch):
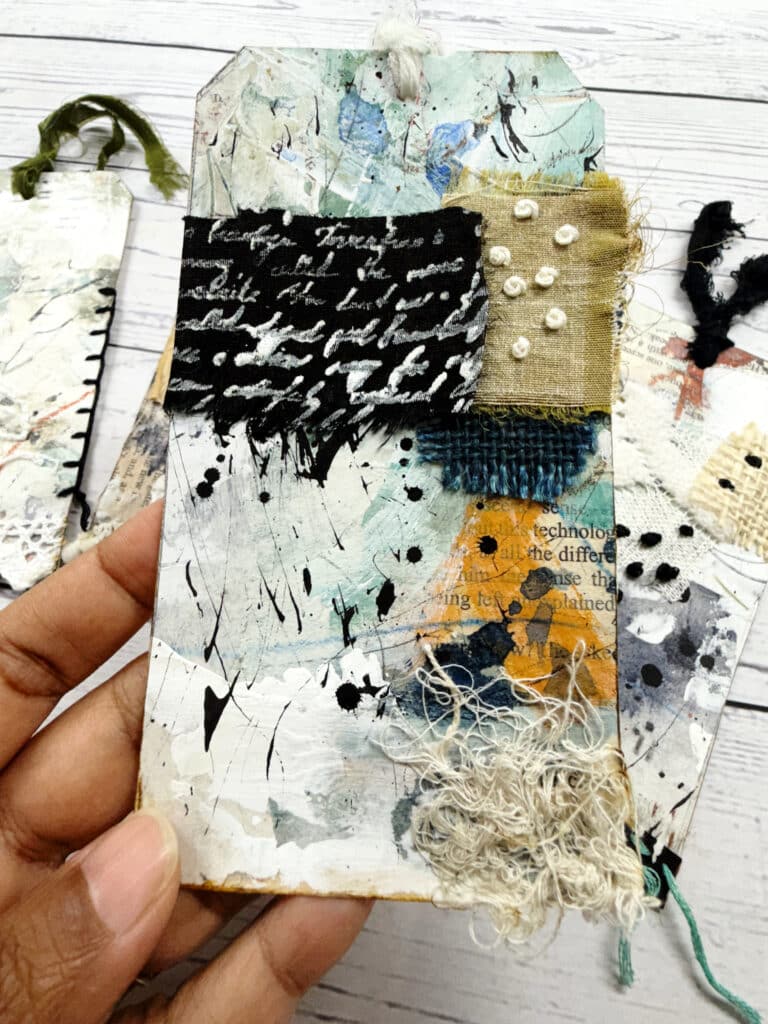
A basic stitch that goes in and out through the fabric or paper, creating a dashed line. I used this around the edges or to hold the fabric in place.French Knots:
A decorative knot made by twisting the thread around the needle and pulling it through the fabric. These create lovely little raised dots—perfect for a handmade feel.Blanket Stitch:
A looped stitch often used on the edges of fabric. I used this to frame the fabric pieces or decorate the edge of the tag.
Stitch in Different Ways:
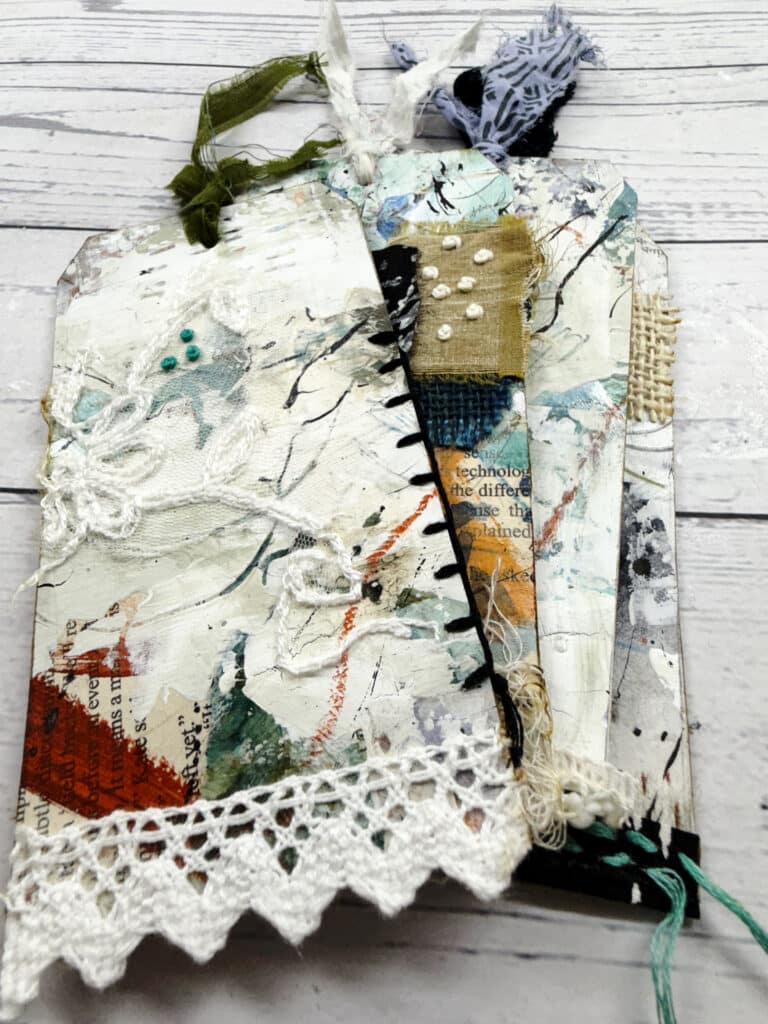
You can stitch on just the fabric first and then glue it to the tag, or layer the fabric directly on the paper and stitch through both. I tried both methods and loved the variety it created.Back the Tags:
Once the embellishments were done, I cut pieces of cartridge paper to the same size and glued them to the back of each tag. This hides the stitching and gives a clean, sturdy finish.Create Journaling Space:
On the back, I painted soft horizontal lines using watercolor. These serve as a writing space—so you can add quotes, notes, or journal entries.Add Ribbon or Fabric Ties:
Finally, I punched a hole at the top of each tag and added some fabric scraps or ribbons to finish them off.
These tags are now ready to be tucked into art journals, added to happy mail, or gifted as tiny pieces of handmade joy.
✂️ Want to Learn How to Make the Master Sheet?

Head over to this blog where I show you exactly how I created the big painted background. You’ll also find details on the free tester workshop where I guide you step by step through the process. Come join – it’s playful, intuitive, and totally beginner-friendly!


