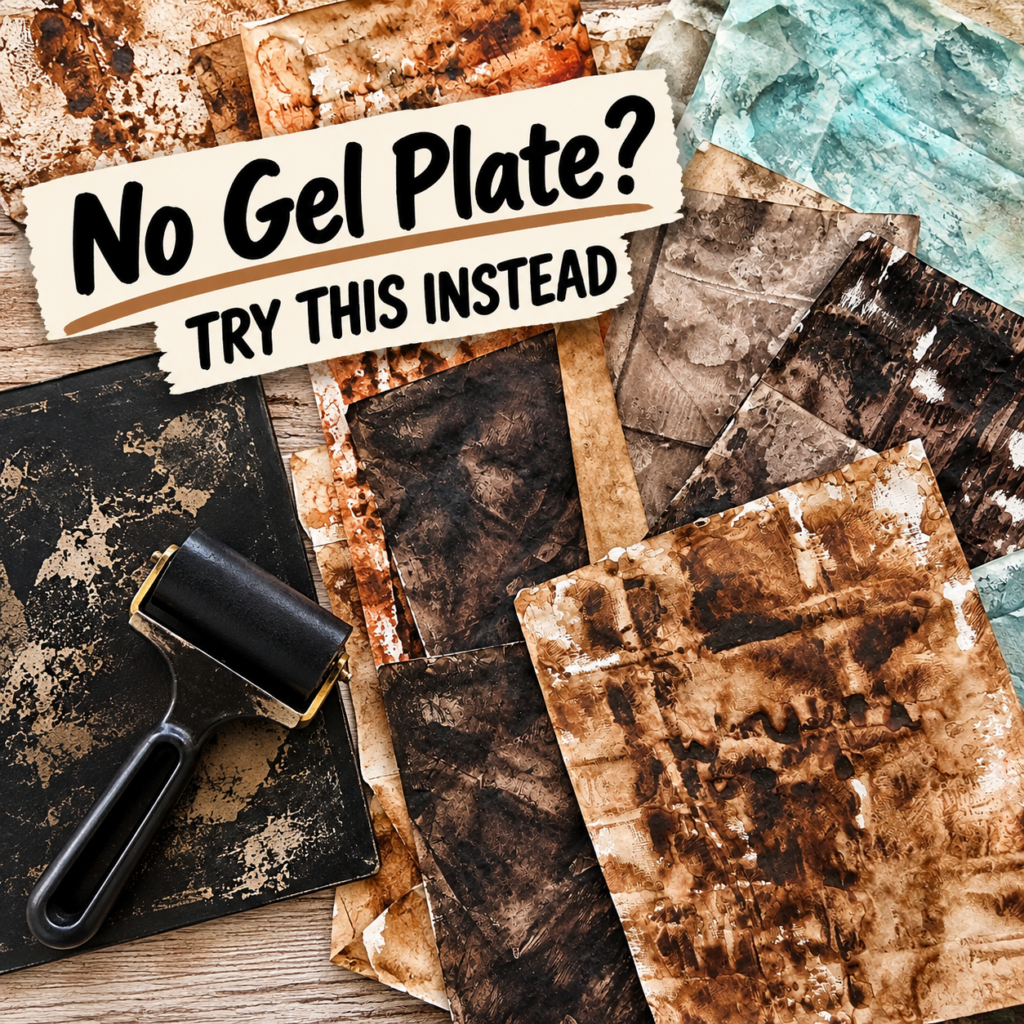
Have you ever wanted to try gel printing but stopped yourself because you don’t own a gel plate? What if you could experiment with paint, create beautiful textures, and make your own collage papers using something as simple as a black plastic sheet and a brayer?
Today, I want to share a simple gel plate alternative that I discovered while exploring mixed-media art journaling a few years ago. Before I bought my own jelly plate, I was experimenting with different surfaces and tools to see what I could use to create interesting painted papers.
One of my favourite discoveries was a thick black plastic sheet cut from an ordinary A4 file folder!
Combined with a brayer and a few acrylic paints, this humble material became a surprisingly useful surface for creating textured deli papers. The results are imperfect, unpredictable, and full of character—which is exactly what I love about making my own papers.
In this tutorial, I’ll show you how I use this DIY gel plate alternative to create painted deli papers that you can use in collage, art journaling, and other mixed-media projects.
🎥 Watch the Video
What Is a Gel Plate Alternative?
A gel plate is a flexible printing surface that allows you to apply paint, create marks, and transfer patterns onto paper. It’s a wonderful tool for making layered prints, experimenting with stencils, and discovering unexpected textures.
But you don’t necessarily need to own one to begin experimenting with paint and paper.
A gel plate alternative is simply another surface or method you can use to explore similar creative possibilities. In my case, I use a sheet of thick black plastic from an A4 file folder.
This isn’t intended to replace every function of a traditional gel plate. Instead, it’s an accessible way to explore paint application, brayer marks, and textured paper-making without investing in another art supply.
And the best part? You may already have the main material at home.
Materials You'll Need
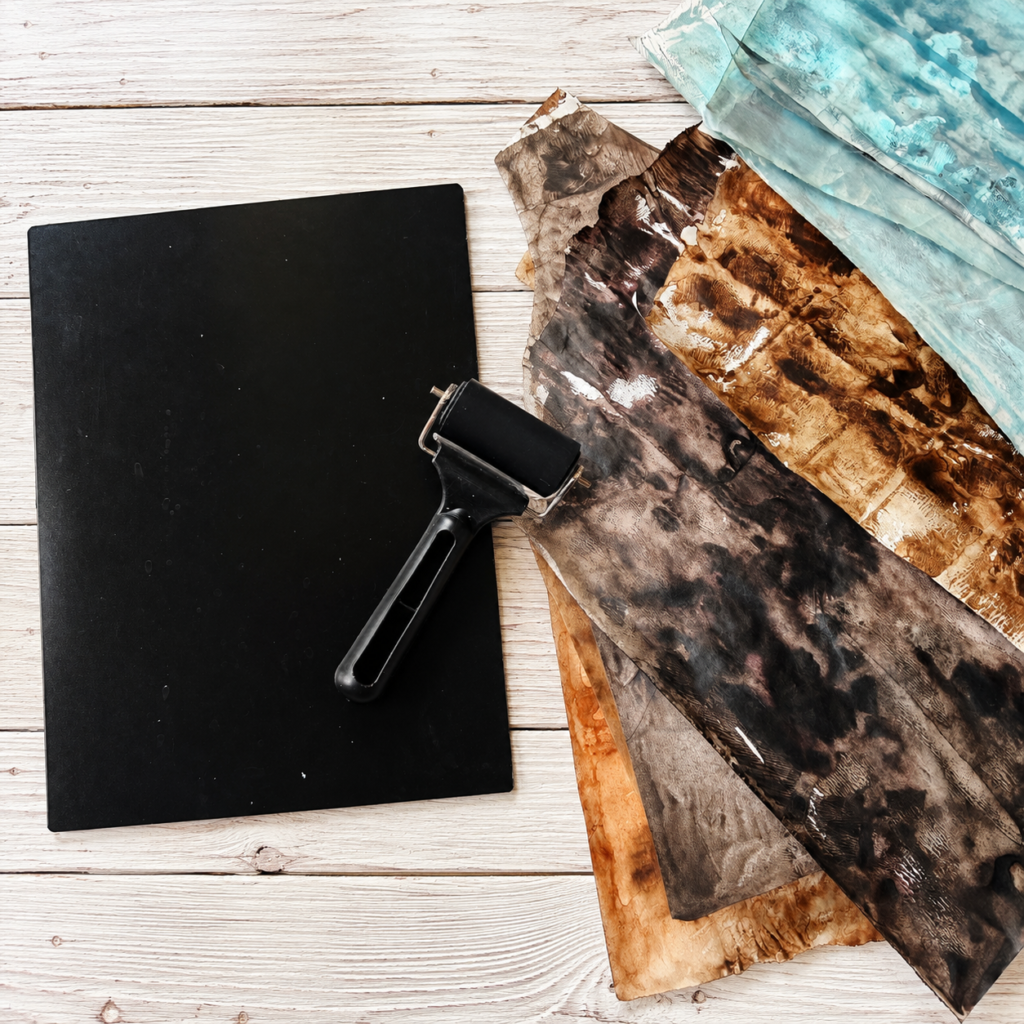
You don’t need a long list of specialist supplies for this technique. Here’s what I use:
A thick black plastic sheet: Cut from an A4 plastic file folder. Choose a reasonably flat, smooth piece of plastic.
A brayer: A 2 inch rubber brayer helps spread the paint and create marks across the surface.
Acrylic paints: Choose a few colours that work well together.
Deli paper: Also called food wrapping or bakery paper in some places. Its thin, slightly translucent quality makes it particularly useful for collage and layering.
A flat work surface: Protect your table before you begin.
You can experiment with different colours and papers, but I recommend starting with just two or three paint colours. This gives you room to explore the textures without getting overwhelmed by too many choices.
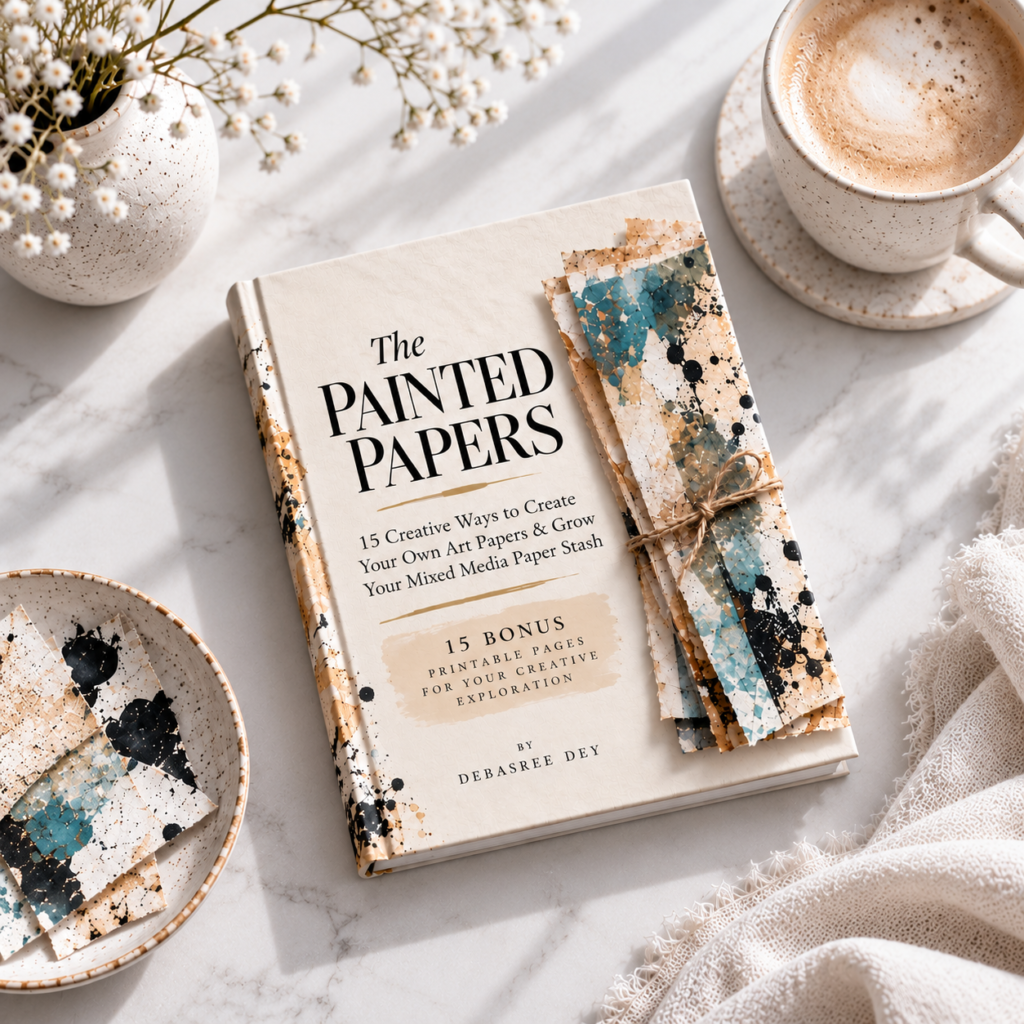
Download Your Free ebook
Explore 30+ techniques to make your own painted papers + 15 bonus printable pages.
Grow your stash of collage papers with this eBook.
How to Make Textured Papers Using This DIY Gel Plate Alternative
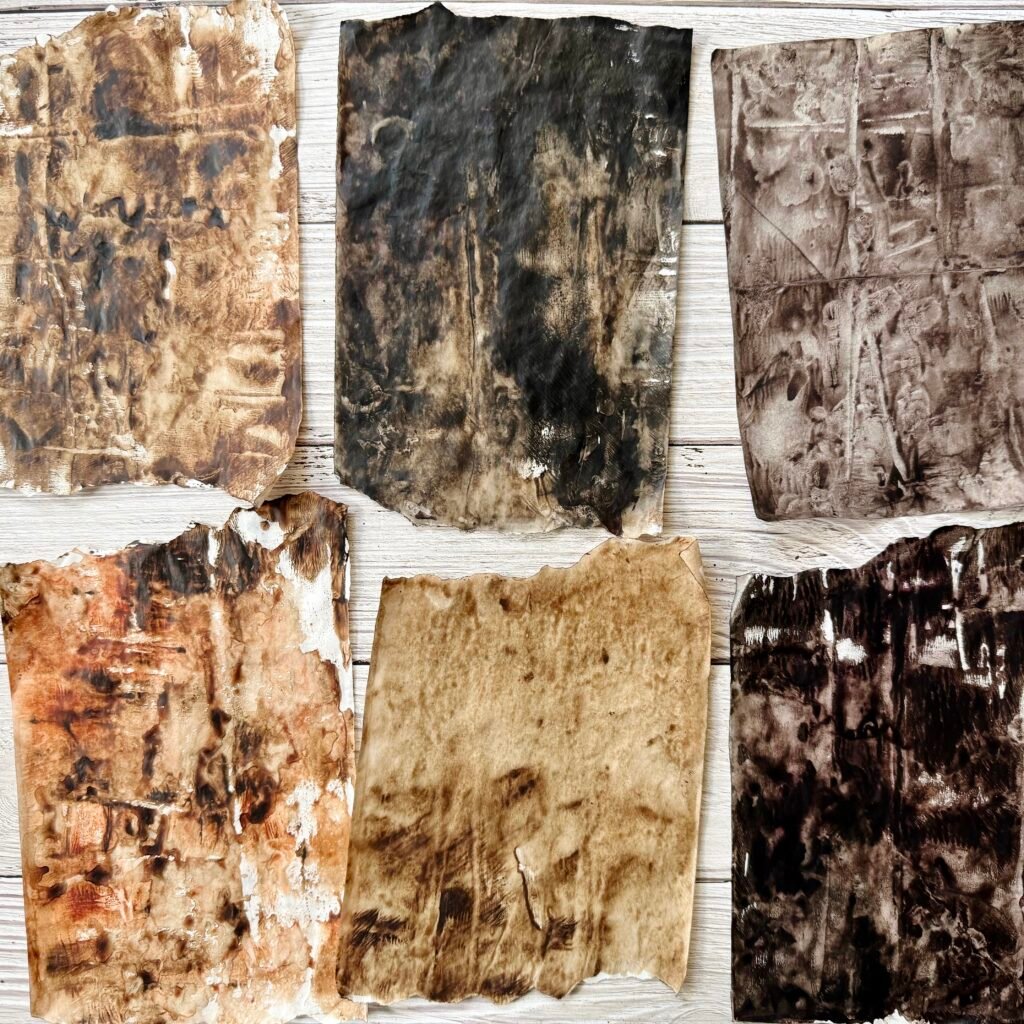
The process is quite simple, and you only need a few basic supplies to get started: a thick black plastic sheet, a brayer, acrylic paints, and deli paper.
Step 1: Prepare Your DIY Gel Plate Alternative
For this technique, I’m using a piece of thick black plastic that I cut out from an ordinary A4 file folder. I discovered that this type of plastic worked well for my experiments when I was looking for an alternative to a gel plate.
Place the plastic sheet on a flat work surface. It will serve as the surface on which you spread and work the paint before transferring the marks onto your deli paper.
You don’t need to prepare the surface with any special products. Just make sure it’s clean and dry before you begin.
Step 2: Choose Your Colours and Apply the Paint
Start by selecting a few acrylic paint colours that work well together. I prefer working with a limited colour palette because it helps me create a collection of papers that feel connected, even when the patterns and textures vary.
For this project, I’m working with two colour combinations.
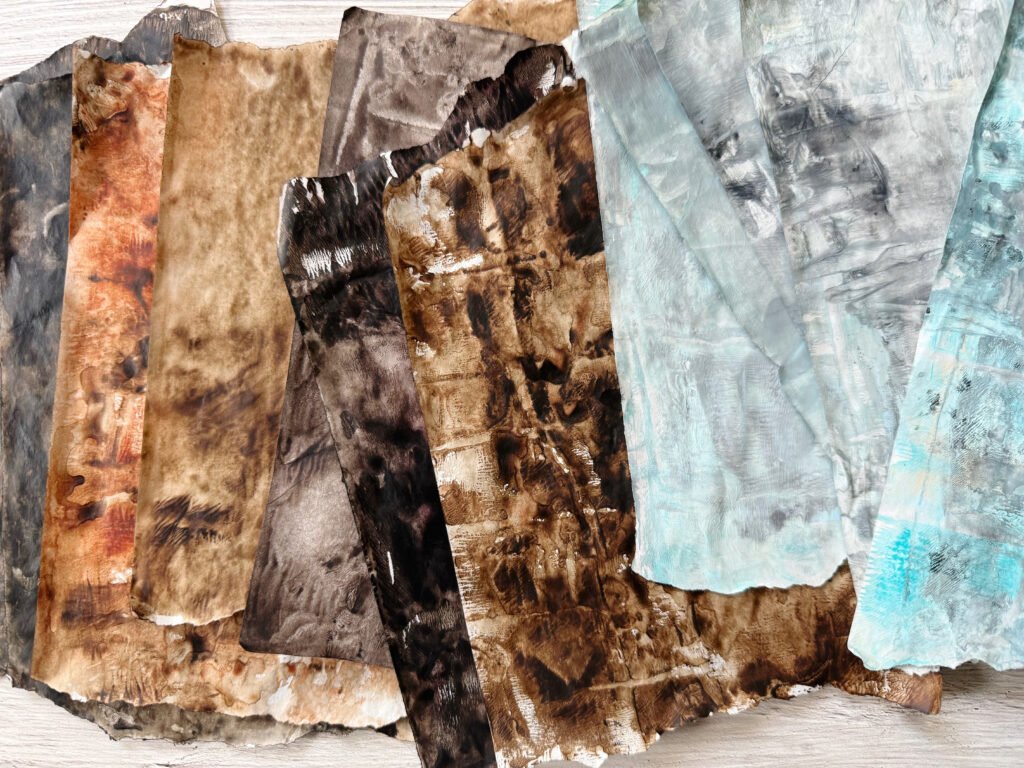
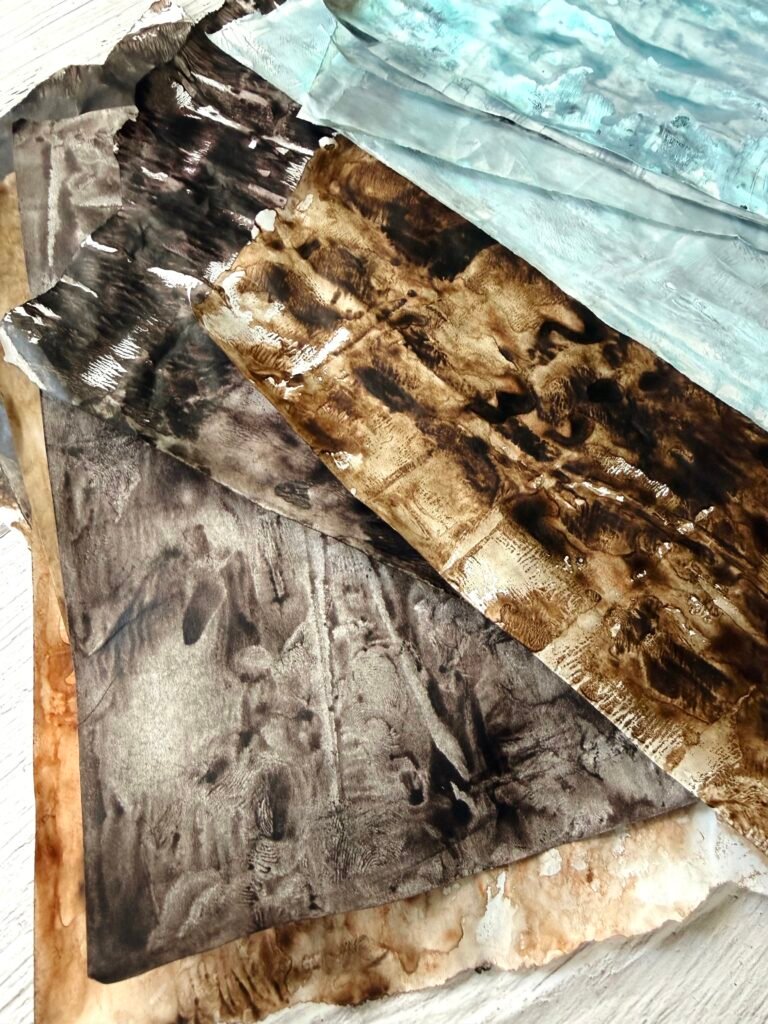
For the first set, I’m using warm, earthy shades of burnt umber, burnt sienna, and black, with a little Prism Violet. I’m also using a mixture of burnt umber and black that I had stored in a container.
For the second set, I’m exploring cooler shades of blue and grey.
Apply small amounts of paint to the plastic sheet. You don’t need to cover the entire surface evenly. Leaving variations in the paint helps create interesting marks when you work with the brayer.
Step 3: Use the Brayer to Create Texture
Now comes the fun part! Roll your brayer across the paint on the plastic sheet and observe the marks it creates.
One of the things I particularly enjoy about this technique is the texture produced by the edge of the brayer. Instead of creating a completely smooth layer of paint, the movement can leave behind broken lines, irregular patterns, and areas where the paint appears lighter or more concentrated.
Experiment with the direction of your strokes and the amount of pressure you apply. You can also vary the amount of paint on the surface to see how it affects the resulting marks.
The idea isn’t to create a perfectly uniform layer. It’s to explore the different textures you can produce with a simple tool and an accessible printing surface.
Step 4: Transfer the Texture onto Deli Paper
Once you’ve worked the paint across the plastic, place a sheet of deli paper over the painted surface. Gently press the paper into contact with the paint, then carefully lift it to reveal the print.
The paint transfers onto the paper, capturing some of the colours and textures you’ve created with the brayer. Each print will look a little different, depending on how the paint was spread and where the paper made contact with the surface.
This unpredictability is part of what makes handmade papers so interesting. You may get areas of dense colour alongside lighter marks, gaps, and subtle variations in texture.
Handle the deli paper gently, as it is thin and can tear easily. Allow each sheet to dry before stacking it with your other papers.
Step 5: Keep Experimenting to Create a Collection of Papers
Once you’ve made your first print, don’t stop there. Continue experimenting with the remaining paint and make several sheets before changing your colour combination.
Try varying the brayer movements, using different amounts of paint, or combining lighter and darker shades. You can also make multiple prints from the same paint application to see how the texture changes as less paint remains on the surface.
Remember, the aim is not to make every sheet look identical. You’re creating a collection of unique painted papers that you can use in future mixed-media projects.
A little tip: A plastic sheet won’t behave exactly like a traditional gel plate, so think of this as an alternative way to experiment with paint and texture rather than a direct replacement for every gel-printing technique. Part of the pleasure is discovering what this simple surface can do.
Why Try a Gel Plate Alternative?
1. You can start with a simple material.
A piece of plastic from an A4 file folder can become a useful surface for paint experiments. You don’t need to purchase a traditional gel plate before you begin exploring this approach.
2. You can focus on mark-making.
The brayer creates interesting variations in the paint. By changing your pressure, direction, and paint application, you can discover a range of textures.
3. You can build a collection of handmade papers.
Rather than buying patterned paper for every project, you can gradually create your own stash of unique painted papers.
4. You can experiment without worrying about perfection.
Not every print will turn out as expected, and that’s fine. The unexpected marks may be exactly what a future collage needs.
5. You can explore a different approach to gel printing.
If you’ve been curious about gel printing without a gel plate, this method offers a way to play with paint and paper using an alternative surface. Just keep in mind that a plastic sheet won’t behave exactly like a flexible gel plate, and the results will depend on your materials and technique.
Want More Ways to Create Your Own Painted Papers?
If you enjoy experimenting with paper, I’ve put together a free e-book called Painted Papers to help you discover more ways to create your own art materials.
Inside, you’ll find 15 printable papers and ideas for 15 different ways to create papers for your mixed-media projects. One of the techniques explored in the guide is painting on deli paper.
You can use these ideas to build your own collection of handmade papers for collage, art journaling, and other creative experiments.
Whether you’re trying this gel plate alternative for the first time or already have a growing collection of painted papers, I hope the e-book gives you fresh ideas to explore.
Download your FREE Painted Papers e-book here
And if you’d like to explore these paper-making techniques in greater depth, you can also learn more about my separate Painted Papers online class.
Create Unique Black & White Collage Papers
3 inspiring video lessons to create a stash of unique, artful materials for your mixed-media projects.
Final Thoughts
You don’t always need specialised tools to discover new ways of making art.
When I first explored this technique, I didn’t own a jelly plate. Instead of waiting until I had the right equipment, I experimented with the materials I could find. That curiosity led me to this simple gel plate alternative using a black plastic sheet and a brayer.
Today, I still enjoy the freedom of making my own painted papers. The process gives me a chance to explore colour, texture, and unexpected marks—and the finished sheets become useful materials for future mixed-media projects.
If you don’t have a gel plate, I hope this tutorial encourages you to try something different.
Gather a piece of plastic, a brayer, a few acrylic paints, and some deli paper. Start with a small experiment, see what happens, and let the marks guide you.
You might be surprised by the papers you create.
Have you tried gel printing without a gel plate? I’d love to hear what surfaces or tools you’ve experimented with. Share your experience in the comments!
Happy creating!
Final Thoughts
Working with white pencil on black paper has reminded me how much creative potential there is in something as simple as making a mark.
You don’t always need a plan, a complicated technique or a clear idea of what the finished result should look like. Sometimes, all you need is an interesting surface, a simple tool and the willingness to explore.
I hope this little experiment inspires you to try some intuitive mark making of your own. Gather your papers and pencils, give yourself permission to play, and see what emerges.
Happy creating!
Pin for later!
Browse Blogs By Category