Have you ever been captivated by the spontaneous flow of watercolor—the way colors melt into each other, unpredictable yet soothing? I have. I love the softness and meditation that watercolors bring.
But as someone who has painted with acrylics for over a decade, I’ve developed a special fondness for them. There’s something about acrylics—their versatility, texture, and vibrancy—that keeps drawing me back.
So I asked myself: What if I could play with acrylics in a way that feels like watercolor? That’s how this method was born—a playful, intuitive way to dye papers using diluted acrylic paint.
You may have seen artists dyeing paper with acrylic inks—those beautifully pigmented liquids that bloom and dance across the surface. But guess what? You don’t need fancy inks to get similar results.
I’ve discovered my own low-key method of dyeing papers using just regular acrylic paint—and I’m loving the results.
This process is for anyone—whether you call yourself an artist or not. You don’t need painting skills. You don’t need perfect control.
All you need is curiosity, courage, and a dropper!
▶️ Watch the Flip Through + Grab Free Downloads
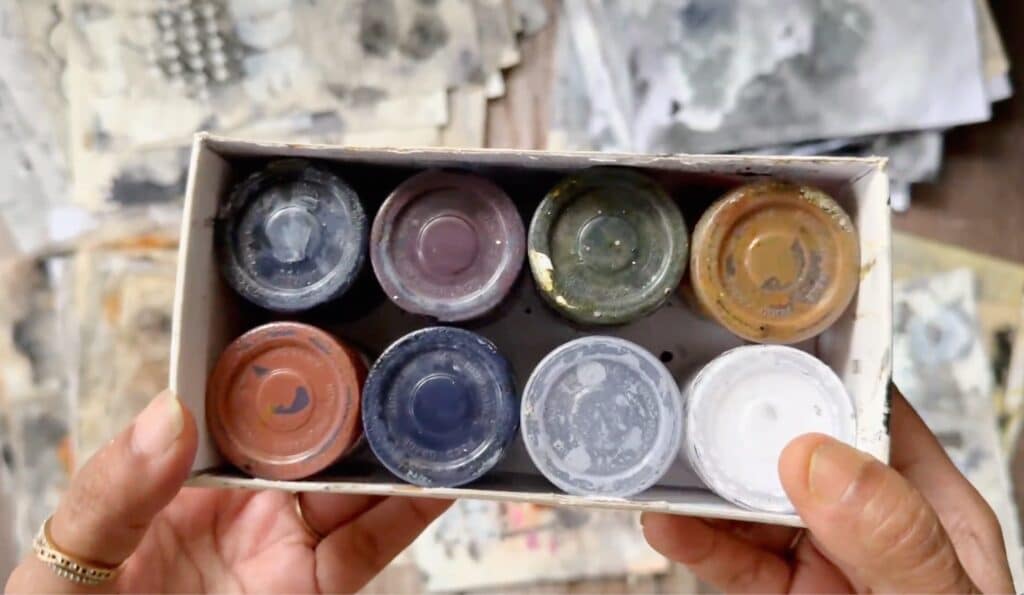
Want to see how these papers turned out? I’ve created a video on YouTube where I walk you through the entire stack of acrylic dyed papers. In the video, I talk about my process, show you my little containers of diluted paints and droppers, and talk about how beautifully this method comes together.
You’ll also get a closer look at the soft textures, watermarks, and accidental beauty that happens when you let go and let the colors flow.
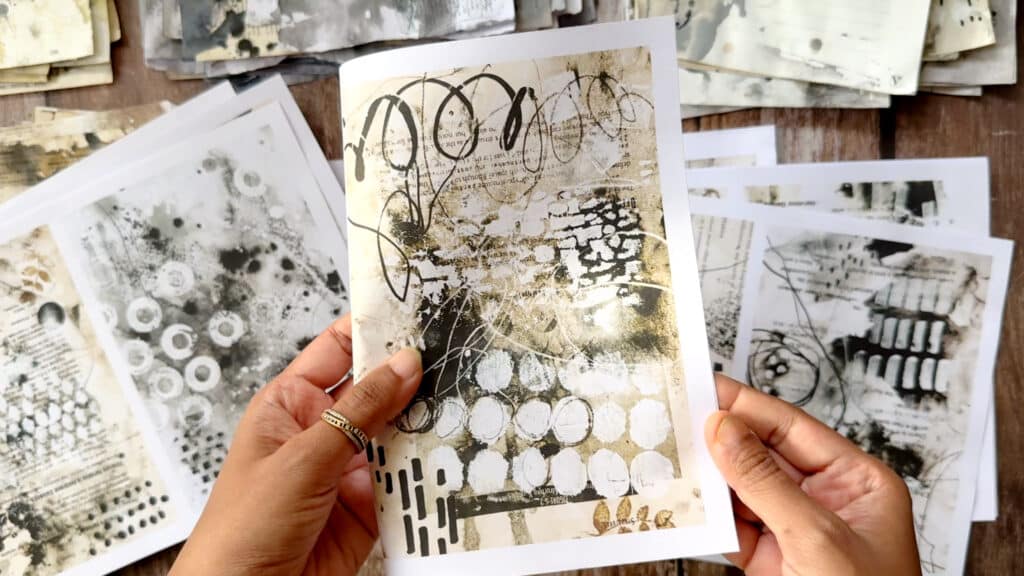
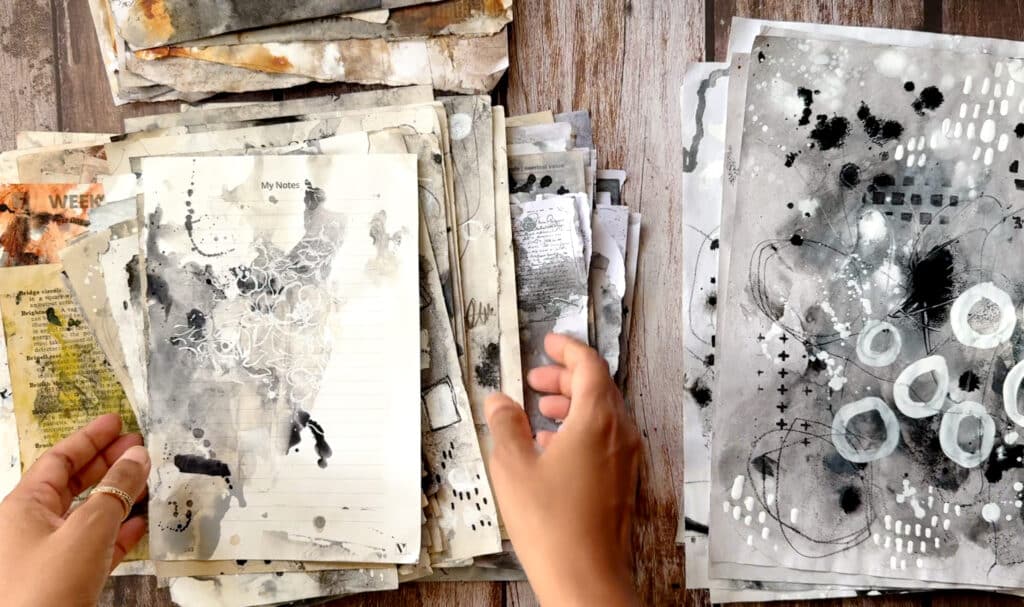
And as a special gift, I’ve turned a few of the black and white dyed papers into printable downloads. They’re perfect for your collage work, journaling, or even printing on transparencies. You can download them for free—the link is right below the video.
Why Acrylic Instead of Ink?
Acrylic inks are gorgeous, but they’re highly pigmented and can be expensive.
I wanted something softer, more muted, more “me.”
So I started experimenting with my usual acrylic paints—just the ones I already had in my stash. All I do is dilute them with water, store them in little containers, and use a dropper to apply them. That’s it.
The result? Gentle, flowing color that spreads like ink—but with a subtler, more layered feel. Honestly, I’m quite happy with how beautifully imperfect and organic it turns out.
Here’s What You’ll Need:
Acrylic paints (any brand you have)
Water
Small containers or jars (to store diluted paint)
Droppers or pipettes
Spray bottle filled with water
Old book pages, printer paper, or any paper you want to experiment with
A plastic sheet or table cover to protect your surface

Mixed Media Artist Resource Library
Free printables, collage papers, creative prompts & how-to guides
I’ve put together a free resource library designed just for you, packed with everything you need to fuel your creativity. It’s my way of giving back to the mixed media community with resources to inspire your next project. Click here to join.
Step-by-Step: Acrylic Dyeing on Paper
1. Prep Your Paints
Dilute your acrylic paints with water and pour them into small containers. You want them fluid enough to move freely when dropped on wet paper—similar in consistency to ink, but not as intense in color. I usually prepare a few colors at a time: pick two main colors plus black and white for contrast.
2. Set Up Your Space
Lay a plastic cover over your table—things are going to get deliciously messy! Spread your papers out. I love using old book pages, but feel free to use whatever paper you have on hand.
3. Soak the Paper
Spray your paper generously with water. This is a key ingredient! The wetter the surface, the more the paint can flow, bleed, and blend in surprising ways.
4. Drop and Play
Dip your dropper into your diluted paints and drop them onto the wet paper. Watch how they bloom and travel through the water—this is the magic moment! Tilt the paper, let it puddle, smash one page against another—let the paint do its own thing.
There’s no right or wrong here. Sometimes I scribble into the wet paint, make marks with pencils or the back of a brush, or even write into the color. Every page turns out different.
5. Let It Dry
Once you’re happy with the flow, leave the papers to dry completely. They’ll look transformed—soft, dreamy, and completely unique.
Optional: Add More Layers
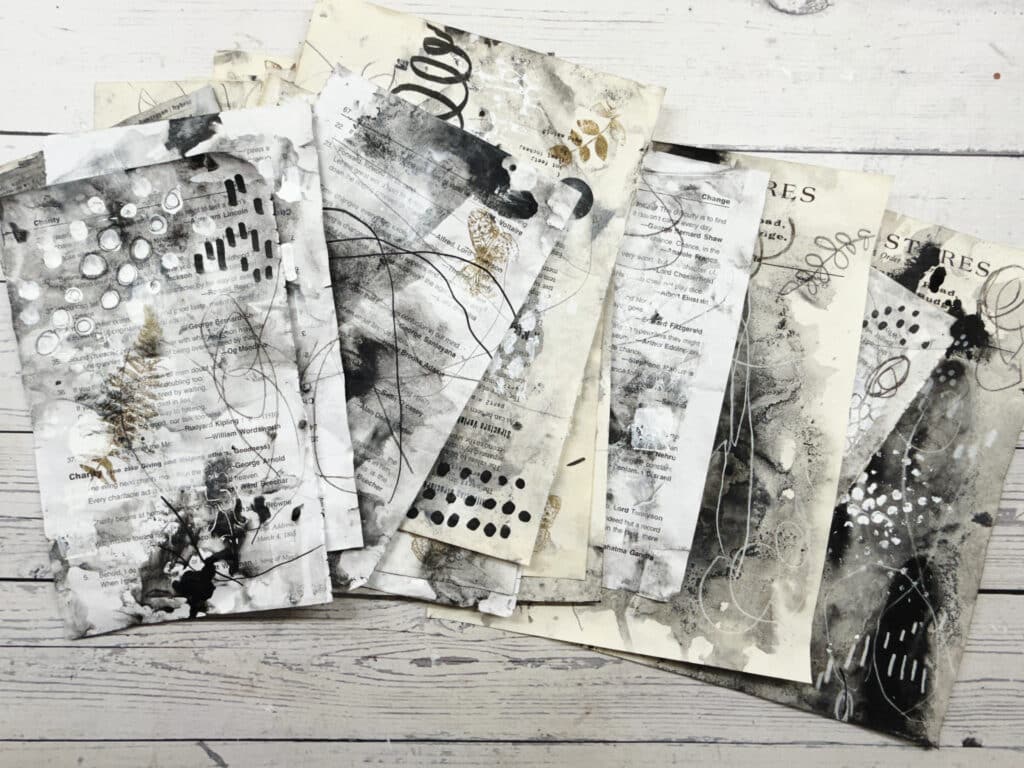
After the first layer of acrylic dyeing, you can leave the pages as they are (they often look like tiny abstract artworks already), or go a step further and build on them. I sometimes add:
Stamps with archival ink
Stencils for texture
Pastel or pencil marks to add hand-drawn elements
Scribbles or writing to bring in personal meaning
There’s no pressure to do all the layers. Some pages I leave raw. Some I build on. It’s all part of the play.
Why I Love This Process
This playful acrylic dyeing method has become one of my favorite creative rituals—not just because of how the papers turn out, but because of what the process teaches me. Here’s why I keep coming back to it:
🌊 Flow Over Control
You can’t control how the colors will move. The diluted paint takes its own path on wet paper—blooming, blending, changing direction even as you lift the page. It teaches me to step back, release control, and trust the process.
🎨 Acrylics, My Longtime Companion
While I love watercolor for its softness and calm, acrylics are what I’ve used for more than a decade. This method gives me the best of both worlds—letting me play like watercolor with the medium I know and love deeply.
🌀 It Happens on Its Own
There’s something very natural about how these pages evolve. I don’t force anything. The paint settles the way it wants to—just like nature does. It reminds me that creativity doesn’t have to be controlled or perfect. It just is.
🧘♀️ Presence and Playfulness
The process demands your presence. Watching the paint move, dropping colors slowly, letting them mix—it’s almost meditative. I lose track of time, and that’s when I know I’m fully in the moment.
🧑🎨 No Art Skills Required
You don’t need to be an “artist” to do this. No brush techniques or fine skills—just a dropper, some watered-down paint, and a willingness to experiment. Anyone can do it. And more often than not, you’ll surprise yourself.
🖼️ Mini Masterpieces, Every Time
Each paper becomes its own tiny piece of art. You can leave them as-is or build on them with mark making, stamping, stencils, or scribbles. Or don’t. Either way, they’re beautiful and completely unique.
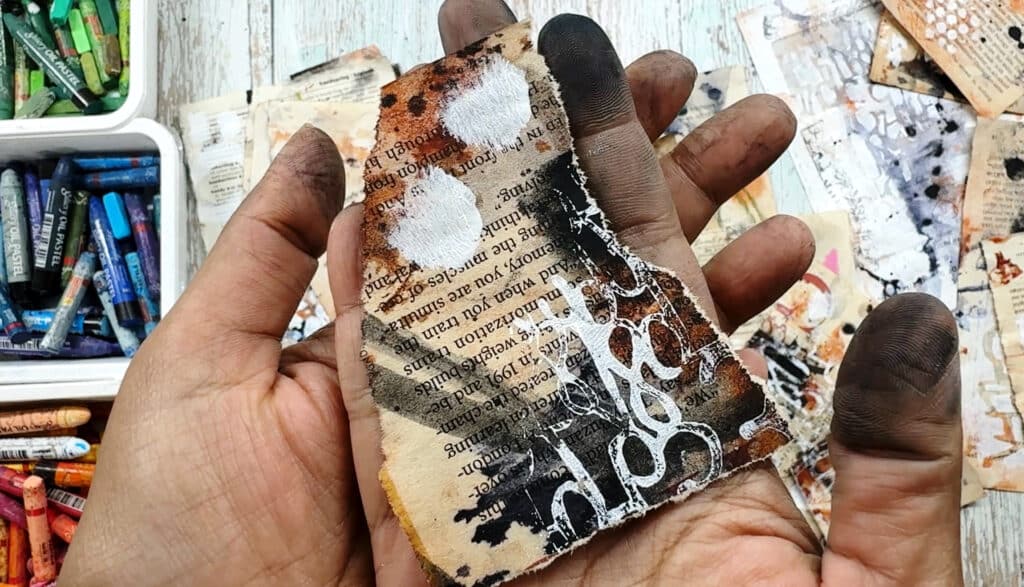
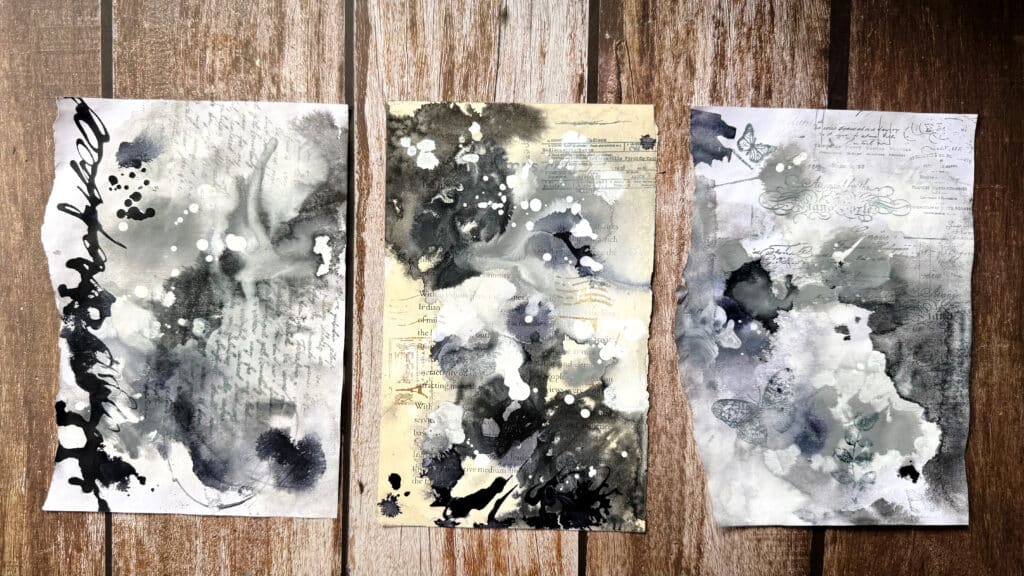
🖤 The Black & White Dyeing Session
One of my favorite explorations with this method was a black and white session—just using black, white, and a few shades of grey to create moody, minimal, high-contrast papers. It turned out to be such a calming, grounding experience.
If you’re interested in learning more about this particular process, I’ve created a detailed YouTube video where I walk you through the papers, talk about how I work with diluted black and white acrylics, and flip through the results.
I’ve also written a step-by-step blog post that breaks down the entire method using old book pages. So whether you prefer to watch or read, I’ve got you covered.
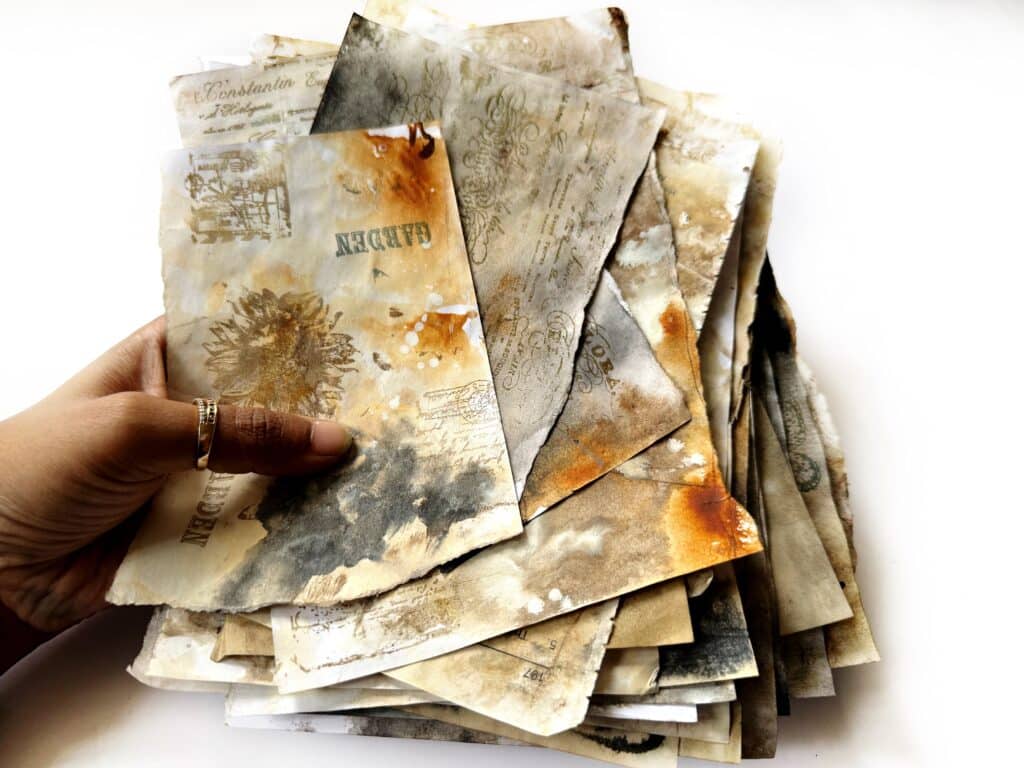
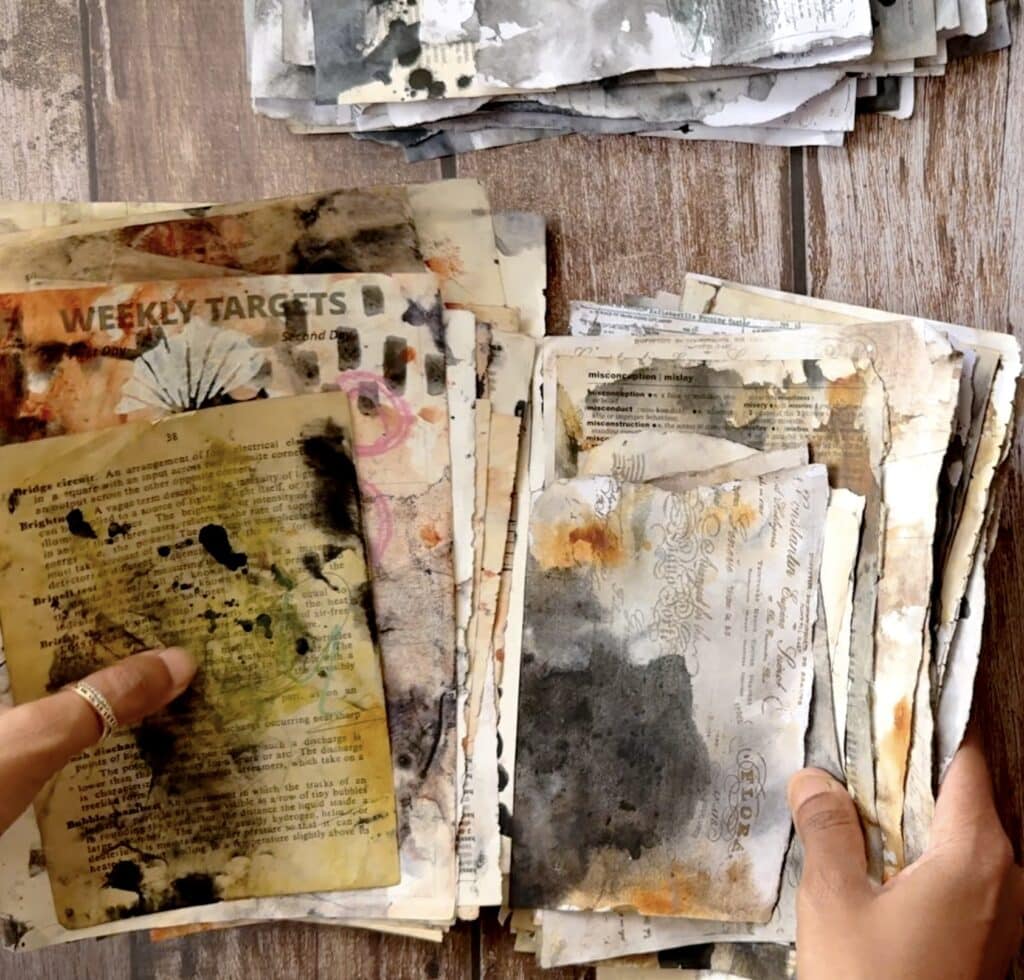
Earth Tones: Burnt Sienna & Payne’s Grey
For this session, I followed the same acrylic dyeing process—diluted paints, lots of water, and playful flow—but this time, I chose a limited palette of Burnt Sienna and Payne’s Grey. The result? A moody, earthy, and beautifully vintage set of collage papers that feel warm and aged, like they’ve soaked up stories over time.
The subtle interplay between the rusty warmth of sienna and the cool depth of Payne’s Grey created papers with incredible dimension and texture.
If you’d like to try this exact palette and process, I’ve documented everything in a step-by-step blog post—from the materials I used to how the papers turned out.