If you love the look of weathered surfaces, layered textures, and imperfect beauty, a grungy art journal page is the perfect playground.
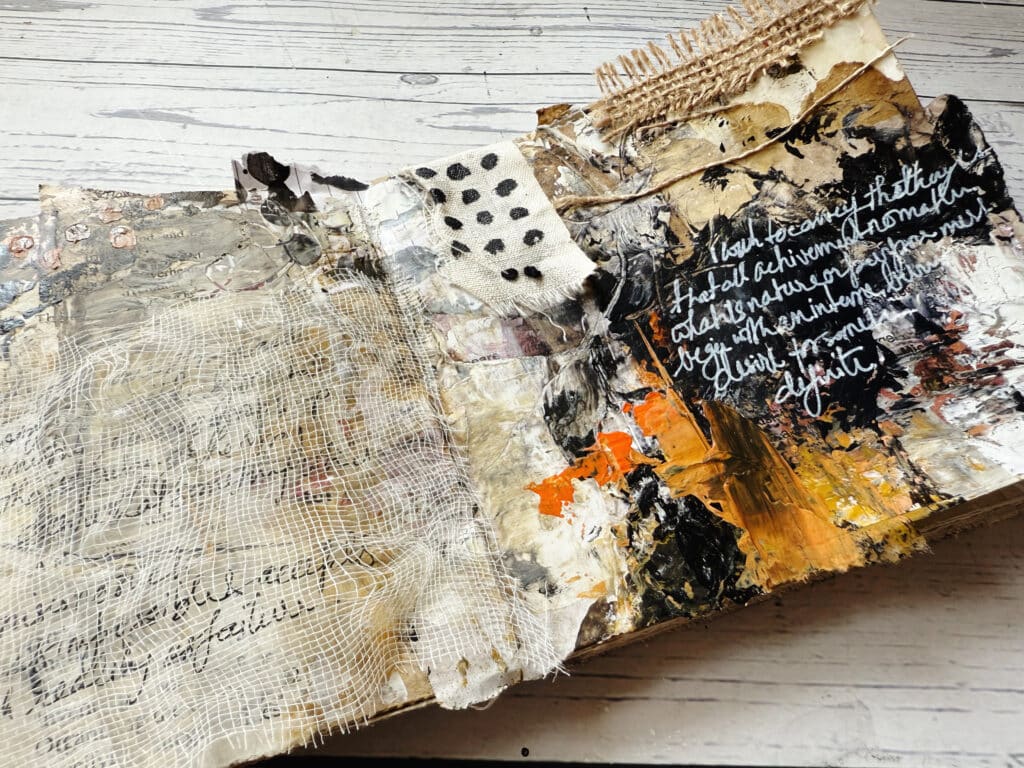
In this tutorial, we’ll walk through how to transform a two‐page spread—already coffee‐dye stained—into a richly textured, moody journal layout packed with collage, paint, fabric, and hidden journaling.
What Is a Mixed Media Grungy Art Journal?
A Mixed Media Grungy Art Journal is a small, handmade journal created using collage, paint, mark making, and found materials.
It embraces imperfection, celebrates texture, and invites you to express freely without overthinking.
This project combines everything I love: neutral tones, intuitive layers, grungy edges, and a whole lot of creative joy.
Materials You’ll Need
An Art Journal
Small collage papers (book pages, palette papers, painted scraps)
Liquid glue (Mod Podge, gel medium, or thinned PVA glue)
Palette knife (or old credit card)
Acrylic paints: Raw Umber, Payne’s Gray, Yellow Ochre, plus a pop of Orange
Fabric scraps (gauze, canvas, denim, etc.)
Pens for journaling: white gel pen and black fineliner
I’ve put together a free resource library designed just for you, packed with everything you need to fuel your creativity. It’s my way of giving back to the mixed media community with resources to inspire your next project. Click here to join.
My Process for Creating a Mixed Media Grungy Art Journal Page
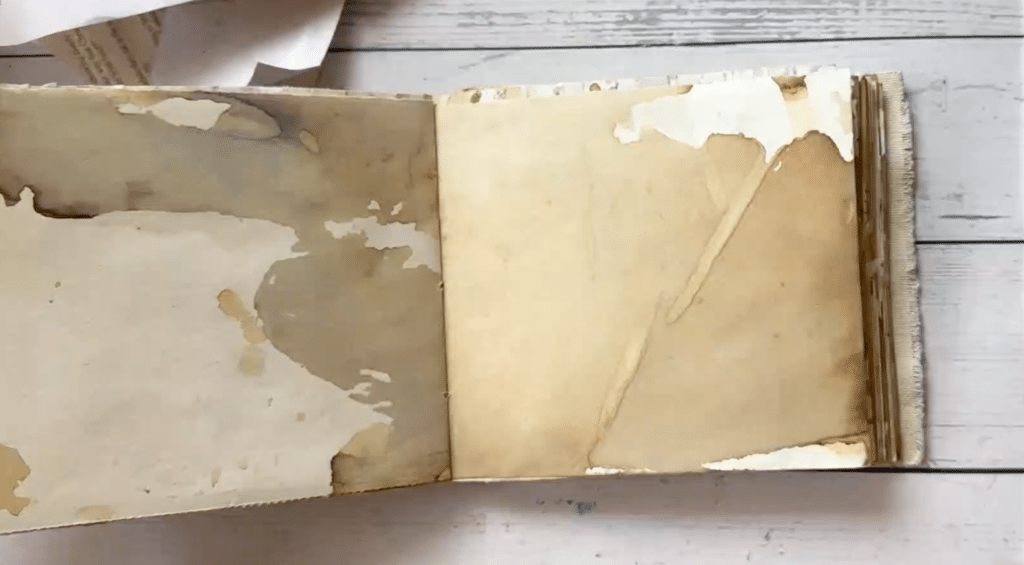
1. Prepare Your Base
Begin with two facing pages that have a light coffee‐dye wash. This gives an instant antique vibe and unifies your spread.
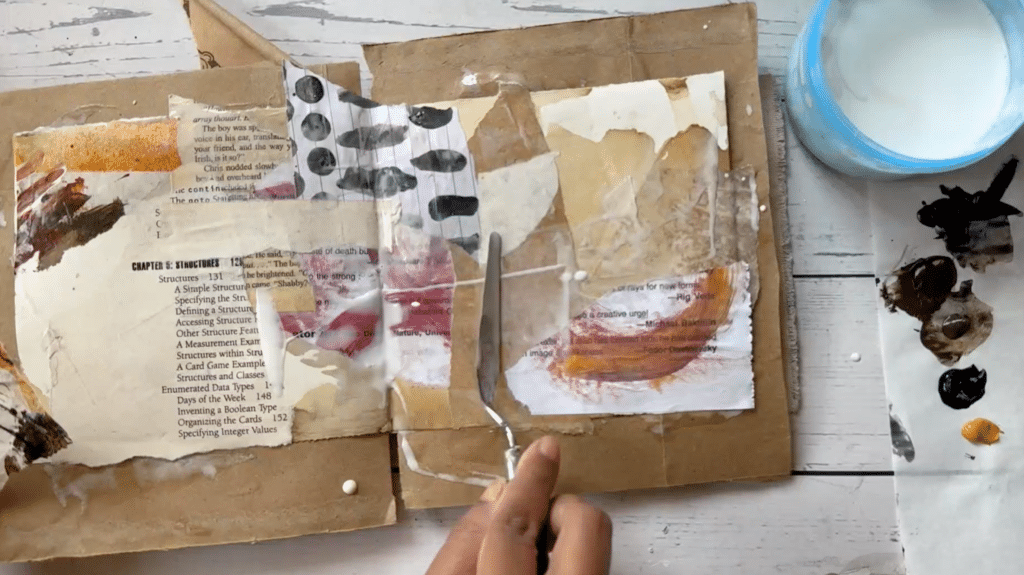
2. Glue on Collage Pieces
Using your palette knife, apply a thin layer of glue where you want each collage piece.
Press down painted papers, book‐page snippets, and palette scraps while the glue is still wet.
3. Lay Down Your First Paint Layer
Without waiting for full drying, scoop up a bit of acrylic (choose from Raw Umber, Payne’s Gray, Yellow Ochre) on your knife.
Lightly dragthe knife over the collage, letting paint settle into edges and crevices.
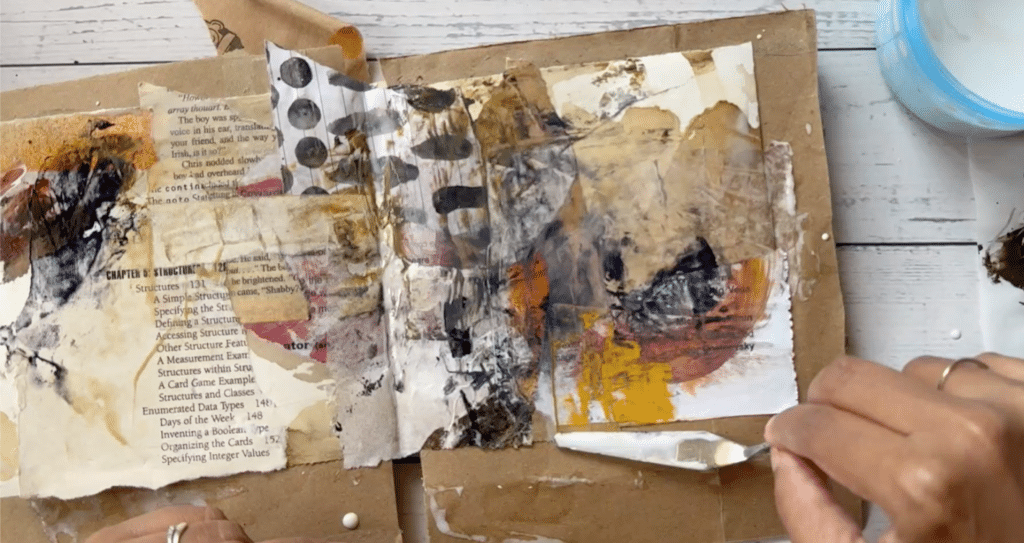
4. Build Texture with the Palette Knife
Brush and scrapethe knife back and forth to create random,grungy patterns.
Rotate the knife’s edge to vary your marks—some smooth, some jagged.
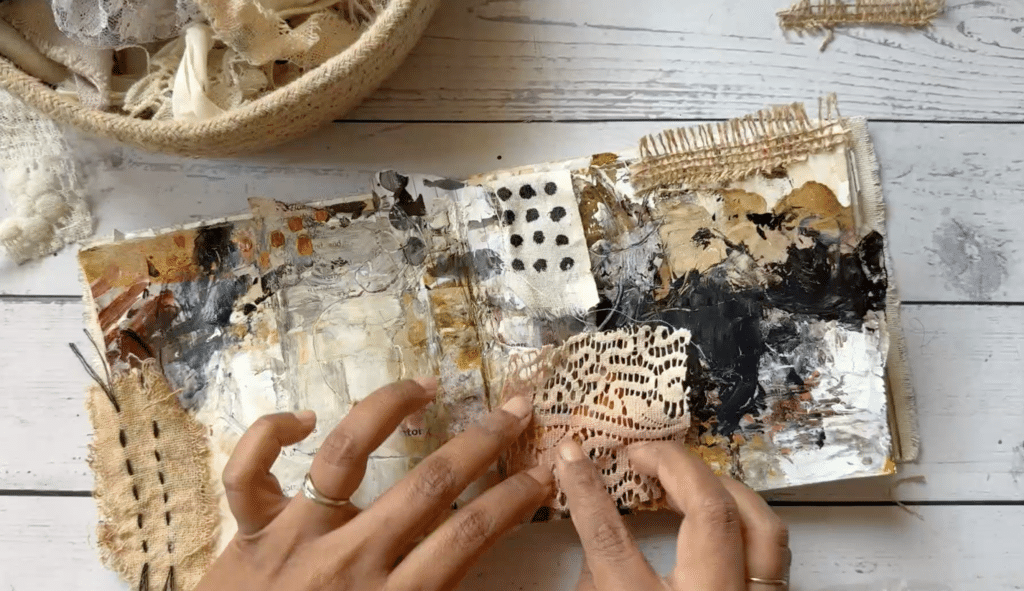
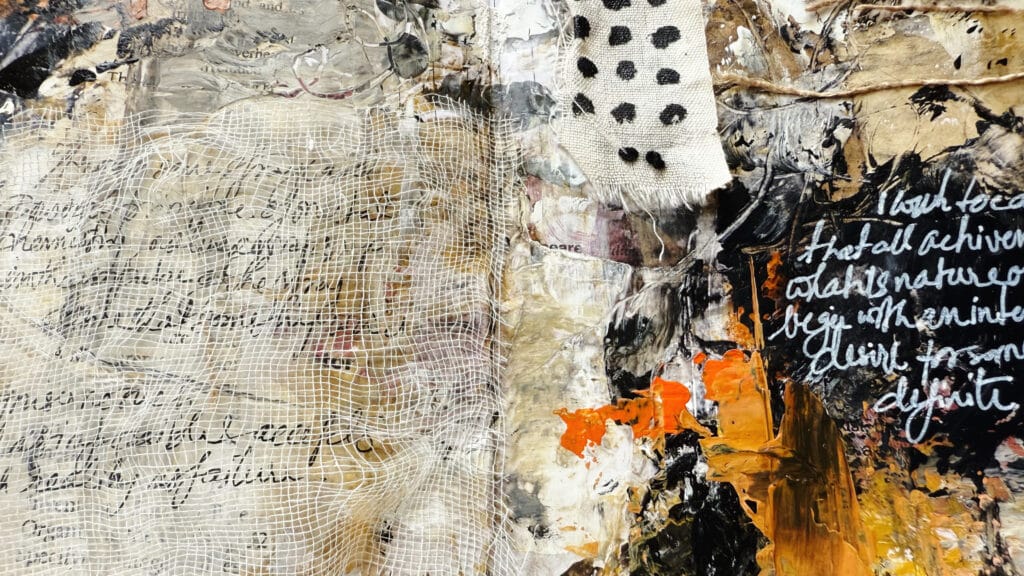
5. Add Fabric Accents
Once paint is dry, glue down fabric scraps along the edges to form a rugged, tactile border.
Let bits of fray and raw edge peek out for maximum grunge appeal.
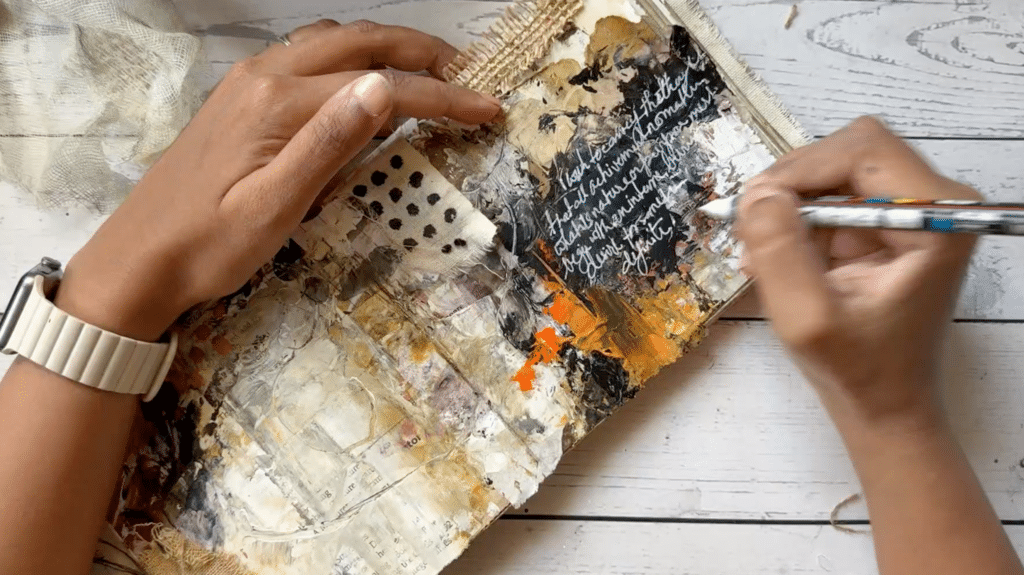
6. Journal Your Thoughts
On the darker areas, use a white gel pen to write your reflections or quotes.
On lighter spots, switch to a black fineliner for legibility.
Tips for Success
Knife over brush:The palette knife is your secret to that authentic grunge texture—experiment with different angles and pressure.
Start random:Don’t overthink placement.Chaosis part of the charm.
Layer thoughtfully:Alternate betweencollage,paint, andfabricso each layer peeks through in places.
Contrast is key:A pop of bright orange or stark white journaling makes the darker hues sing.
Watch the Full Tutorial on YouTube:
If you’d like to see every step in real time, head over to my YouTube channel! I walk you through the gluing, knife work, painting layers, and hidden journaling—all from start to finish.