If you lovevintage textures,aged paper, andquiet, organic marks, coffee dye tissue paper might become one of your favorite mixed media materials.
This technique didn’t come from a plan or a tutorial. It came from aspilled cup of coffee, atissue paper, and a moment of curiosity.
And honestly? Those are often the best discoveries.
Have you ever noticed how the simplest accidents at your art table can turn into something unexpectedly beautiful?
Why Coffee Dye Tissue Paper Is So Beautiful for Mixed Media
Coffee dye tissue paper creates effects that are:
Soft, aged, and timeworn
Uneven in the most beautiful way
Full of natural stains, blooms, and patina
It reminds me of:
Old tea bag paper
Coffee filters
Handled, loved, and weathered pages
Because tissue paper is thin and absorbent, coffee settles into it differently than thick paper—creating depth without heaviness, which is perfect for layering.
How I Accidentally Discovered This Coffee Dye Tissue Paper Technique
I’m a coffee person. One morning, I spilled some coffee on my table and instinctively wiped it with a tissue paper.
When I looked at that tissue, I paused.
Thestains, thesoft edges, theuneven color—it already looked like a finished art material.
That moment reminded me of something important: Materials don’t always need to be prepared carefully. Sometimes they need to be noticed.
Watch the Flip-Through
If you’d like to see these coffee dye tissue papers up close, I’ve shared a short flip-through video where you can look at the marks, stains, folds, and aged textures.
Coffee Dyeing Basics
If you’re new to coffee dyeing, you might want to start with my earlier blog, Coffee Dyeing Basics for Mixed Media: 3 Simple Techniques, where I cover the foundational methods before moving into more experimental color play here.
Two Natural Ways to Dry Coffee-Dyed Tissue Paper
This is where the magic really happens.
1. Flattened & Straightened Drying
Gently open the tissue paper
Hang it or lay it flat to dry
✨ Result:
Lighter, softer stains
Moreeven washes
Great for backgrounds and blending layers
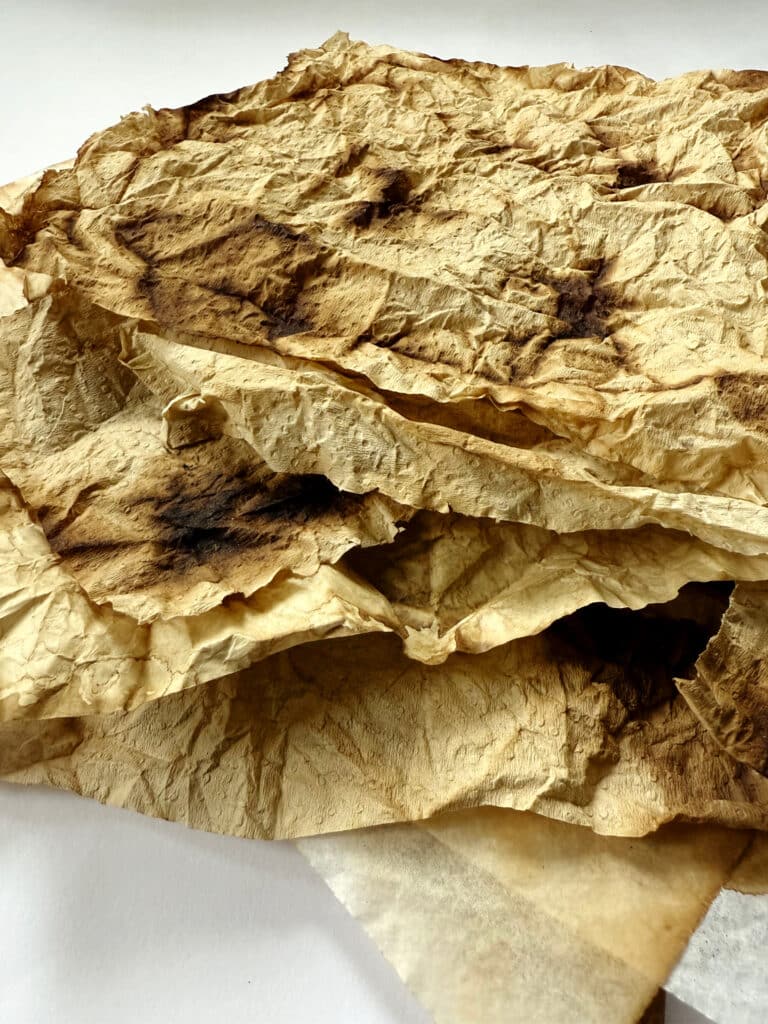
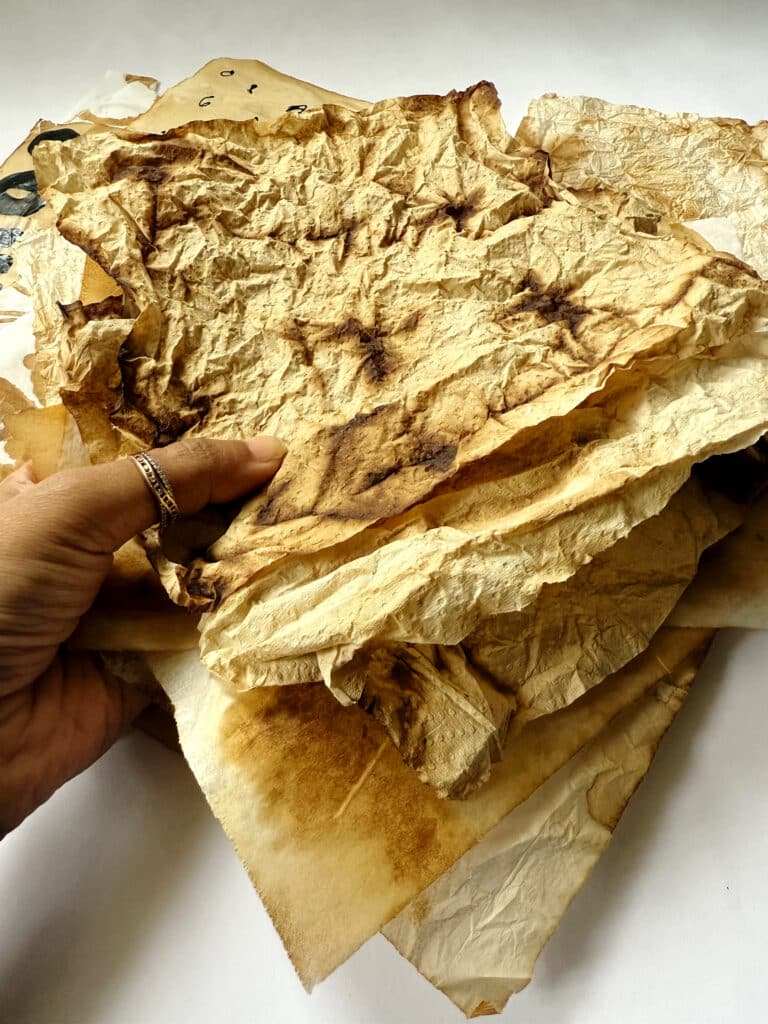
2. Crumpled, Puddle-Dried Tissue Paper
This time, I didn’t straighten it. I left it exactly as it was—crumpled, folded, and pooled.
It dried overnight.
The next day, when I opened it, I was honestly amazed.
✨ Result:
Deep creases
Dark age marks
Rich, uneven patina
Looks like paper that has lived a long life
If you loveaged surfaces, this method is gold.
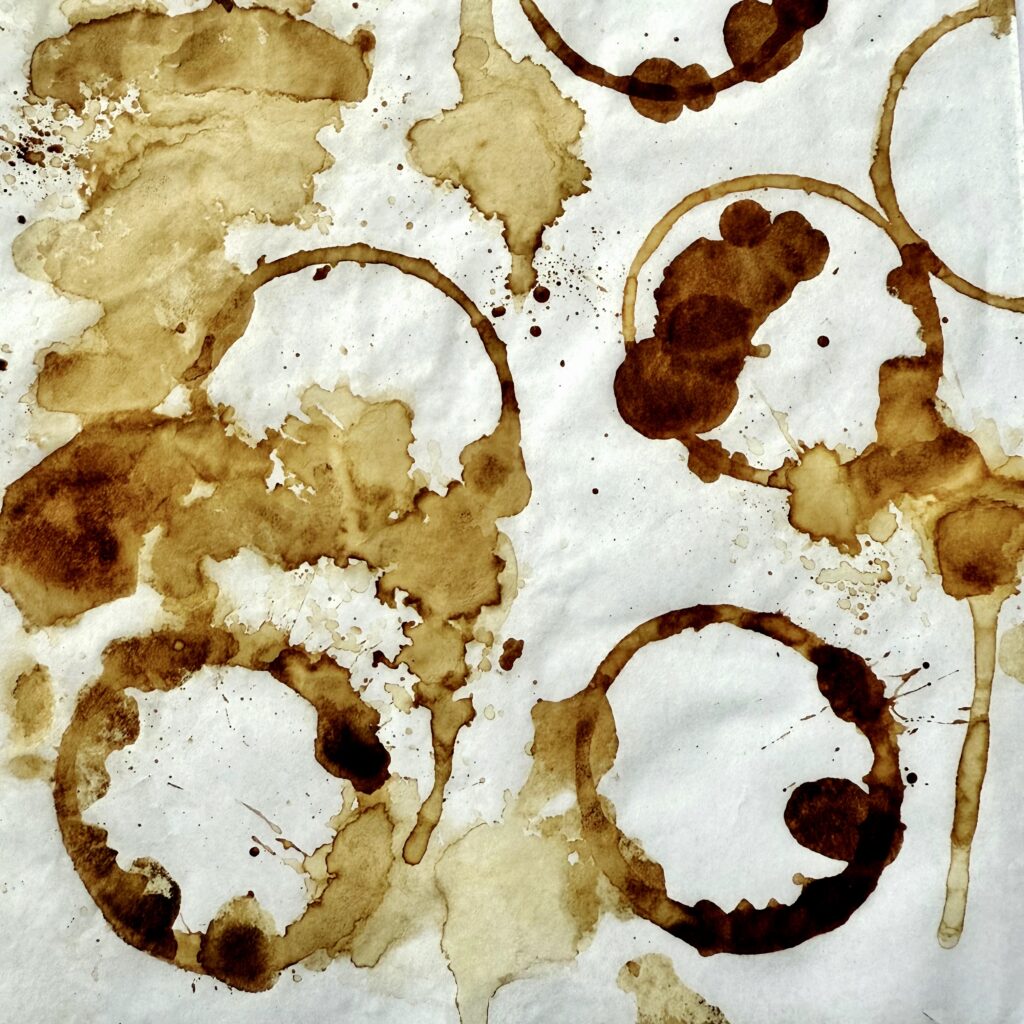
Creating Ring Marks & Intentional Coffee Stains
One of my favorite things to do is createcoffee ring marks—the kind you see at the bottom of old cups.
You can:
Use thebase of a cup
Use atissue roll
Useany circular object
Dip it lightly in coffee and press it onto the tissue paper. These ring marks add:
Visual rhythm
Story
A sense of time and repetition
They feel especially beautiful when layered under collage elements.
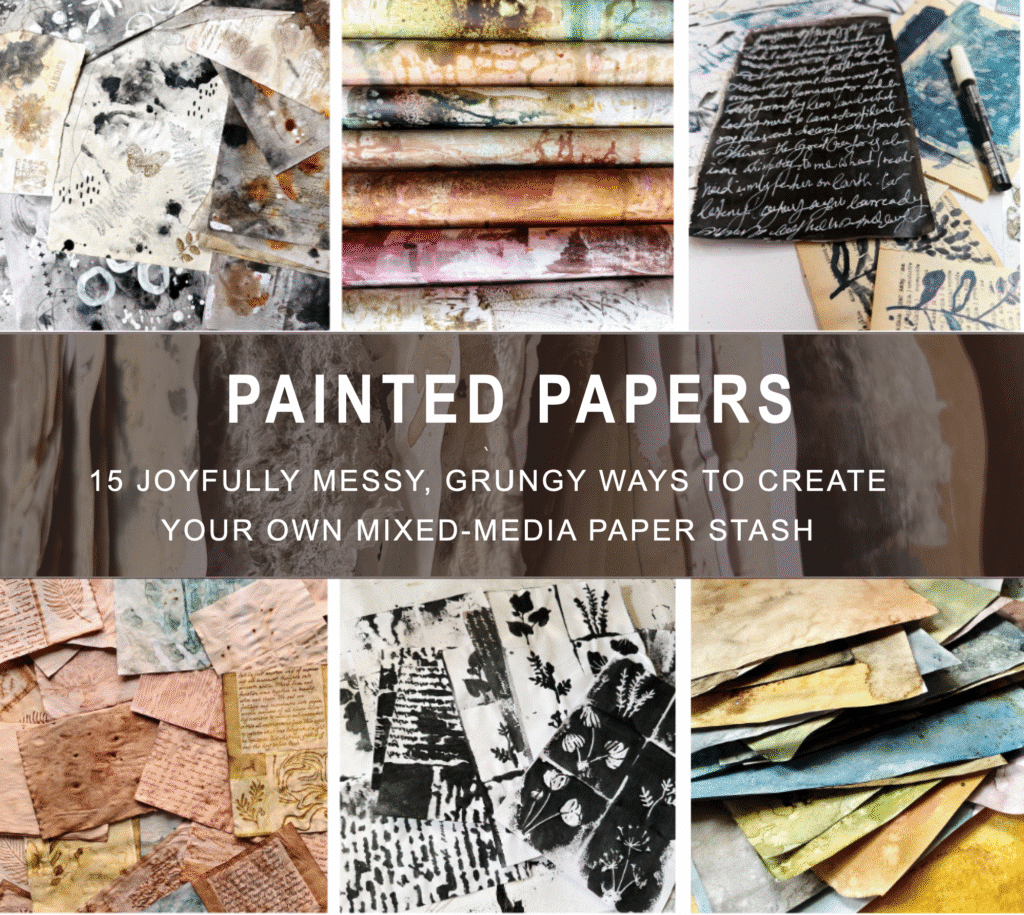
Painted Papers Class
If you’re someone who learns best by watching the process unfold, I’ve shared this exact technique inside my classPainted Papers.
In the class, I walk you through15 different ways of creating expressive, textured mixed media papers—and coffee dye tissue paper is one of them. You’ll see how I mix the solutions, how wet the paper should be, how I let colors bleed into each other, and how I work intuitively on the floor without overthinking the outcome.
I’ve put together a free resource library designed just for you, packed with everything you need to fuel your creativity. It’s my way of giving back to the mixed media community with resources to inspire your next project. Click here to join.
More Creative Ways to Make Marks Using Coffee
Here are a few more ideas you might enjoy experimenting with:
Layer multiple coffee applications, drying in between
Combine coffee with saltfor subtle texture
Think of coffee asboth color and collaborator.
How to Use Coffee Dye Tissue Paper in Mixed Media Projects
These papers are incredibly versatile. You can use them to:
Create soft base layers
Blend harsh collage edges
Add age to art journals
Build depth without bulk
Wrap around focal elements
Tear and layer intuitively
If you lovevintage collage,neutral palettes, orquiet storytelling surfaces, this material fits beautifully.
Bonus Tips for Richer Patina & Texture
Use leftover coffee—the darker and older, the better
Avoid over-handlingwet tissue paper
Let gravity workinstead of controlling stains
Dry naturally—no heat tools needed
Store finished sheets loosely, not pressed flat
Sometimes the most beautiful marks happen when you step back.
✍️ Frequently Asked Questions (FAQ)
1. Can I use instant coffee?
Yes. That’s exactly what I use. Instant coffee works beautifully.
2. Does the tissue paper become fragile?
It stays delicate, but once layered and sealed, it becomes surprisingly durable.
3. Will the coffee smell remain?
No. Once fully dry, the smell fades.
4. Can I seal coffee-dyed tissue paper?
Yes. Gel medium or matte medium works well.
5. Is this suitable for beginners?
Absolutely. This is intuitive, forgiving, and pressure-free.
🌱 Closing Thoughts
Coffee dye tissue paper is a reminder thatart materials don’t need to be perfect. They just need to benoticed,used, andallowed to be what they are.
Next time you spill coffee, maybe pause before wiping it away.
You might be holding your next favorite layer.
💬Have you ever discovered an art technique by accident? Or do you enjoy working with stained, aged, vintage papers? Tell me in the comments—I’d love to hear how you use these textures in your own work.


 Bonus Tips for Richer Patina & Texture


