Have a bunch of old cardboard boxes lying around? Instead of tossing them in the recycling bin, why not turn them into something beautiful and functional? In this blog, I’ll walk you through how I transformed a plain food packaging boxinto a grungy, vintage-style texture box—perfect for storing art clusters or mixed media scraps.
The technique is simple, budget-friendly, and packed with texture. Plus, it’s a method you can use across so many different art surfaces!
Why Make a Texture Box?
As an artist, I’m always looking for creative ways to organize my supplies. Recently, I’ve been making a lot of fabric-paper clusters, and I needed a home for them—something tactile and inspiring. That’s when I looked at an empty food packaging box and thought: this could be something magical.
This project is about repurposing, layering, and creating texture in a few easy steps. Let’s dive in!
Materials You’ll Need
An old cardboard box (any size)
Gesso
Wall putty / texture paste / or DIY mix (Plaster of Paris + Gesso)
Dark paint (black, raw umber, burnt umber, Payne’s gray)
Wet wipes or rag
Vintage or old book pages
Palette knife or old card
Pencil for scribbling
Mixed Media Artist Resource Library
Free printables, collage papers, creative prompts & how-to guides
I’ve put together a free resource library designed just for you, packed with everything you need to fuel your creativity. It’s my way of giving back to the mixed media community with resources to inspire your next project. Click here to join.
Step-by-Step Process to Create a Grungy Texture Box
Step 1: Apply a Base Layer of Gesso
Start by brushing a light layer of Gesso over the box. Don’t worry about full coverage—you just need a base for the next layers to grip onto. The goal is to prep the surface, not to perfect it.
Tip: Let some of the cardboard show through—it adds to the grungy vibe.


Step 2: Add Texture with Putty or DIY Paste
Next, apply wall putty or any texture paste for a stucco-like effect. Don’t have texture paste? Mix some Plaster of Paris with Gesso to make a quick and easy homemade texture paste. Spread it unevenly for high texture and let it dry completely overnight.
This layer is where the magic begins. The rougher, the better!


Step 3: Add Dark Paint for Depth
Once your texture is dry, brush on a dark paint—black, Payne’s gray, burnt umber—anything moody. Quickly spritz or brush with water and then use a wet wipe to lift off the top layer. This allows the dark paint to settle in the crevices, making the texture pop beautifully.

Step 4: Collage with Vintage Book Pages
Rip up some vintage book pages—especially ones with yellowed edges—and collage them over parts of your textured surface. Use a glue stick or gel medium to stick them down. Avoid covering the best texture spots. You want a balance of text and texture.

Step 5: Dry Brush Gesso with a Palette Knife
Now it’s time to blend it all together. Take a palette knife or old credit card and lightly scrape Gesso over the surface. This rough layer adds lightness, softens the dark areas, and creates even more texture.

Bonus Step: Add Scribbles and Marks
As a final touch, I added scribbled pencil marks—quick, raw lines that carry my energy. They’re not super visible, but they add a personal, handmade feel that I love.

How I Use My Texture Box
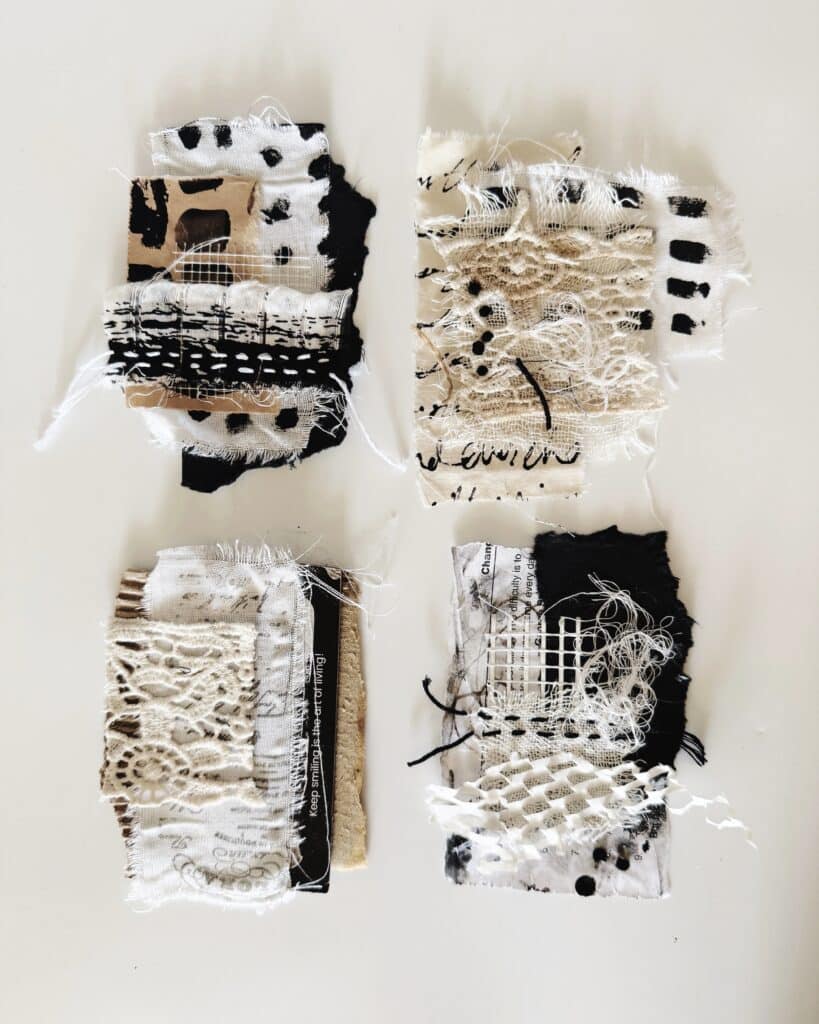
I created this texture box to store my stitched paper-fabric clusters. I often pull them out during my journaling or slow-stitching sessions. It’s so satisfying to reach into something that feels like a piece of art in itself.
But the possibilities are endless:
Store washi tapes, ephemera, or embellishments
Use as a mini collage kit for travel
Gift box for handmade items
Display piece in your creative space

Where Else Can You Use This Technique?
The beauty of this five-step texture method is that it’s incredibly versatile. Try it on:
Art journal covers or pages
Canvas panels
Tags or bookmarks
Altered books
Mixed media wall art
Anywhere you want depth, mood, and organic texture, this method will shine.
Frequently Asked Questions
1. Can I skip the Gesso layer?
Not recommended. Gesso primes the surface so the texture paste and paint don’t soak in unevenly.
2. What if I don’t have wall putty or texture paste?
You can make your own using Plaster of Paris and Gesso. It works beautifully!
3. Will this work on plastic or metal surfaces?
Yes, but you’ll need to use a heavy-duty primer like gesso or matte gel to help the layers stick.
4. Do I need to seal it?
Optional. If you’re storing delicate things inside, consider sealing the inside with varnish or mod podge.
Video:
If you’re a visual learner like me, you’ll love seeing the transformation in action! I’ve recorded a full step-by-step videoof how I created this texture box—from prepping the surface to adding those final scribbly marks. You’ll see the textures up close and get a feel for how layered and tactile this box becomes.
Final Thoughts
This texture box project was such a fun, freeing process—and a reminder that you don’t need fancy supplies to create beautiful, functional art. All it takes is a willingness to play, some layers, and a love for texture.
Whether you’re making a storage piece or prepping backgrounds for your journal, this five-step texture method will quickly become one of your favorites.


