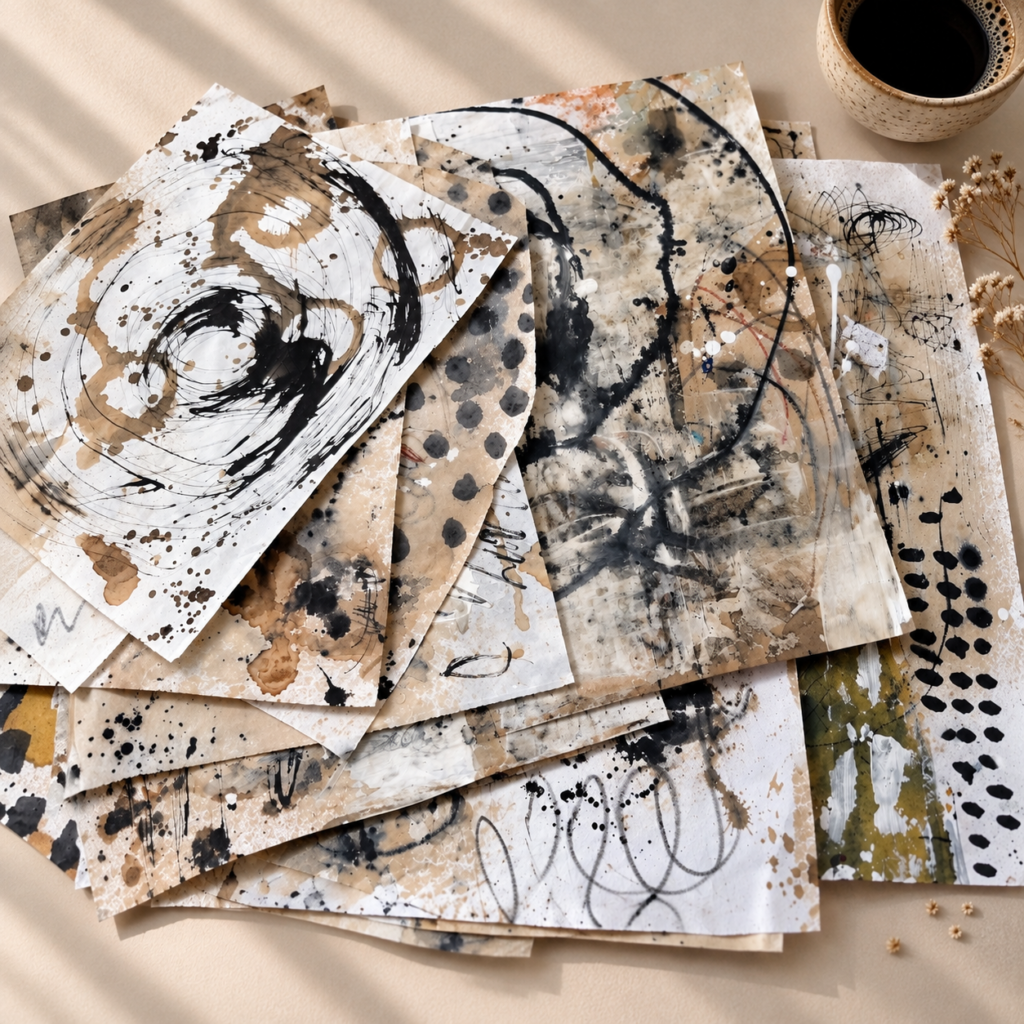
There is something I absolutely love about making my own grungy collage papers.
They don’t need to be perfect. In fact, the more imperfect they become, the more interesting they often are.
A coffee stain here. A scribbled line there. A little bit of gesso covering something I made five minutes ago. A strange mark made with a branch. Some ink that spreads where I didn’t expect it to.
And suddenly, what started as an ordinary piece of paper becomes something full of texture, history and character.
In this post, I’m sharing my process for creating grungy collage papers using a combination of neutral tones, expressive mark-making and whatever happens to be around my studio.
This isn’t about following a strict formula. It’s about playing.
🎥 Watch the Video
What Are Grungy Collage Papers?
Grungy collage papers are handmade papers that have an intentionally imperfect, distressed, layered or weathered appearance.
They can include:
- scribbles and loose lines
- stains and splatters
- paint marks
- ink
- coffee
- charcoal or pencil
- pastel
- gesso
- stamping
- scratches
- torn edges
- unexpected marks and textures
I particularly love creating them in a neutral palette of creams, whites, beige, browns, greys and black. The neutral palette gives the papers a quiet, earthy quality, while the marks add energy and personality.
And because you make the papers yourself, they become much more personal than something you simply buy from a craft store.
Why I Love Making My Own Collage Papers
When I’m working on mixed media pieces, I often don’t want a perfectly printed decorative paper. I want something with a little bit of history.
Something that looks like it has already been lived on.
That’s why I love using old underpapers.
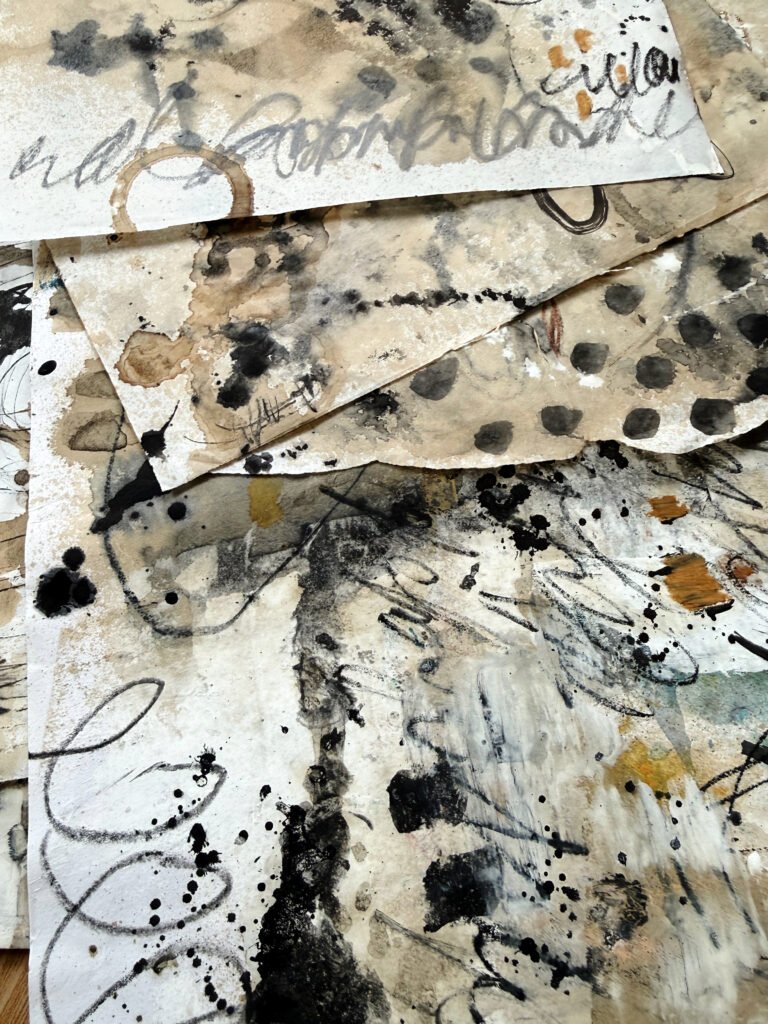
These are papers that have already been sitting underneath my artwork while I’ve been painting, making marks or experimenting. They may have leftover paint, stains or marks on them.
Instead of throwing them away, I cut them up and give them another life.
This is one of my favourite things about mixed media art: Nothing really has to be wasted.
A piece of paper that looked uninteresting yesterday might become the perfect focal layer in a collage tomorrow.
Materials for Making Grungy Collage Papers
You don’t need a huge collection of art supplies for this.
In fact, I would encourage you to start with whatever you already have.
For this particular process, I used things like:
- old underpapers
- tissue paper / deli paper
- pencils
- gesso
- coffee
- black India ink
- pastels
- brushes
- tree branches
- found objects for mark-making
You could also experiment with charcoal, crayons, oil pastels, acrylic paint, stamps, sponges, cardboard or anything else that makes an interesting mark.
The goal isn’t to collect more supplies.
The goal is to become curious about the supplies you already have.
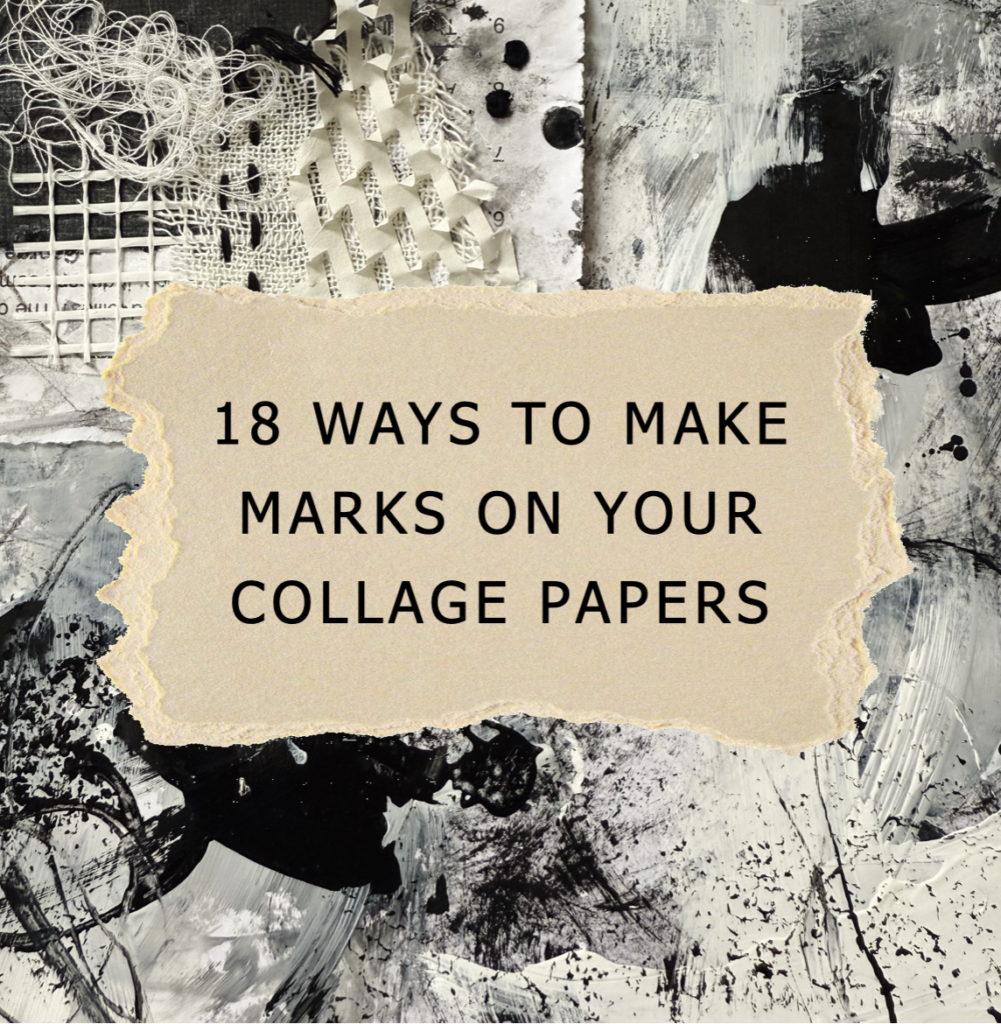
Download Your Free Guide
Grow your stash of collage papers with this visual guide to make expressive marks, add contrast & depth in your mixed media and art journaling projects!
How to Make Grungy Collage Papers
1. Start With Imperfect Paper
Don’t start with your best, most precious sheet of paper. Start with something ordinary.
An old sheet of printer paper. A piece of tissue. An underpaper from a previous painting session. A page from a discarded book.
I particularly like starting with papers that already have something happening on them.
The first layer doesn’t need to be beautiful.
It just needs to give you somewhere to begin.
2. Divide Your Paper Into Smaller Pieces
For this process, I like cutting a larger underpaper into several smaller pieces.
This immediately takes away some of the pressure.
You’re no longer thinking: “I need to make one beautiful piece of paper.”
Instead, you’re making several experiments. Some will work. Some won’t. Some will surprise you. And that’s exactly what we want.
Working on several pieces at once also means you can move between them. While one piece is drying, you can make marks on another.
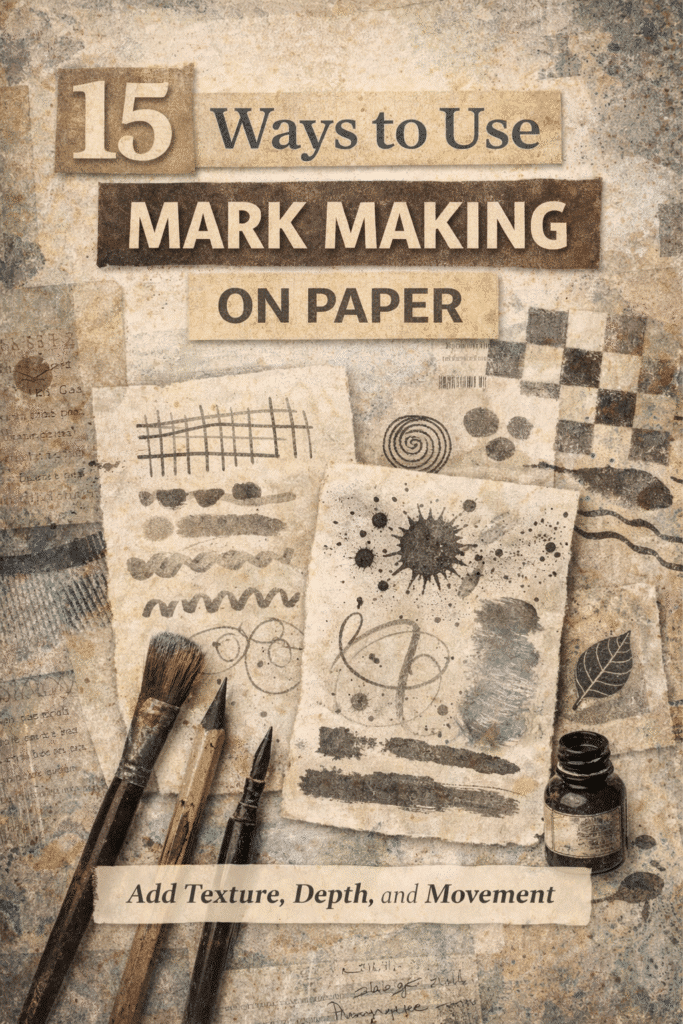
3. Begin With Simple Marks
This is where expressive mark-making comes in.
And this is one of my favourite parts.
You don’t need to know what you’re drawing.
You don’t need to create a picture.
You can simply make marks.
Lines.
Circles.
Dots.
Loops.
Crosses.
Scratches.
Wobbly shapes.
Repeated patterns.
Long sweeping lines.
Tiny energetic marks.
Try changing the pressure of your pencil.
Try moving your whole arm instead of just your wrist.
Try making the same mark over and over again.
And then try making a completely different mark.
The important thing is to resist the temptation to make everything look “good.”
You’re creating a surface, not an illustration.
4. Add Coffee for Natural Staining
Coffee is one of my favourite materials for creating grungy neutral collage papers.
It gives you beautiful warm brown and beige tones without having to reach for a traditional paint colour.
You can brush it onto the paper.
Drip it.
Splatter it.
Let it pool.
Allow it to dry naturally.
You can even experiment with adding several layers.
The interesting part is that coffee doesn’t always behave predictably.
It can leave darker edges.
It can create stains.
It can seep into the paper.
And those imperfections are exactly what make the surface interesting.
5. Bring in Gesso
Once you have some marks and stains on your paper, you can start adding gesso.
But don’t think of gesso only as a white base coat.
I love using it as another mark-making tool.
You can brush it across the surface or use a knife.
Apply it heavily in some areas and thinly in others.
Cover part of an old mark.
Leave another mark visible.
The magic happens when you partially cover something rather than completely covering it.
Now you have layers.
Something is hidden.
Something is revealed.
Something sits somewhere in between.
That is what gives handmade collage papers their depth.
6. Add India Ink and Dark Marks
Now we can bring in some stronger contrast.
Black India ink is wonderful for this.
You can use a brush, a stick, a branch or another found object to make marks.
Try not to control it too much.
Let the ink move.
Let some marks be bold.
Let others be delicate.
You might even find that the marks you didn’t intend to make are your favourites.
This is why I love intuitive mark-making.
You’re not trying to reproduce a particular result.
You’re responding to what is already on the paper.
7. Use Found Objects for Unexpected Marks
One of my favourite ways to make expressive marks is to stop thinking of my art supplies as the only tools available.
Look around your studio.
A branch.
A piece of cardboard.
The edge of a palette knife.
A piece of fabric.
The end of a paintbrush.
Your fingers.
Almost anything can become a mark-making tool.
A branch dipped in ink can create a completely different line from a conventional brush.
And that’s the point.
Unexpected tools create unexpected marks.
8. Keep Layering
This is where the papers really start to become grungy collage papers.
Add a layer.
Take something away.
Add another mark.
Cover part of it with gesso.
Add coffee.
Scratch into it.
Add pencil.
Add ink.
Let it dry.
Then look at it again.
You don’t have to keep adding forever.
At some point, you need to stop and ask: What does this paper need now?
Sometimes the answer is another mark. Sometimes it’s nothing.
Knowing when to stop is part of the process too.
The Most Important Rule:
Don’t Try to Make Every Paper Beautiful
This might be the hardest part.
When you’re making your own collage papers, you may look at one and think: “I don’t like this.”
Don’t throw it away yet.
Remember that you’re not necessarily creating finished artwork.
You’re creating raw material for future artwork.
A paper that looks strange on its own might be exactly what you need in a collage.
You might tear away the part you don’t like.
You might use only a tiny section.
You might cover 80% of it.
You might layer it underneath another piece of paper.
So don’t judge the paper only as a complete sheet.
Think of it as a collection of marks, colours and textures waiting to be used.
Why Neutral Collage Papers Are So Versatile
I love working with neutral collage papers because they can work beautifully with so many colour palettes.
Cream, beige, brown, grey and black can become a quiet foundation for:
- art journals
- abstract paintings
- collage
- mixed media paintings
- textile collage
They can add texture without introducing another strong colour.
And because the marks are already built into the paper, they can create visual interest even when you’re working with a very limited palette.
Want a Little More Guidance?
If you like the idea of making your own collage papers but you’d prefer a little more structure, I’ve created a free resource called Free Creative Playbook.
It’s a simple, playful mini class where I teach you how to create your own collage papers through a three-step process.
You’ll also explore:
- expressive mark-making
- fabric dyeing
- experimenting without worrying about making everything perfect
Thousands of creatives have already joined me inside the Playbook.
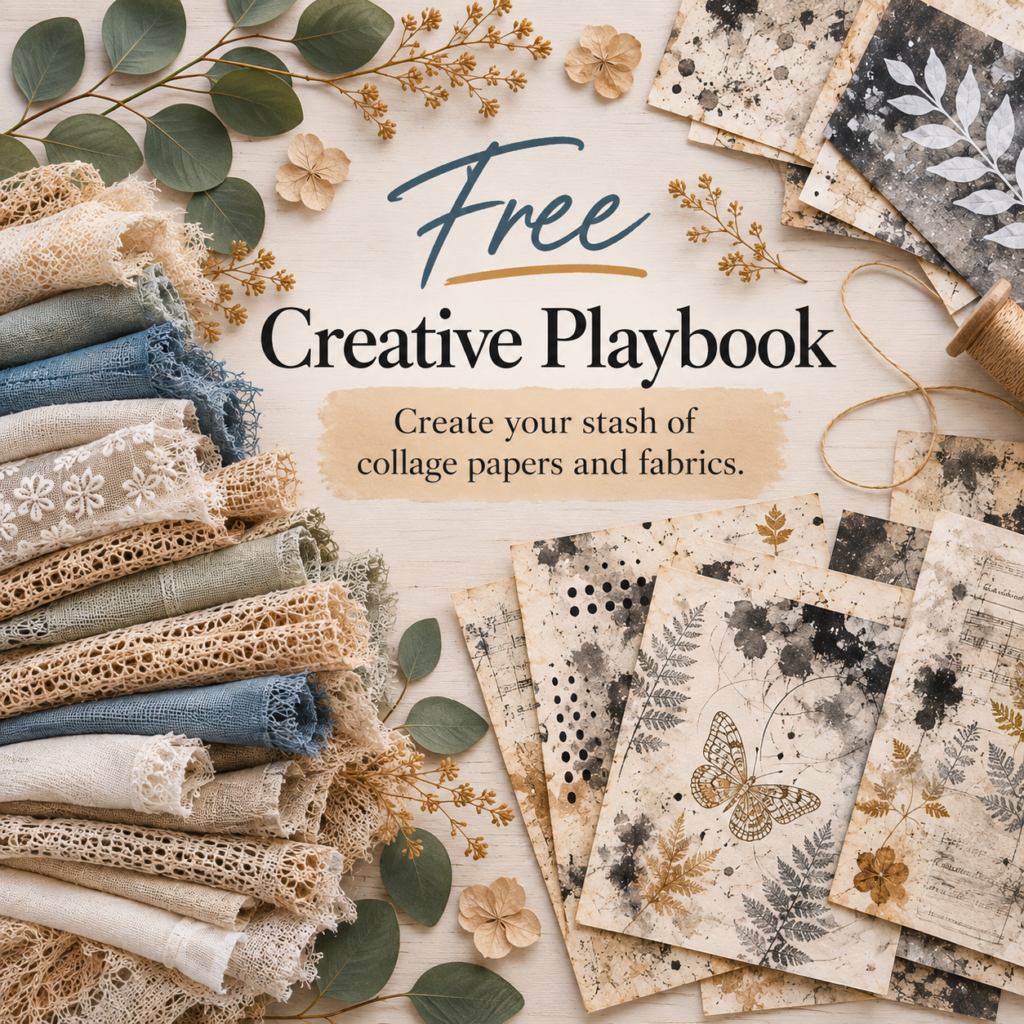
Create Unique Collage Papers & Fabrics
3 inspiring lessons that will show you how to create a stash of unique, artful materials for your mixed-media projects.