Creating art inspired by the textures and patterns of stones and rocks can be a meditative and enriching experience. Here are detailed steps for creating 5 papers, incorporating various mark-making techniques that mimic the natural beauty of stones.
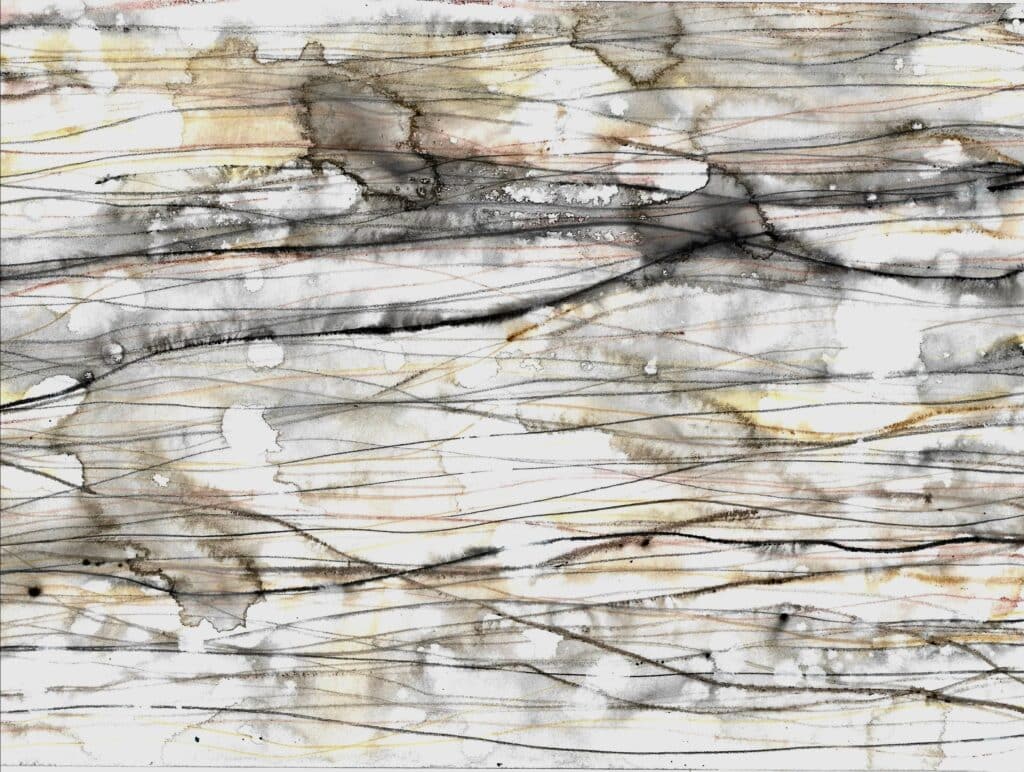
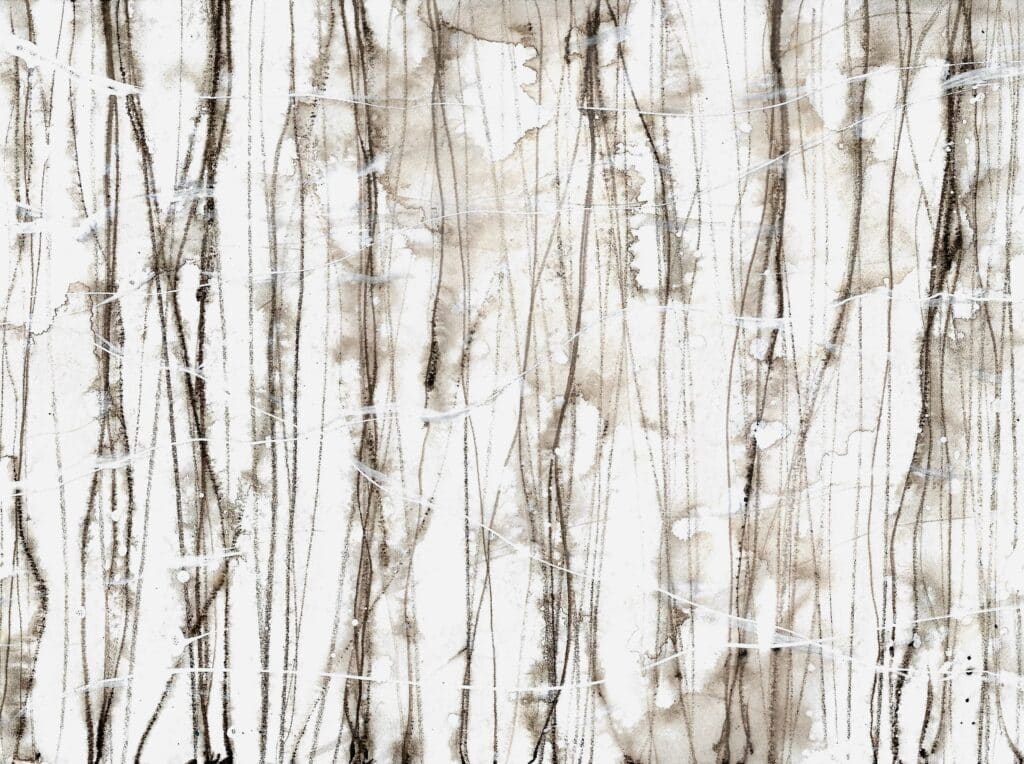
Paper 1: Blended Lines and Organic Patterns
Step 1: Dynamic Scribbling
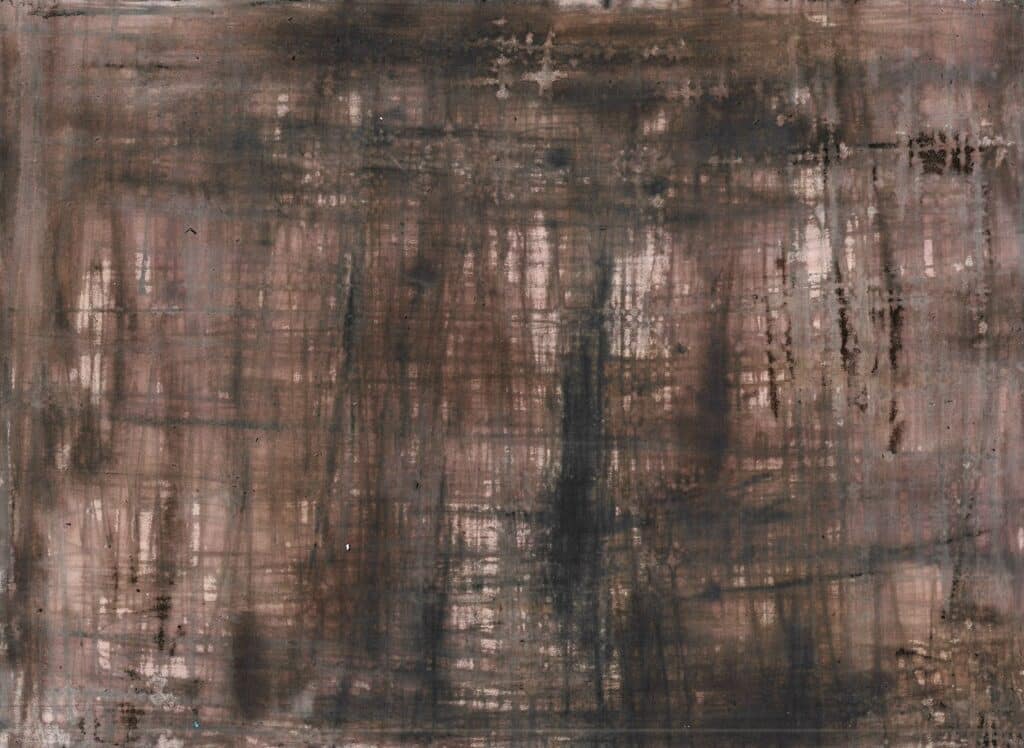
- Begin with water-soluble pencils in your choice of colors such as black and blue, black and brown, or simply black. Stand up and engage your entire body in the process. Scribble horizontal and vertical lines across the paper, allowing your movements to be free and spontaneous. Imagine the ancient marks and textures found on stones as you create.
Step 2: Water Wash
- Take a 2-inch flat brush and wet it thoroughly. Apply water generously over the entire paper, causing the pencil marks to blend and soften. While the paper is still wet, add more scribbles with the pencils, layering the marks. Continue brushing water over the paper as needed to keep it damp. Reflect on the history and stories that these stone-like marks could tell as you work.
Step 3: Organic Lines with Inks
- Ensure the paper is soaking wet. If it begins to dry, spray it with water or use a wet brush. Dip a branch or a stick in acrylic inks and draw organic lines across the page. These lines can follow the horizontal and vertical patterns from Step 1 or take on new, freeform shapes. Mix 2-3 colors to create a harmonious composition. Let the colors and lines blend naturally, forming intricate patterns reminiscent of stone veins and textures.
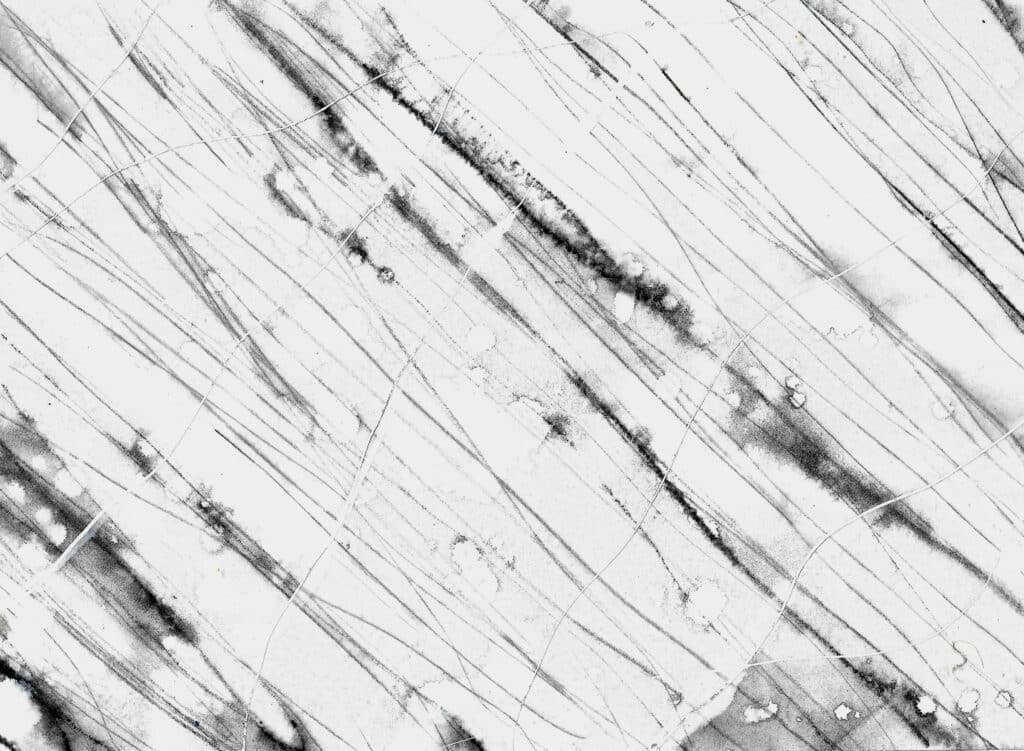
Paper 2: Spreading Lines and Splattered Dots
Step 1: Initial Scribbles
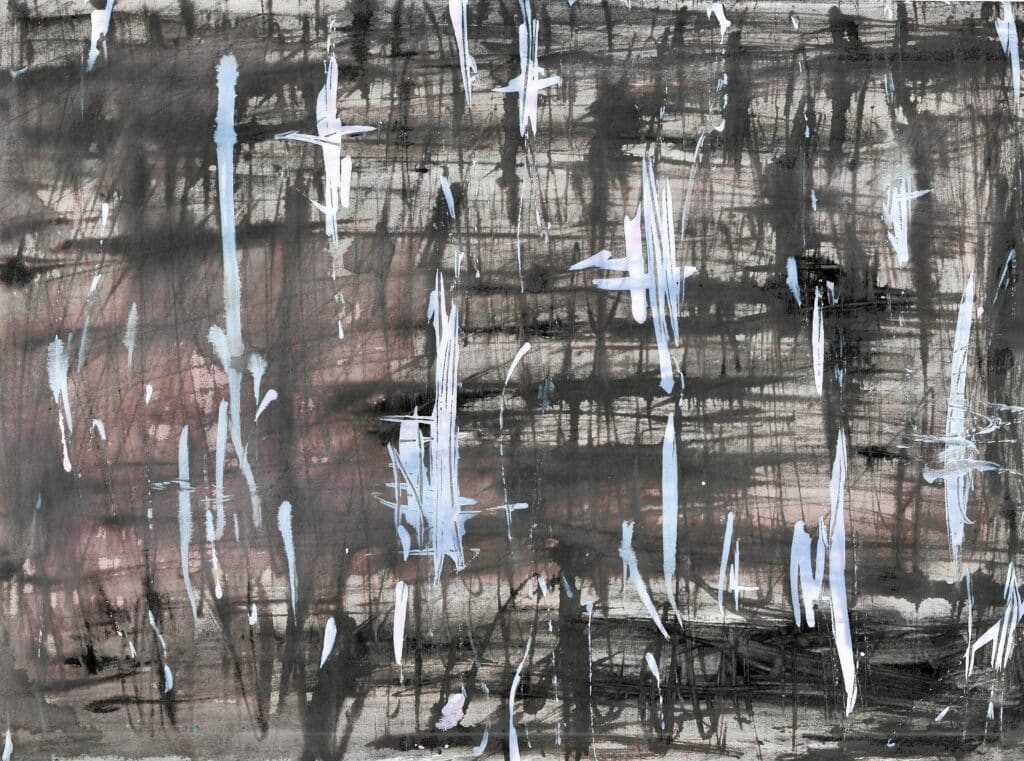
- Using a watercolor pencil, scribble lines on your paper. Experiment with different directions—horizontal, vertical, and diagonal. Choose colors that resonate with you, thinking about the natural hues found in stones and rocks.
Step 2: Water Sprays
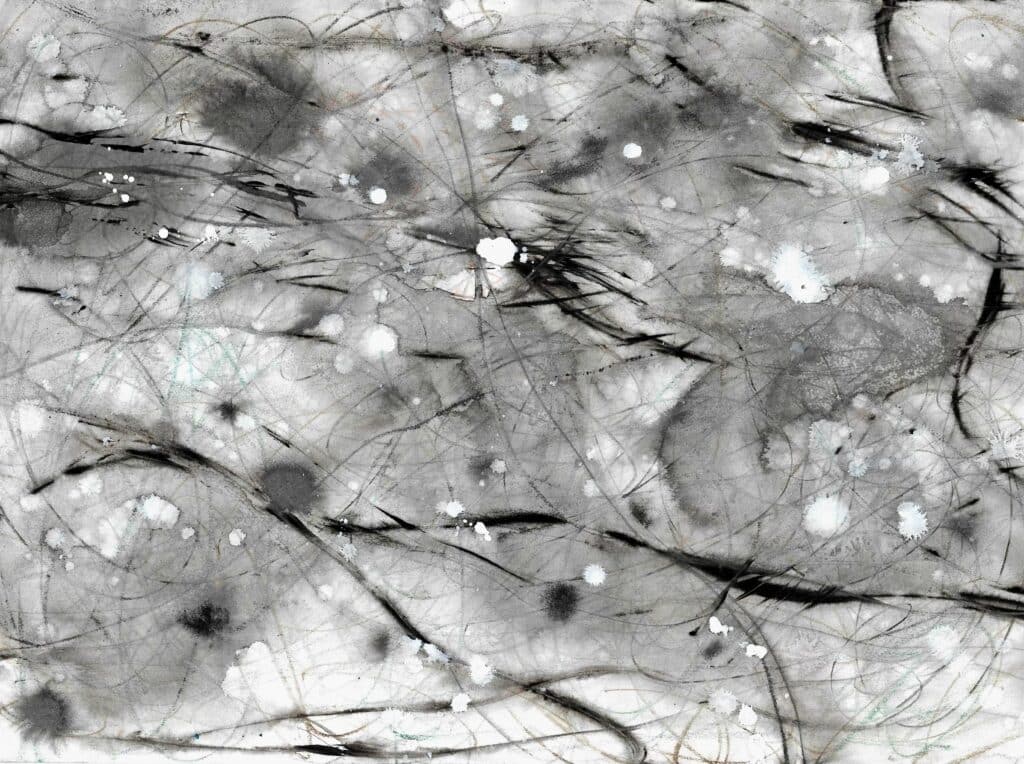
- Spray water over the scribbled lines and watch them spread and merge. This process is mesmerizing and encourages a meditative state. As the lines spread, add more scribbles with the watercolor pencils, observing how they interact with the water. Continue spraying water to facilitate this beautiful, unpredictable spreading of color.
Step 3: Splattering White Acrylic
- Take a brush or dropper and splatter high-flow white acrylic paint or ink onto the wet paper. The splatters will spread and create fascinating patterns. Enjoy this awe-inspiring moment as the white dots morph and blend with the underlying colors, mimicking the speckled appearance of stone surfaces.
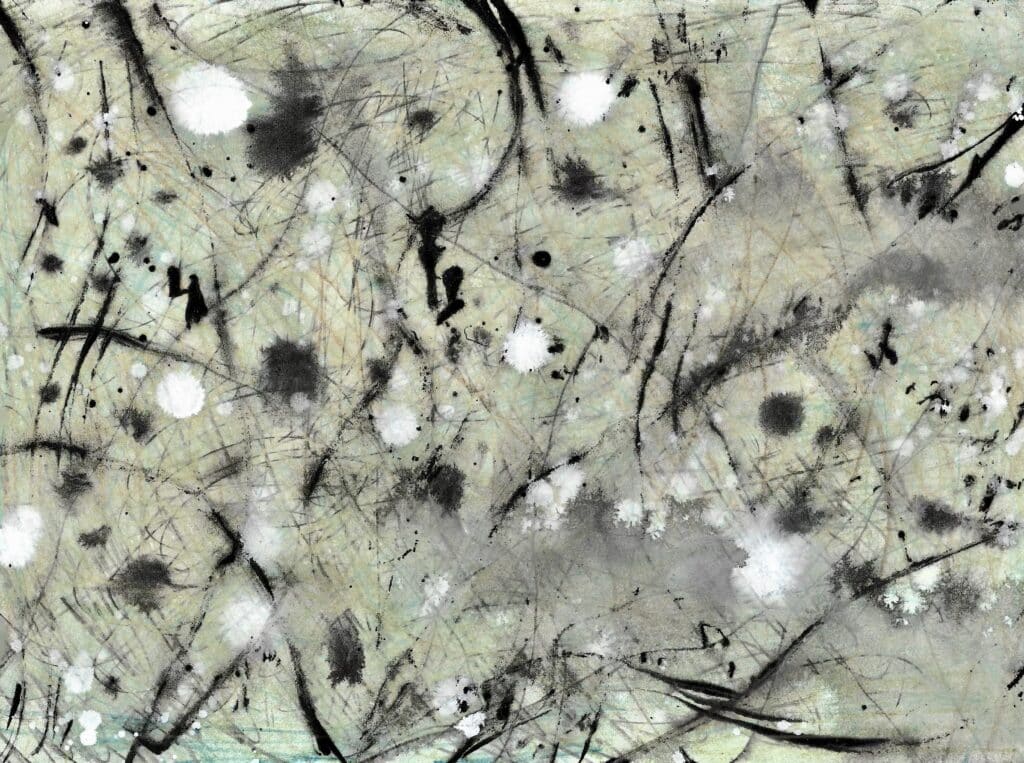
Paper 3: Freeform Scribbles
Step 1: Childlike Scribbles
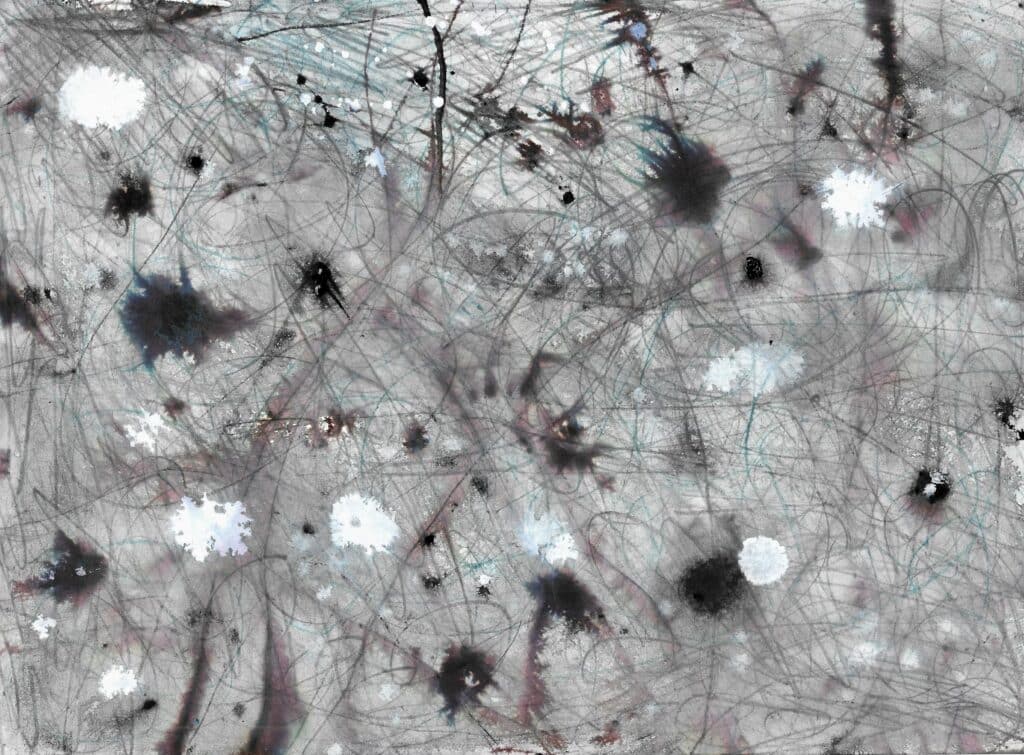
Start by grabbing your water-soluble pencils and let loose with random marks in every direction. Scribble like a carefree child, without any concern or worry. You can use just one color or mix 2-3 colors to add variety. Continue this for at least 5 minutes. If you feel like it, scribble some words and write whatever is in your heart, allowing your emotions to flow onto the paper.
Step 2: Embrace the Flow
Take a watery 2-inch flat brush and apply water all over the paper. Watch as the marks begin to blend and merge, creating a soft, fluid effect. Now, dip a tree branch into black acrylic ink or India ink and draw a few organic lines across the page. The ink will react with the water, spreading out in unexpected ways. Make additional marks with the tree branch, letting its natural form create unique patterns that you could never replicate otherwise. Imagine the branch as a conduit for nature’s own artistry, channeling the essence of the forest into your work.
Step 3: Dynamic Splattering
Using the same black ink, splatter droplets across the paper. Observe how the drops spread and alter the surrounding areas, creating dynamic, evolving marks. After this, splatter some white acrylic ink to form contrasting white dots. You can use the tree branch or a brush for this step. Besides splattering, touch the pointed tip of the brush or branch onto the wet paper to create larger dots and watch the magical effects unfold. These actions will infuse your paper with energy and movement, capturing the wild, untamed spirit of nature.
Paper 4: Pebble Bed Symphony
Step 1: Organic Circles with a Twist
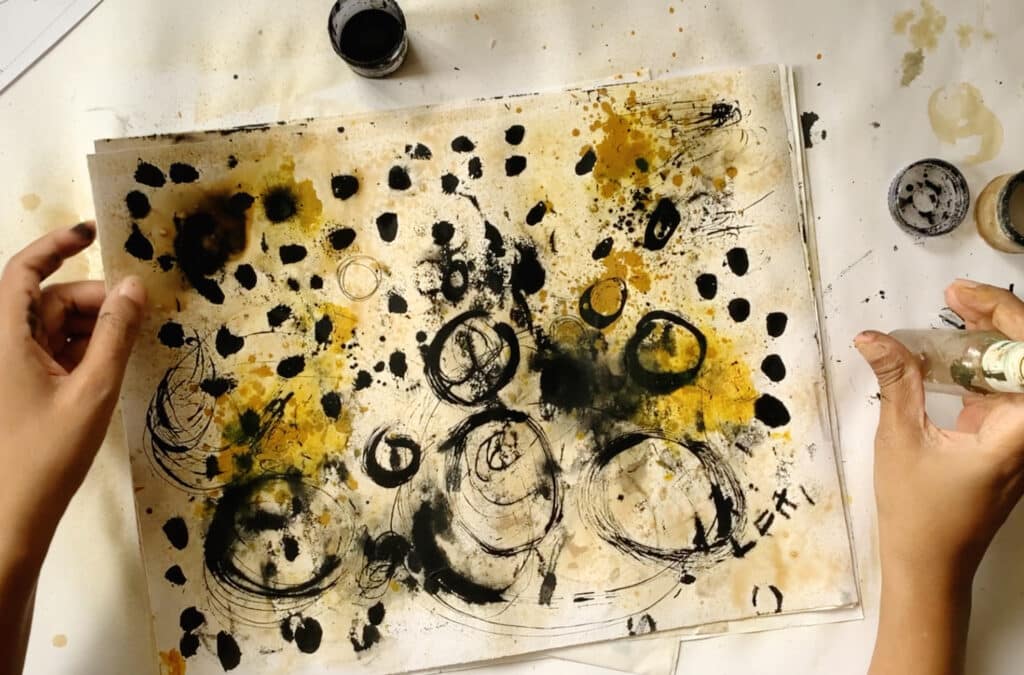
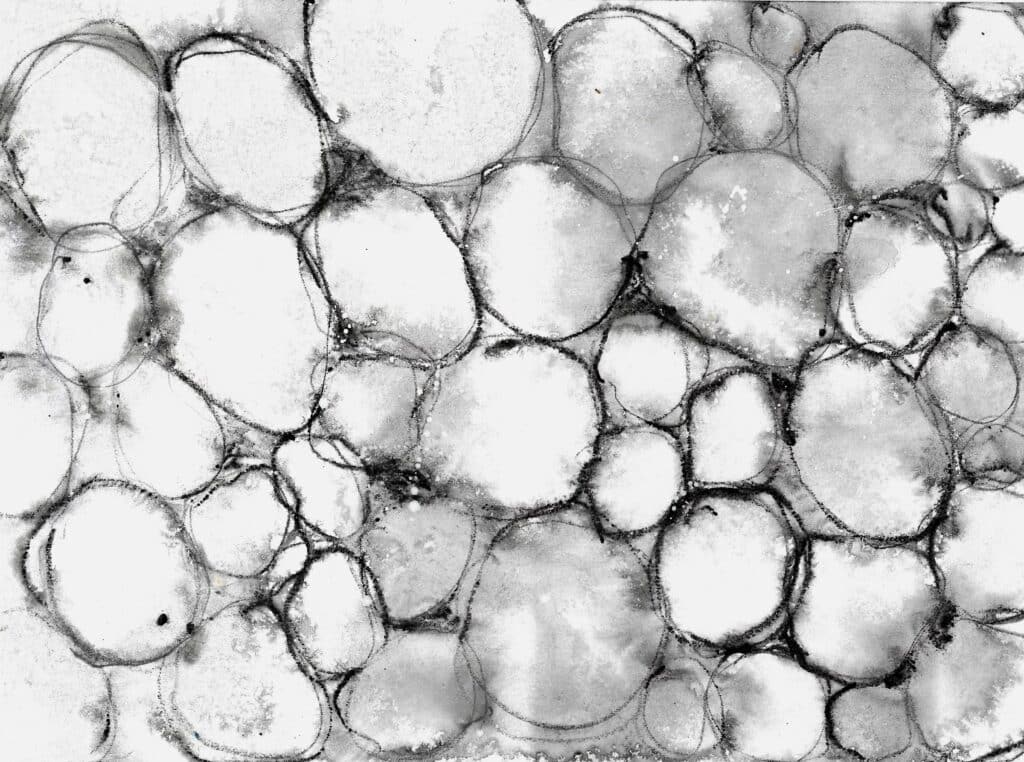
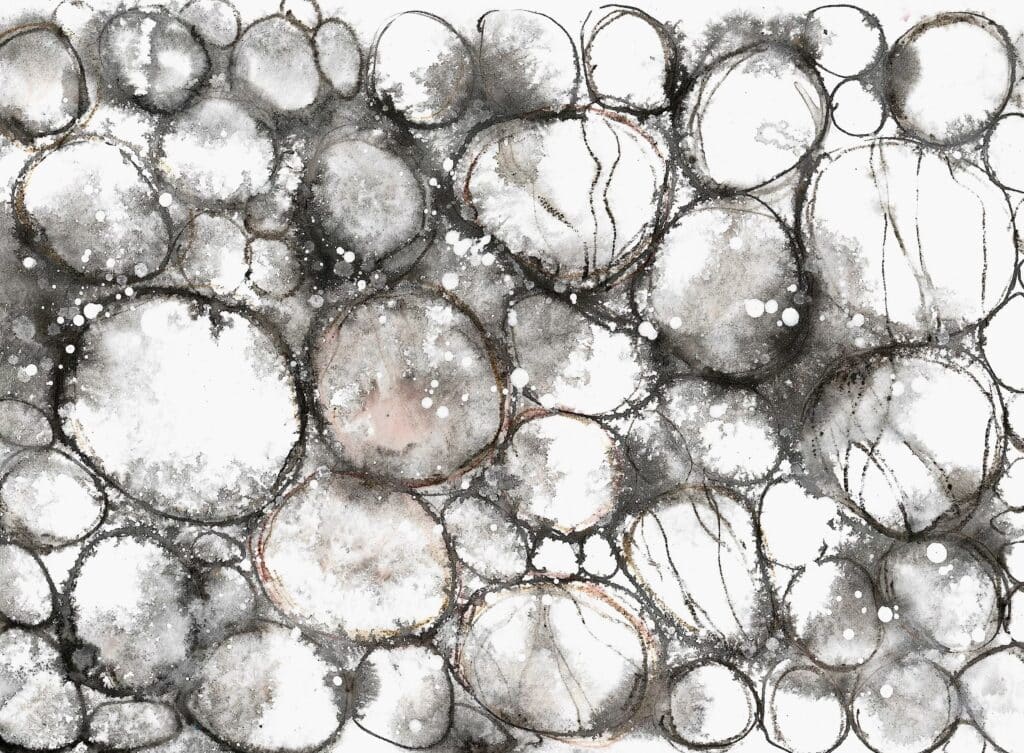
Begin by using a water-soluble pencil to draw circles on your paper, representing a bed of pebbles. To keep the shapes organic and freeform, try using your non-dominant hand. This will naturally create imperfect, more lifelike shapes that mimic the randomness of pebbles.
Step 2: The Magic of Water
Next, spray the paper with water and watch as the lines begin to spread and blend. This part of the process is mesmerizing—observe closely and appreciate the beautiful transformation. Continue to spray water, allowing the lines to expand and merge. Then, add more circles just as you did in Step 1, enjoying the instant spreading effect as soon as you scribble. Draw some lines in between the circles to represent the natural markings found on rocks. Imagine the lines as ancient stories etched by time, each mark adding character and history to your piece.
Step 3: Splatter for Depth and Texture
Finally, take a brush loaded with high-flow white acrylic or white acrylic ink and splatter it across the paper. Watch in awe as the dots spread and interact with the water, creating intricate patterns and textures. These splatters add a sense of depth and dimension, transforming your pebble bed into a dynamic, living scene. Embrace the unexpected beauty that emerges from the interaction of water and pigment, celebrating the spontaneity and organic nature of the process.
Bonus Paper: Marbled Earth
Step 1: Start by spreading a layer of gesso across your paper using the edge of a credit card. Feel the smoothness as you glide the card, knowing that this will form the foundation of your piece.
Step 2: Choose 2-3 different acrylic paints, and apply small amounts directly onto the gessoed surface. Using the same credit card, begin spreading the colors around, letting them blend naturally with the gesso. As you work, notice how the colors start to merge, creating an unexpected marbled effect, much like the natural patterns found in stones and rocks. Let the edges of the card create those sharp, organic lines that mimic the veins in marble.
Step 3: Once the paint has dried, it’s time to add texture. Take a sponge, dab it lightly in gesso or another found object like a piece of net, and press it onto the paper. As you do this, imagine the rough, weathered surfaces of rocks, and how each texture tells a story of time and nature. These textures will bring a tactile dimension to your work, resembling the intricate, worn patterns found on stones.
Tip: If you’re working on an A4 paper, consider cutting the paper in half before you start Step 3. This way, you can experiment with different textures and effects on each half, giving you two unique pieces that reflect different aspects of stone patterns.

Cutting Out Stone Shapes from Paper
Once you’ve created your textured and patterned papers, the next step is to cut out shapes that resemble stones. Here’s how to approach this:
1. Selecting Shapes
Look for natural stone shapes such as ovals, irregular polygons, and organic, rounded forms. Stones are rarely perfect circles or squares, so embrace irregularities. Imagine holding these stones in your hands, feeling their weight and texture.
2. Cutting Techniques
Use sharp scissors or a craft knife to cut out the shapes. For a more authentic look, tear the paper instead of cutting it. The torn edges will mimic the rough, jagged edges of natural stones. Think about the natural forces that create these shapes, such as erosion and weathering.
3. Layering and Assembly
Arrange your stone shapes on a new sheet of paper. Overlap them to create a sense of depth and dimension. Consider using adhesive foam dots to raise some stones, giving a 3D effect. Reflect on the layering of rocks in nature, how they stack and shift over time.
4. Detailing and Finishing
Add final details with fine pens or brushes. Outline some stones lightly to enhance their shapes, or add shadows to create depth. You can also use metallic pens to add subtle highlights. Think about the tiny details that make each stone unique, from the smallest crack to the faintest sparkle of minerals.
Conclusion
Engaging in stone-inspired mark making and creating stone shapes on paper is a meditative and fulfilling artistic practice. By exploring different techniques and allowing your creativity to flow, you can produce unique and meaningful mixed media art pieces.
Whether you aim for realistic depictions or abstract representations, the process offers endless possibilities for expression and introspection.
Let the stones inspire and guide your artistic journey.


