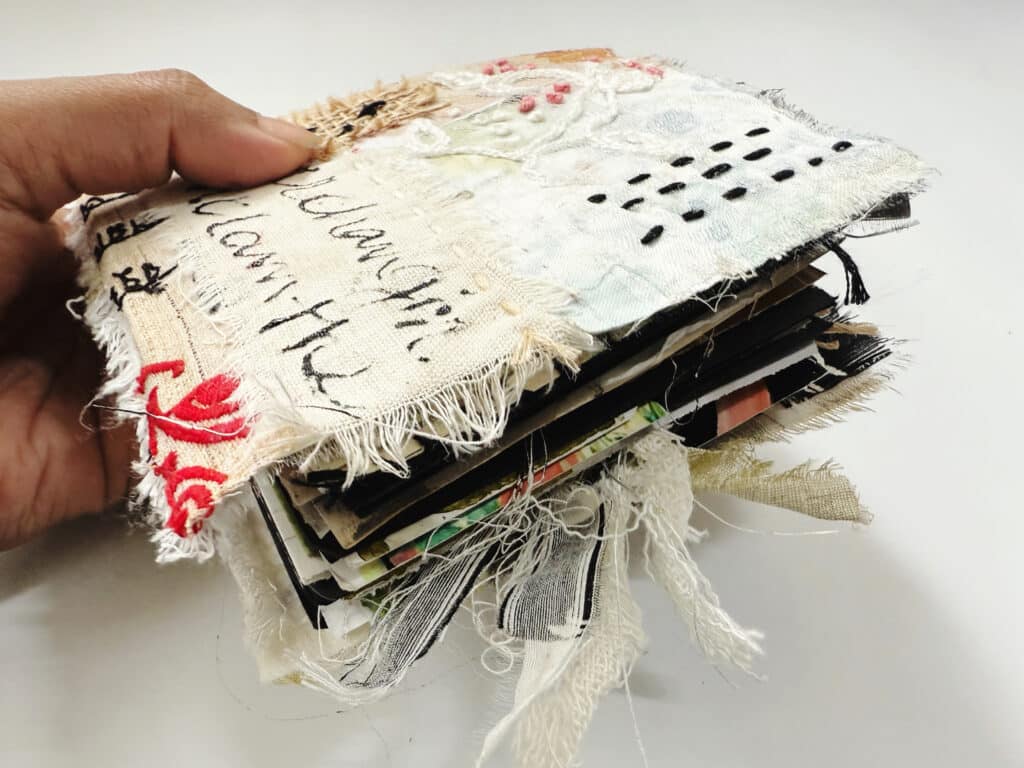
There’s something deeply satisfying about shrinking your art practice down to a tiny journal you can hold in the palm of your hand.
In today’s blog, I’ll share how I transformed scraps and prints into a 4×4″ mini art journal, complete with a sturdy 5×5″ collaged cover and a mish‑mash of “junk” pages begging to be personalized.
This project is perfect for using up leftover mark‑making papers, fabric bits, and vintage ephemera—all while staying present and intuitive in the process.
I’ve put together a free resource library designed just for you, packed with everything you need to fuel your creativity. It’s my way of giving back to the mixed media community with resources to inspire your next project. Click here to join.
Creating Fabric + Paper Collage Master Sheet
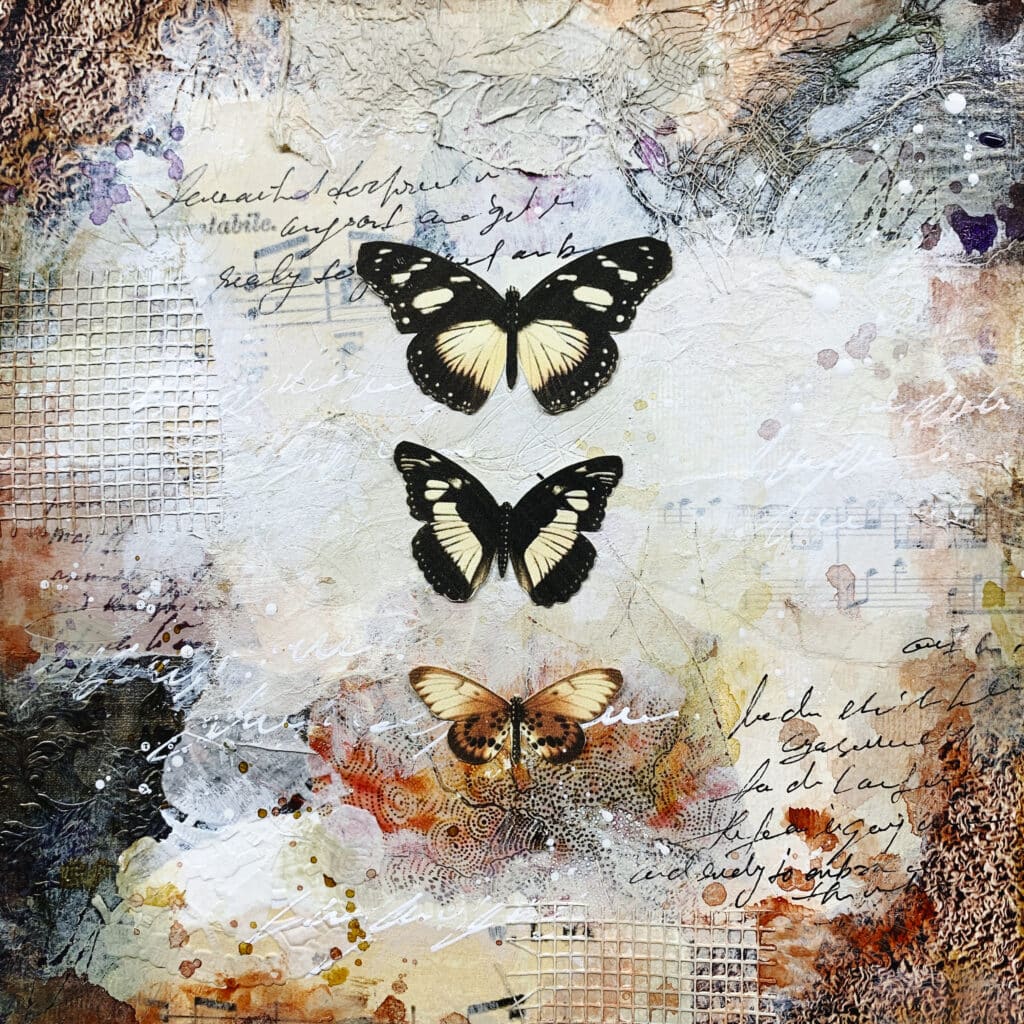
Before you start the cover, you can make a collage master sheet—a larger mixed‑media composition of fabric and paper scraps that you’ll later cut into pieces:
Layer 1 – Arrange & Photograph
Lay out your fabric and paper scraps on the 5×10″ cover base until you’re happy with the composition. Take a quick photo—that way you can return to your arrangement if things shift.
Layer 2 – Glue Down
Using a glue stick, adhere each piece to the cover. Start from the bottom layers and work your way up, smoothing out any bubbles as you go.
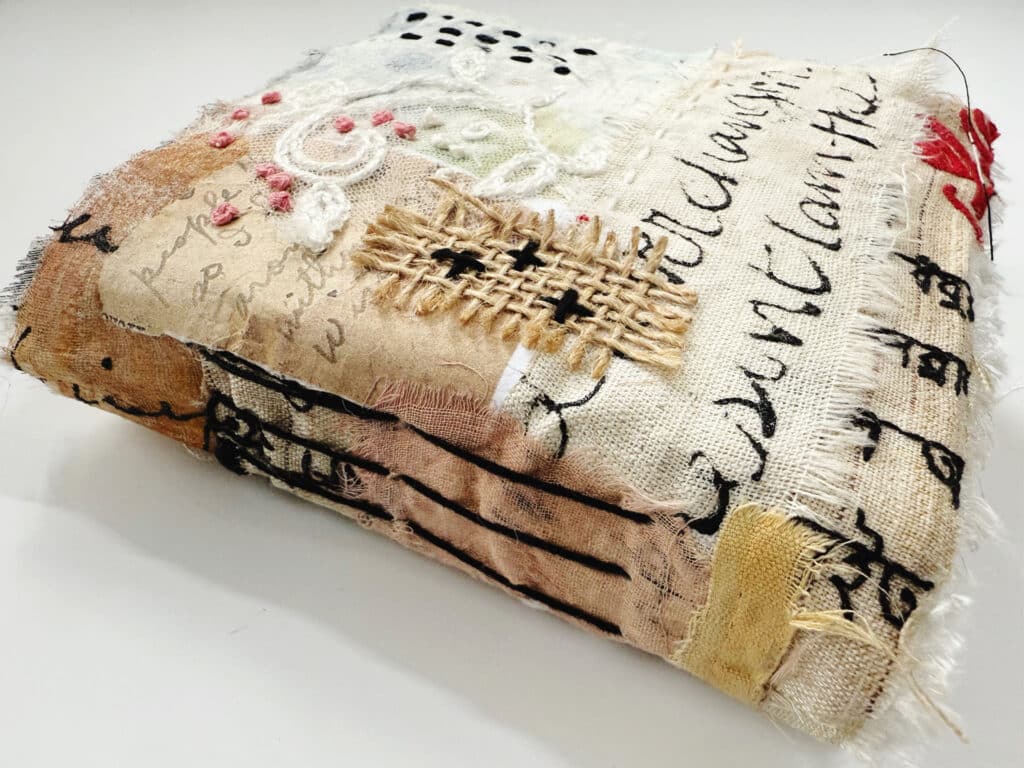
Layer 3 – Stitch for Security
Once the glue has set (just a few minutes), run a simple straight stitch across your collage. This reinforces the layers and adds a subtle textural detail.
Building the Junk Journal Pages
I trimmed all my leftover papers to 4×4″ squares and mixed them up to keep things surprising:
Dark & Moody:Black cardstock with white/gold mark making
Collage Relics:Snippets from master sheets and old magazines
Textured Translucency:Coffee‑dyed deli paper painted with acrylics
Vintage Whispers:Old map bits and lacey printables
Printables:Pattern papers from my free Artist Resource Library
Fabric Touches:Leaning into scraps and lace for tactile interest
After folding, I worked into a handful of pages right away—scribbling journal thoughts, layering more fabric scraps, and adding tiny bits of ephemera. Each spread feels like a discovery, and I love seeing how the textures and colors play together.
Download your digital guide
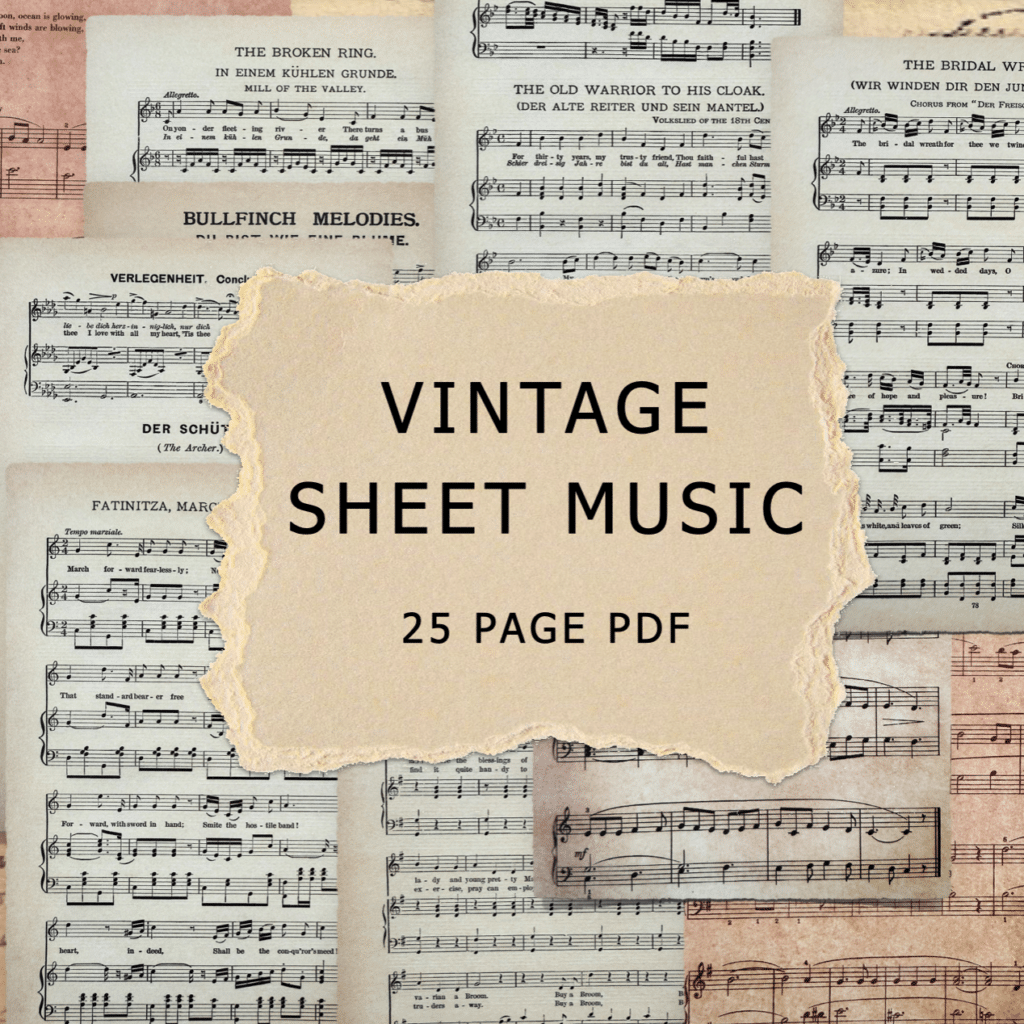
Good news! You can download the exact sheet music I’ve used in the journal along with many other printables from my Artist Resource Library — Download, then print and start creating immediately!