Crafting a collage mastersheet is an exciting way to create unique backgrounds and textured layers for art journaling, mixed media projects, and other creative endeavors. With just a few simple materials, we can layer and build textures, bringing depth, contrast, and personality to our work. This guide will take you through each step, offering tips to spark creativity and encourage exploration. Let’s dive in and create a versatile, vintage-inspired mastersheet!
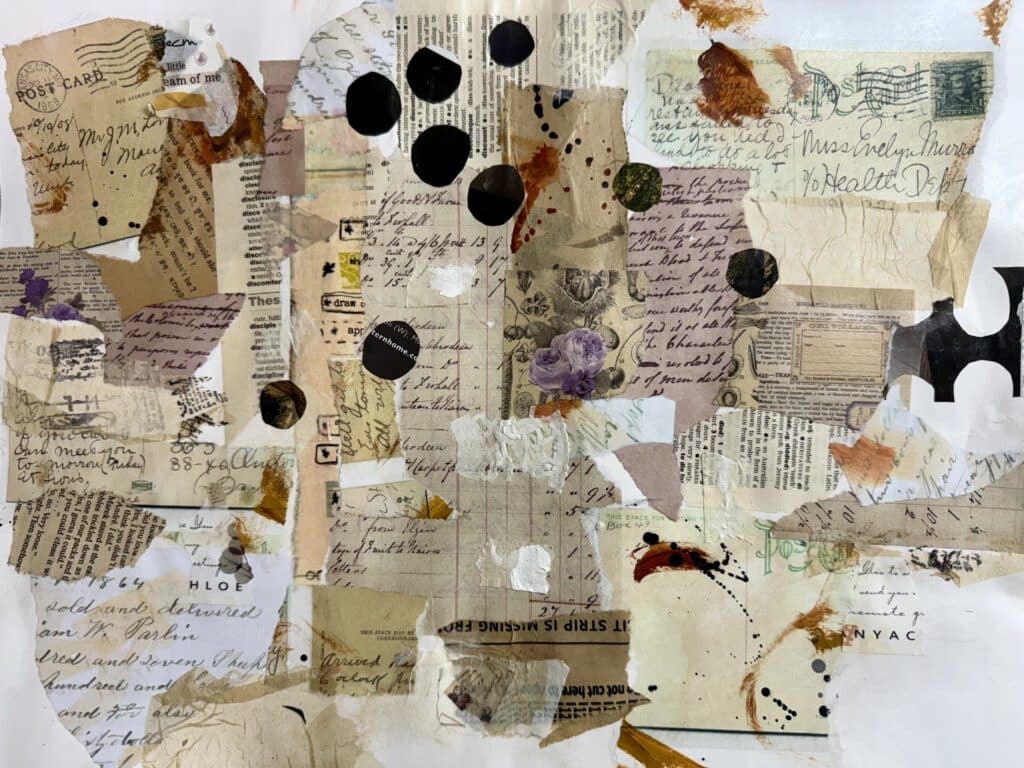
Layer 1: Foundation with Textural Ephemera
Build a textural base with various paper elements to form an interesting foundation.
-
Collage Painted Neutral Ephemera
- Tear painted paper ephemera in different sizes, including both large and small pieces. Arrange these pieces on your surface, layering them for depth.
- Creative Tip: Experiment with different types of paper for a variety of textures. Think of this step as creating a background landscape for the entire piece.
-
Add Tissue, Deli, or Rice Paper
- Layer tissue paper, painted deli paper, or rice paper. This adds subtle texture and translucence.
- Creative Tip: Try scrunching or layering papers over each other for more dynamic texture, making areas that capture light or appear faded.
-
Include Small Paper Bits and Painted Masking Tapes
- Sprinkle smaller scraps or bits of painted masking tape around your foundation, helping to bridge larger pieces of paper.
- Creative Tip: Think of these bits as the “connective tissue” between larger elements, bringing unity to the layer while adding tiny pops of interest.
-
Incorporate Black Circles from Magazines or Painted Tissue
- Add contrasting black circles cut from magazine pages or painted tissue. This will give your collage visual focal points.
- Creative Tip: Place these circles in a way that leads the eye across the page. They can act as “signposts” that guide the viewer’s journey.
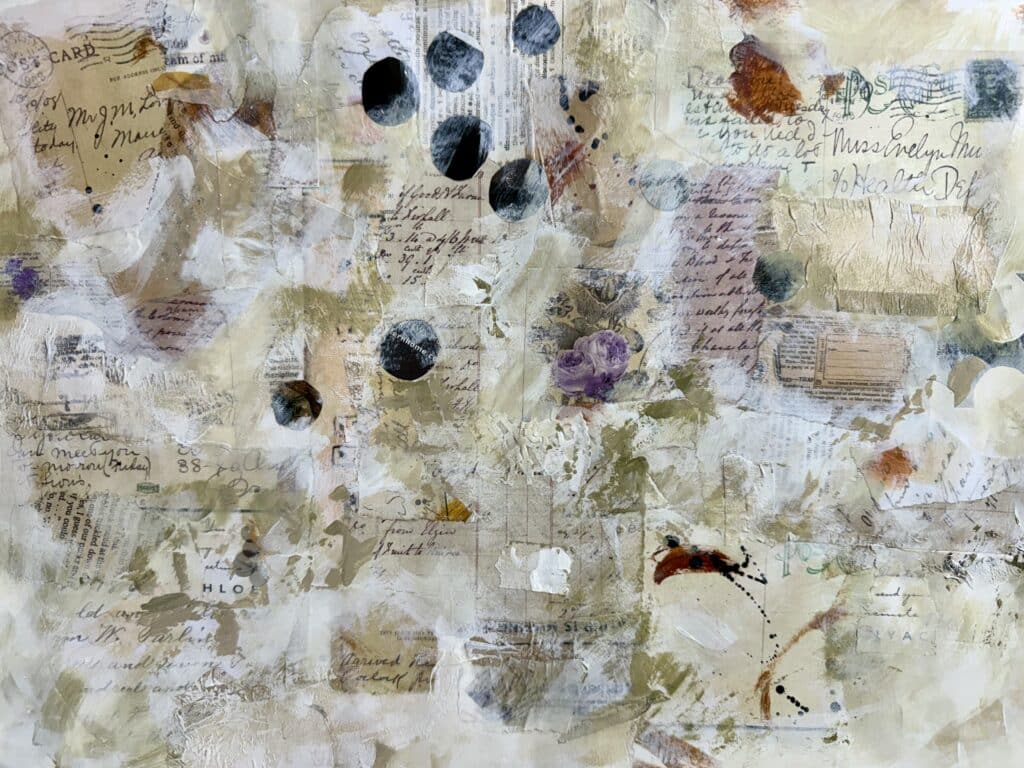
Layer 2: Subtle Color Washes and Gesso
Add soft, vintage colors while blending and softening the edges of the collage elements.
5. Brush Gesso Lightly
- With a coarse flat brush, apply a thin layer of gesso over some areas, softening textures and creating a subtle “washed” effect.
- Creative Tip: Try brushing in varied directions or using a crosshatch pattern. This will create a more dynamic texture and enhance the layered, vintage look.
6. Add Vintage Tones with Paint on the Edges and Joins
- Paint gentle shades of vintage neutrals (think faded browns, sepia tones) around the edges and joins of your collaged pieces, leaving some areas uncovered.
- Creative Tip: Apply paint with your fingers or a palette knife to get a hands-on feel for the texture and add a bit of unpredictability.
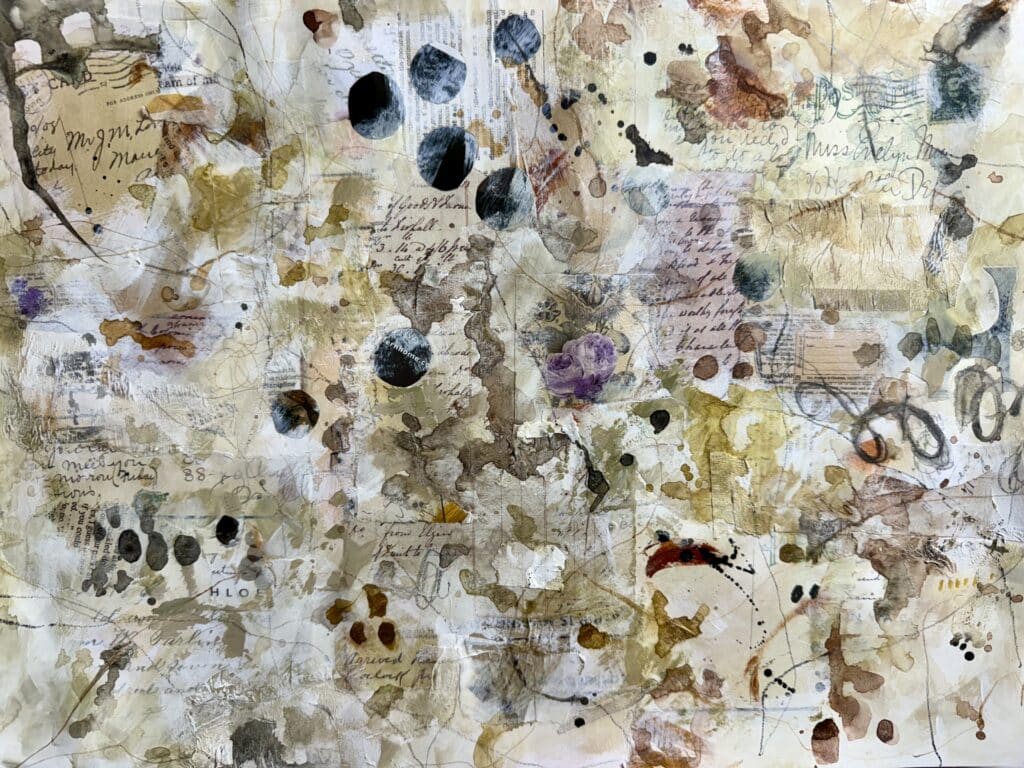
Layer 3: Creative Mark-Making
Add final details, marks, and stamps to give personality and richness to the collage.
8. Make Marks with Watercolors
- Use a brush to add watercolor marks, letting the color flow naturally. Try splattering for organic spots of color.
- Creative Tip: Think of watercolors as a way to “stain” your piece, letting colors seep in or move freely over the textured surface.
9. Mark with Pastels, Crayons, or Pencils
- Layer mark making with pastels, crayons, or watercolor pencils for a sketchy effect.
- Creative Tip: Create contrasting lines or soft smudges to add dimension, while exploring a variety of lines and pressure.
10. Stamp with Meaningful Imagery
- Stamp shapes like birds, butterflies, or botanical elements to infuse a story into the collage.
- Creative Tip: Choose stamps that resonate with the feel of your piece. Think of these as symbols that reflect the theme you’re creating.
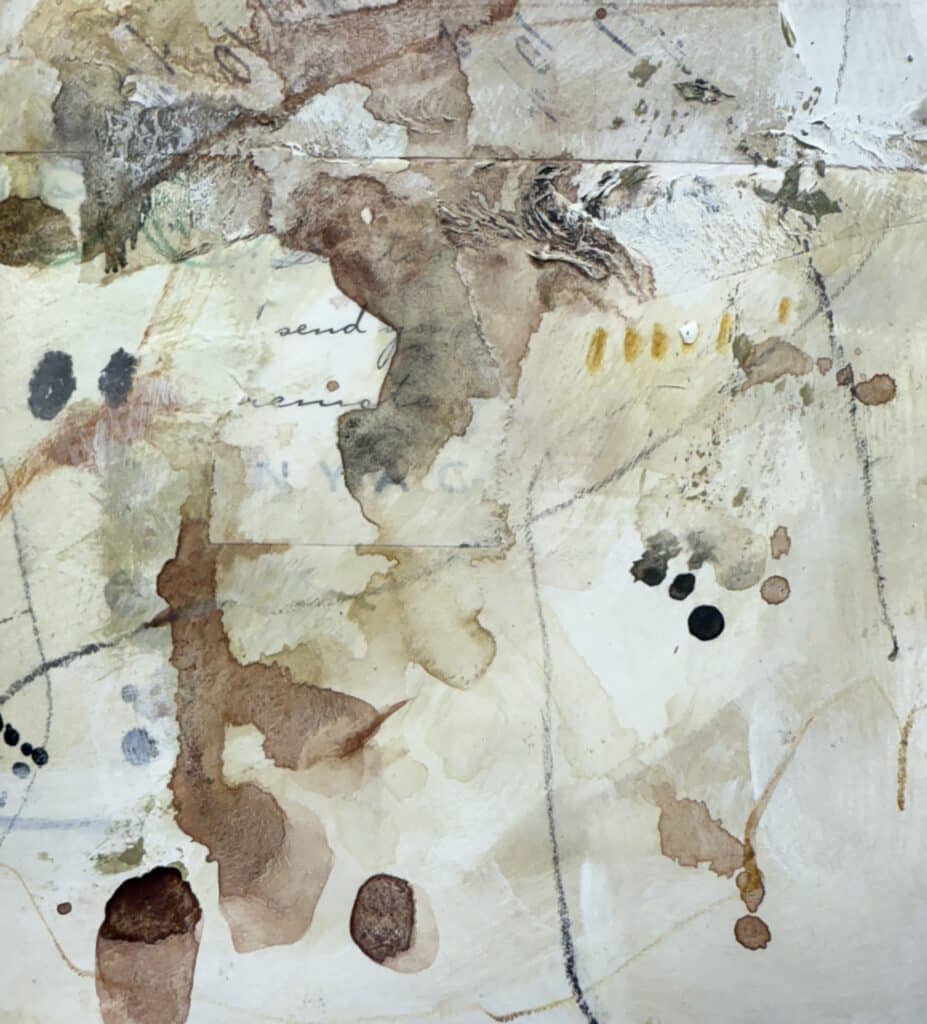
Once your vintage collage mastersheet is complete, you’ll have a textured, layered background ready for art journaling or any other mixed media project. The beauty of this process lies in the organic way each layer builds upon the last, giving the piece a rich, aged feel.
Whether used as a whole or cut into pieces, your collage mastersheet will bring warmth, depth, and character to your creative projects.
Let this guide serve as an inspiration to keep experimenting and infuse your unique style into each layer!
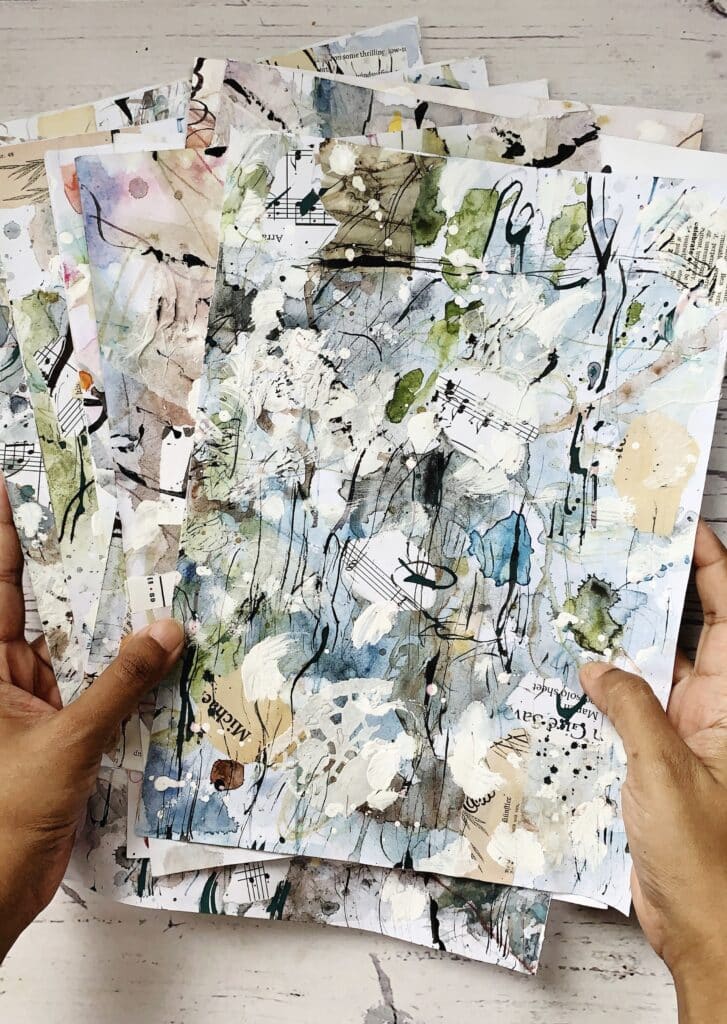
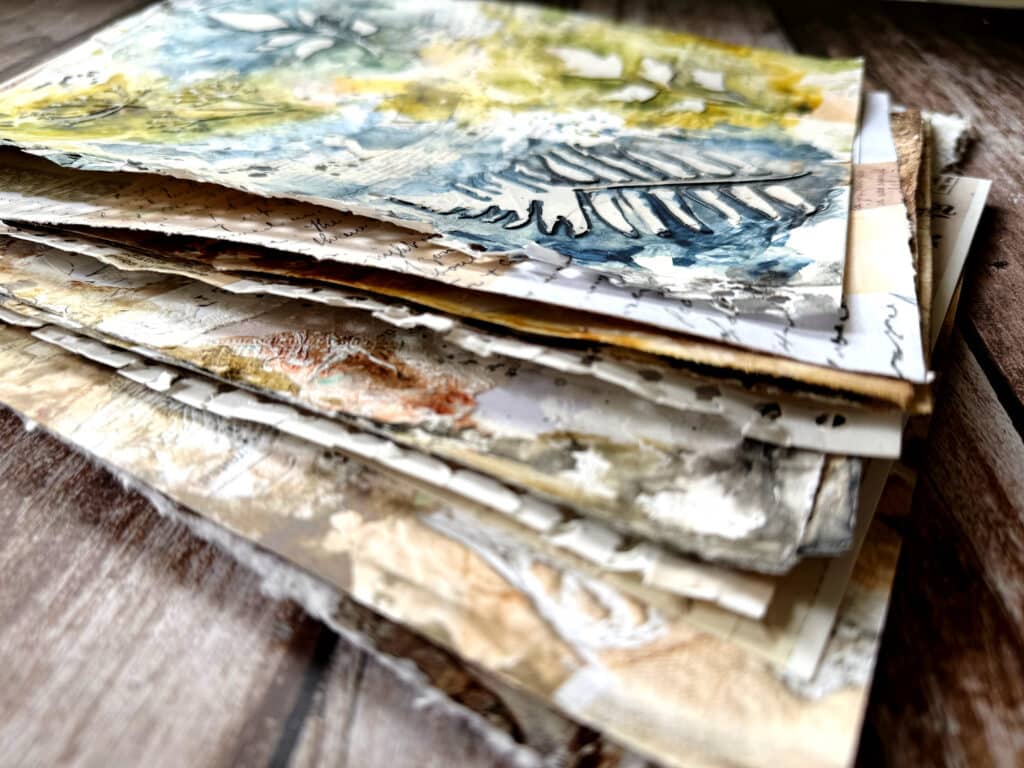
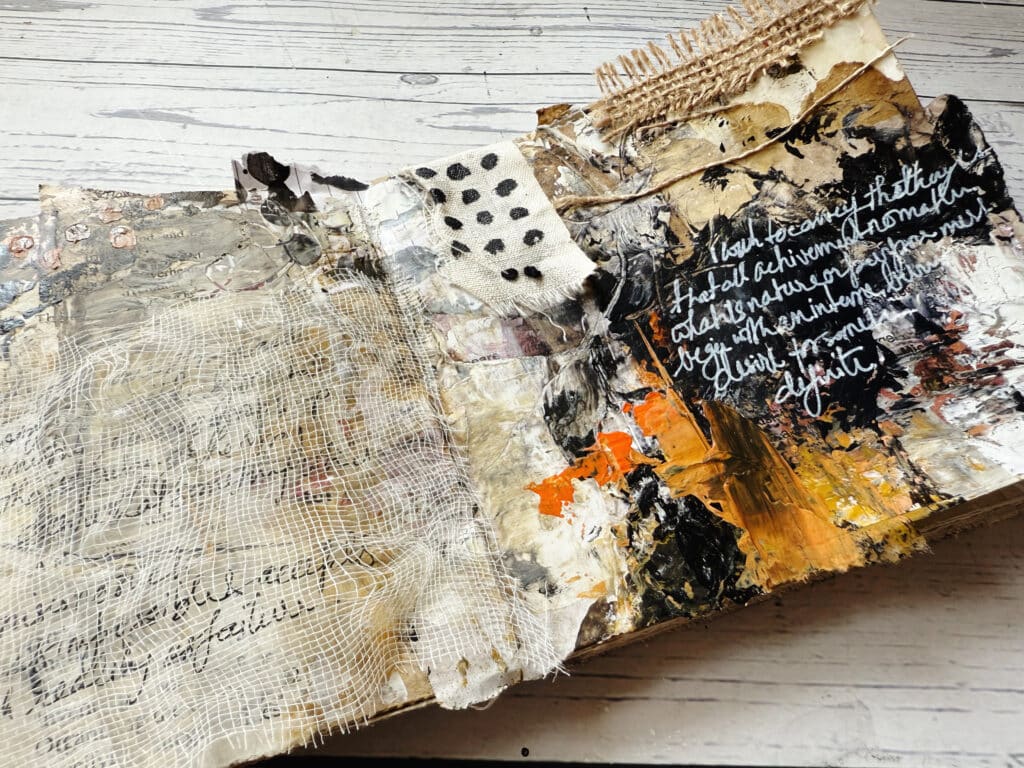
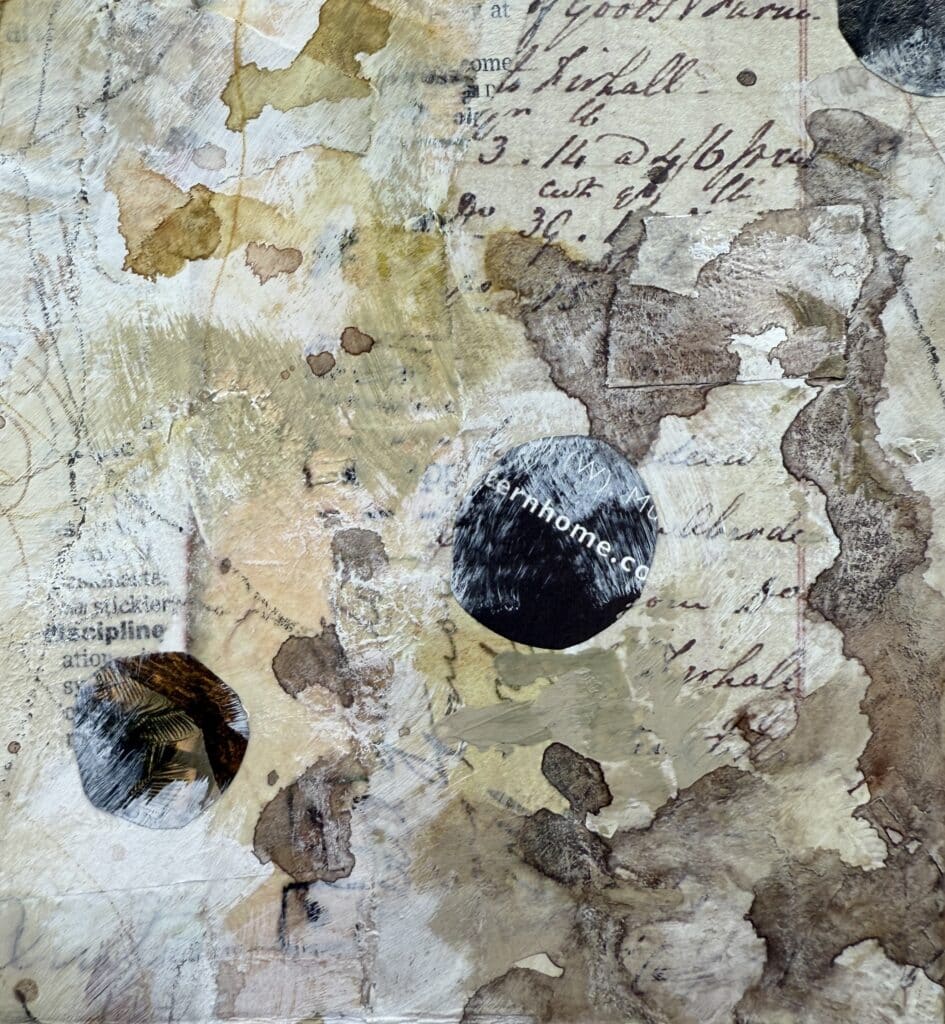
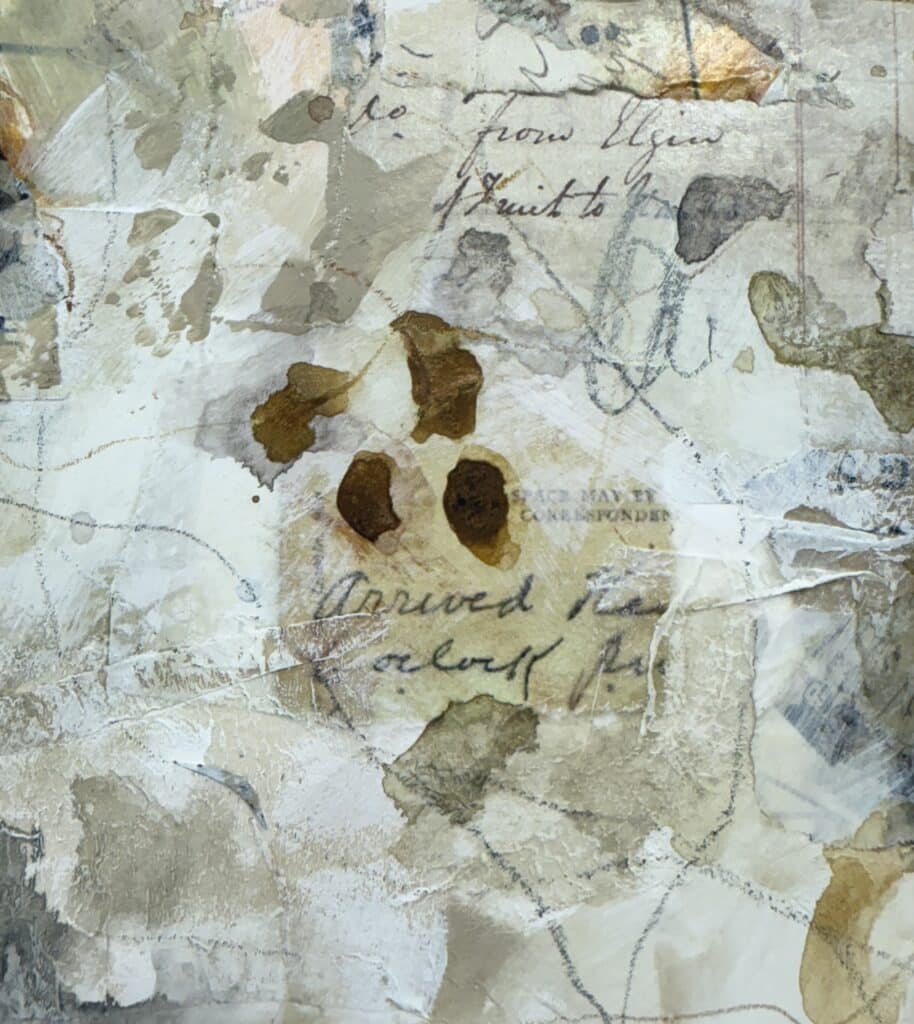
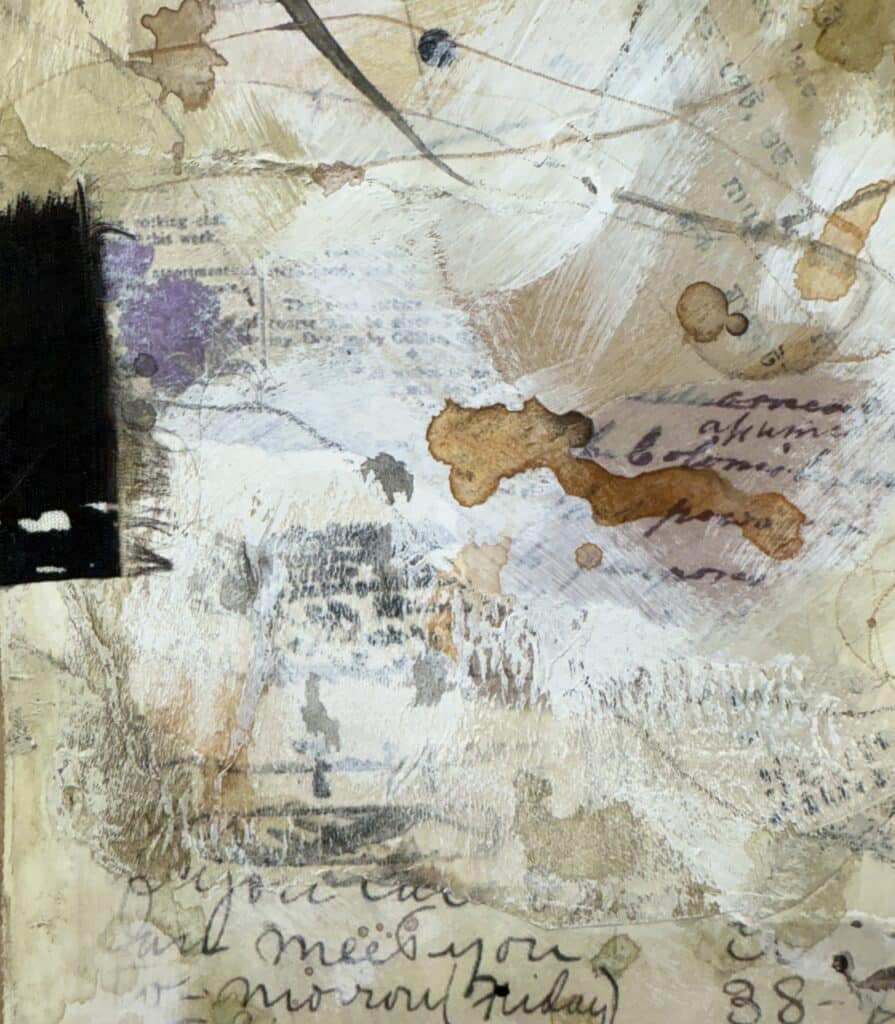
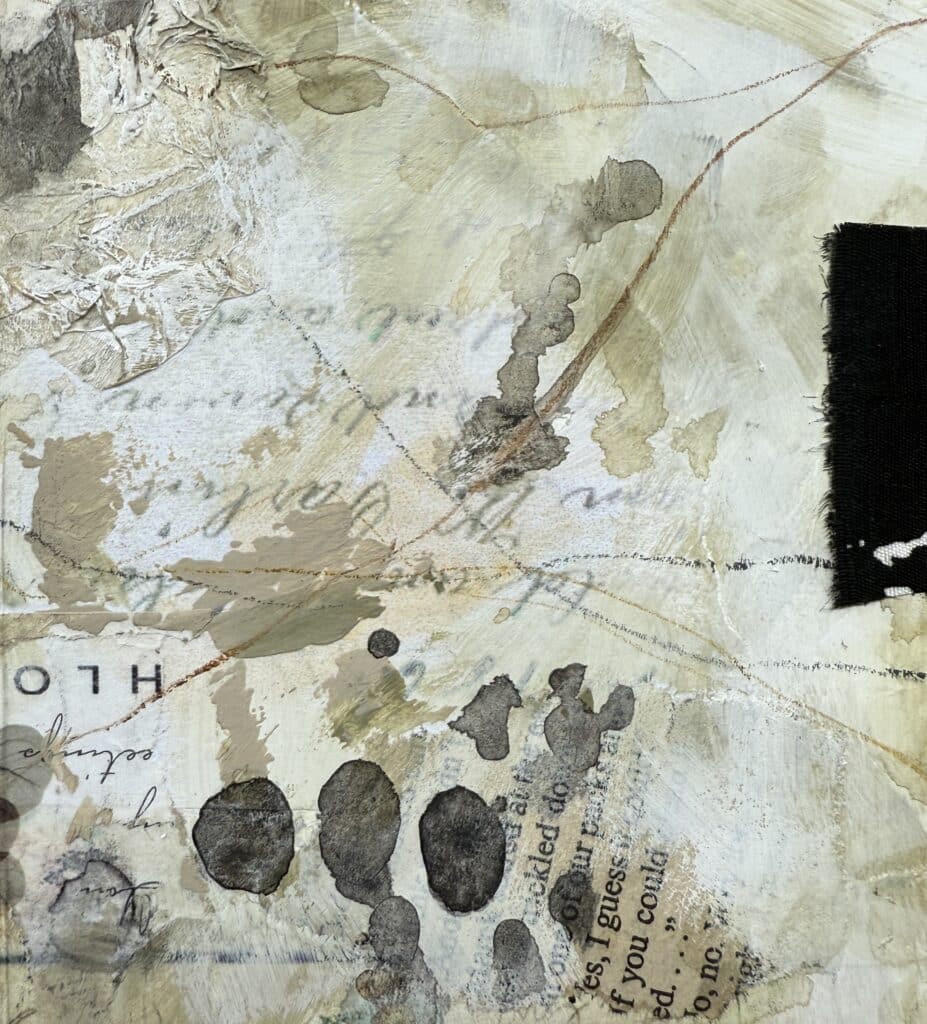
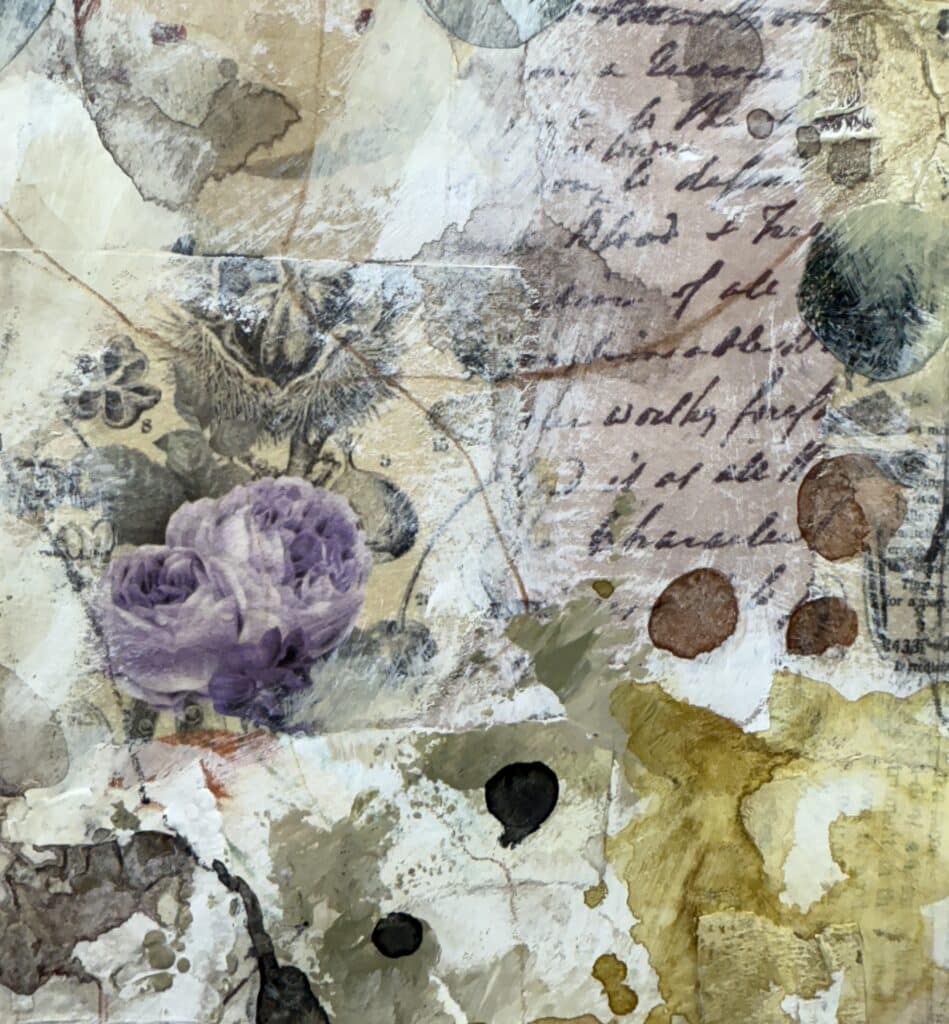
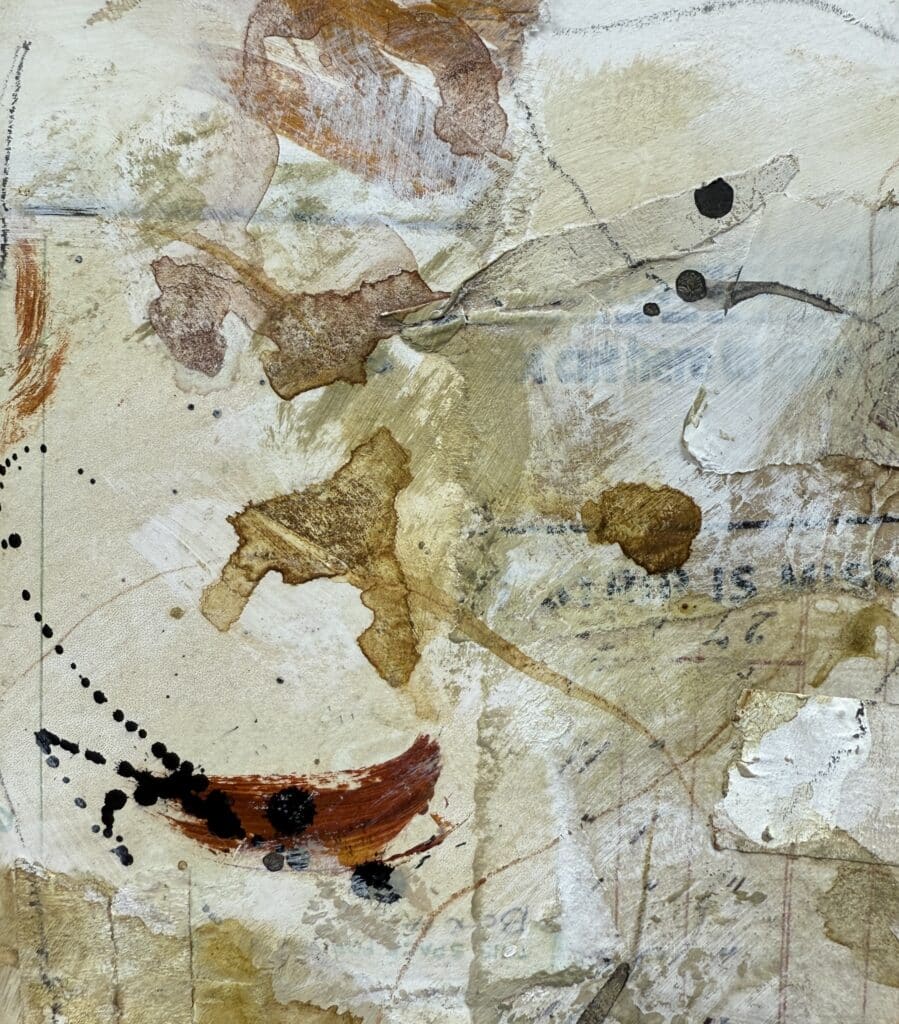
I created an art journal out of it and here are the 8 pages ready to be worked on.
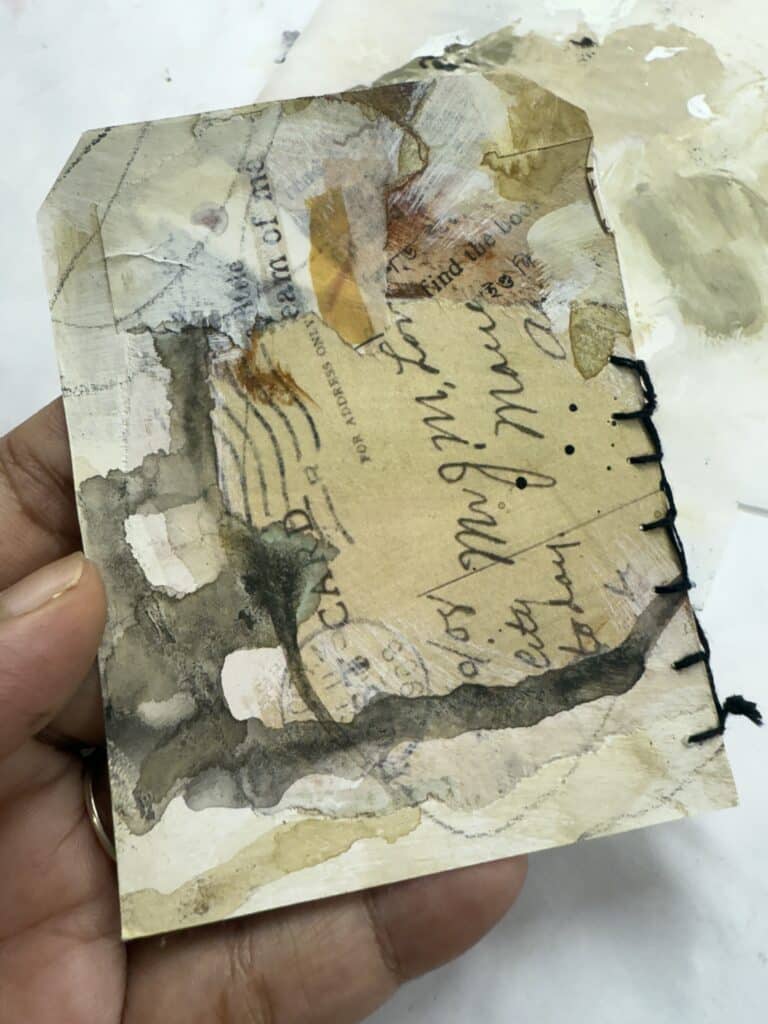
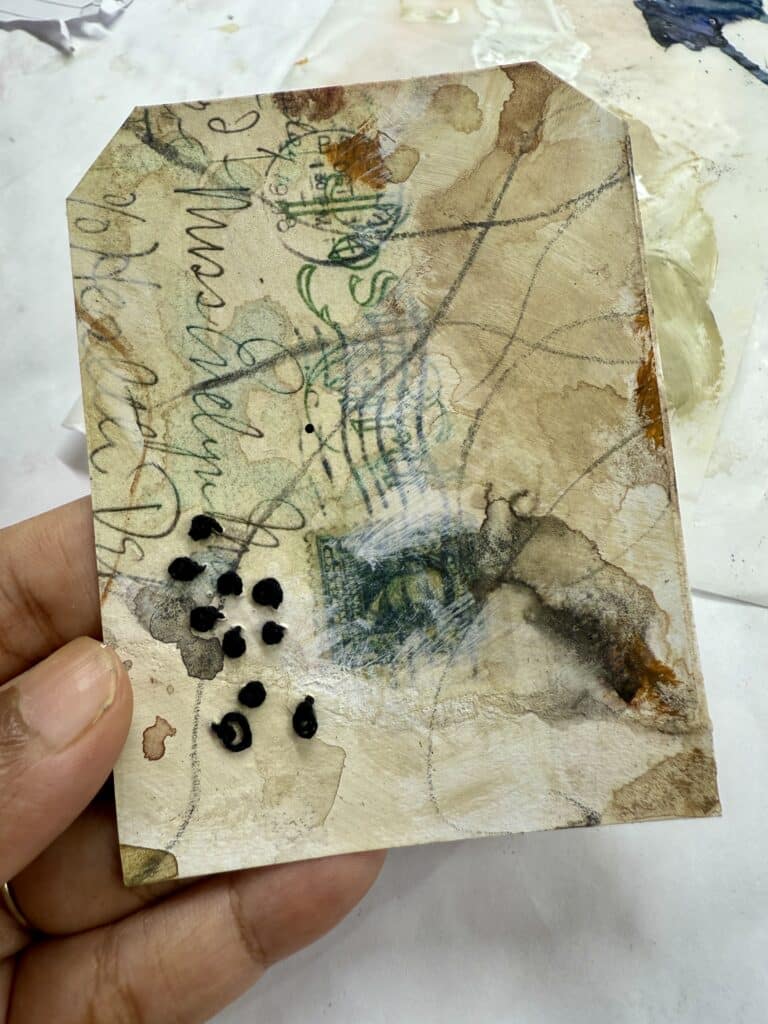
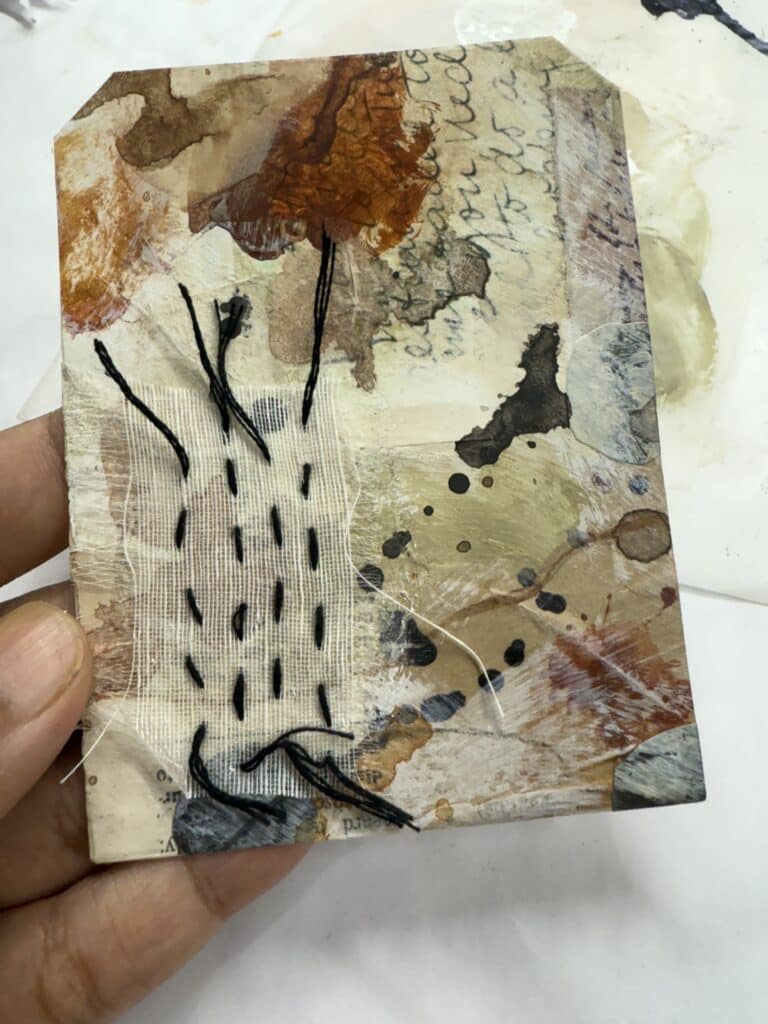
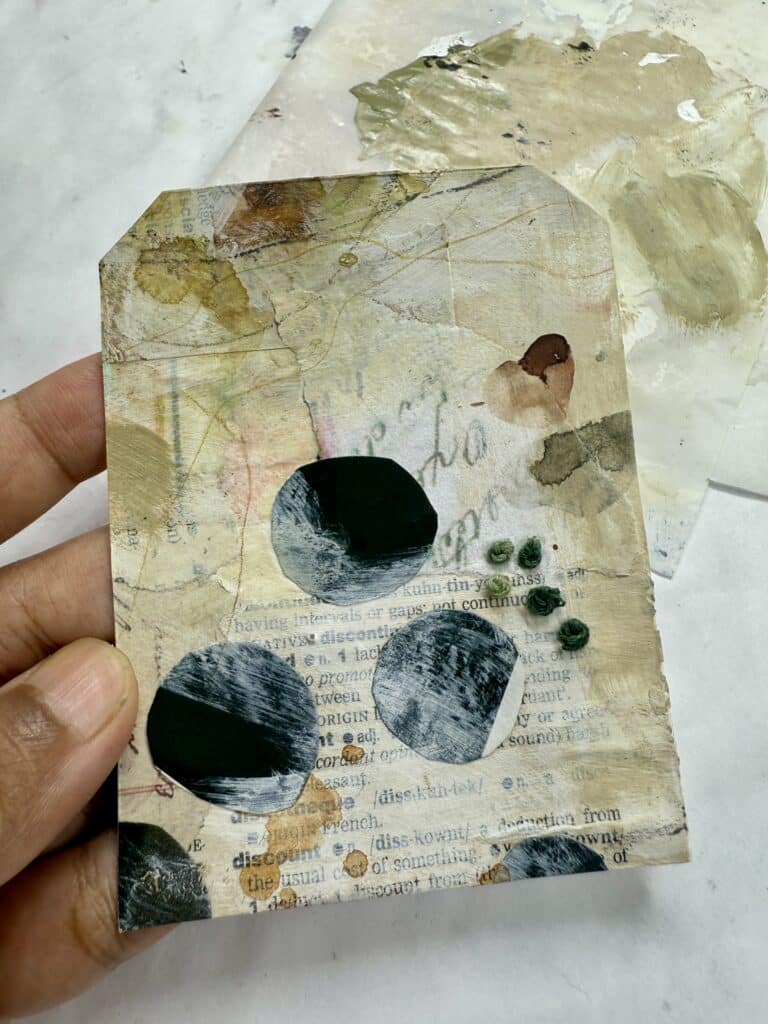
I also created some tags out of this:
