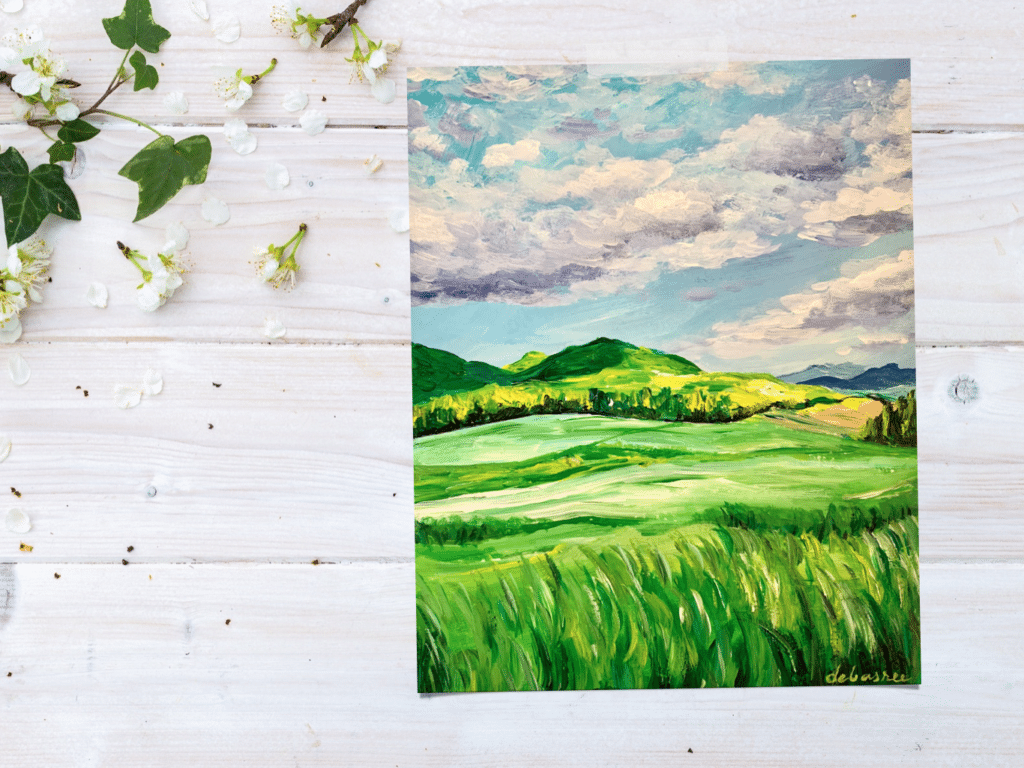
Do you want to paint a breathtaking landscape filled with lush green fields, rolling hills, and a dreamy sky? This step-by-step acrylic painting tutorial will guide you through creating a vibrant and textured landscape scene with expressive brushstrokes.
Whether you’re a beginner or an experienced artist, follow along and bring this painting to life!
If you want to learn more about clouds, check out my 15 Days of Summer Sky Masterclass.
15 Days of Summer Sky
Transform Your Canvas into Breathtaking Summer Landscapes
Love this class. It is so well explained with simple and easy steps to follow. After the first couple of painting I could see an improvement in my clouds. I followed Debasree’s instructions using gouache and love the outcome. This is a fantastic class. Loved every minute of it. – Breda Hughes
Materials You'll Need 🖌️
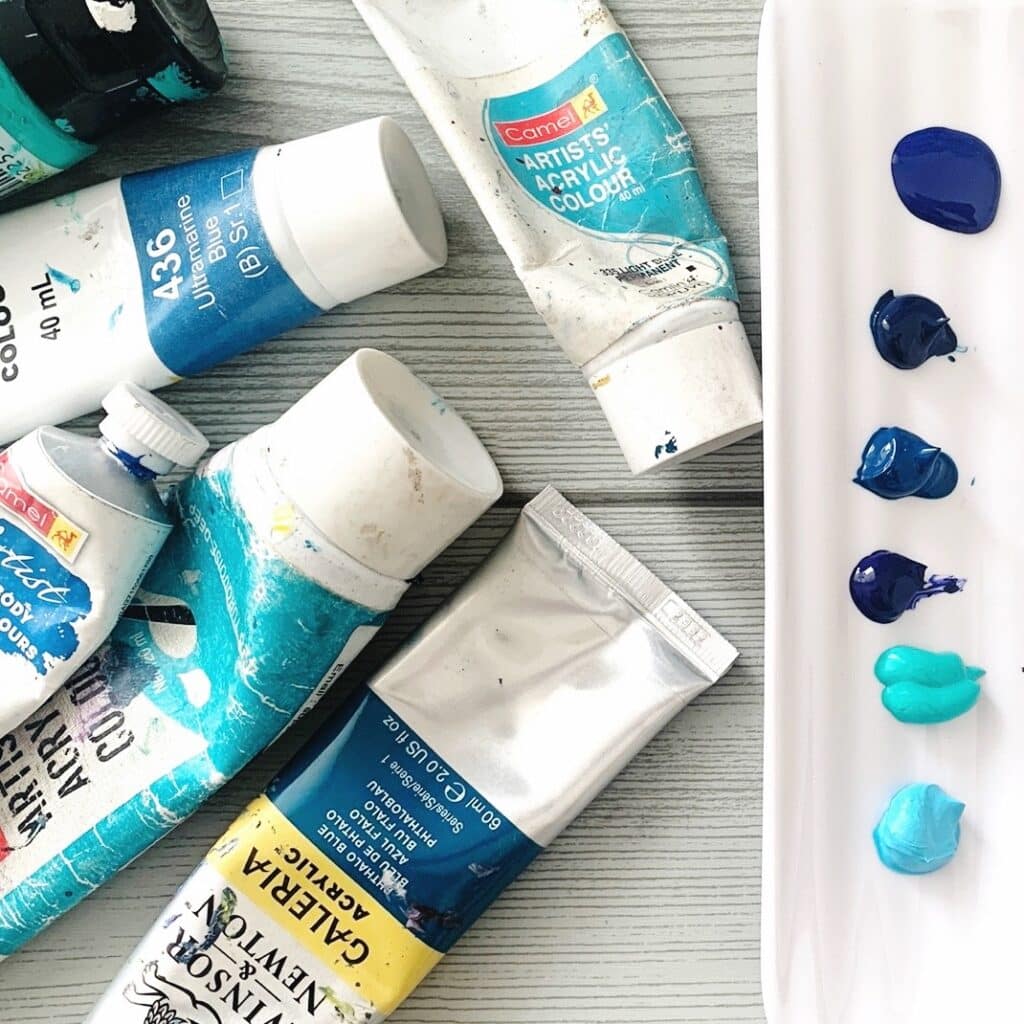
- Acrylic paints (Titanium White, Ultramarine Blue, Phthalo Blue, Sap Green, Lemon Yellow, Burnt Umber, Black)
- Brushes (Flat brush, Filbert brush, Fan brush, Detail brush)
- Palette knife (optional)
- Canvas or acrylic paper
- Water and a rag for cleaning brushes
- A palette for mixing colors
Love creating beautiful landscapes?
Explore more step-by-step painting tutorials to refine your skills & experiment with new techniques! From vibrant sunsets to misty mountains, there’s always something new to learn.
Pin for later

Painting Steps:
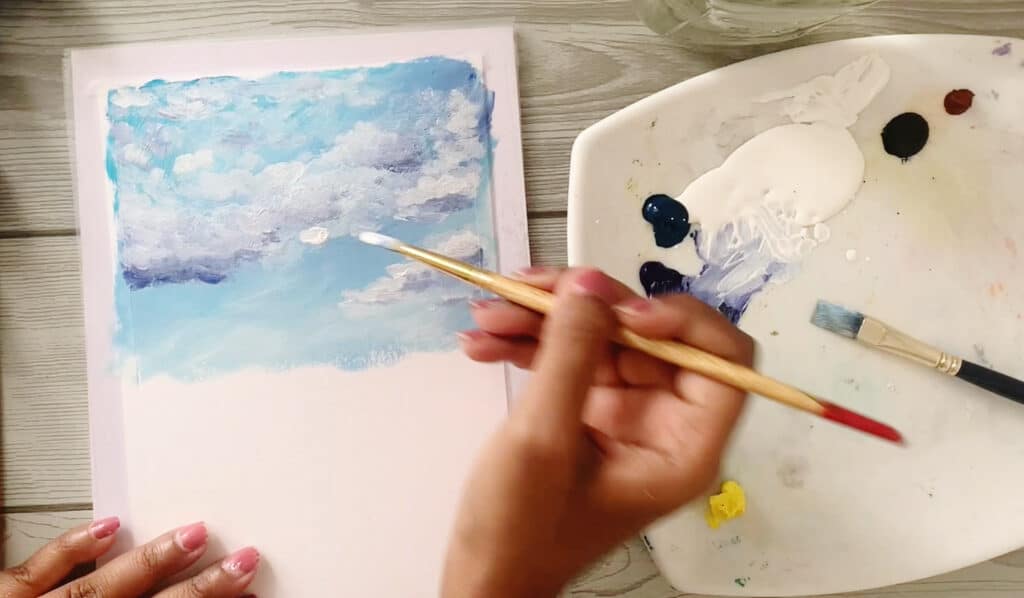
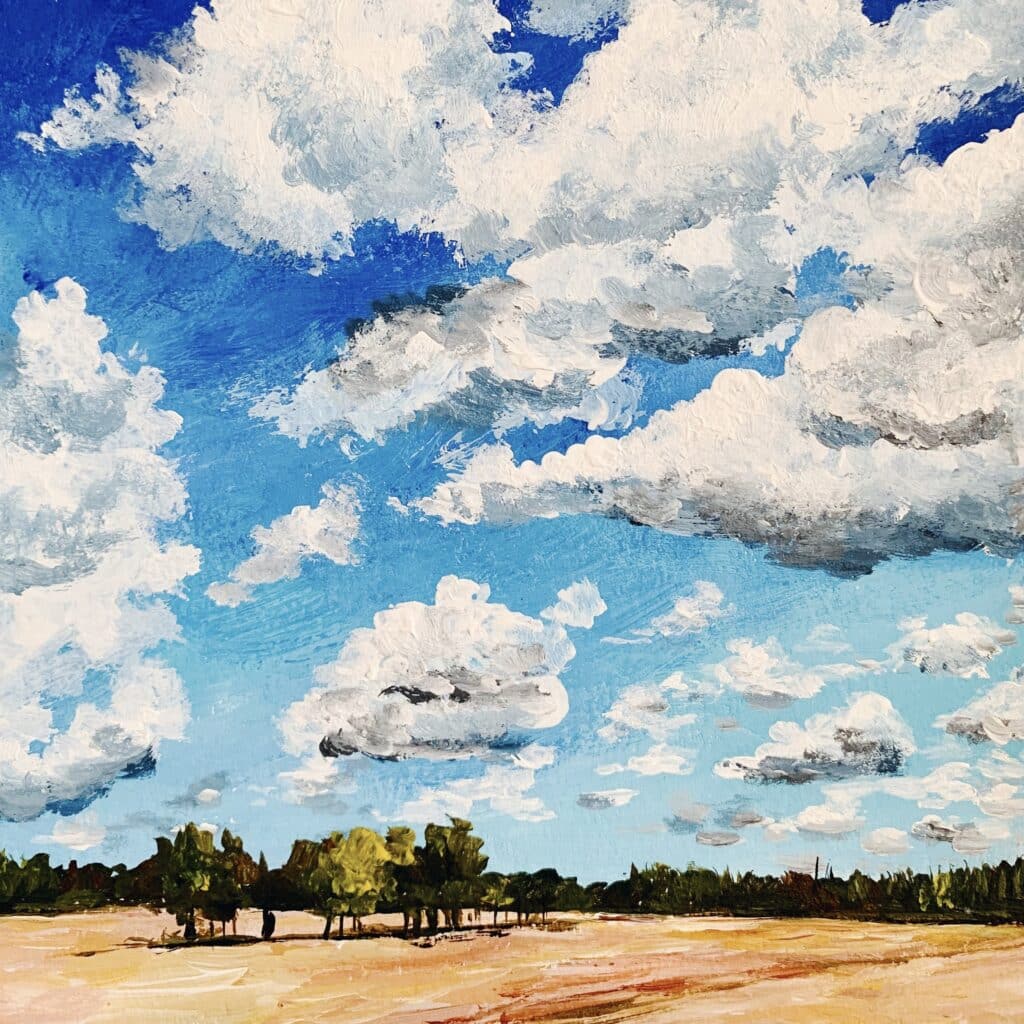
Step 1: Paint the Sky with Clouds
Start by mixing a base sky color with Titanium White and a hint of Ultramarine Blue. Use a flat brush to apply this color in horizontal strokes, covering the upper two-thirds of the canvas.
For the clouds:
- Load your brush with Titanium White and lightly blend it into the blue sky.
- Add hints of purple (Ultramarine Blue + a touch of Burnt Umber) to create depth in the clouds.
- Use a dry brush to soften edges, making them look fluffy and natural.
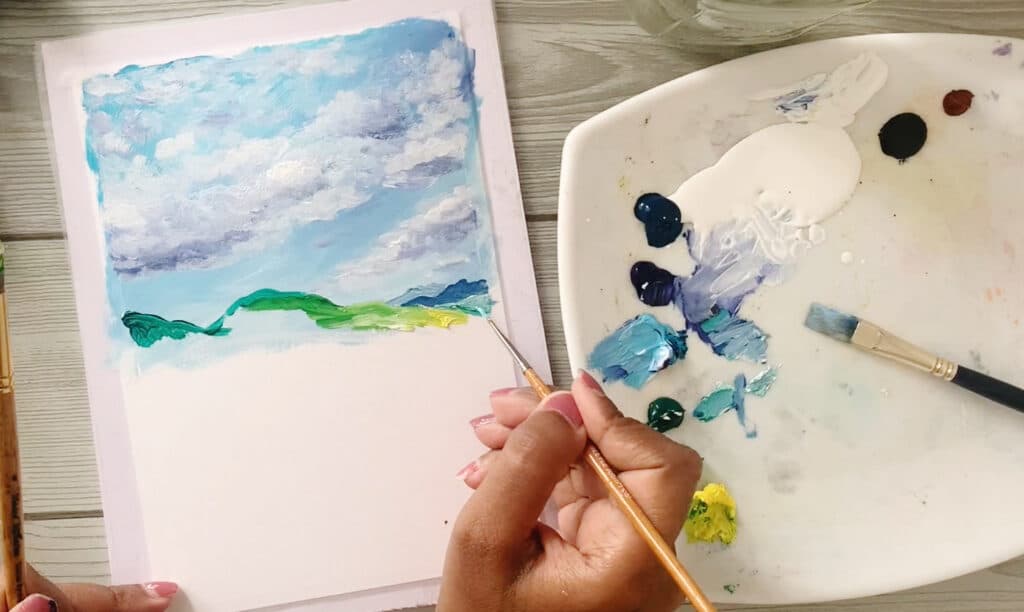
Step 2: Block in the Distant Mountains
Now, let’s add depth to the background by painting the distant hills.
- Mix Phthalo Blue and a touch of white for a hazy mountain effect.
- Use a filbert brush to shape the mountains in soft, rolling curves.
- As you move forward in the painting, use darker shades (Sap Green + Blue) to add contrast and separation between mountain layers.
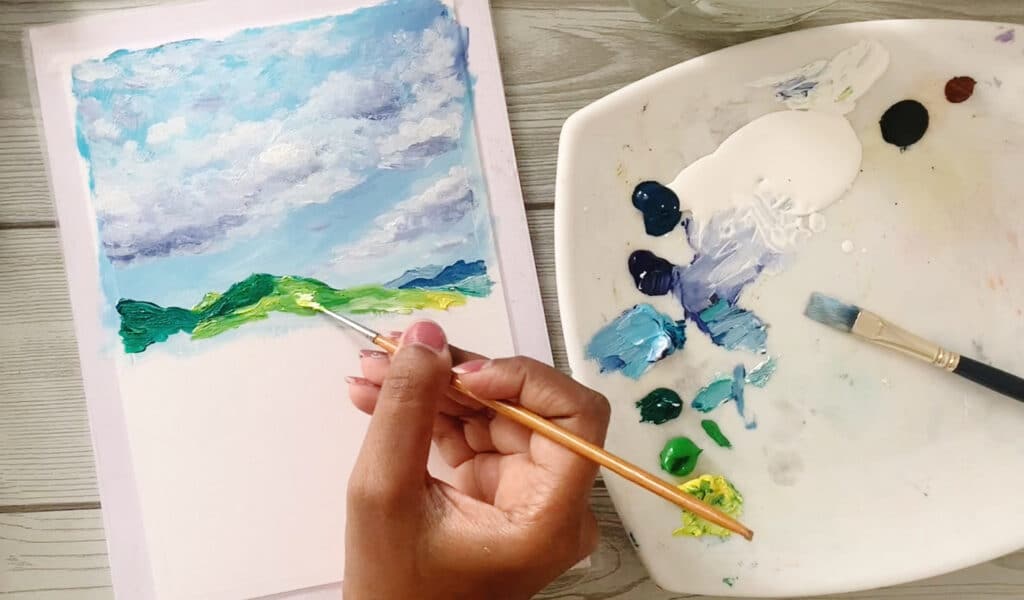
Step 3: Create the Middle-Ground Hills with Bold Greens
These green hills are the heart of the painting. To achieve their vibrancy:
- Mix Sap Green with Lemon Yellow for a bright, sunlit effect.
- Use a palette knife or a filbert brush to apply the paint with loose, expressive strokes.
- Add shadows using a mix of Sap Green and Burnt Umber, keeping the darker tones at the base of the hills.
For a glowing effect, highlight the ridges of the hills with Lemon Yellow and White.
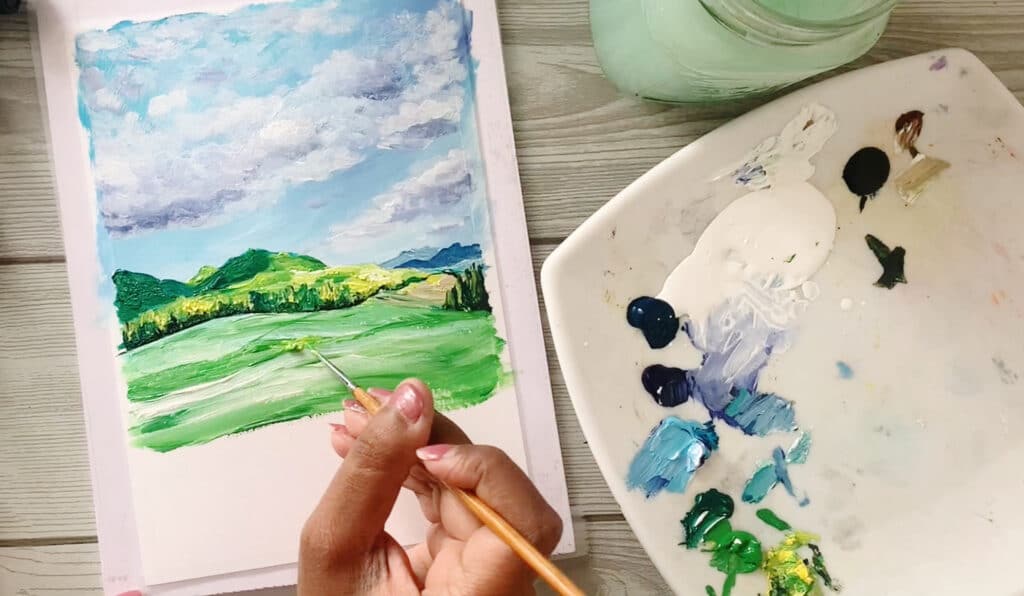
Step 4: Define the Tree Line for Depth
The dark tree line at the base of the hills helps define the composition.
- Mix Sap Green and Black to create deep shadows.
- Use a fan brush or a stippling technique with a detail brush to create texture and variation in the trees.
- Add a few light green highlights to indicate sunlit leaves.
This step adds contrast, making the hills look even brighter!
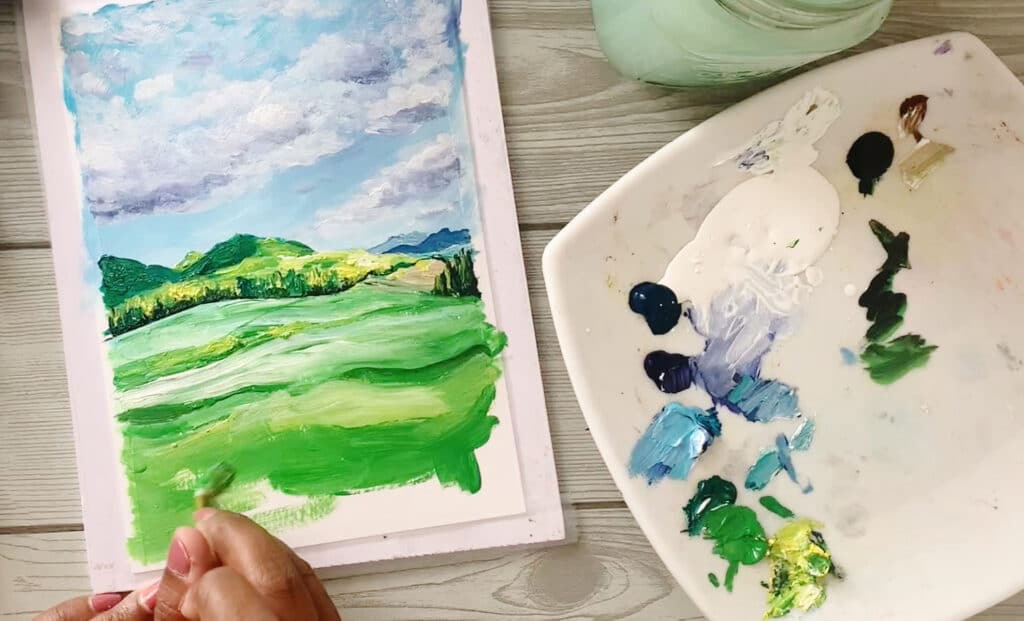
Step 5: Paint the Rolling Green Fields
The foreground is a wide, open field with gentle curves.
- Mix Titanium White, Sap Green, and Lemon Yellow to create a soft grassy tone.
- Use sweeping horizontal strokes with a flat brush to build smooth, flowing hills.
- Introduce darker greens and occasional patches of yellow for variations in the field’s surface.
To suggest movement, use a fan brush with quick, upward strokes to create grass blades.
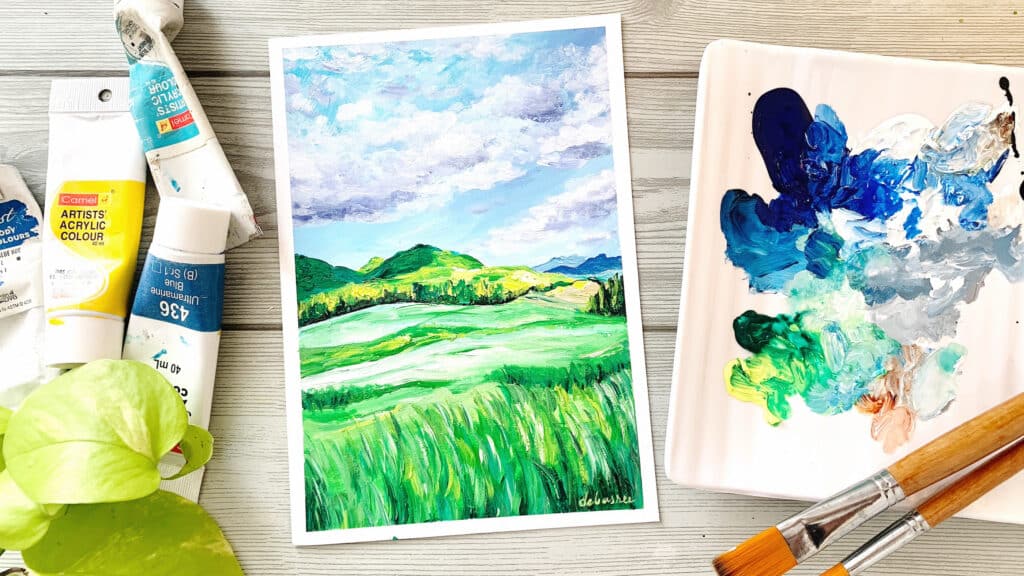
Step 6: Add the Final Foreground Details
For the final touches, let’s bring the foreground to life!
- Use a detail brush to add individual blades of grass with short, flicking strokes.
- Mix Burnt Umber and Black for small shadow areas where the grass bends.
- Add highlights using Lemon Yellow and White on the tips of the grass.
For extra depth, incorporate a few wildflower hints by dabbing tiny dots of yellow, white, or even red.
Bonus Tips:
- ✅ Use a large brush for the sky to avoid streaky blends.
- ✅ Keep distant objects lighter and less detailed for depth.
- ✅ Use a variety of greens to keep the landscape from looking flat.
- ✅ Let each layer dry before adding highlights for a crisp look.
- ✅ Don’t overblend – expressive strokes make the painting dynamic!
FAQs 🤔
1. Can I use a different color palette for this painting?
Absolutely! Experiment with autumn hues or sunset shades for a unique version.
2. What if my clouds look too harsh?
Blend with a dry brush or glaze over them with a light blue to soften edges.
3. How do I create texture in the grass?
Use a fan brush for quick strokes and a palette knife for bold highlights.
4. Can I paint this on a smaller canvas?
Yes! Just use smaller brushes for finer details.
5. How do I make the hills look more 3D?
Increase contrast by darkening shadows and brightening highlights at the peaks.
Final Thoughts: Bring Your Landscape to Life!
Step back and take a look at your painting! If needed, adjust contrast by deepening shadows or brightening highlights. The key to a dynamic landscape is layering and blending.
Would you try this tutorial? Drop a comment below and share your experience!
Don’t forget to check out my 15 Days of Summer Sky Masterclass.
What You'll Learn
☁️ MASTER CLOUDS THAT LOOK GOOD ENOUGH TO FLOAT AWAY
🌈 COLOR THEORY MADE SIMPLE (AND MAGICAL)
🌻 15 LANDSCAPES, 15 WAYS TO FALL IN LOVE WITH PAINTING
Pin for later