

I know how difficult it feels to be able to paint a perfect wintry snowy pine tree! Creating that perfect triangle, the leaf textures and finally giving a dimension that looks 3D and not make it look like the Christmas tree we painted in kindergarten!
And now you are about to learn how to create an amazing snowy pine tree painting in 6 simple steps for your next acrylic painting project.
I’ve been painting and teaching acrylic paintings for close to 10 years now, and from my experience of interacting with thousands of students, I’ve come to understand why people find it so difficult to paint a snow pine tree, and also found out the techniques of teaching it in the most simplest way, that any novice can also confidently paint.
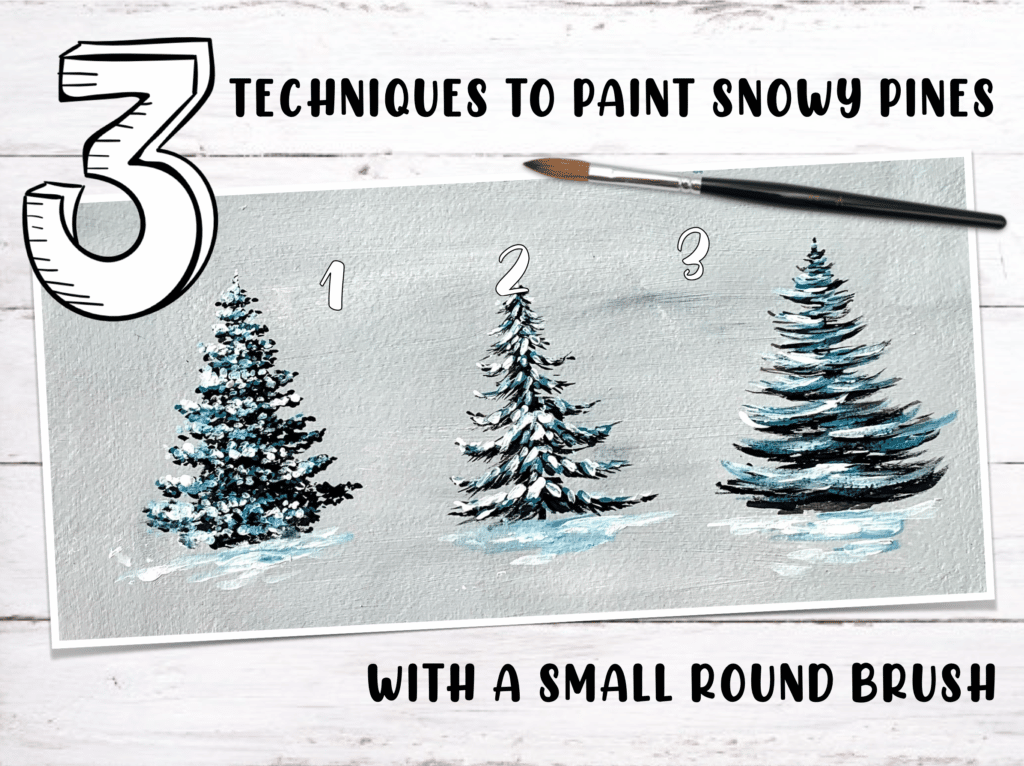
There are quite a few different ways to paint a snowy pine tree. Depending on the structure of the tree, you can paint it with different brushes to get different brushstrokes that’s more suitable – flat brush, fan brush, filbert brush or round brush!
For the very basic tree, I’ll give you the demo with a flat brush!
* If you need to watch the process of creating this snowy tree, I’ve a video at the end of this blog post.
PS. I’ve taught this tree in detail in the class – How to paint snowy pine trees. So in case you wana learn first hand from me, join me in this class, covering 9.5 hours of instruction and inspiration!
Snowy Pines Masterclass
Master the Art of Snowy Pine Trees & capture Winter landscapes with ease

- Master snowy pine trees: Learn to paint 9 unique styles using 4 different brushes
- Perfect your winter landscapes: Create 10 stunning projects
- Bring your winter vision to life
“This class has been a game-changer for me. I’ve tried painting pine trees before, but they never turned out right. Now, thanks to Debasree’s tips, I can finally create the winter scenes I’ve always wanted.” — Priya S.
MATERIALS YOU NEED
Acrylic Colors:
Surface:
Acrylic Brushes:
- I used a size 10 flat brush from this flat brush set. You can use a size bigger or smaller depending on your painting surface.
PS. If you need some advice on acrylic painting supplies, check out this article – 3 Basic Acrylic Painting Supplies – The Minimalist List.
1. Outline the tree
In the first step of painting your snowy pine tree, just outline the shape of your tree with the corner of the flat brush, or use a small round brush. I used a mix of black and dark green acrylic colors. Start with creating a straight middle line and and then go in zigzag direction from the top down. This is to mark out the entire triangular shape of the pine tree and also helps in staying within the space intended, otherwise you may extend it broader towards the base

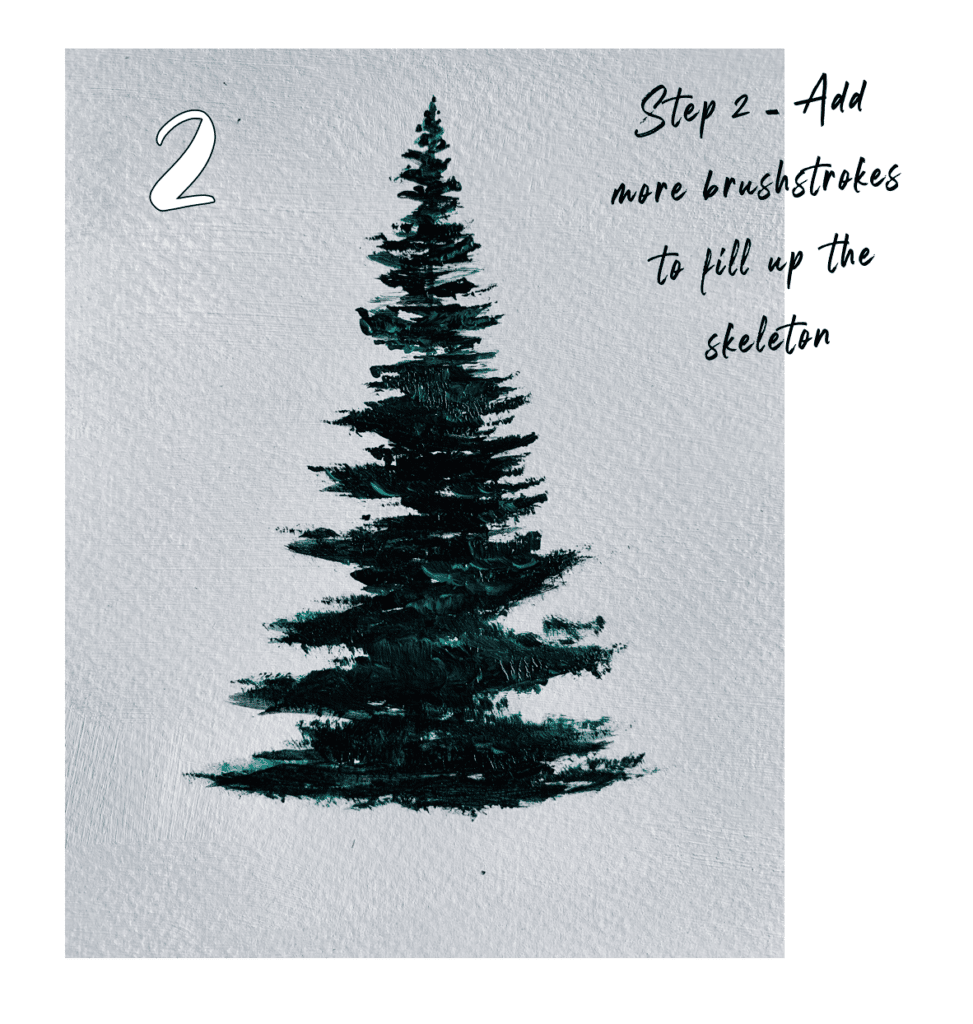
2. Add more brushstrokes
Now go over the structure once again in the similar zigzag patter and add more brushstrokes to fill up the skeleton and make it look like a tree. Use more paint in this step because the focus is on fleshing up the skeleton of the tree. In this step also, I stayed with the same black and dark green colors
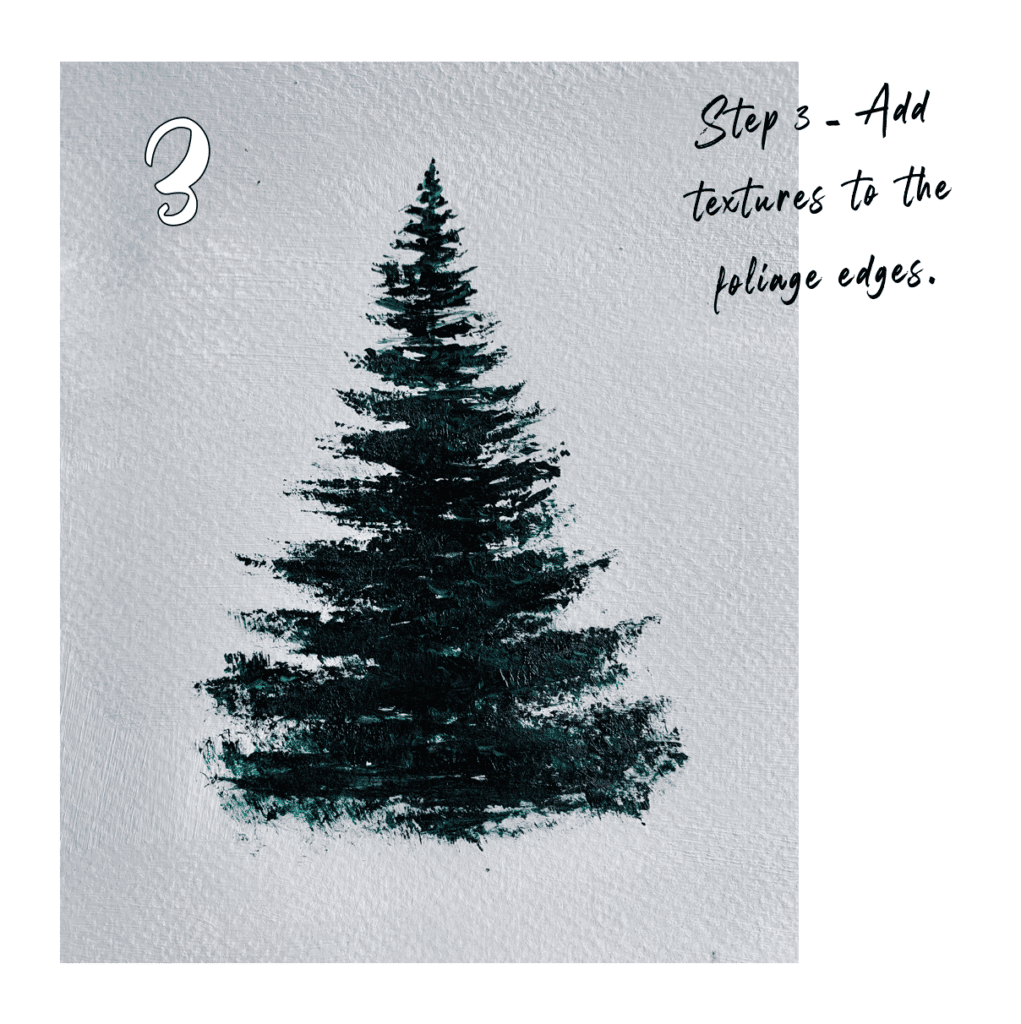
3. create textures
It’s time to add textures to the foliage edges. Hold your flat brush perpendicular on your canvas and dab it gently on the surface. Lift up and dab! Keep doing this throughout to create the perfect textures for your tree.
How to create perfect foliage textures?
- Have less paint in your brush (but enough to color your tree)
- Push the brush against the plate to open up the bristles (like an old & rough flat brush)
Pro tip: Use an old brush that already has the bristles out, it will be faster 😉
First 3 steps are imp because we are creating the main outline, the structure & the texture of the pine tree. In the last 3 steps, we are going to add dimension to the tree by adding highlights with different colors, and also paint the snow!
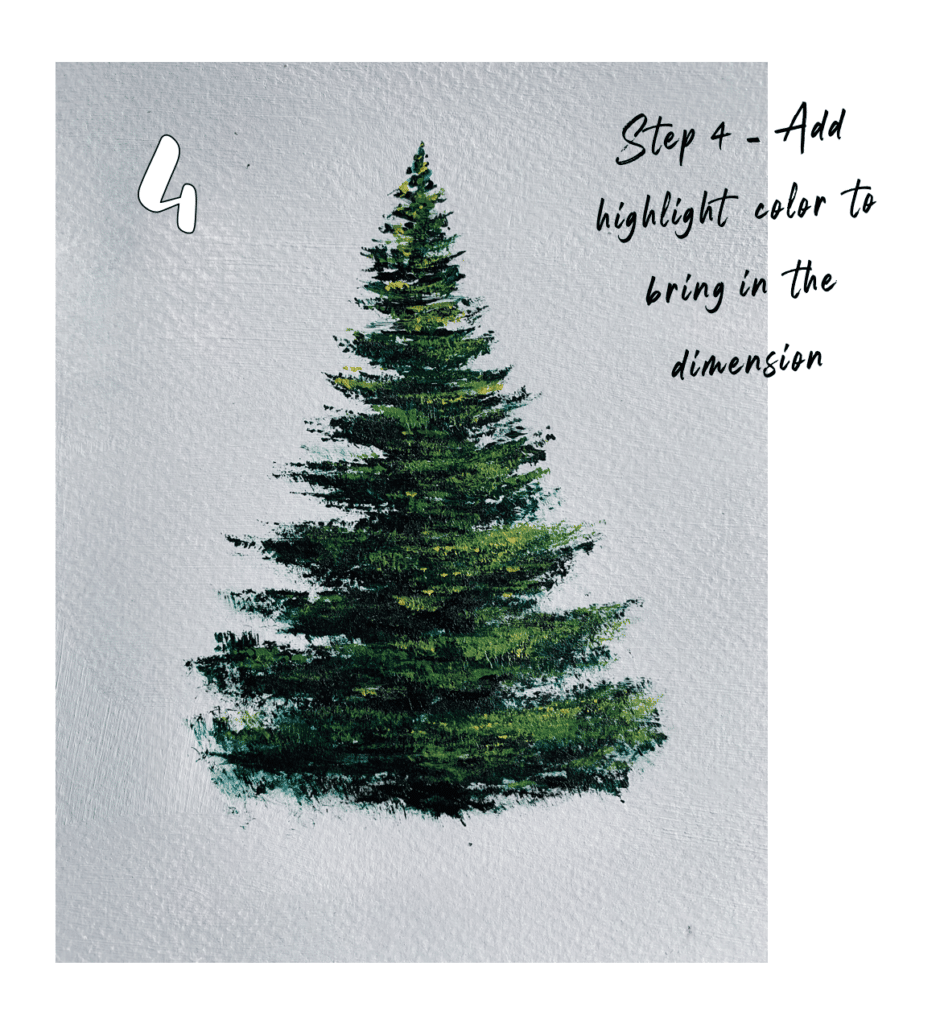
4. create dimension
This is the step to turn your tree look realistic. Add a highlight color, preferably with light green or yellow or burnt Sienna depending on the landscape, towards the direction of the light source. If the light source is right, add more highlights on the right, and very less on the left. This way you will create a 3-dimensional effect of the tree and make it look pretty! I used cadmium yellow mixed with dark green and black.
Pro tip – u can repeat step 4 with more layers of lighter shades of green and yellow to create a beautiful green pine tree.
5. highlight first snow layer
Add bluish white highlight on top of the previous highlight layer. It’s a repetition of step 4, just with the shade of the snow color. I used cobalt blue in this step, but you can use blue you have – prussian blue, or cerulean blue or teal blue, etc
Pro tip – apply less pressure to get better textures.

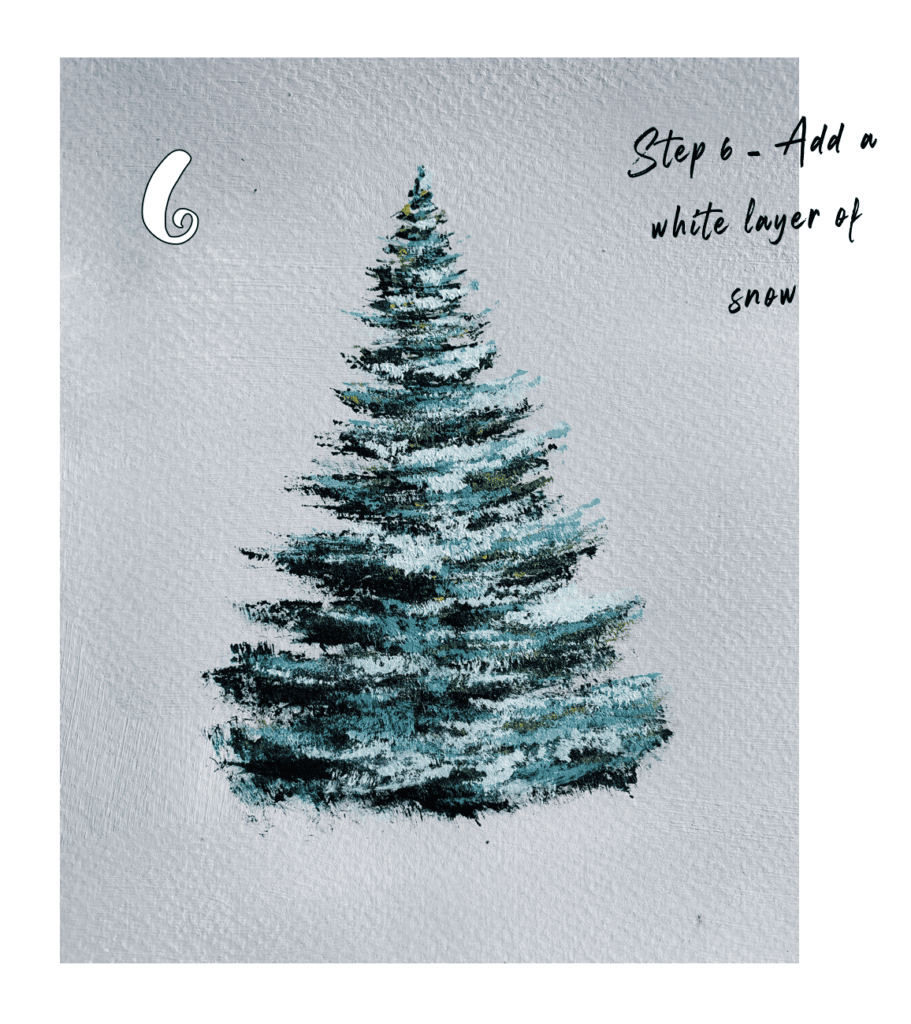
6. highlight white SNOW LAYER
Repeat step 5 with a lighter shade of blue, which looks almost white. The more layers you add, the better the texture of your tree, and more realistic it will start appearing on your canvas.
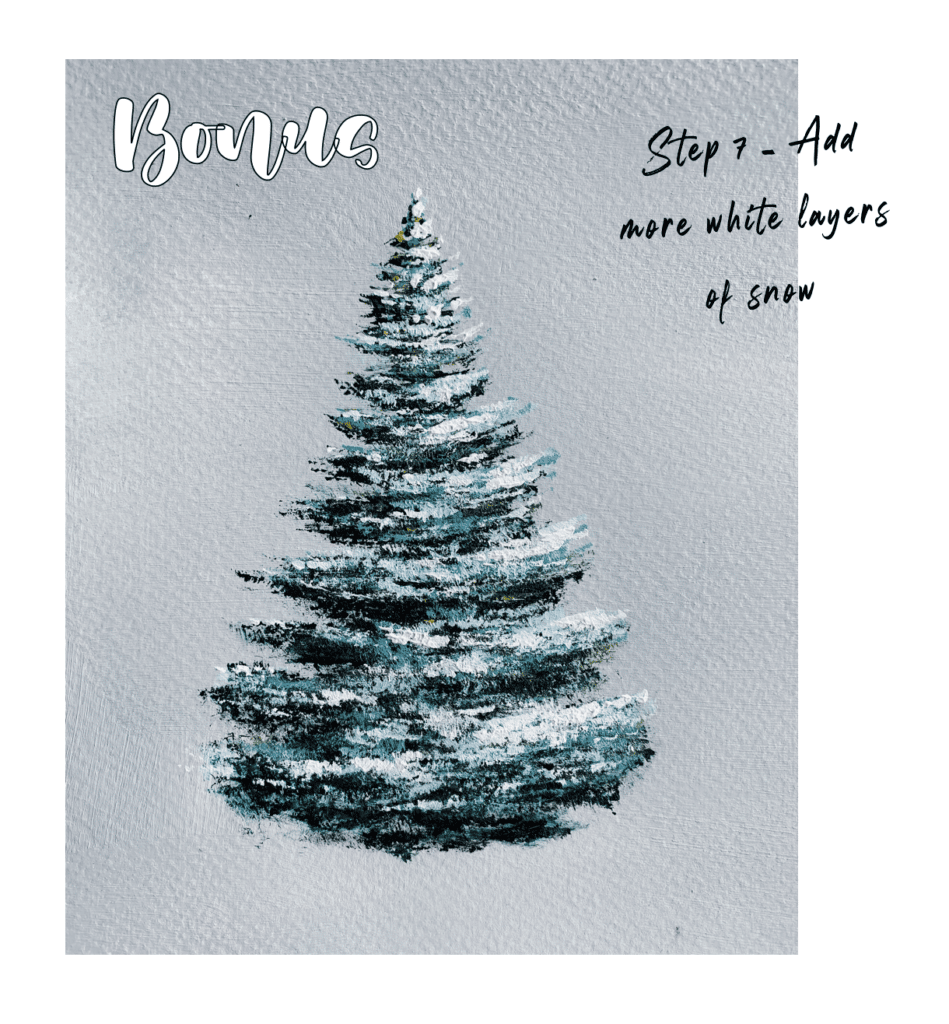
BONUS STEp – more SNOW LAYERs
Like i mentioned in the previous step, you can repeat step 6 as many times with lighter shades of blue and white. In step 6, when i added white, it was more of light blue instead of white. So i added a bonus step of adding more white to my trees. And below is the final look.
HERE IS YOUR FINAL TREE
And finally i added some land to the tree to give it a base and make it look like a real snow pine tree.

There you got it. I hope you are able to paint your snowy pine tree now! This tree looks so much like the Christmas tree.
I’m waiting to see what you create out of this tutorial, and do let me know if it was helpful to paint a gorgeous snowy pine tree!
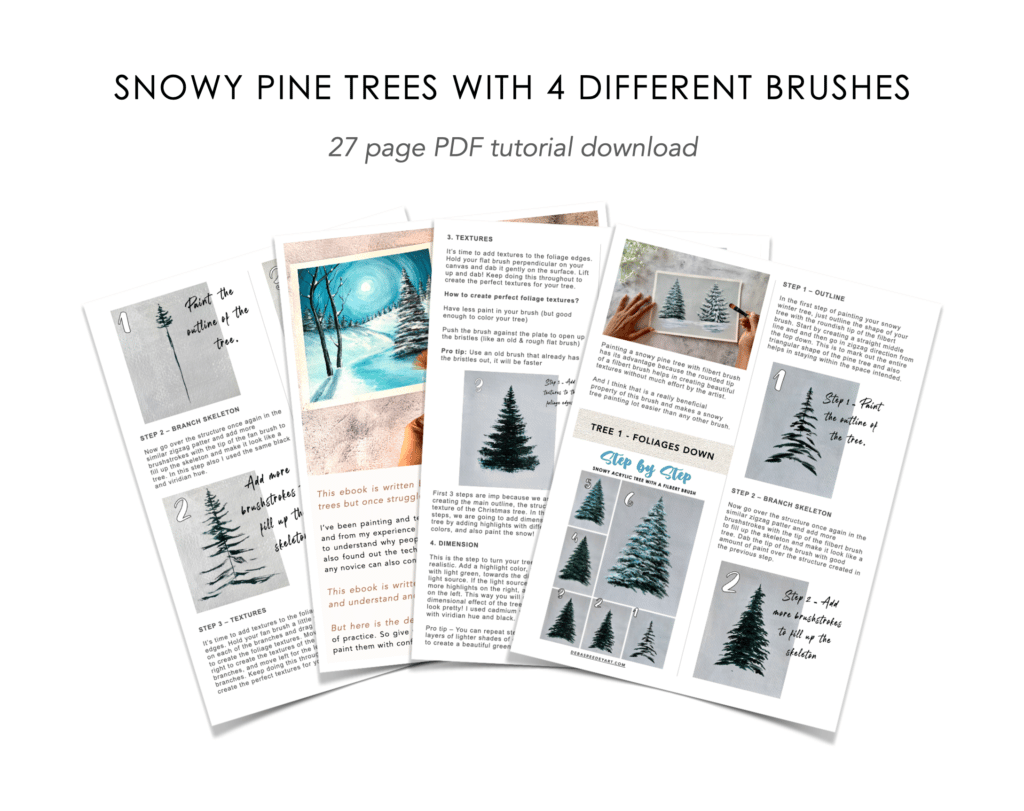
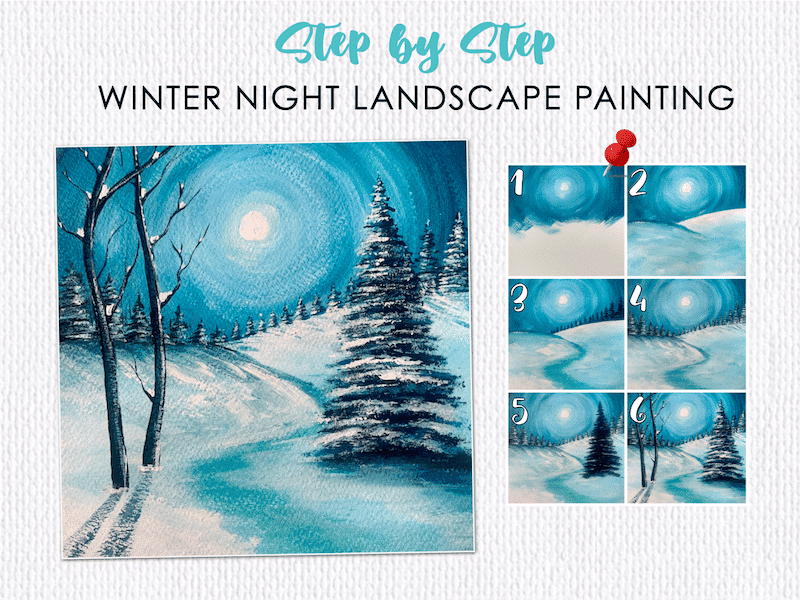
If you liked this tutorial of painting acrylic snowy pine tree step by step, please pin the below images on Pinterest !


i like your style very much easy to follow, i am a beginner from
phillppines
Thank u Caulian for your kind words… and i’m glad u find it easy to follow… I write these articles to help beginners like you, very nice to connect with readers like u 🙂