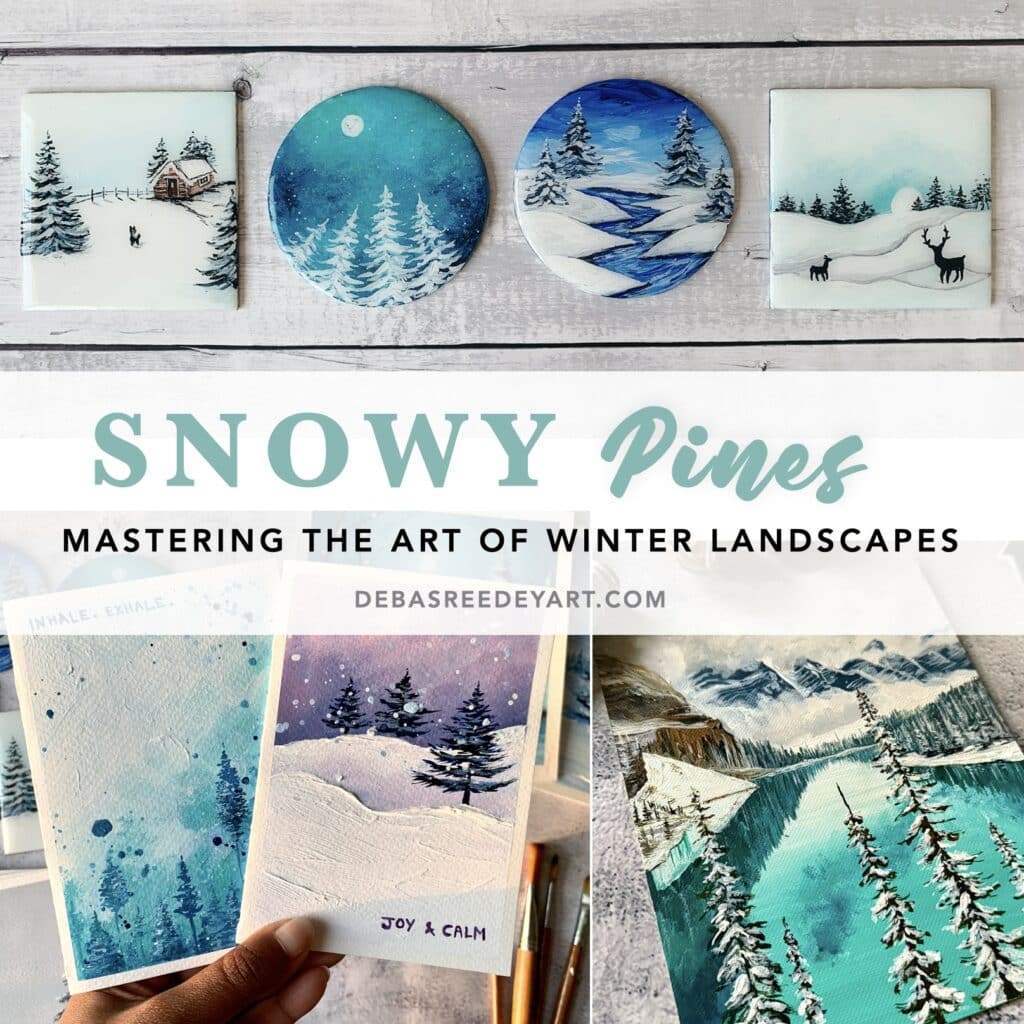
Winter is here. So no wonder you are looking for some easy winter paintings to celebrate the beauty of the season.
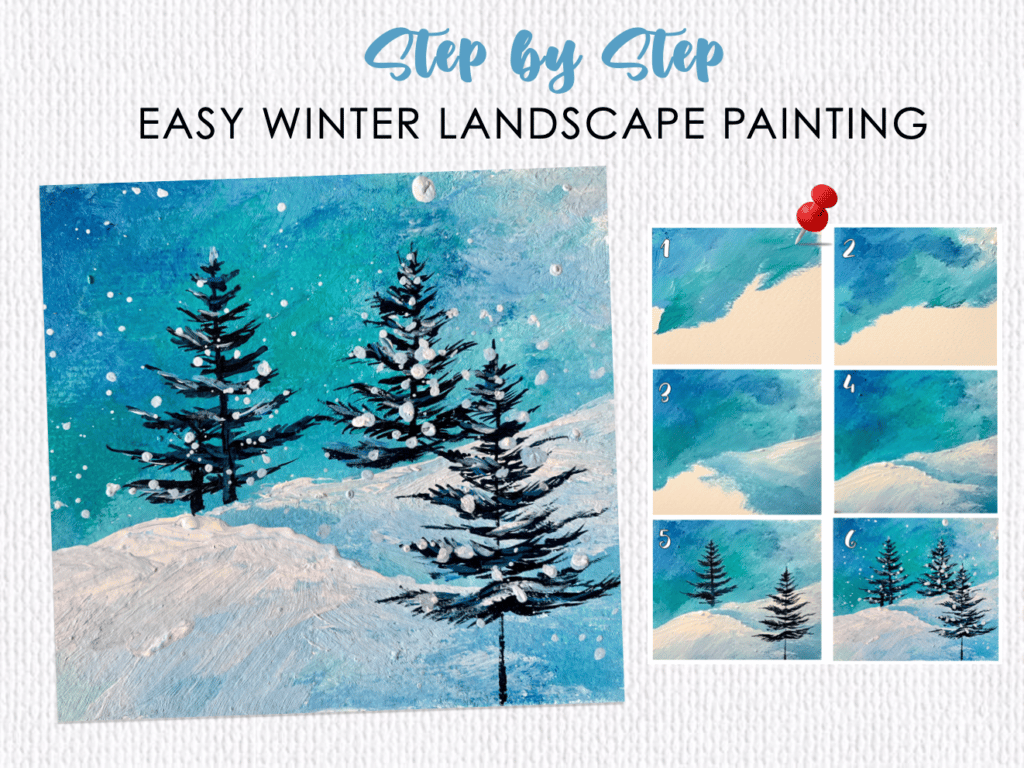
In this step by step tutorial, you will learn to create an easy yet gorgeous winter snowfall scenery painting with snowy pine trees.
You can create this as a practice piece in your art sketch or do it on a big canvas and add to your home decor – the choice is yours. However I recommend that you first try it out in a sketchbook where you can paint without the fear of making mistakes and then paint it on a canvas.
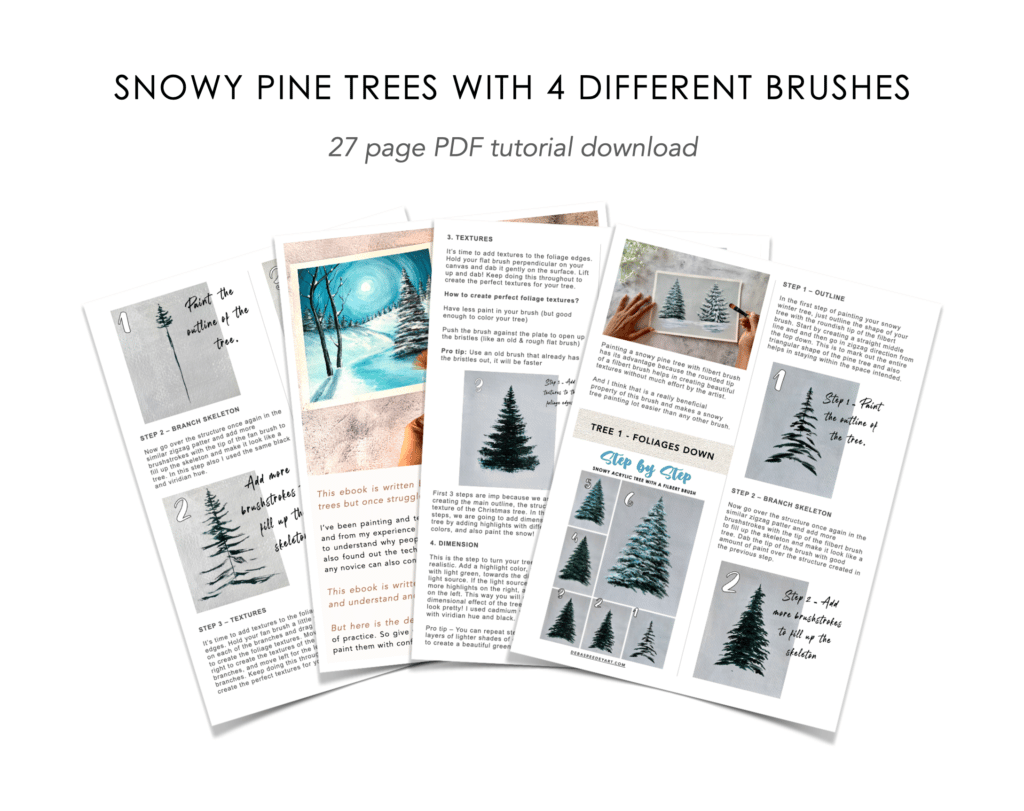
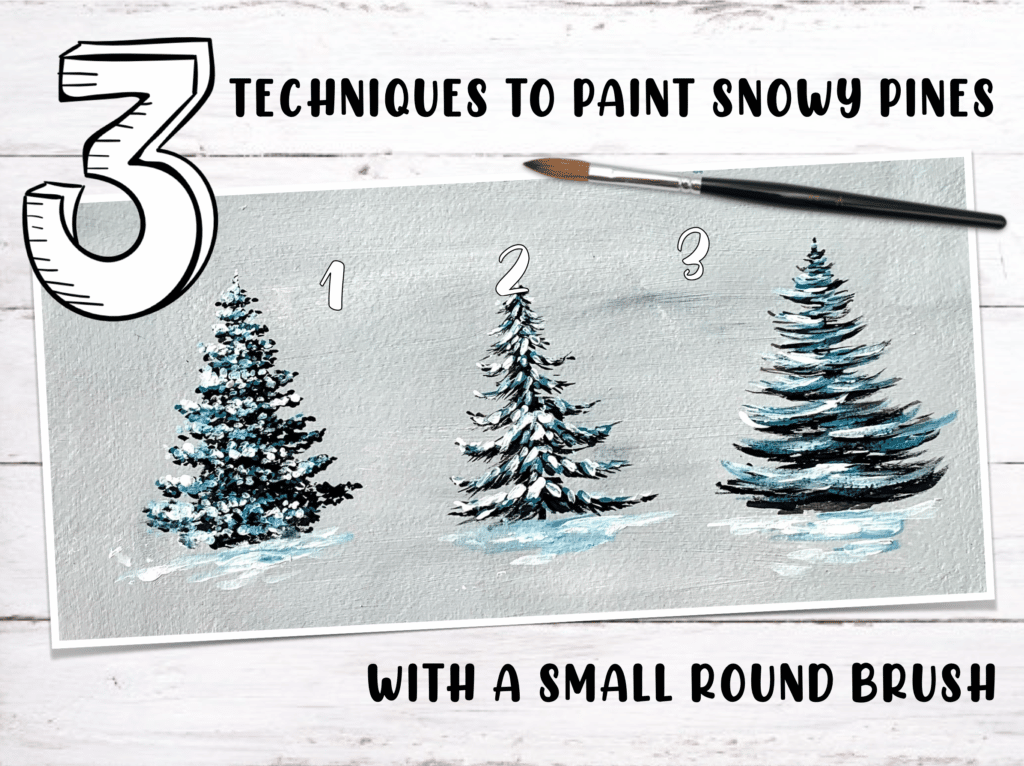
Also if you want to learn how to paint perfect snow pine trees with acrylics, refer to my 6 step process of creating a snow pine tree. Ok so let’s get started..
* If you need to watch the process of creating this painting, I’ve a time-lapse video at the end of this blog post.
PS. I’ve taught this winter snowfall scenery painting in detail in the class – How to paint snowy pine trees. So in case you wana learn first hand from me, join me in this class, covering 9.5 hours of instruction and inspiration!
Snowy Pines Masterclass
Master the Art of Snowy Pine Trees & capture Winter landscapes with ease
- Master snowy pine trees: Learn to paint 9 unique styles using 4 different brushes
- Perfect your winter landscapes: Create 10 stunning projects
- Bring your winter vision to life
“This class has been a game-changer for me. I’ve tried painting pine trees before, but they never turned out right. Now, thanks to Debasree’s tips, I can finally create the winter scenes I’ve always wanted.” — Priya S.
MATERIALS YOU NEED
Acrylic Colors:
Surface:
- I painted on a 8×8 inches Canson acrylic paper.
Acrylic Brushes:
- I used a size 4 filbert brush from this filbert brush set which is perfect for this canvas size. If you are painting bigger, then switch to a size that is proportionate with your painting surface.
- Size 0 & 4 liner brush from my favorite miniature brush set
If you like this easy winter landscape painting, please pin the below image on Pinterest
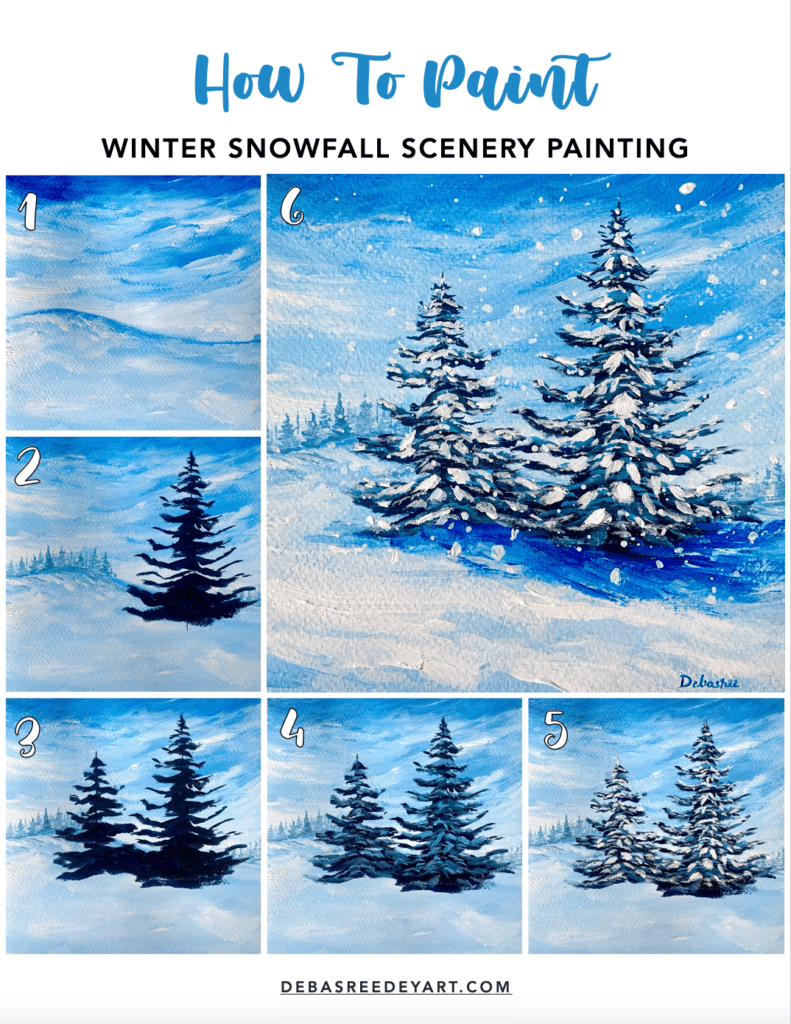
painting steps:
1. Paint The Complete Background

Use only a mix of prussian blue (less quantity) and white to paint the entire background. To paint sky, take long curvy strokes in upward direction. For painting the snow land, use similar long strokes in downward direction.
2. Paint Misty Pine Trees At A Distance

Add some misty pine trees on the curve of the snow land. Here I used the size 0 of my miniature brush set, and mostly used technique 3 of painting snowy pine trees using round brush.
3. Add The Big Pine In Front

Now it’s time to add the hero of the painting. I used my filbert brush and black color to create the big pine.
4. Add Another Big Pine

Time to add another big pine, because one just looks to lonely.
5. Add Dimension To The Snowy Pines

In this step, add a mix of prussian blue + white + black on top of the first layer of the pine tree to bring in some form and dimension of the pine trees.
6. Add Another Layer Of Highlights

Check out the 6 simple steps of painting a snowy pine tree. Here I’m following the step 5 of 6, and adding more highlight using lighter blue.
7. Final Snow Highlight Layer

Next I added more highlights (step 6) with just white.
8. Tree Shadows

With dark Prussian blue, add a bright shadow of both the trees falling on the snow land.
9. Paint The Snow Land

Paint the final layer snow land by adding lots of thick body white acrylic paint. I love adding textures to my paintings, so this is one of my most favorite step.
10. Sprinkle Snow Drops
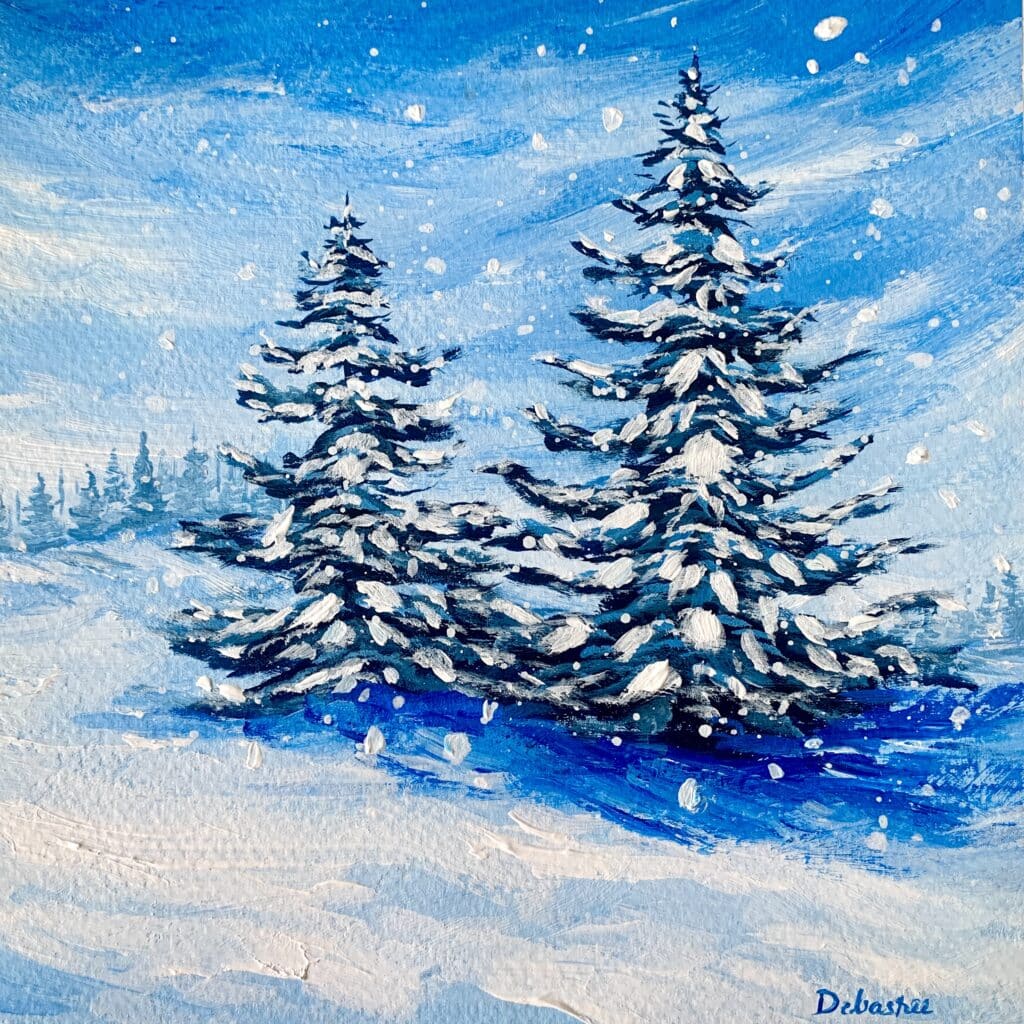
In the final step, sprinkle watery white paint using the small round brush. Then use the tip of your liner brush to give some weird shape to the perfect round dots formed from the water drops, to make your painting look more realistic.
And that’s it… just by following these 10 simple steps, you can now created your very own winter snowfall scenery painting with snowy pine trees.
Let me know how it turned out for you by commenting below!
Happy Painting!
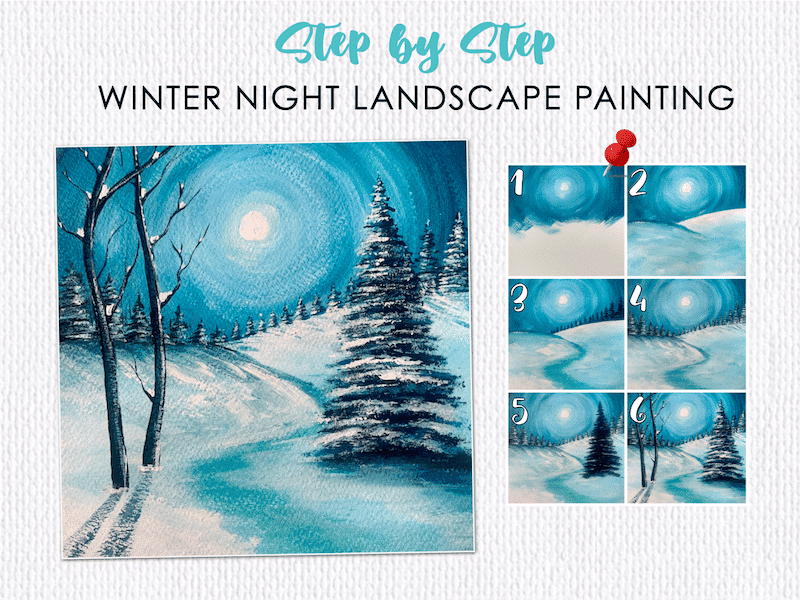
If you liked this easy winter landscape painting, please pin the below image on Pinterest !
Video:
If you need more guidance, watch my process here:
Thank you!


