Have you ever looked at something as simple as a tissue paper box and thought,this could be art? That’s exactly how this project began.
In today’s post, I’m walking you through how I transformed an empty tissue box into a richly layered, interactive junk journal — using scraps, printable pages from my Mixed Media Artist Resource Library, and a whole lot of creative play. If you love repurposing materials, working intuitively, and making something beautiful out of the ordinary, you’re going to love this project.
🎥 Watch the Process + Flip-Through
Want to see how it all came together? I filmed the full process of assembling the inside pages, layering the scraps, and adding those interactive touches — plus a full flip-through of the final journal!
I’ve put together a free resource library designed just for you, packed with everything you need to fuel your creativity. It’s my way of giving back to the mixed media community with resources to inspire your next project. Click here to join.
🌿 Why Use a Tissue Box?
Tissue boxes are lightweight yet sturdy — perfect for journal covers. Most of us have one lying around, and it’s a great way to start without buying anything new. Plus, there’s something incredibly satisfying about turning “trash” into treasure.
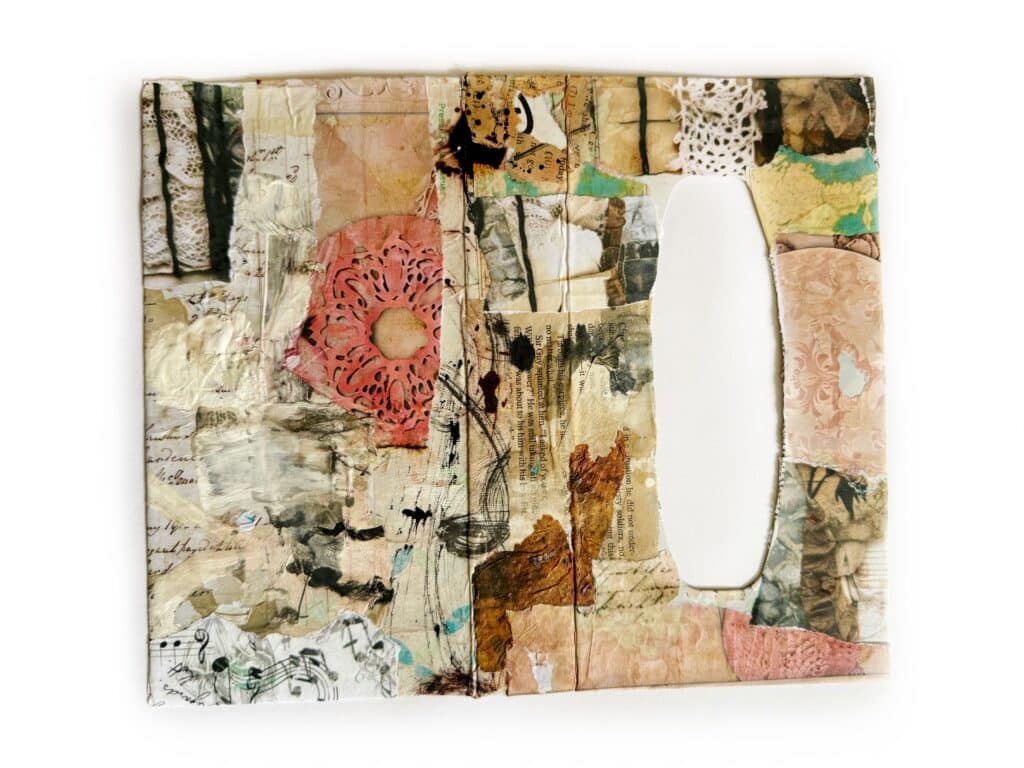
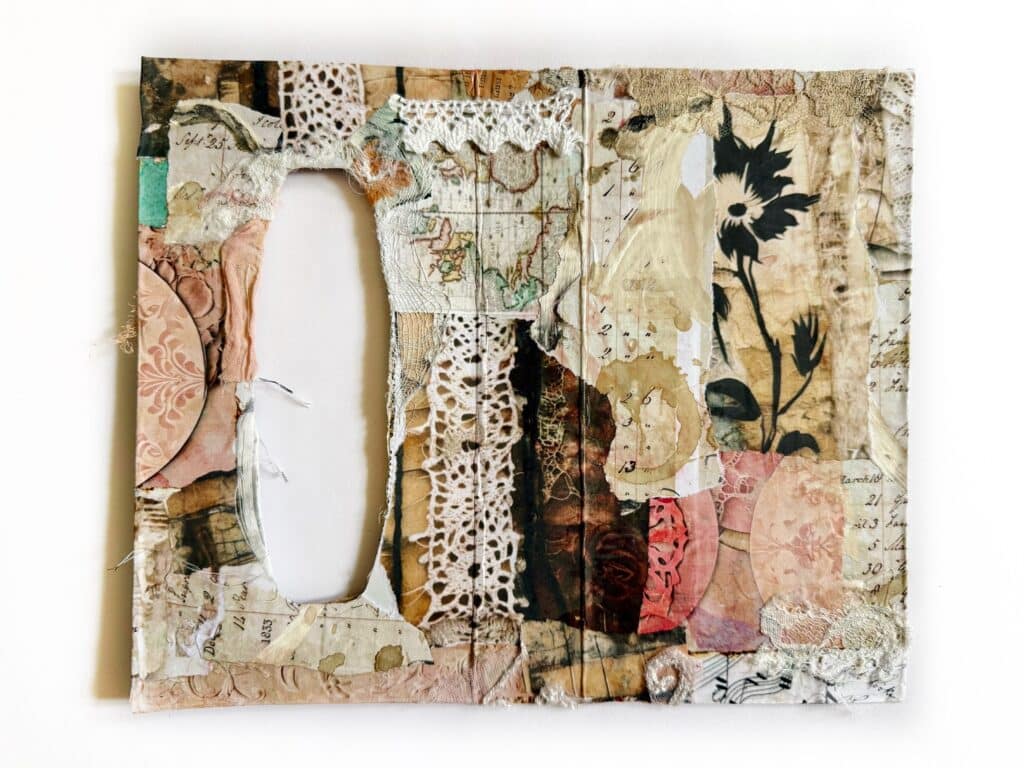
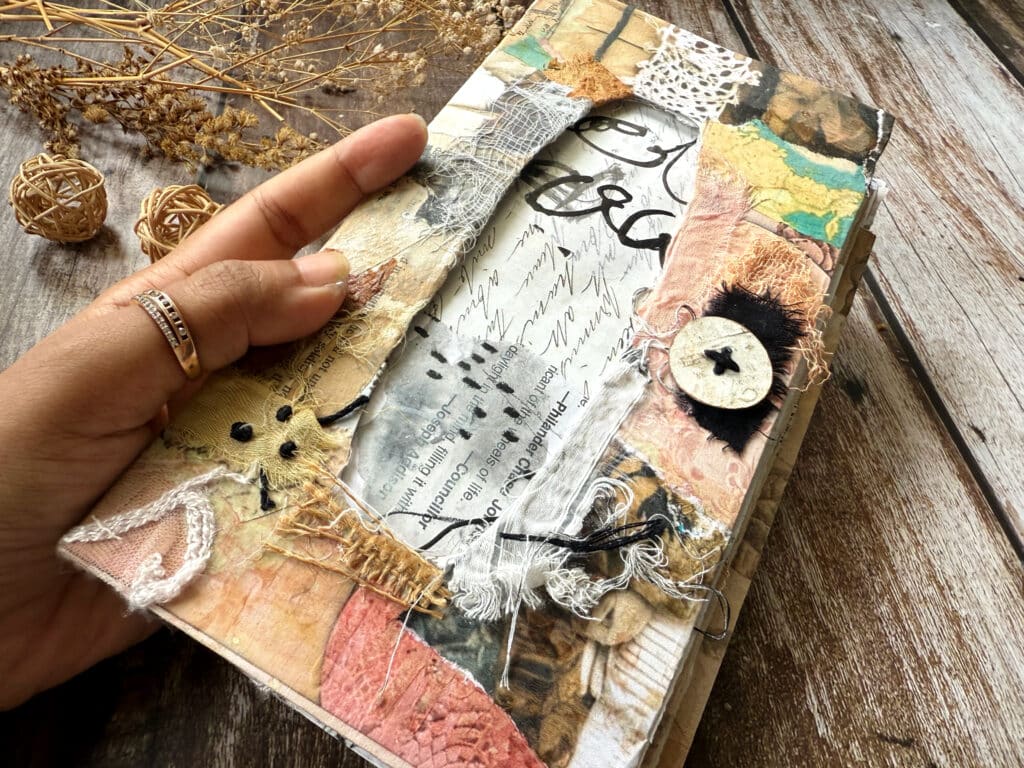
✂️ How I Created the Cover
I started by cutting the tissue box open on one side to flatten it. Then I:
Collaged the inside and outsidewith scraps of book pages, handmade paper, and textured bits
Built up layersusing neutral-toned scraps, found elements, and printables from my artist library
Added fabric, lace, and fibersfor a soft, tactile finish
Embellished with leftover ephemeralike labels, script stamps, and old postage bits
It’s a two-layered cover that feels both sturdy and full of soul — soft and rugged at the same time.
Front - Layer 1
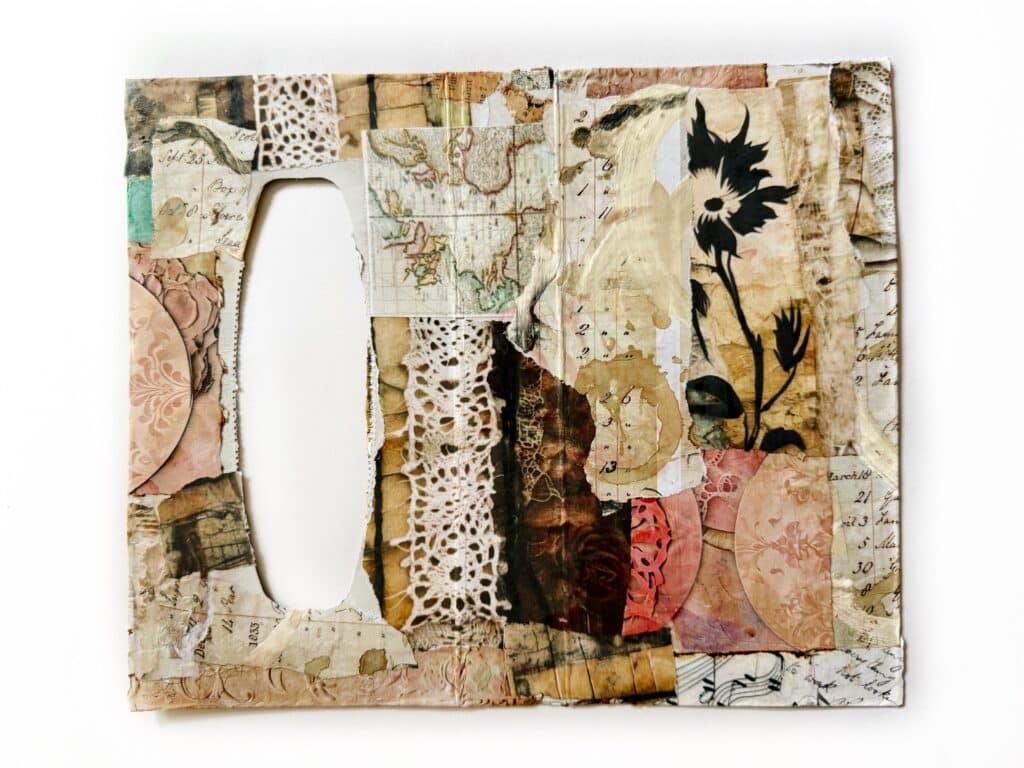
Back - Layer 1
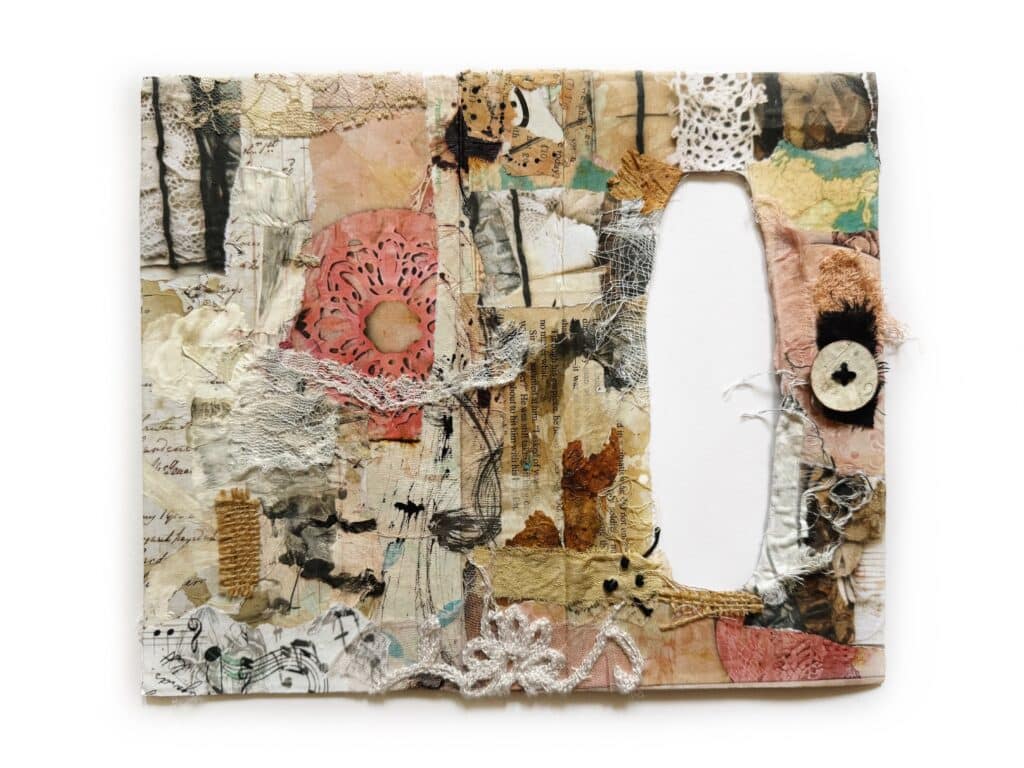
Front - Layer 2
Back - Layer 2
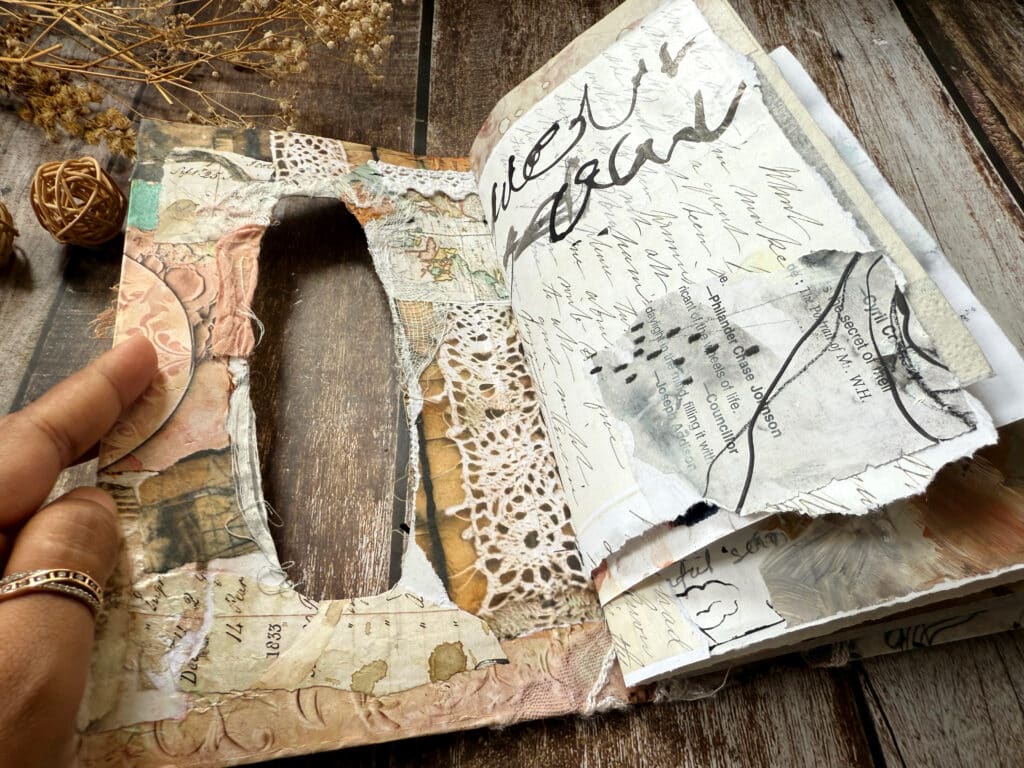
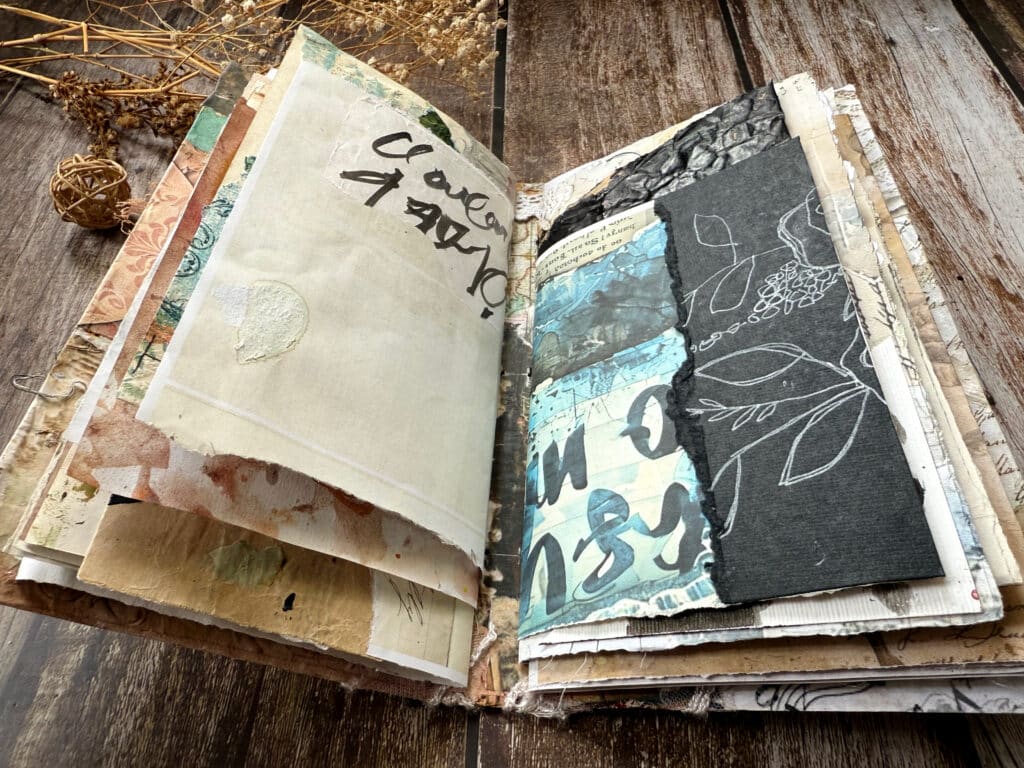
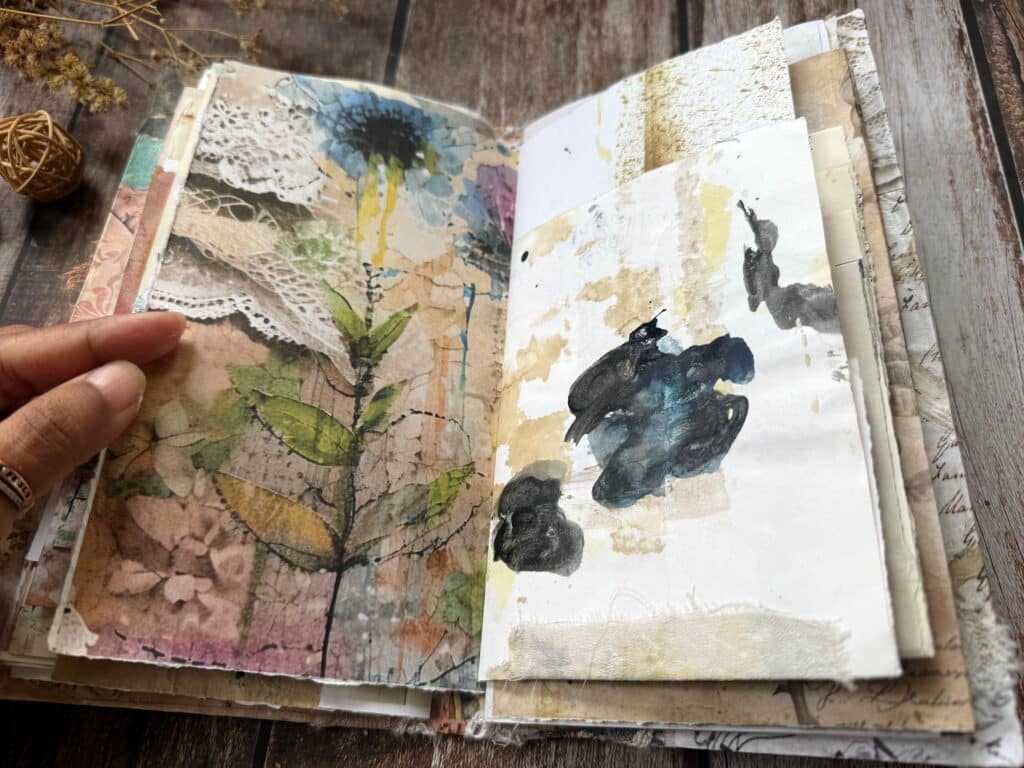
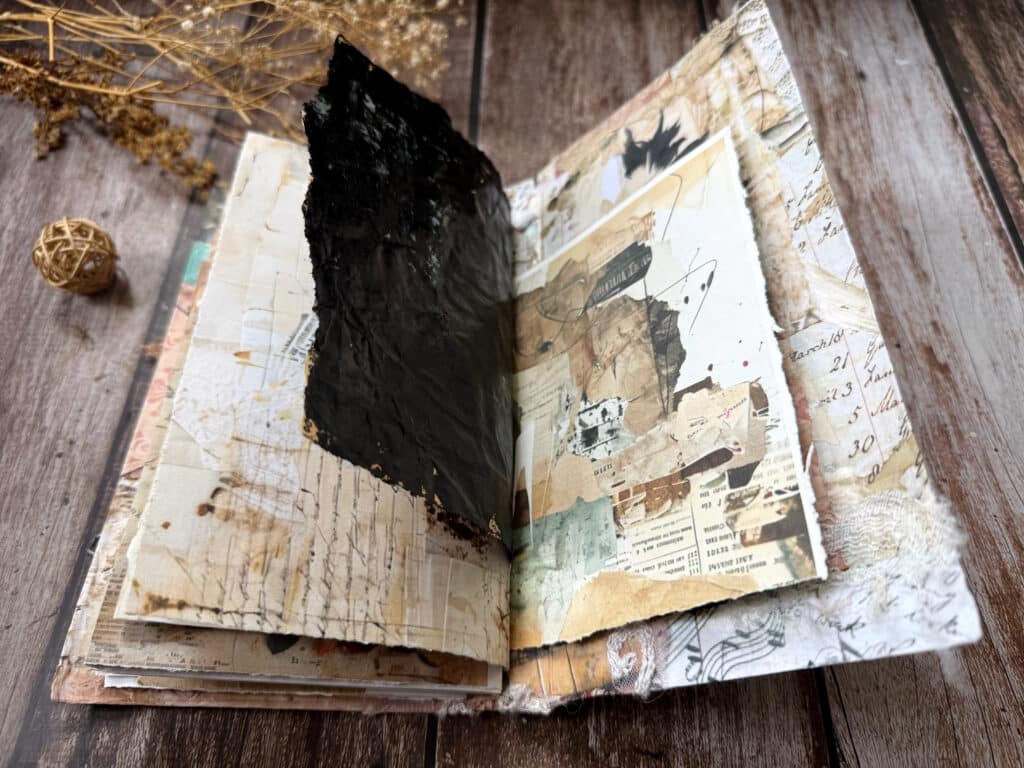
📄 What’s Inside the Journal
The inside pages are a mix of repurposed paper and printed elements from myMixed Media Artist Resource Library. I didn’t follow a strict layout, but instead chose pages that felt good to work with and added variety.
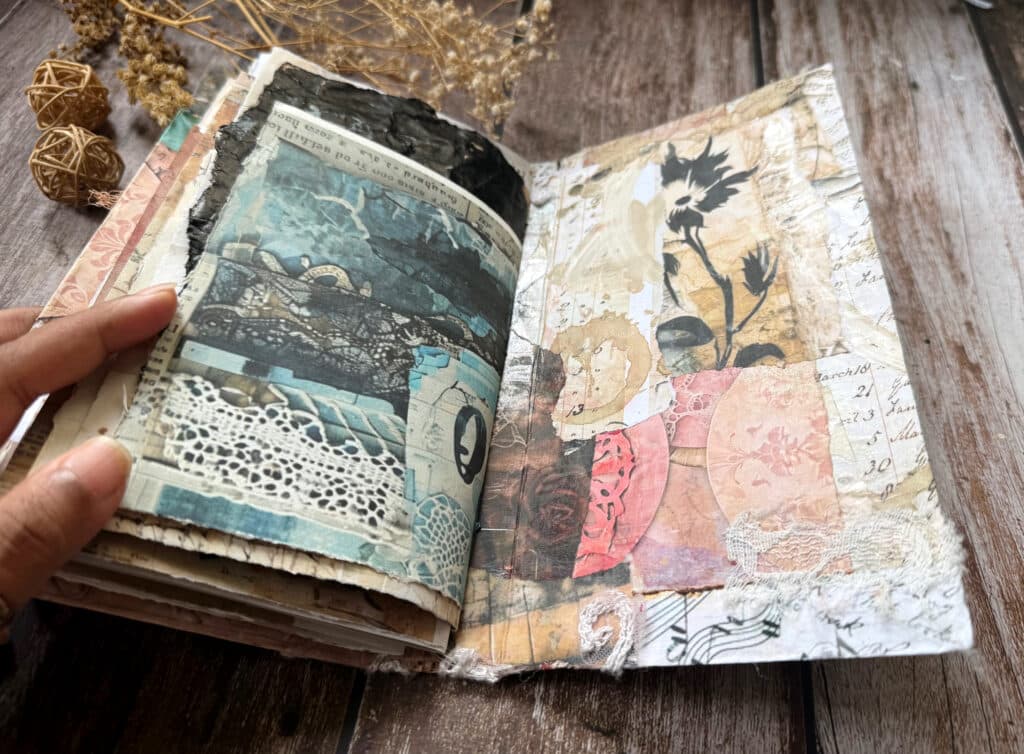
🔁 Interactive Page Ideas You Can Try
To make the journal more playful and inviting, I incorporated a variety of interactive page formats. These not only look beautiful, but also encourage layering, tucking, writing, and hiding little secrets inside.
✅ 1. Pocket Page
Add a horizontal or vertical cut-out piece to create a slot. Great for:ticket stubs, quote cards, mini art, or dried leaves.
✅ 2. Flip-Out Page
Glue one edge of a smaller paper to create a flap that flips out. Fun tip:Hide a secret message, image, or quote underneath.
✅ 3. Veil Page (Translucent Layer)
Use tea bag paper, deli paper, or tissue paper over a page. Effect:Subtle peek-through marks or hidden words beneath.
✅ 4. Envelope Page
Glue down a ready envelope or fold your own. Use it to:Hold scraps, small photos, or letters to yourself.
✅ 5. Tuck Spot
Glue down two sides of a scrap in the corner to create a triangle. Perfect for:Tags, folded notes, or pressed flowers.
✅ 6. Accordion Fold Page
Fold a long paper strip back and forth like a fan, then glue one edge. Unfolds into:A story chain, quote list, or timeline.
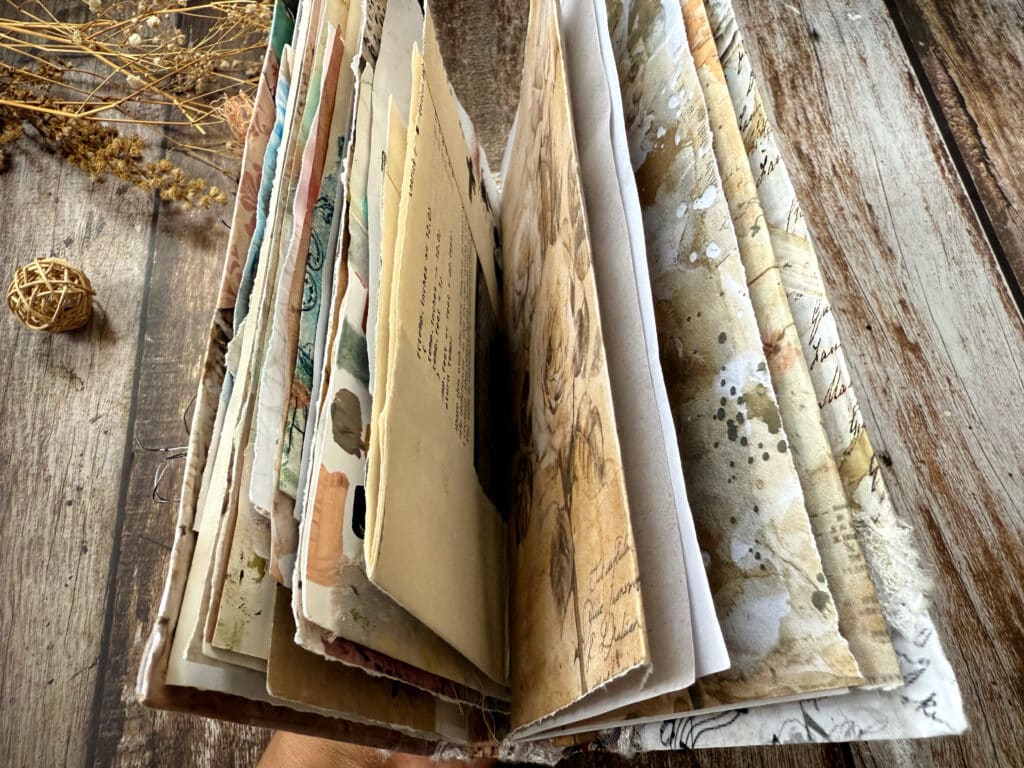
🧩 Types of Paper I Used
Here’s a quick peek at the different papers I used inside the journal:
Scrapbook offcuts and leftover bits
Printed pages from myMixed Media Artist Library
Vintage book pages
Handmade paper scraps
Brown kraft paper and tea-stained pages
All of these were layered in randomly — embracing imperfection and flow. No two spreads are the same, and that’s exactly how I like it.
Download your printables
Some of the pages I included in this journal are from my Mixed Media Artist Resource Library, which you can access for free
Q: Do I need fancy supplies to make a junk journal?
Not at all! The whole beauty of a junk journal is using what you already have. Think scrap paper, packaging, tea-stained sheets, tissue boxes, old envelopes, even receipts or wrappers. You can add “fancy” bits later, but they’re not necessary to begin.
Q: Can I still write in this journal?
Yes! These journals are made to be functionalandbeautiful. Leave some blank spaces or layer with writing paper, sticky notes, or journal cards. You can also write on top of collage layers with a bold pen or marker.
Q: What glue should I use for the cover and pages?
A strong craft glue or glue stick works well. For heavier layers, you can use matte gel medium or tacky glue. Always test your adhesive on scraps before committing.
Q: What if my pages feel too messy?
That’s part of the charm! Junk journals are meant to look raw and layered. If something feels too busy, you can always cover it with gesso, vellum, or a piece of fabric for balance.
Q: How do I bind the pages into the cover?
There are many ways to bind (stapling, sewing, elastic bands, or simply gluing pages). For this journal, I suggest using a simple3-hole pamphlet stitchor glue binding if you’re just getting started.
🌟 More Things You Can Try in Your Junk Journal
Want to take it further? Once your base pages are ready, you can add even more character through small creative touches. Here are some extra ideas to experiment with:
🖋 Add Writing Prompts
Write quotes, journal prompts, or affirmations on torn strips of paper and glue them in different spots for inspiration.
🎨 Include Mark Making
Use thread, stamps, stencils, or even your fingers to make random marks. It adds spontaneity and personality to each spread.
💬 Create “Secret” Spaces
Add hidden pockets or folded doors to tuck away private thoughts or memorabilia.
🧵 Stitch Elements on Pages
Try hand-stitching paper scraps or adding simple embroidery to your paper using a needle and thread.
🧷 Use Unusual Embellishments
Try fabric swatches, buttons, old tickets, dried petals, clothing tags, or receipts for texture and storytelling.
🌈 Try a Themed Journal
You can theme it around:
Seasons(e.g. a “Winter Mood” journal)
Feelings(a “Gratitude” or “Grief” journal)
Colors(a neutral-only journal or monochrome series)
Stories(scraps that tell your childhood, travels, or dreams)
📌 Tip: Keep a Scrap Bowl Nearby
Any time you cut or tear something, save the leftovers in a small bowl or box. Those little bits often become the magic final touch later.
✨ Final Thoughts
There’s something deeply therapeutic about creating a journal this way — using scraps, textures, and old materials to piece together something new. No rules, no pressure, just the joy of making.
This journal is now ready for writing, painting, or adding more layers over time. It’s not perfect — and that’s what makes it perfect for me.
Have you ever made a journal from unexpected materials? What’s your favorite kind of page to add — a pocket, a flap, a peek-through veil?
I’d love to hear your ideas or see what you’re making — feel free to tag me if you’re sharing on Instagram!