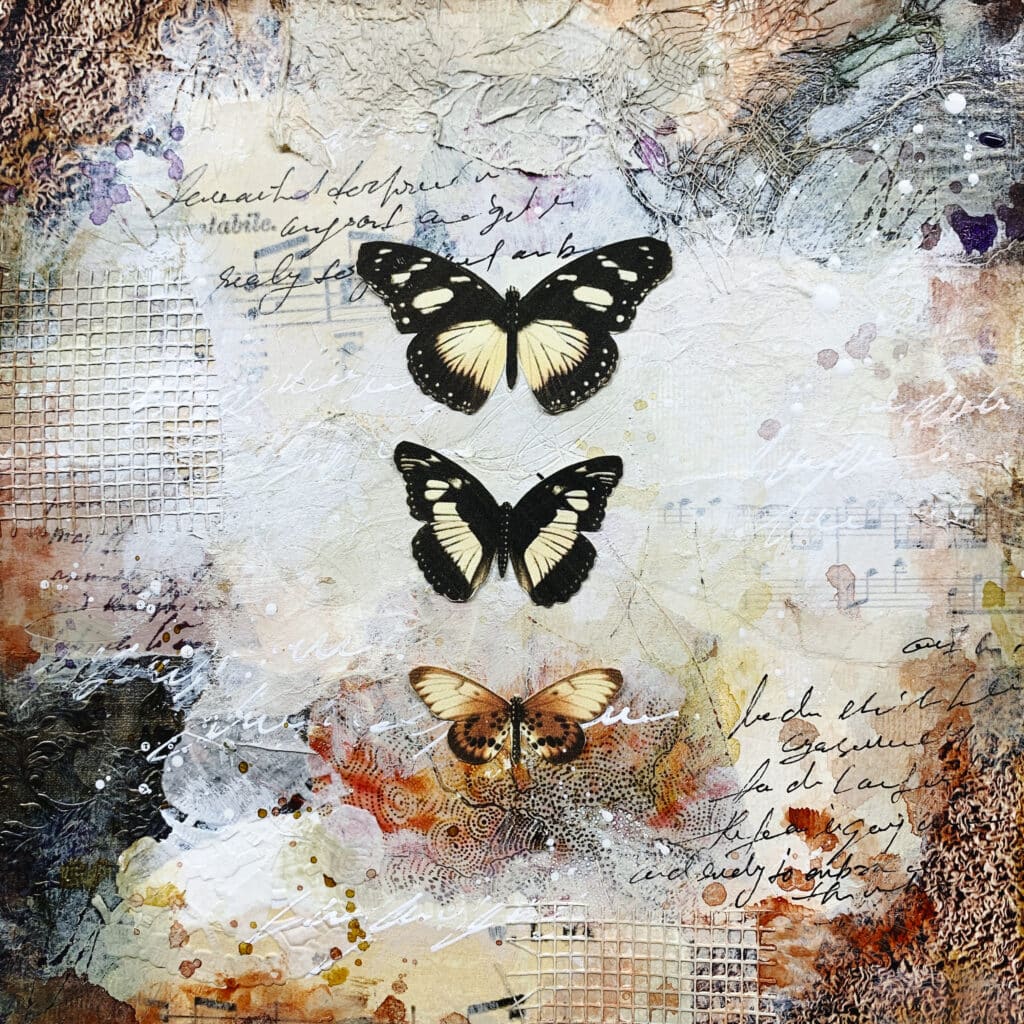
I have to admit: for the longest time, I shied away from black. It felt heavy, overpowering, and too final. But lately I’ve fallen in love with black, especially when paired with white.
In collage, mixed media projects, or art journaling, black becomes a compelling character—adding depth, contrast, and mystery to every layer. That’s why building a stash of black and white collage papers for mixed media art journaling is essential for any creative arsenal.
In this post, I’ll show you how to create your own black papers—from smooth, velvety sheets to textured, layered wonders. Use these backgrounds or print-and-mark techniques as foundations for your next journal spread, collage panel, or mixed media masterpiece.
Materials You’ll Need
Substrates
Brown paper bags
Old book pages
Deli & tissue papers
Printer papers (A4 & A3)
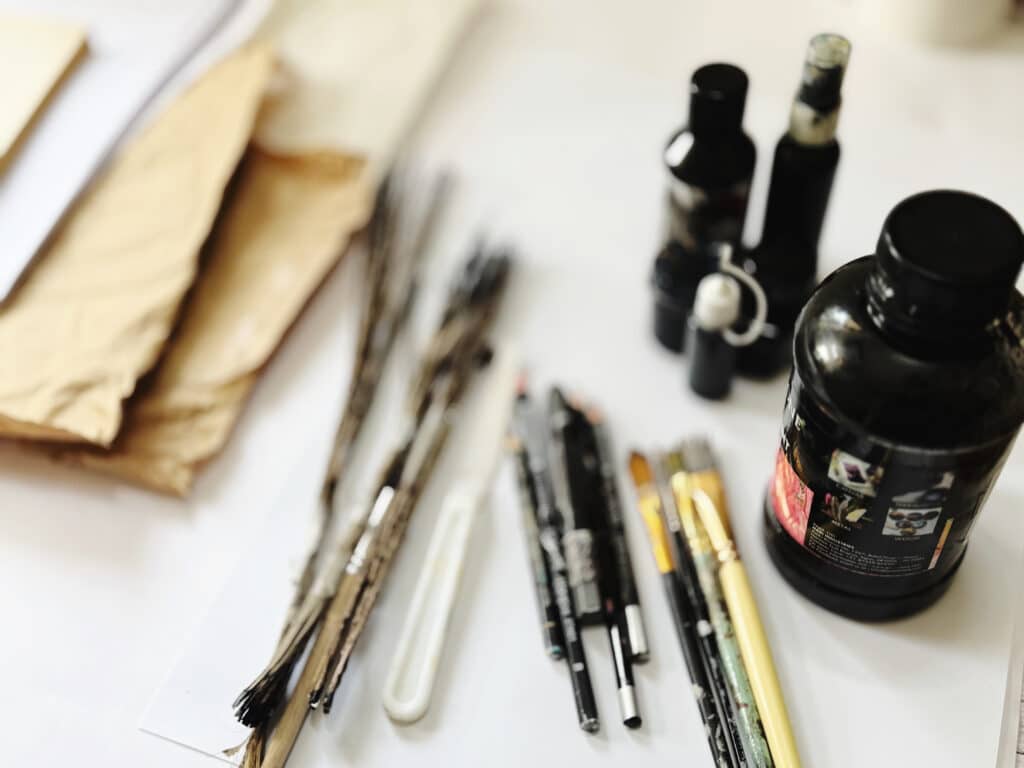
Brushes & Tools
Regular brushes
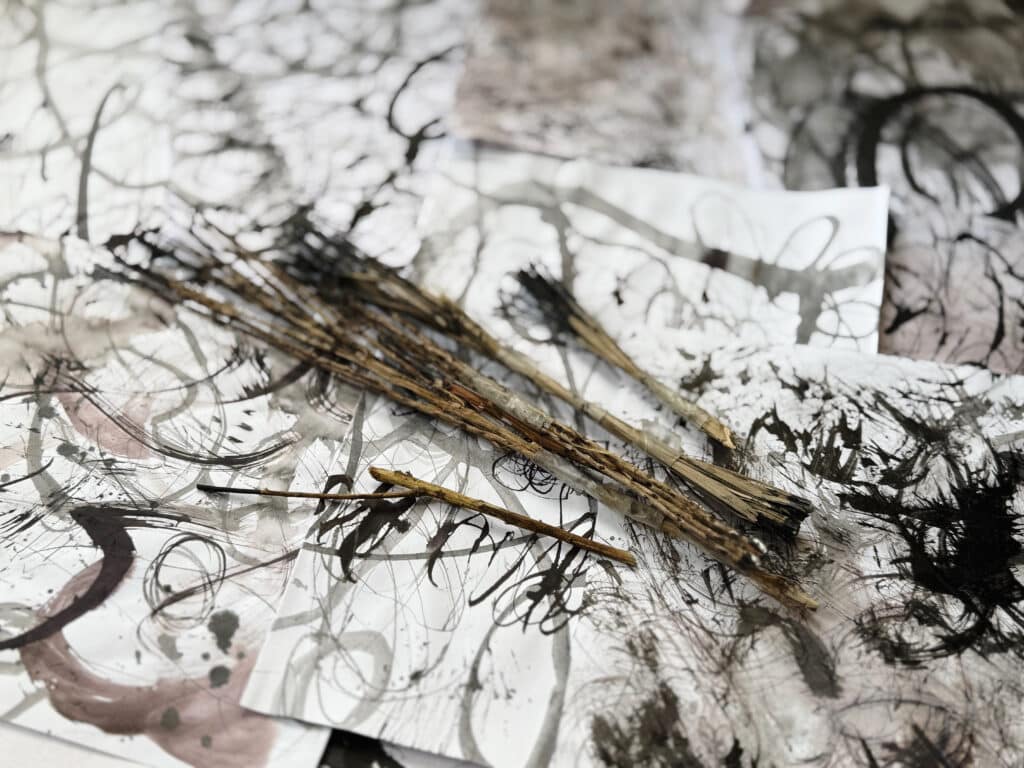
Handmade brushes (tree roots & branches)
Stencil brushes
Pointed tool for fine scraping and mark-making
Paints & Inks
Black fluid acrylic in a needle-tip applicator
Black fluid acrylic in a jar
Diluted black paint in a spray bottle
Diluted black paint in a storage container
Black India ink (water-insoluble)
Parker ink (water-soluble)
Pencils & Graphite
Regular graphite pencil
Charcoal pencil
Water-soluble graphite stick
Black watercolor pencil
Stabilo All pencil

Mixed Media Artist Resource Library
Free printables, collage papers, creative prompts & how-to guides
I’ve put together a free resource library designed just for you, packed with everything you need to fuel your creativity. It’s my way of giving back to the mixed media community with resources to inspire your next project. Click here to join.
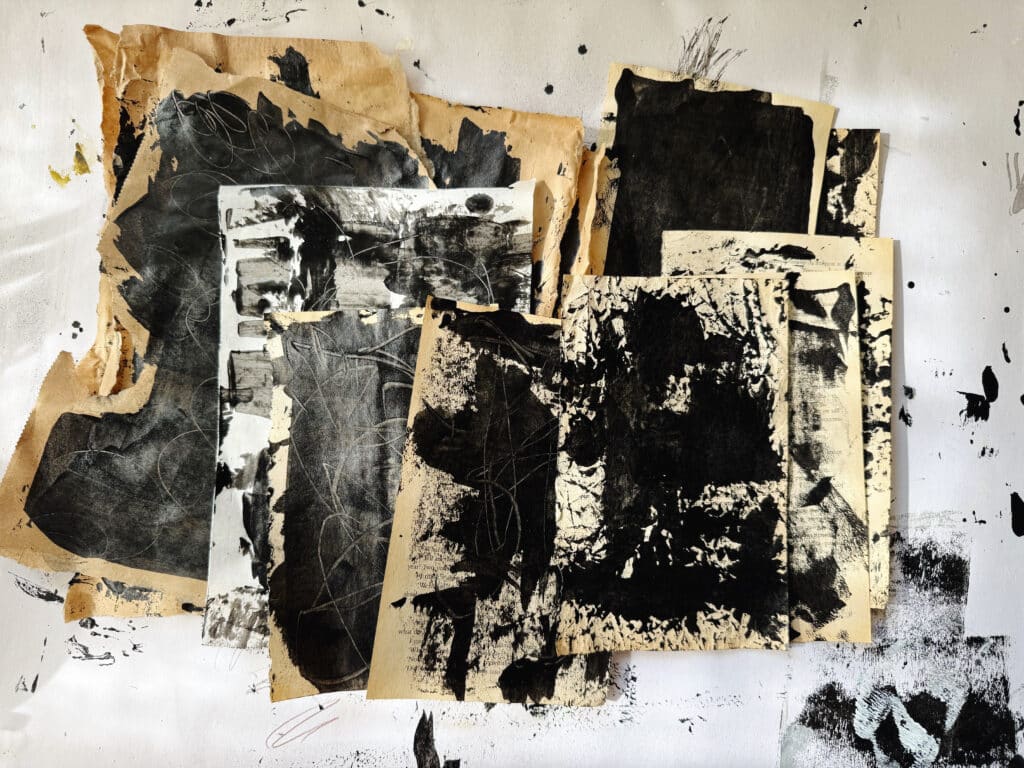
1. Fully Black Papers
(Create a nearly solid black background in one step.)
Brown Bag Paper
Spread black acrylic paint over a brown paper bag with a palette knife or old credit card until it’s completely covered. You can scratch into the wet paint with a pointed tool to reveal bits of brown underneath.Old Book Pages
Coat a book page fully with black paint using a knife or card. For a ghost-print effect, press another clean page on top and lift it off—text will peek through. You can also scratch into the dry paint to expose printed letters.Deli & Tissue Papers
Drag a thin layer of black paint across deli or tissue paper with a knife. The paper’s fibers will show through, giving you a delicate, see-through black sheet.Printer Paper (A4 & A3)
Smear black paint evenly over copy paper with a palette knife or card. This quick method gives you sturdy, matte black paper ready for collage or journaling.
2. Single-Layer Black Papers
Create a finished black paper in one session—no underlayers required. Try any of these approaches.
Dry-Brush Texture
Use a nearly-dry stencil brush dipped in acrylic to drag rough, grainy strokes across the sheet.Mixed-Tool Scribbles
Combine regular brushes, handmade root brushes, charcoal pencil, and Stabilo All pencil for dynamic, multi-tool marks.Splatter & Stipple
Flick black paint or ink with a toothbrush or stencil brush for controlled splatters and hundreds of tiny stippled dots.Water-Activated Effects
Mist the paper first, then apply ink so that edges feather and drip naturally as you tilt the sheet.
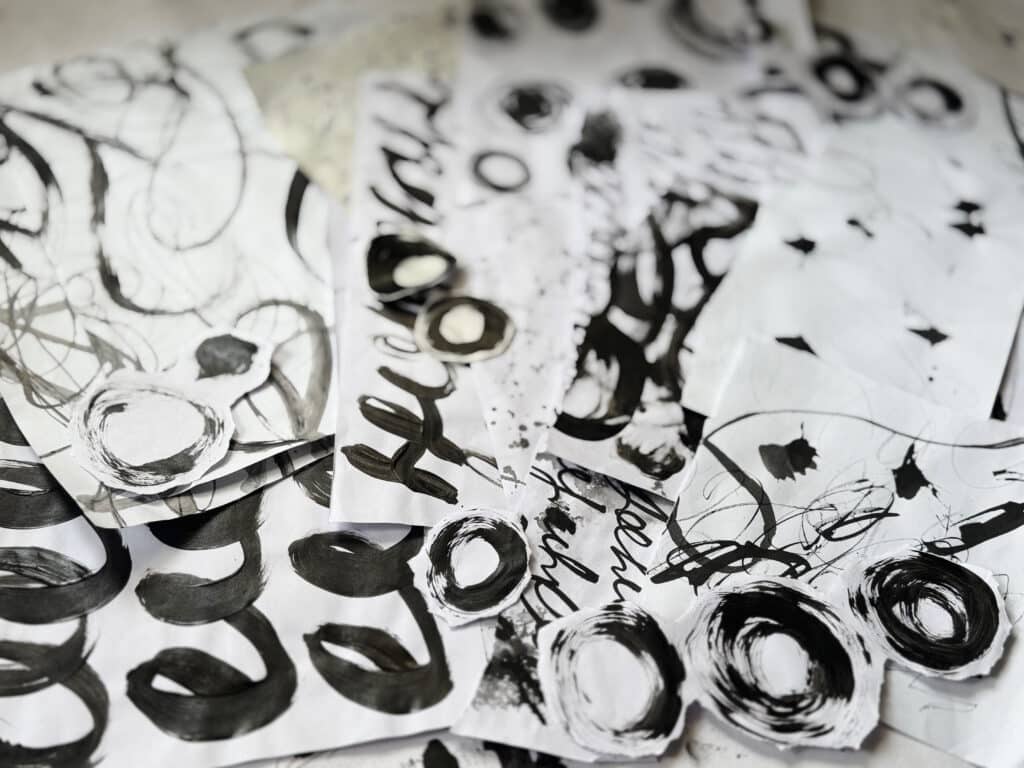
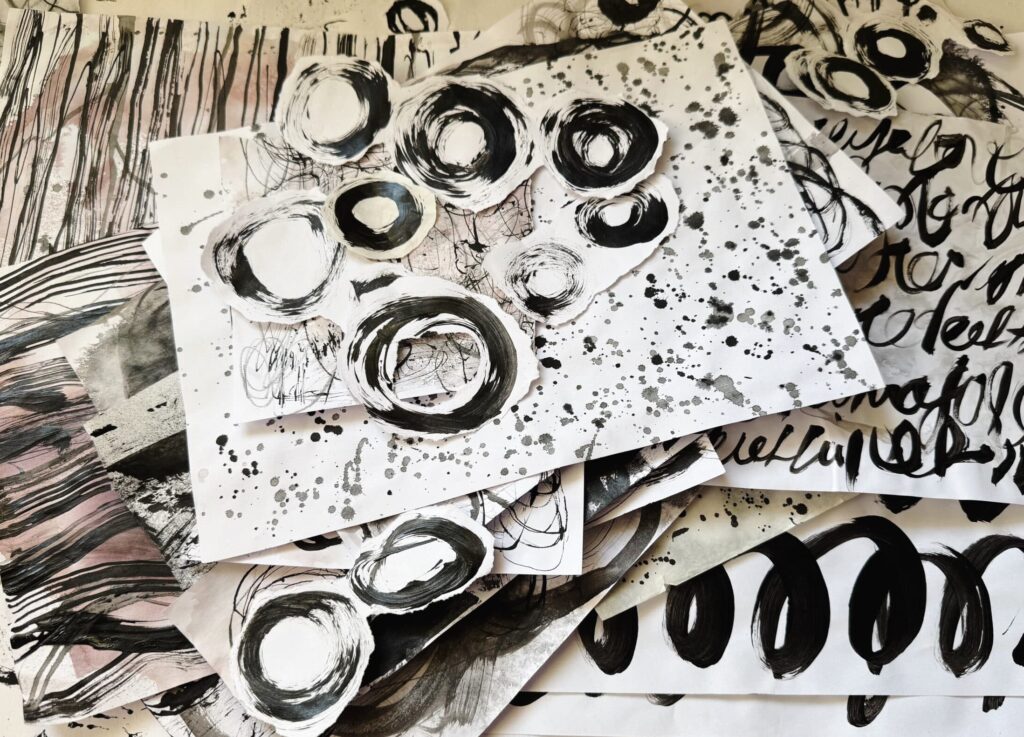
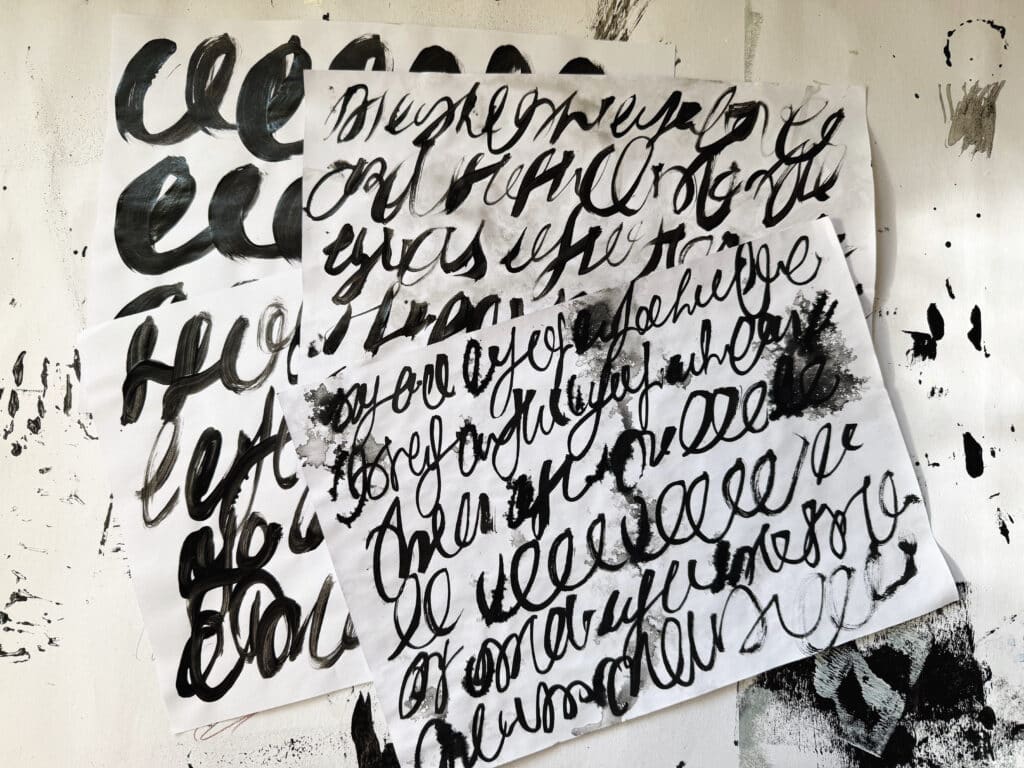
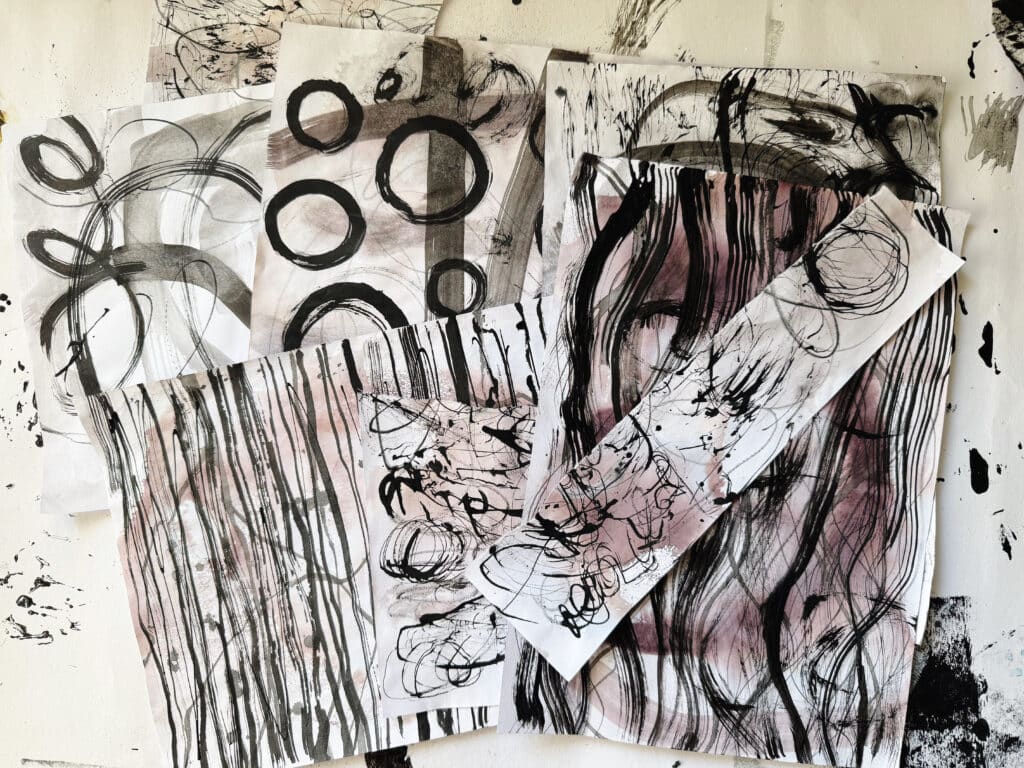
Asemic Writing
Load a brush with India ink or fluid acrylic and write freeform “wordless” lines—curves, loops, and dashes that mimic handwriting without literal meaning. This gestural mark-making gives your paper a calligraphic energy.
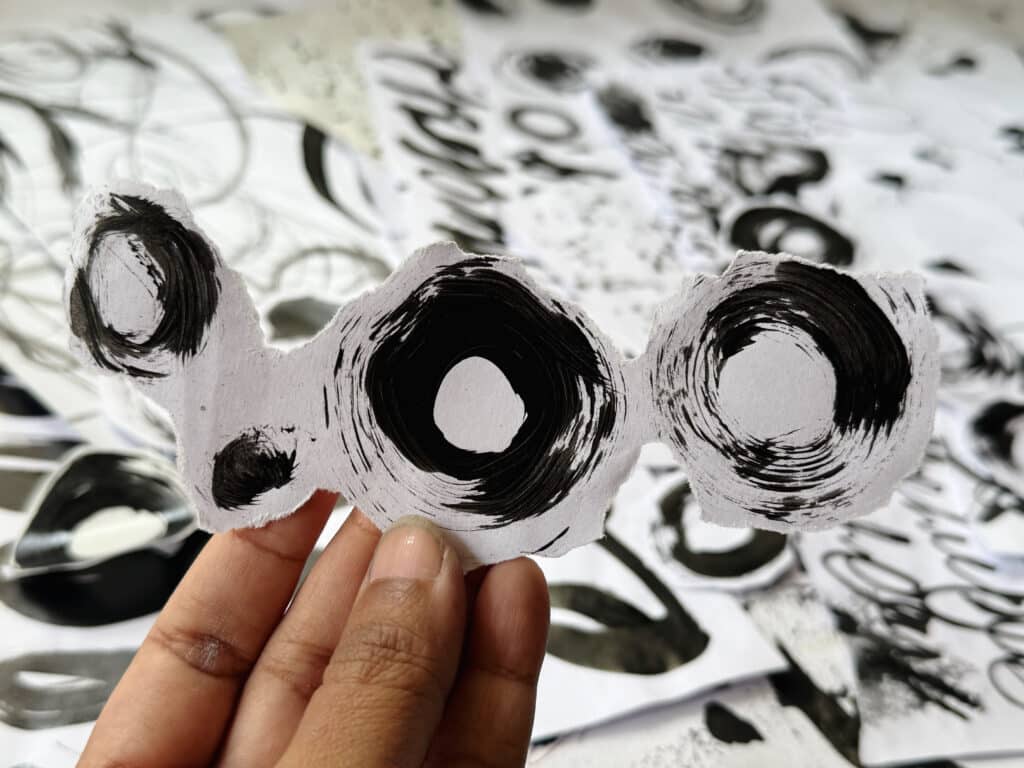
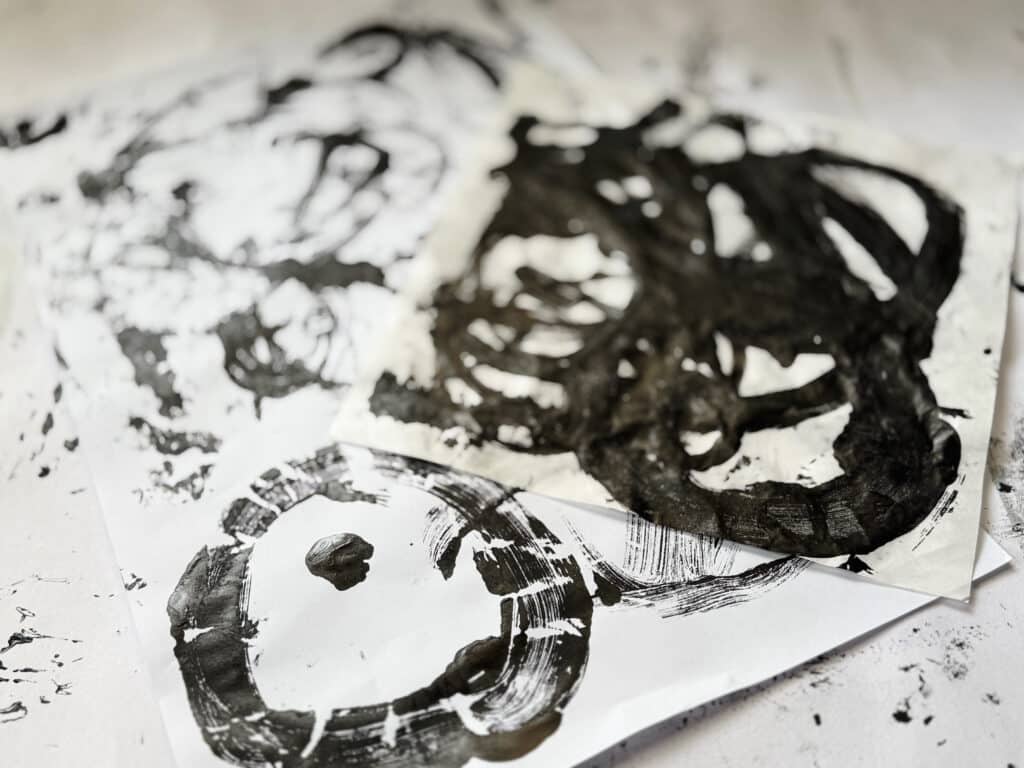
Creating Circles
Dip a round brush or the end of a dowel/pencil into black paint or ink and stamp circles of varying sizes. Overlap some, leave others isolated. These repeated forms add rhythm and can serve as focal points or ghosted backgrounds for collage elements.
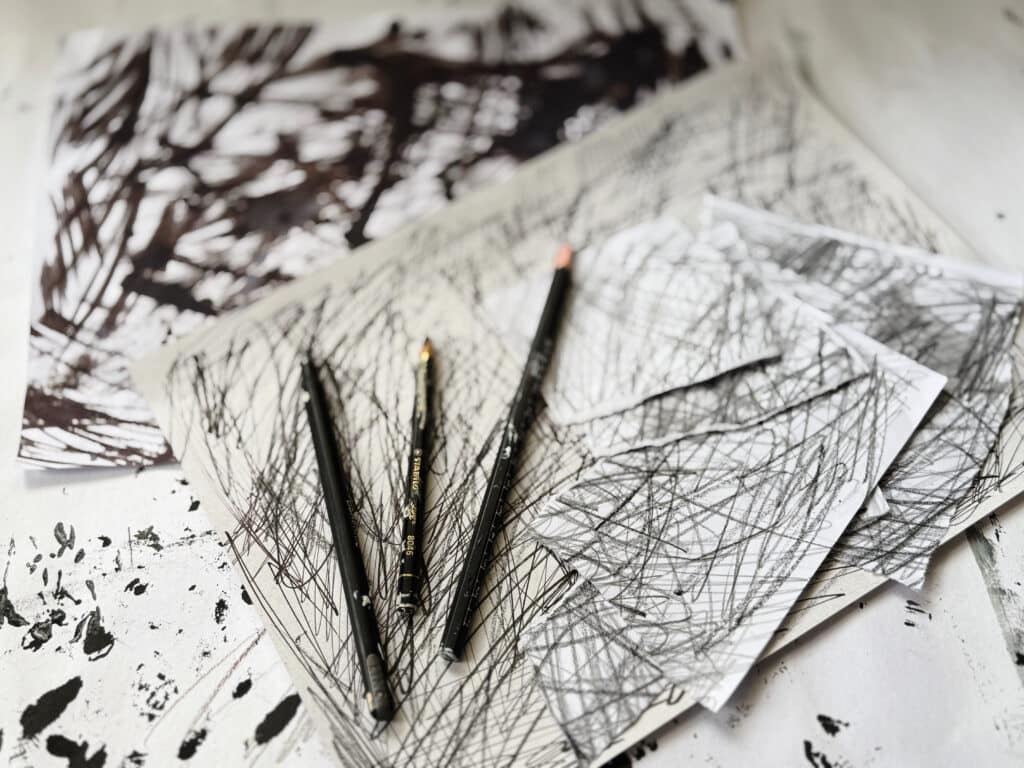
Pencil & Pen Scribbles
Use graphite, charcoal, watercolor, or Stabilo All pencils and fine-line pens to layer energetic textures directly onto your black paper. Vary pressure and direction: dense hatching in one corner, light cross-hatching or pen loops elsewhere, to build contrast and movement.
Handmade Brushes
Carve or bundle tree branches and roots into makeshift brushes. Dip them in paint and press, roll, or swipe across the paper for wildly organic, bark-like textures.

Download your digital guide
Grow your stash of black papers with this visual guide to add bold contrast & depth in your mixed media and art journaling projects!
3. Double-Layer Black Papers
First, establish a soft “wash” base, then add a top layer of any single-layer techniques:
Base Wash
Brush on diluted black acrylic or Parker ink (1:2 to 1:4 paint-to-water).
Press this tinted layer onto a clean sheet to transfer a pale gray wash.
Top Layer
Over that wash, choose one or more of the single-layer techniques above:
Pencil & pen scribbles
Asemic writing
Dry-brush strokes
Handmade branch & root brush textures
Mixed-tool scribbles
Splatter and stipple accents
Water-activated drips and blooms
This two-step process builds depth and allows you to blend intentional marks with organic textures for richly nuanced black and white collage papers with depth built right in.
4. Print & Texture Techniques
1. Needle-Tip Monoprint
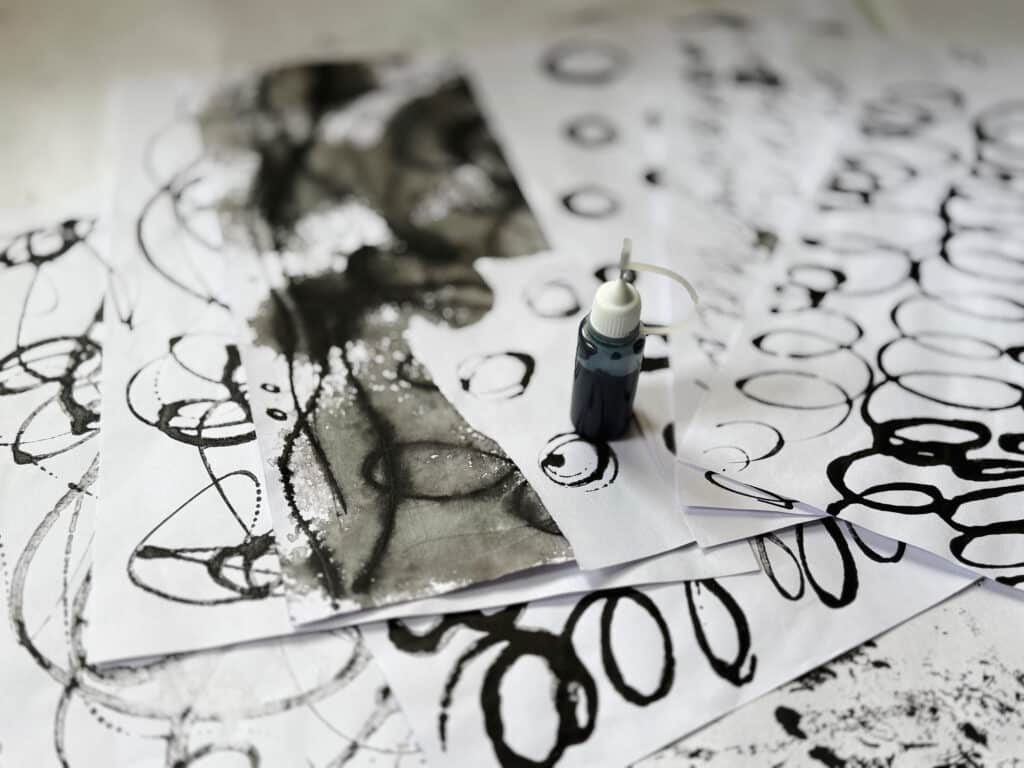
What it is: Use a fine applicator to deposit controlled dots and lines of black paint onto your substrate.
How to do it:
Draw or scribble lightly with pencil or brush.
Squeeze the needle-tip applicator to lay down tiny droplets or thin lines of undiluted black acrylic.
Immediately press a clean sheet on top and lift to transfer a soft, ghosted impression.
2. Stencil Spray Print
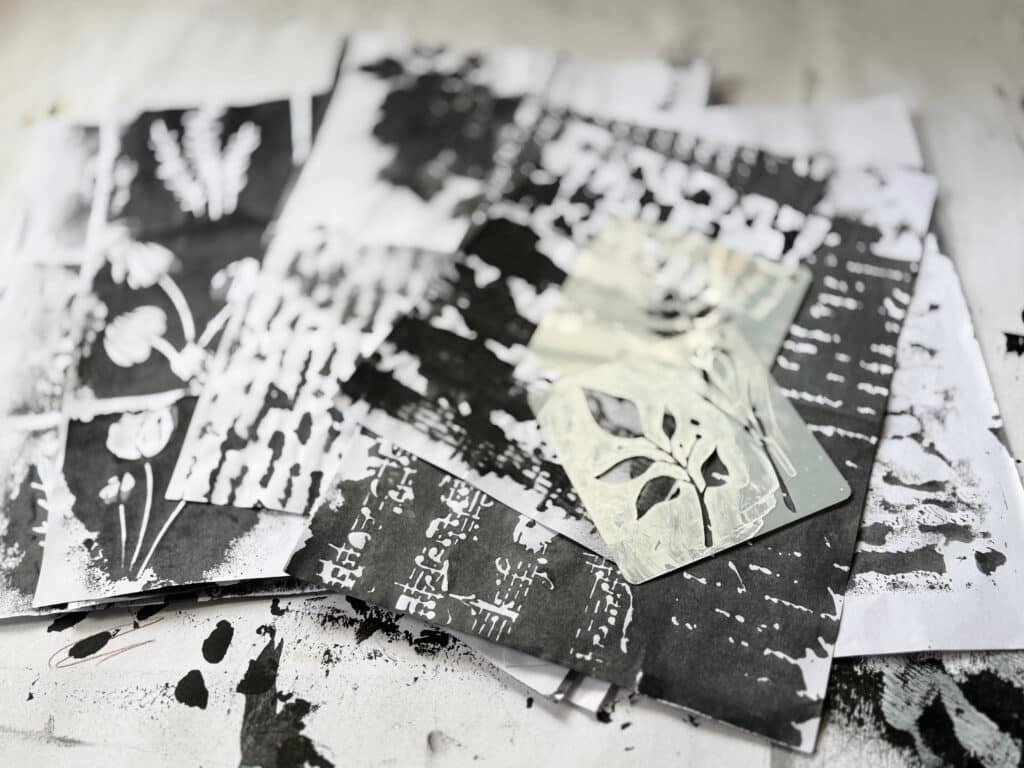
What it is: Create crisp positive-and-negative patterns by spraying through cut-out shapes.
How to do it:
Position your stencil on a blank sheet.
Fill a spray bottle with diluted black paint (about 1:3 paint-to-water).
Evenly mist over the stencil, then place a second sheet on top.
Press gently and peel back to reveal your reversed print.
3. Tissue-Wipe Gradient
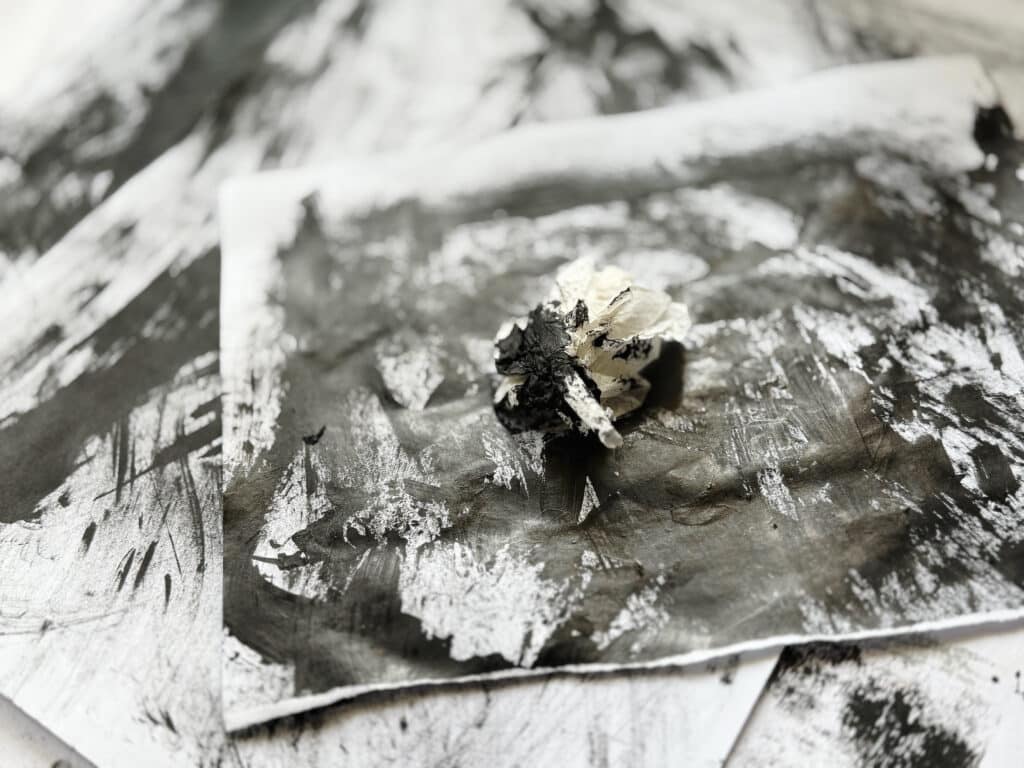
What it is: Produce smooth, smoky gradations by selectively removing wet paint.
How to do it:
Drop random pools of black acrylic onto your paper.
Immediately wipe away areas with a piece of deli or tissue paper, dabbing or dragging to create soft halos and tonal shifts.
4. Bubble-Wrap Printing

What it is: Turn popped bubbles into tiny white “pinholes” against a black field.
How to do it:
Paint the bubble side of bubble wrap with a solid layer of black paint.
Press it paint-side down onto your paper.
While still wet, pop individual bubbles with your finger: each burst leaves a bright dot.
5. Palette-Paper Monoprint
What it is: Transfer spontaneous doodles and textures from a scrap sheet to your black paper.
How to do it:
Make random brush or tool marks on a piece of deli or palette paper.
Lay that marked paper onto your black-painted substrate and press firmly.
Lift to reveal a delicate, ghost-like echo of your original marks.
6. Sponge Printing
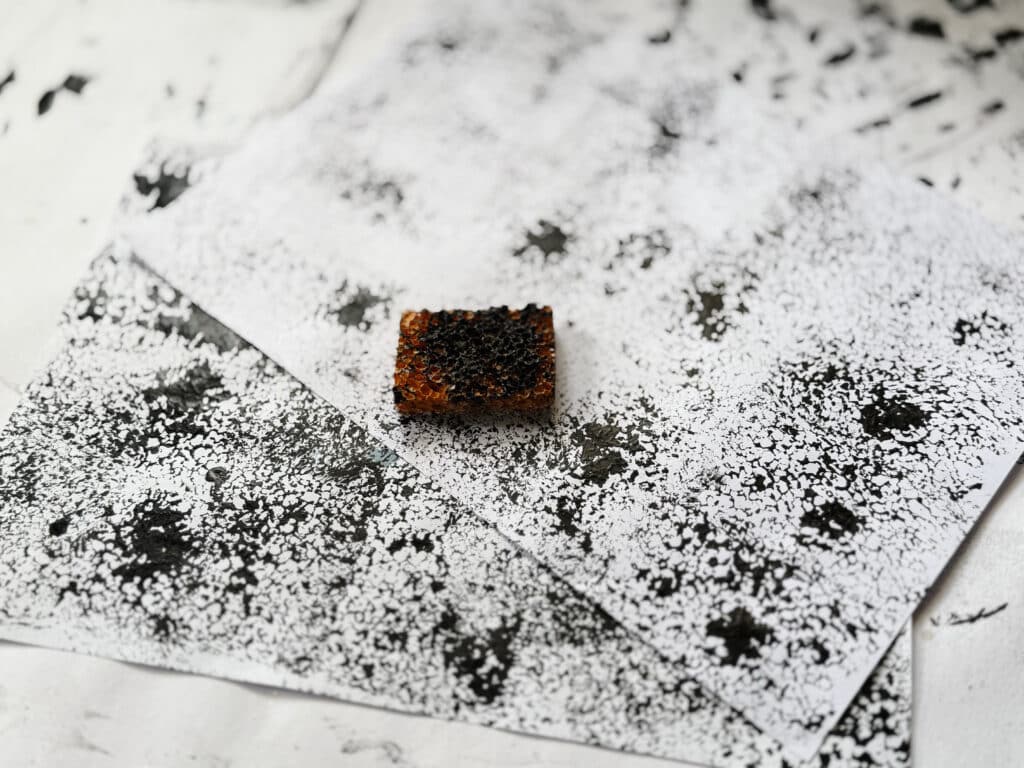
What it is: Use a perforated or textured sponge as a stamp to apply black paint in irregular dot patterns.
How to do it: Dip the sponge lightly into black acrylic, dab off excess, then press or roll it onto your paper. Rotate or shift the sponge between presses to vary density and pattern. This creates a subtle texture that plays beautifully under collage layers.
🖌️ Expanding Your Practice
Combine Techniques: Try a Stencil Spray Print over a Tissue-Wipe Gradient base for complex layering.
Vary Substrates: Apply these prints on brown paper bags, old book pages, or translucent tissue for unexpected textures.
Experiment with Ratios: Adjust paint-to-water mixes in your spray bottle or spray applicator to shift opacity.
Tool Swaps: Use a root brush instead of a stencil brush, or swap a fine-point pen for the needle-tip applicator.
🌿 Tips for Success
Always keep a scrap “test sheet” handy to preview color intensity and spray patterns.
Work quickly when using wet techniques—many rely on lifting prints before the paint dries.
Label each finished sheet with the date, technique, and any special ratios or tools used.
Store completed black papers flat and dry before layering in your collage journals.
❓FAQs
Q: What’s the best paper to use?
A: Anything you have! Deli paper, brown paper bags, old sketchbook pages, mixed media paper—all work beautifully depending on what you want: texture, translucency, absorbency, or grit.
Q: How do you make powdered pastel pigment?
A: Simply scrape the side of a soft pastel stick with scissors or a blade. Sprinkle it over wet gel medium and press gently to set.
Q: Why do you use black at the end?
A: It anchors the page—like visual punctuation. It creates contrast and brings unity to layered colors.
💬 Final Thoughts
These pages aren’t just experiments—they’re conversations between color, material, and intuition. Whether you’re just getting started with mixed media or deep in your own process, I hope this gives you inspiration to try new surfaces, new marks, and new surprises.
If you’re feeling stuck creatively, try picking just two colors and one mark-making tool and see what happens. Let the paper guide you.