Give your plain printer paper a rich, vintage‑inspired makeover
As I’ve been exploring ways to create unique collage papers or pages for art journals, one technique has truly captured my imagination: coffee dyeing.
I began by experimenting with three natural dyes—coffee for dark browns, tea for lighter browns, and onion skins for a rosy, reddish‑brown hue—and fell in love with the rich, organic textures each produced. Yet I wanted more color without the fuss of boiling onion skins every time, so I started stirring a tiny bit of acrylic paint—crimson red, muted green, or vibrant blue—directly into my coffee bath. The result? A spectrum of beautifully muted tints: green‑coffee, blue‑coffee, crimson‑coffee, and beyond, all in a single, easy step.
In this tutorial, you’ll learn three simple methods to transform standard printer paper into atmospheric collage papers:
Classic Coffee Dye for that beloved vintage patina
Coffee‑Stenciling to introduce crisp, repeating patterns
Acrylic‑Boosted Coffee Dye—mix any acrylic hue into your coffee bath for custom muted shades


Why Coffee Dyeing?
There’s something deeply satisfying about watching plain white paper take on warm, earthy tones as it soaks in the rich brown of coffee. These subtly mottled surfaces make perfect starting points for mixed media and collage work—no two sheets ever look the same! Whether you’re aiming for a faux‑vintage vibe or simply want a neutral, grungy backdrop for your next piece, coffee dyeing is:
Inexpensive: You probably already have instant coffee in your kitchen.
Eco‑friendly: No harsh chemicals—just food‑grade ingredients.
Easy & Addictive: The process is as simple as steeping tea, and once you see the results, you’ll want to dye every scrap in sight.

Materials You’ll Need
Instant coffee (or strong brewed coffee)
Hot water (enough to fully submerge your paper)
Printer paper (70–100 gsm; standard A4 or letter size)
Acrylic paints (small amounts of green, blue, crimson, or any color you like)
Shallow tray, baking dish, or wide bowl
Tongs or chopsticks (for handling wet paper)
Optional: masking tape and stencils (for the stencil technique)
Flat drying surface (waterproof mat, parchment paper, or a drying rack)

Preparing Your Dye Baths
1. Plain Coffee Dye
Dissolve 2–3 Tbsp instant coffee into 500 ml hot water.
Stir until fully dissolved; you’ll have a rich brown bath ready for submersion.
2. Acrylic‑Boosted Coffee Dye
Prepare the coffee solution as above.
Add ½–1 tsp of acrylic paint and stir thoroughly until the color is evenly distributed—no streaks.
Choose green, blue, crimson, or mix your own shades. Each batch yields a uniquely muted tint.

Technique 1: Classic Coffee Dye
Submerge: Dip papers into the tray with plain coffee bath.
Soak:
1–2 min for a pale wash
3–5 min for medium tone
6+ min for deep saturation
Agitate: Gently swirl or tilt the tray to create streaks and drips.
Lift & lay flat: Remove the paper, allowing excess coffee to settle on the page. I laid all my papers on a 6 feet long table mat out in the balcony.
Technique 2: Coffee‑Stenciling
Mask & Position: Place your stencil flat onto a damp paper.
Spray more coffee: Sprinkle some of the coffee solution on top of the stencils – let it seep under the stencil to form crisp edges.
You can also sprinkle some coffee powder to create some brilliant textures.
Technique 3: Acrylic‑Boosted Coffee Dye
-
Choose Your Color: Stir a bit of your chosen acrylic (fluid preferred) into a fresh batch of coffee until uniform.
-
Dye Exactly Like Classic: Follow the same submerge, soak, and lay flat —only now your paper will emerge tinted with a muted green, blue, crimson, or any hue you mix.
-
Stenciling Over Colored Dye (Optional): Once your colored coffee dye is on the paper, you can repeat the Coffee‑Stenciling process with either plain or colored coffee for layered patterns.


Here you can see all the papers spread out – some with stencils, some blank and with coffee powder sprinkled. This is one of the many sessions that I’ve done – this is the only one I photographed because I loved the green color mixed with coffee solution.

Drying & Finishing
Flat Dry: Lay your sheets on paper towels or parchment; expect light curling.
Hang Dry: Clip by the top edge—gravity will pull drips into beautifully elongated veins.
Press Flat: Once completely dry, sandwich between heavy books or boards to flatten.
My balcony gets a lot of afternoon sunrays. After almost 3 hours, the papers dried and started crumpling. In the below photos you can see the papers starting to dance.


Then you remove the stencils, and the beautiful marks are created on the papers by the Sun.


Creative Applications
Layered Collage Bases: Tear or cut into shapes for atmospheric backgrounds.
Art Journal Pages: Write, sketch, or stamp directly on the dyed surfaces.
Handmade Cards & Tags: Combine with ink, metallic accents, or fabric scraps for mixed‑media flair.
Stash Packs: Create sets of 10–20 sheets in varying tones—perfect for spontaneous art sessions.

Tips & Variations
Double‑Dip for Depth: After the first batch dries, dunk again in the same or different dye bath.
Tea & Onion Skin Mix‑Ins: If you love onion skin’s rosy hue but want more control, color‑boost your coffee with crimson acrylic instead—no boiling required.
Batch Experimentation: Test small scraps of paper before committing; every printer paper brand responds differently.
Custom Color Wheel: Make multiple dye baths (coffee + green, blue, crimson, etc.) and blend papers for gradated collages.

Frequently Asked Questions (FAQ)
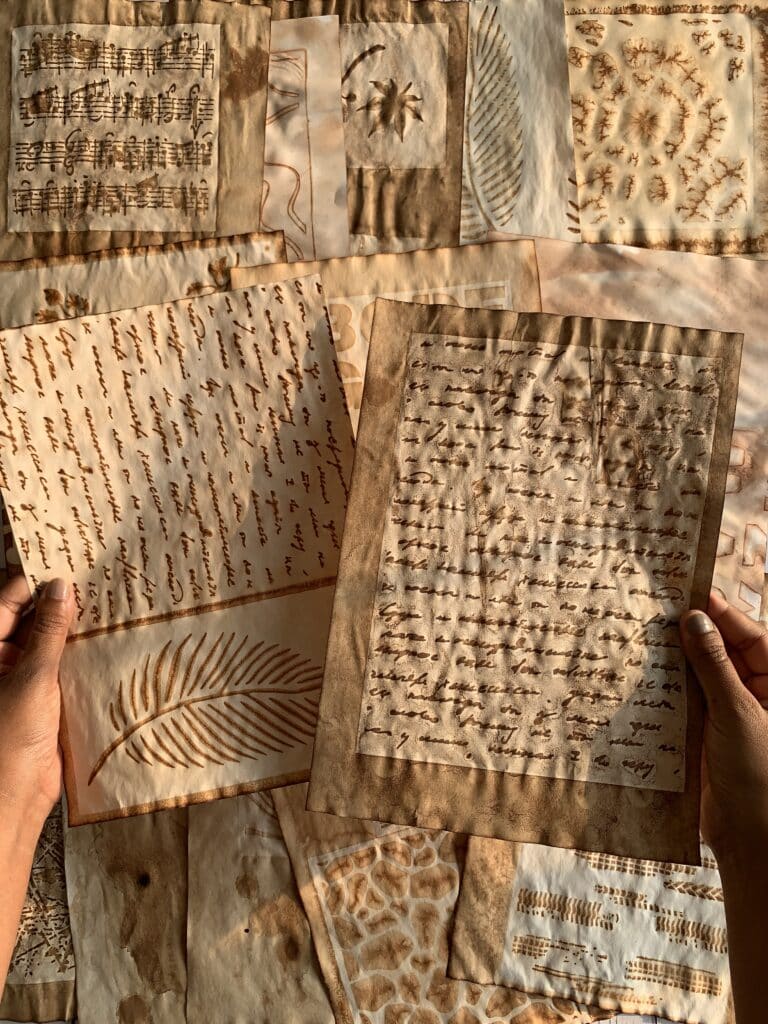
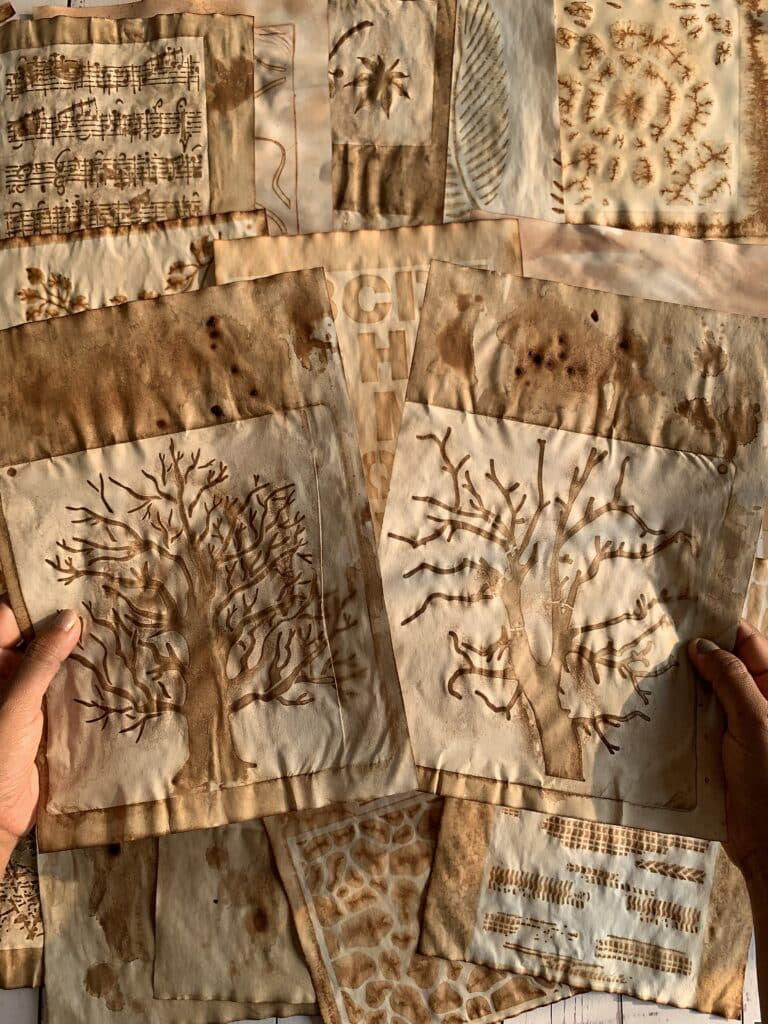
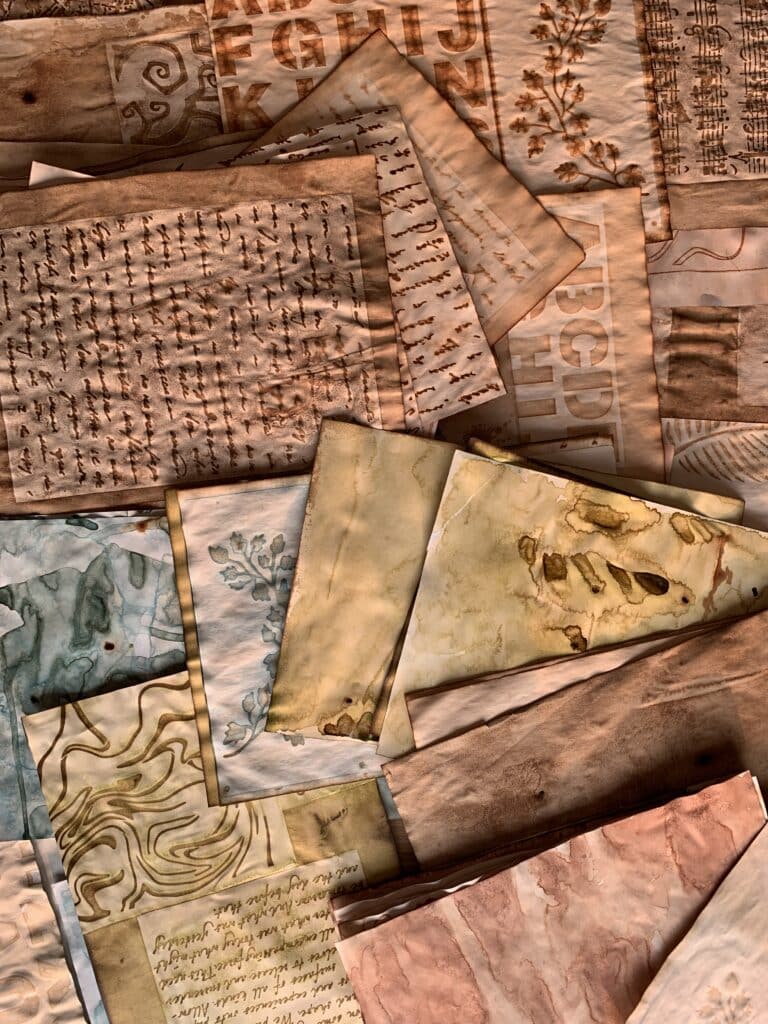
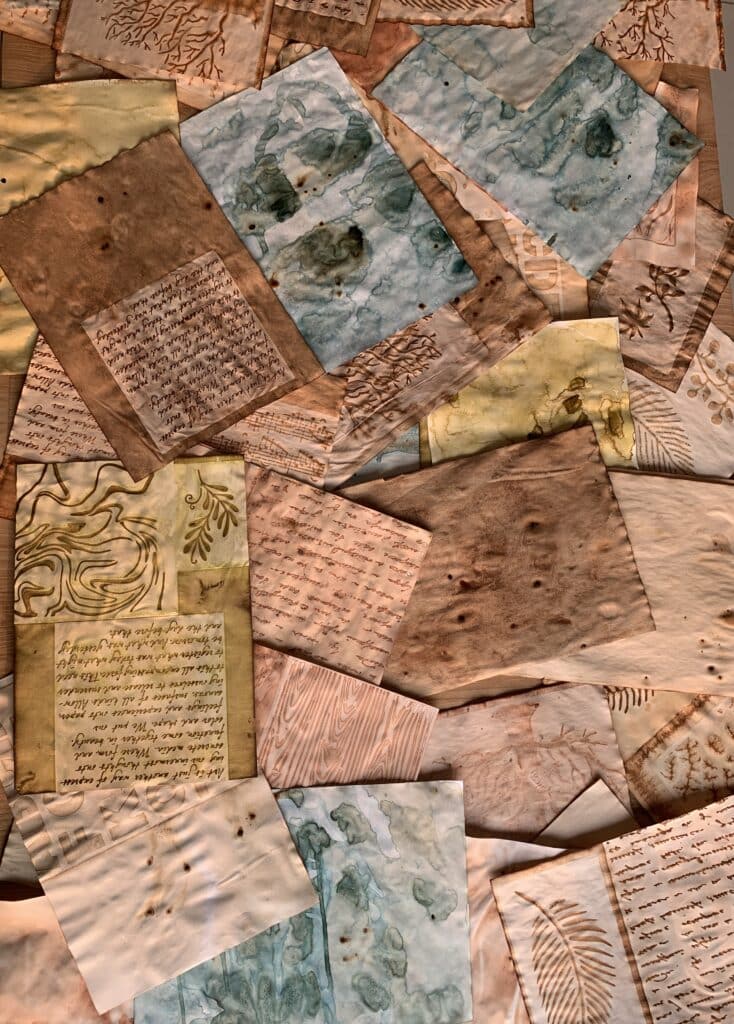
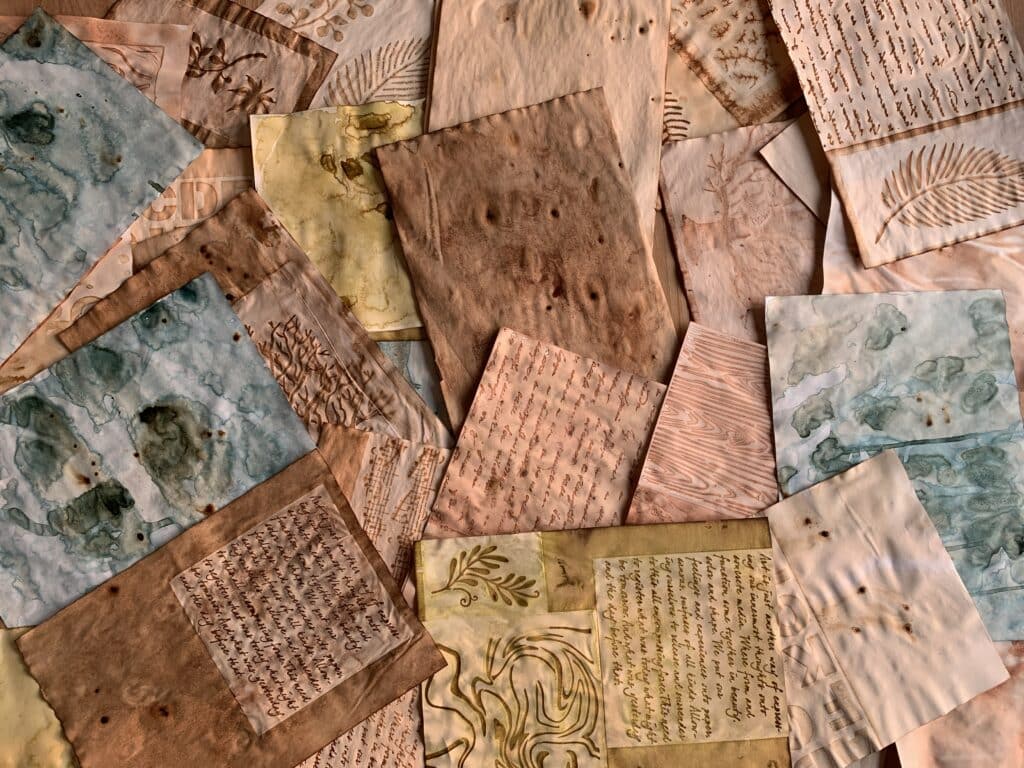
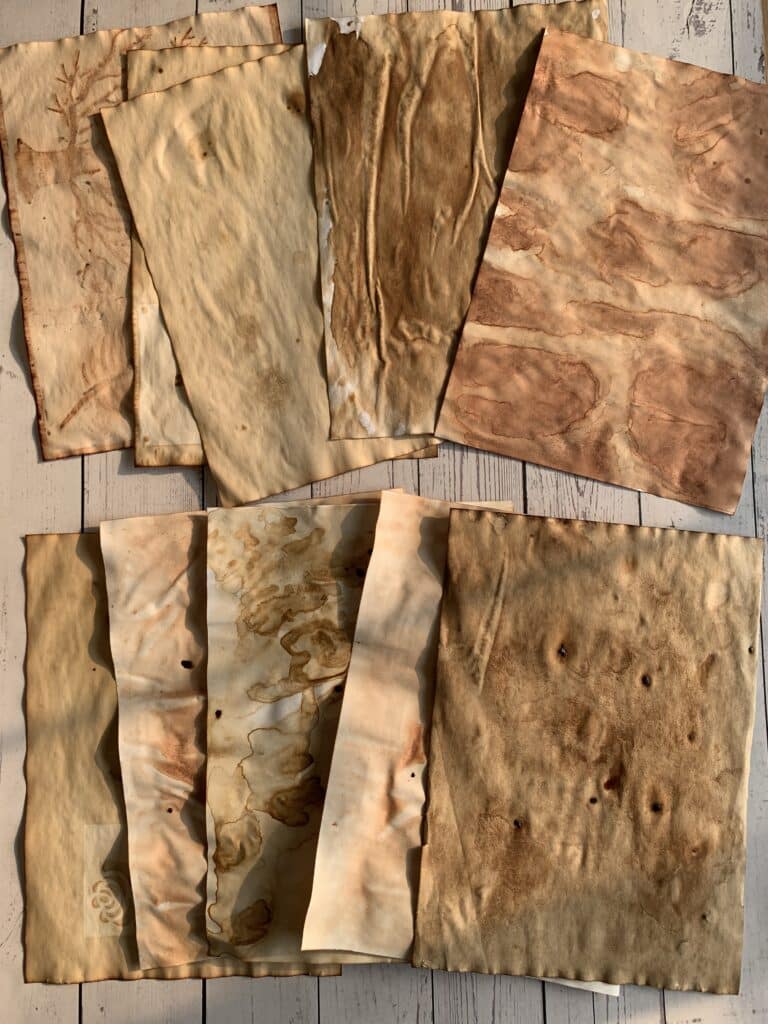
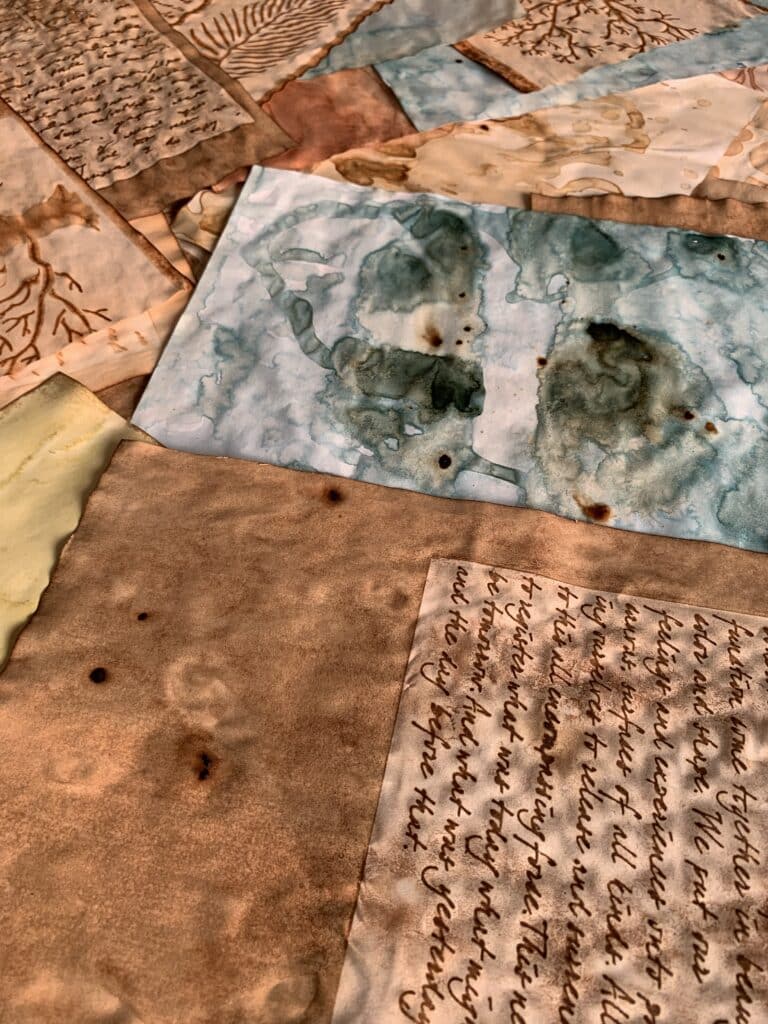
Q1: What type of paper works best for coffee dyeing?
A: Standard printer paper (70–100 gsm) is ideal for coffee dyeing—its thin weight allows the dye to penetrate evenly, creating rich texture without long soak times. Heavier papers (e.g., watercolor paper) can be used, but they will require longer immersion and may not curl as dramatically.
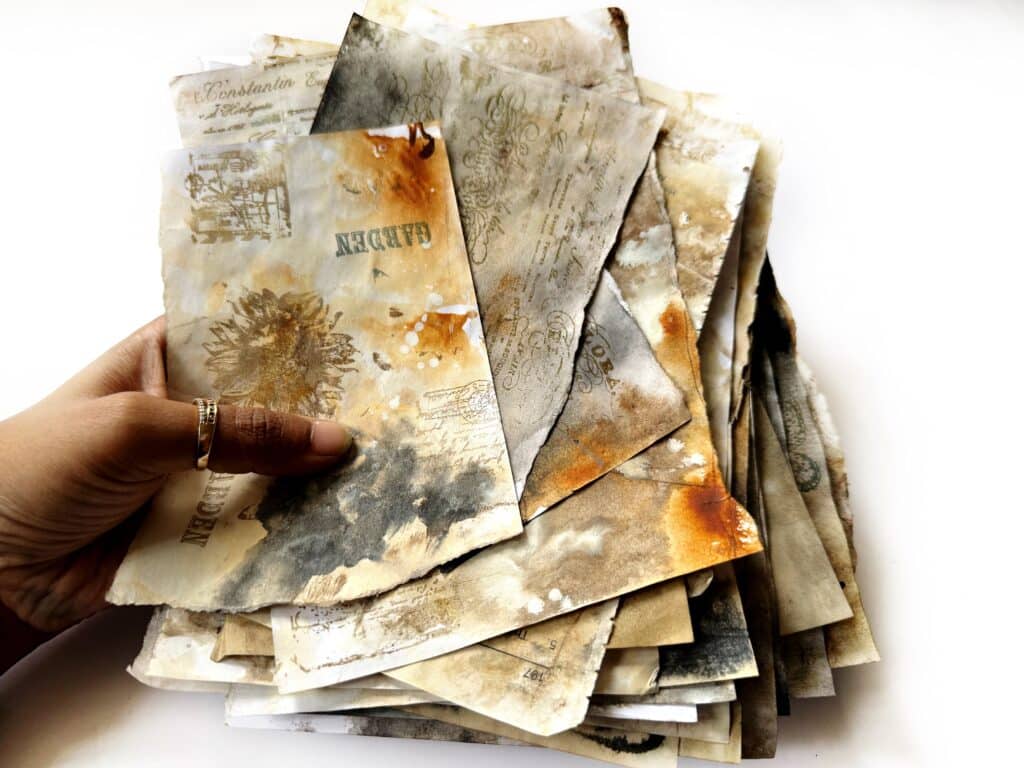
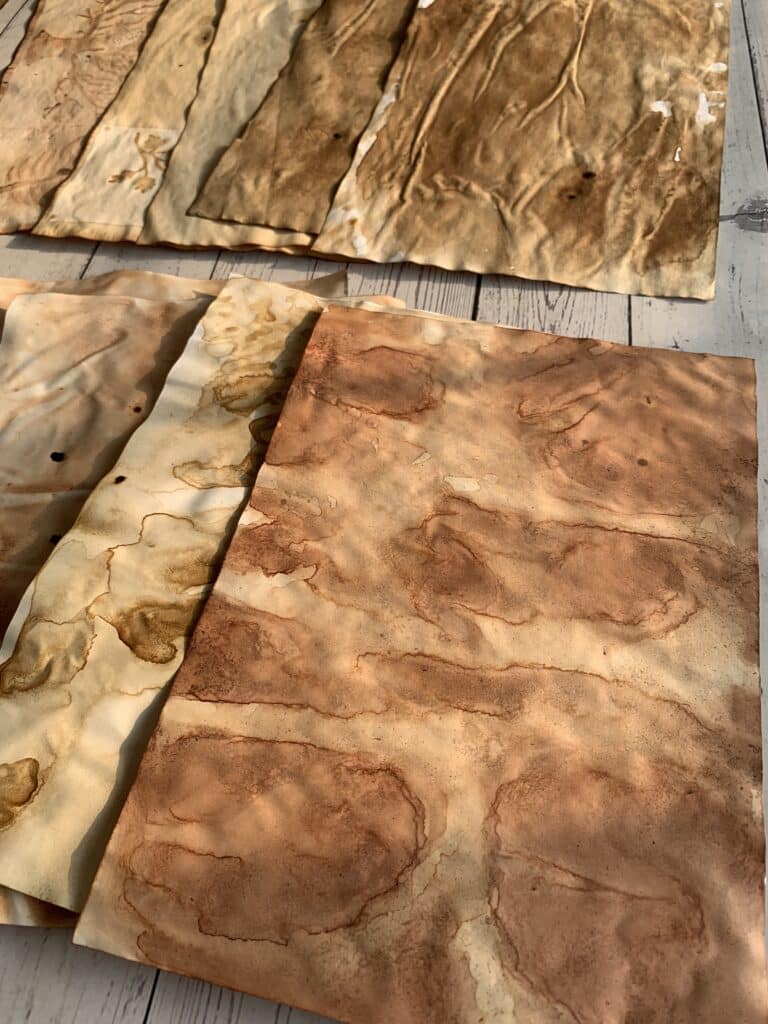
Q2: Can I reuse the same coffee bath for multiple sheets?
A: Yes! As long as the bath still has color, you can dunk several sheets in sequence. The first sheet will be the darkest; subsequent sheets will be progressively lighter. Once the bath gets too pale, simply top it up with more instant coffee (and acrylic pigment, if using) to refresh the tint.
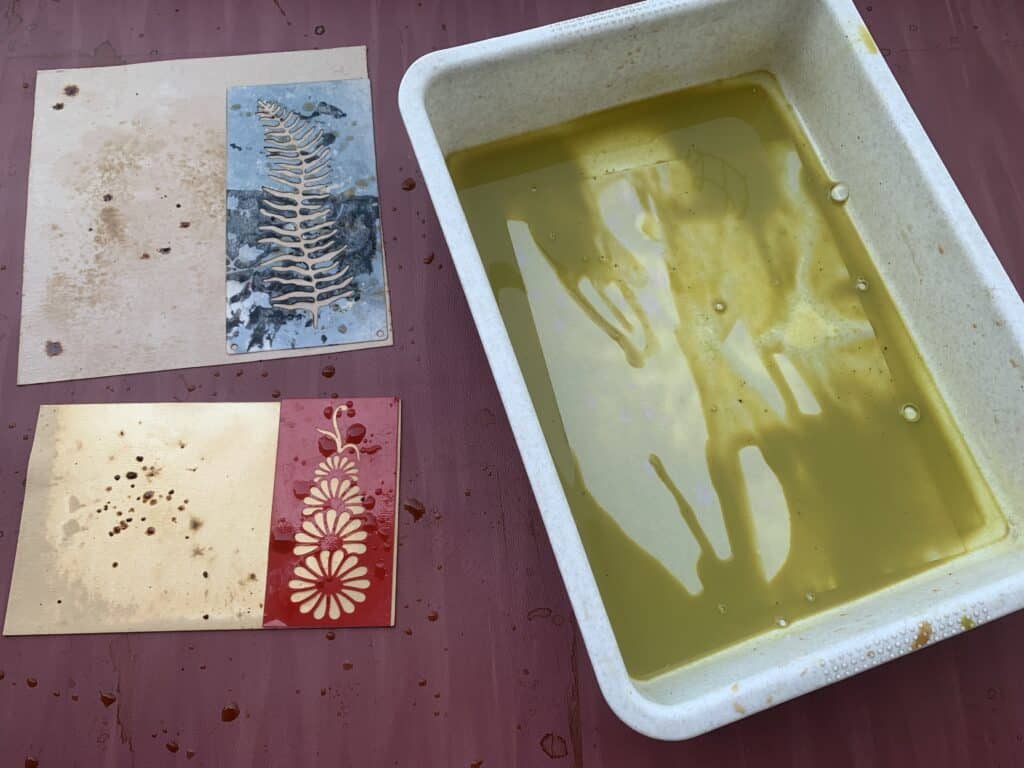
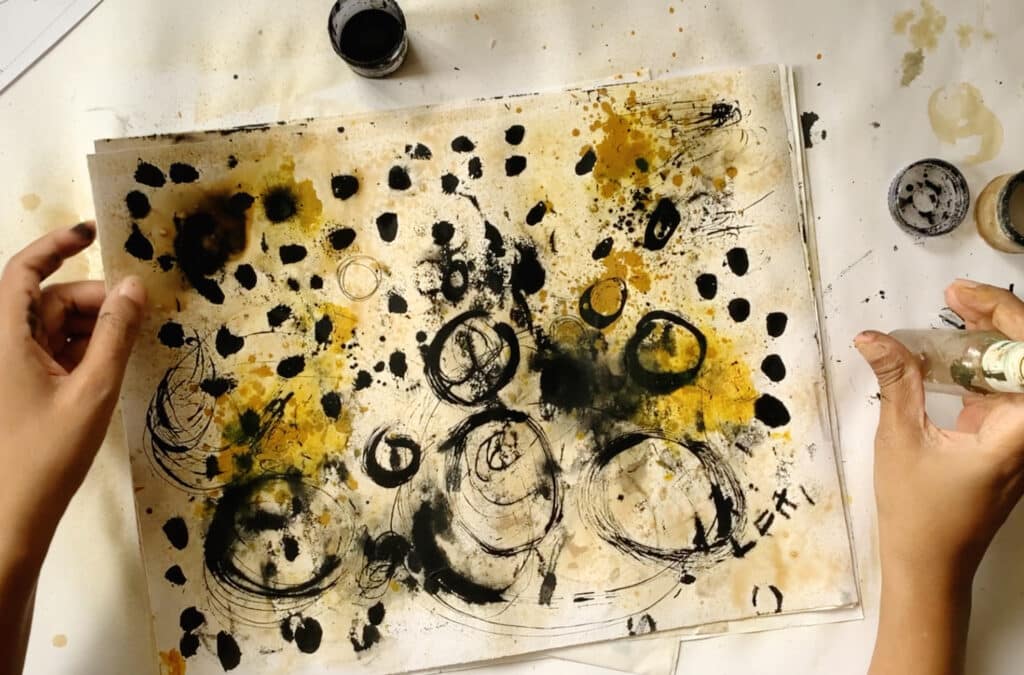
Q3: How much acrylic paint should I add to the coffee solution?
A: Start with about ½–1 teaspoon of fluid or heavy‑body acrylic per 500 ml of coffee. Stir thoroughly until no streaks remain. You can adjust up or down based on how muted or saturated you want the color to be.
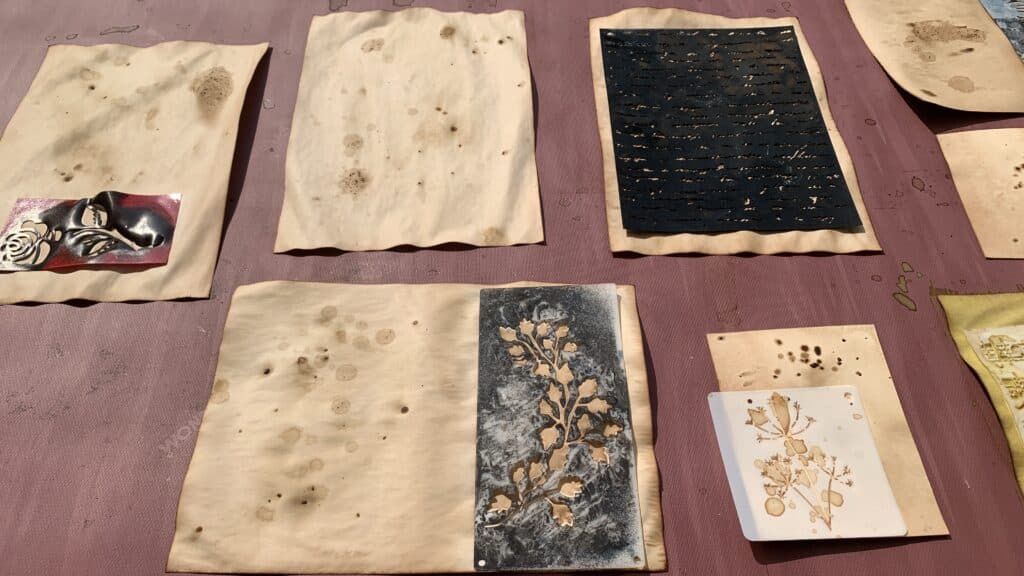
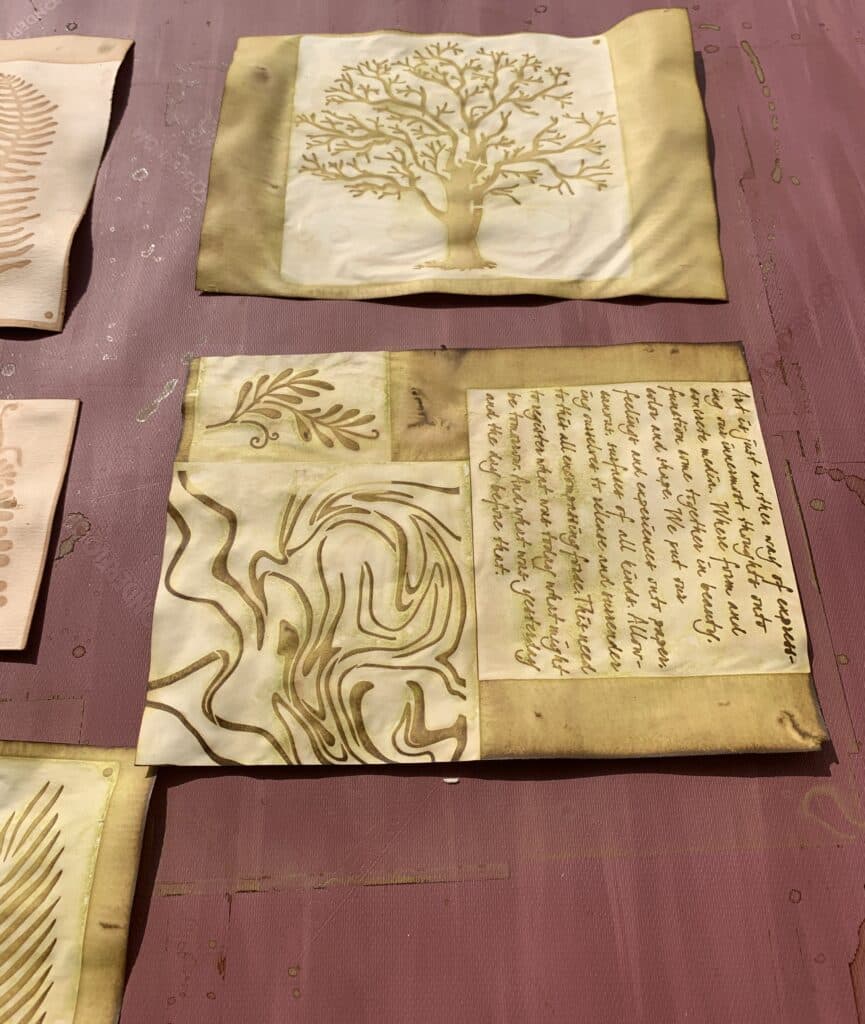
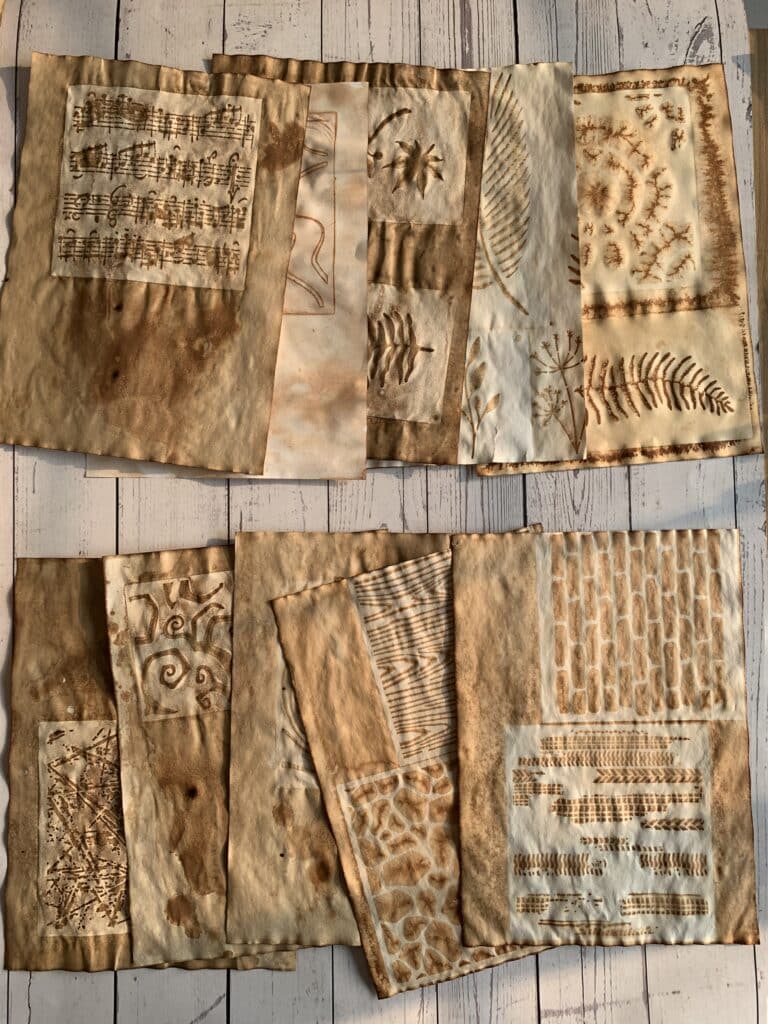
Q4: Will the acrylic in the coffee bath affect my stencil patterns?
A: Not at all. The acrylic‑boosted bath behaves just like plain coffee: you can submerge, blot, and stencil over it to create crisp shapes. The only difference is the tinted ground, which adds an extra layer of color beneath your stencil work.
Q5: Why are my dyed papers curling, and how can I flatten them?
A: Curling happens because the paper fibers swell unevenly when wet. To flatten:
Once fully dry, place sheets between clean paper towels or parchment.
Sandwich them under a stack of heavy books or boards for several hours or overnight.
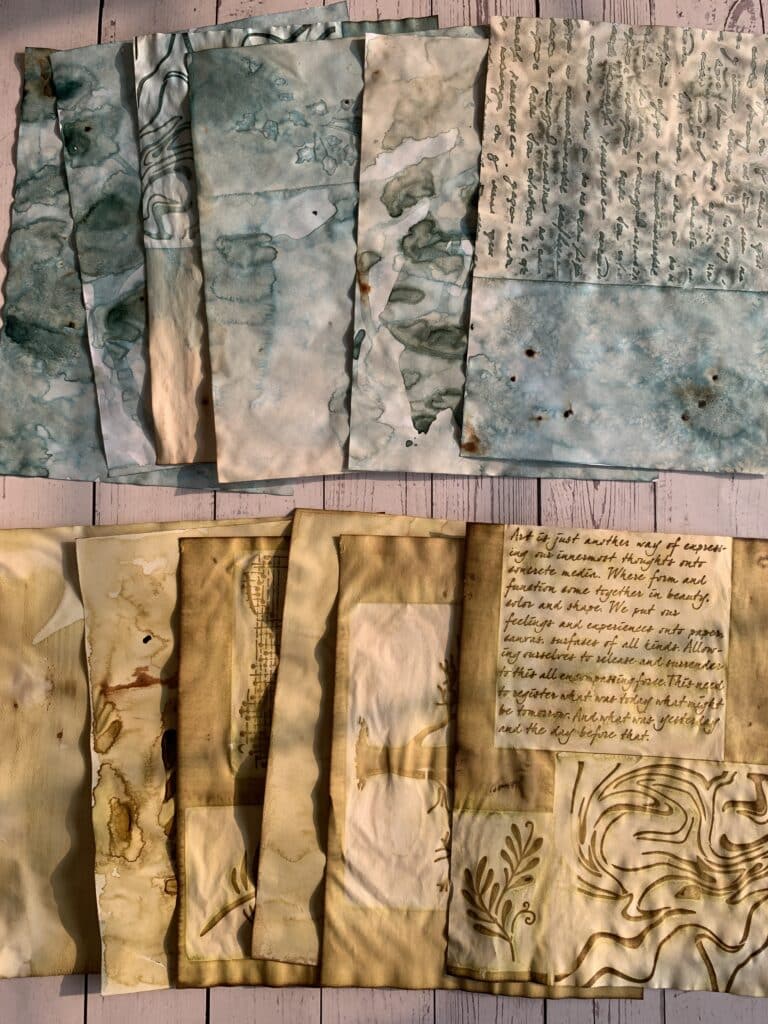
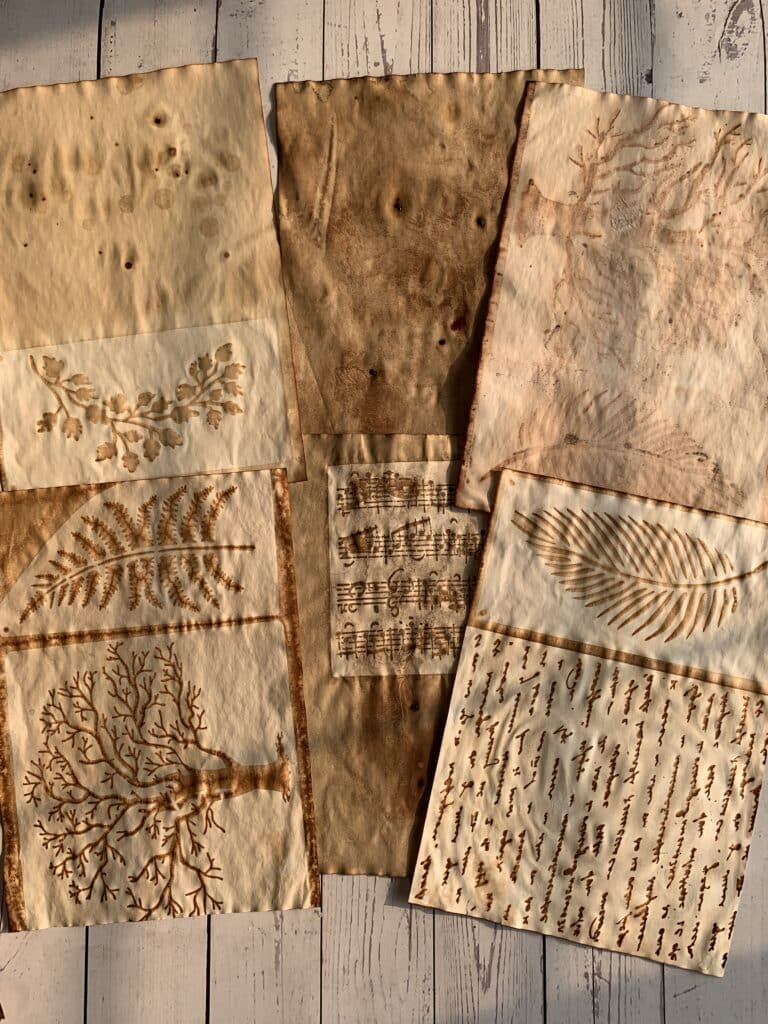
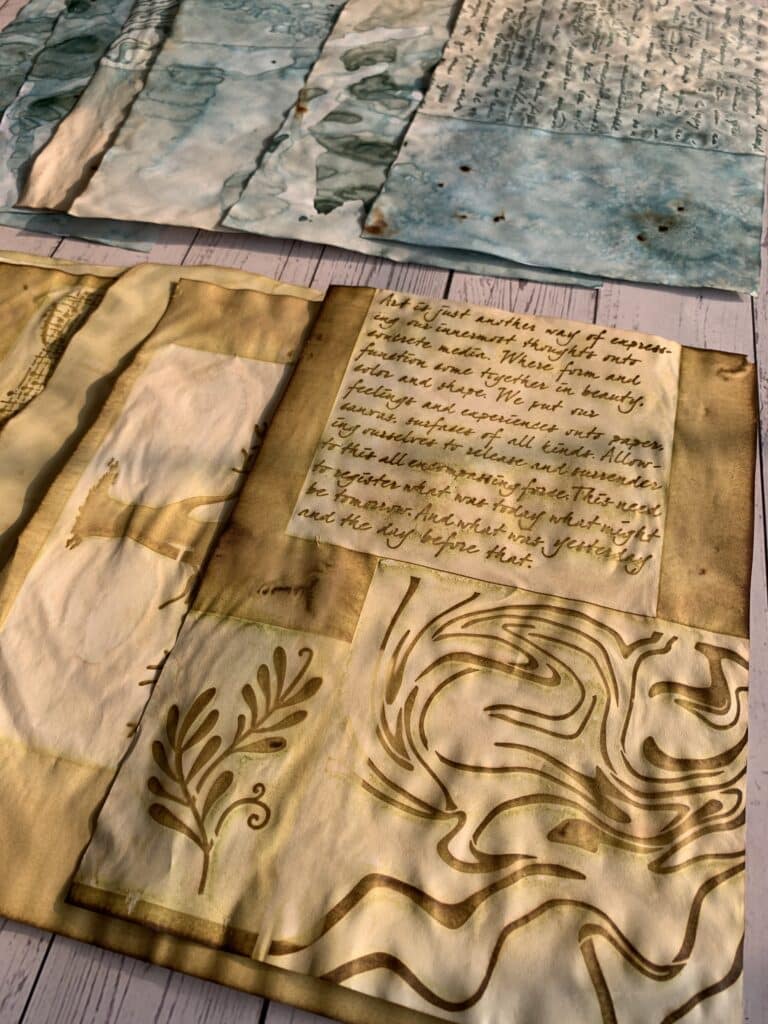
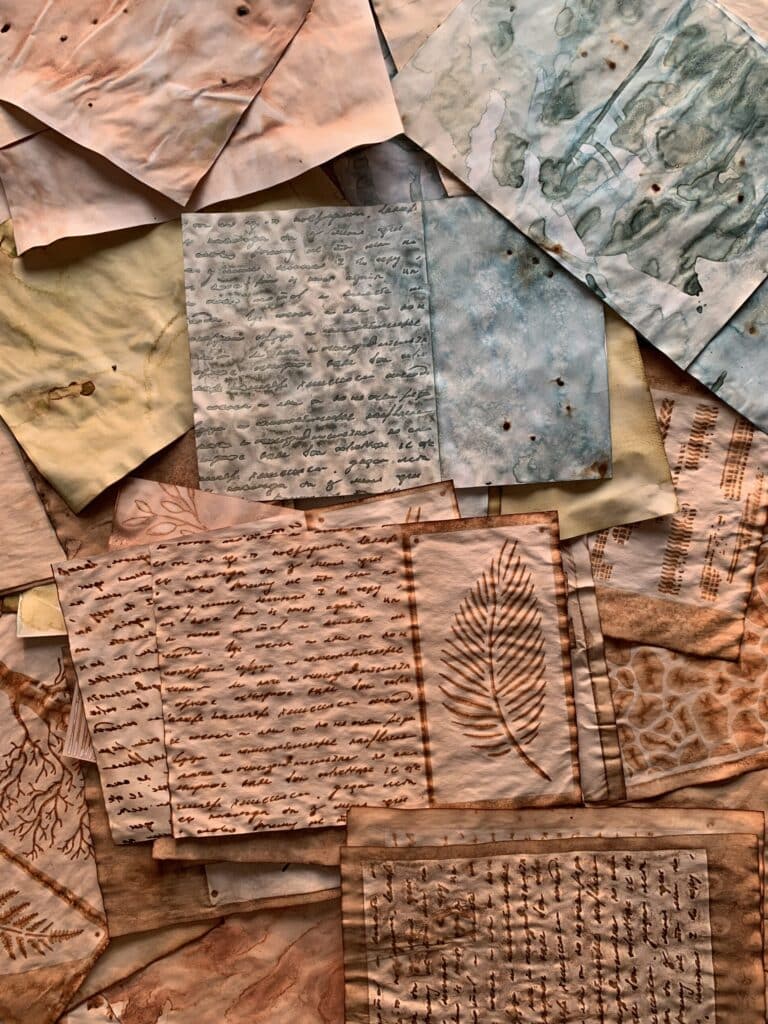
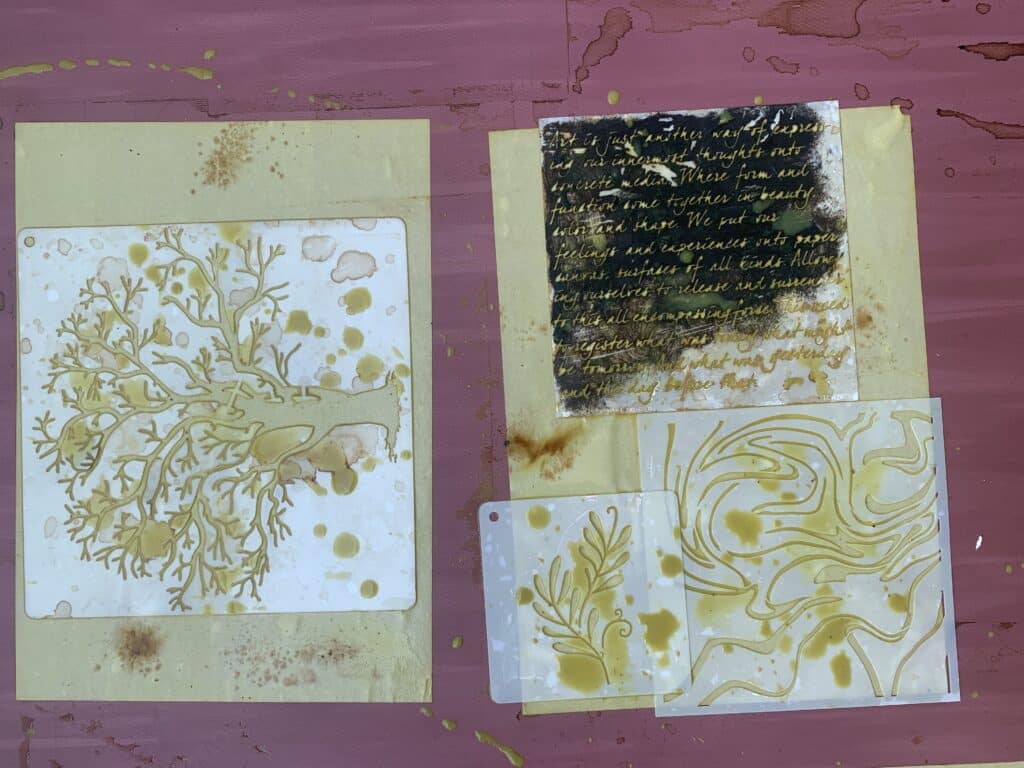
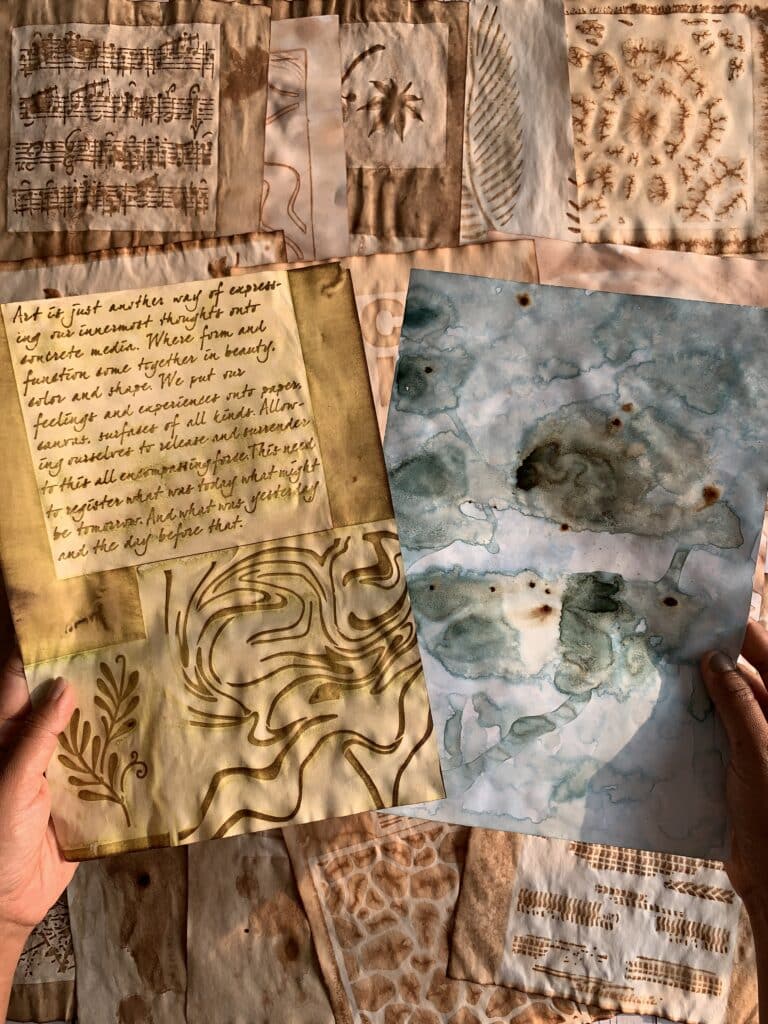
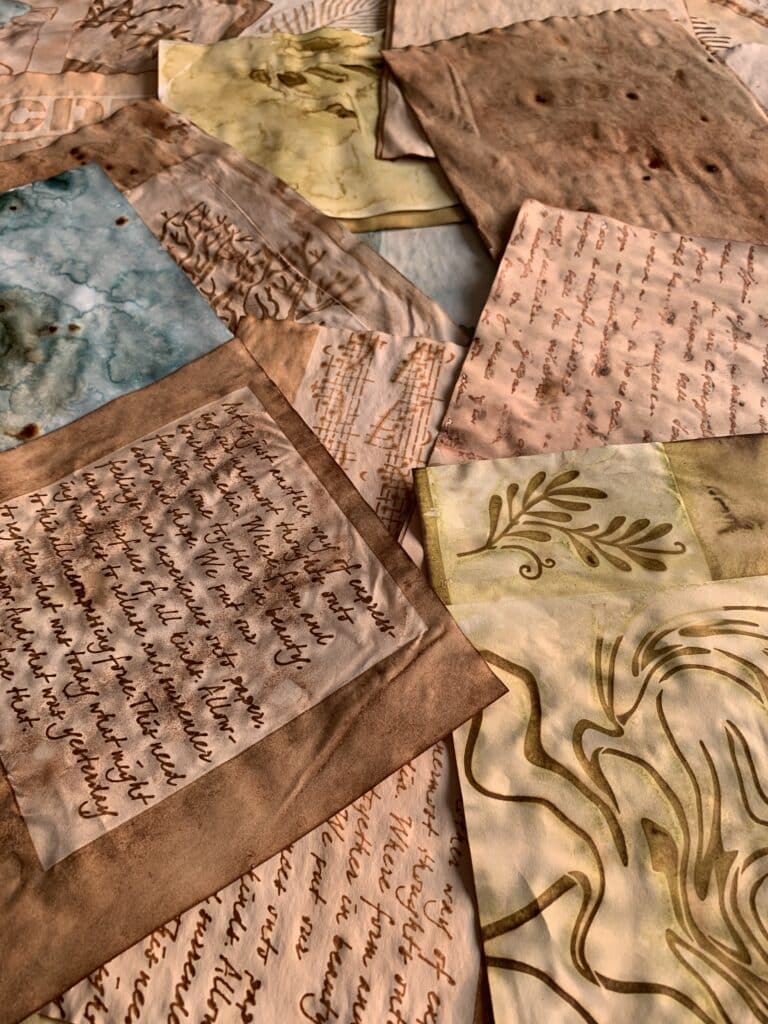
Q6: Can I layer techniques for more complex effects?
A: Absolutely! Try classic coffee dye first, then add a batch of colored coffee for subtle overlays. You can also stencil over a colored ground with plain coffee, or vice versa. The more layers you build, the richer and more nuanced your papers become.
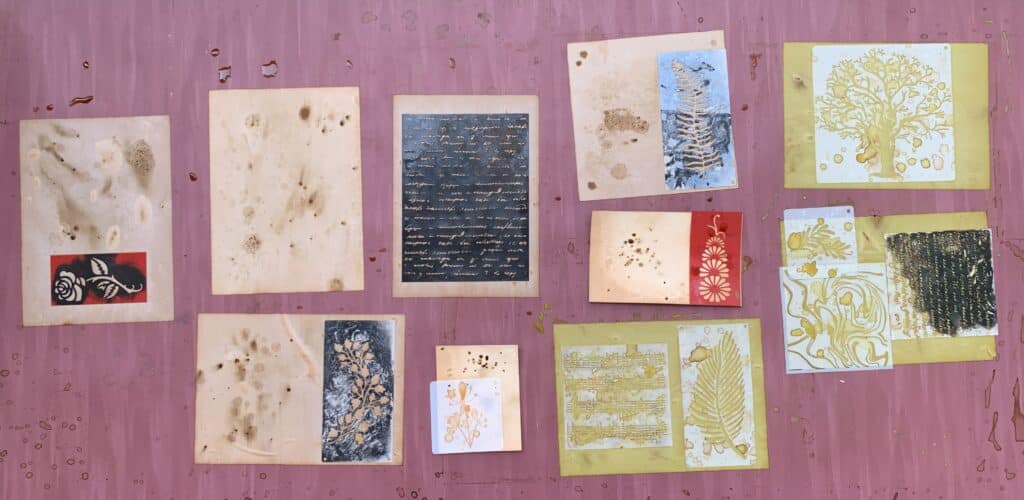
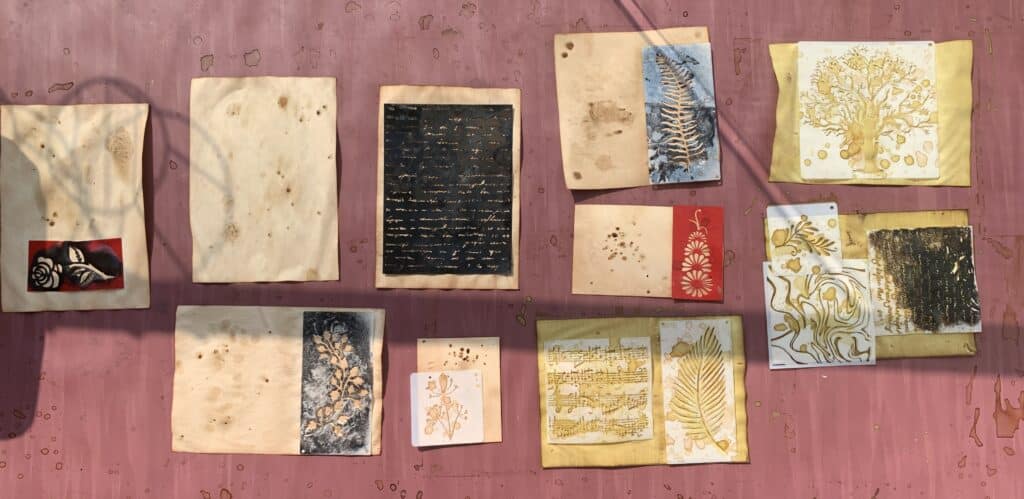
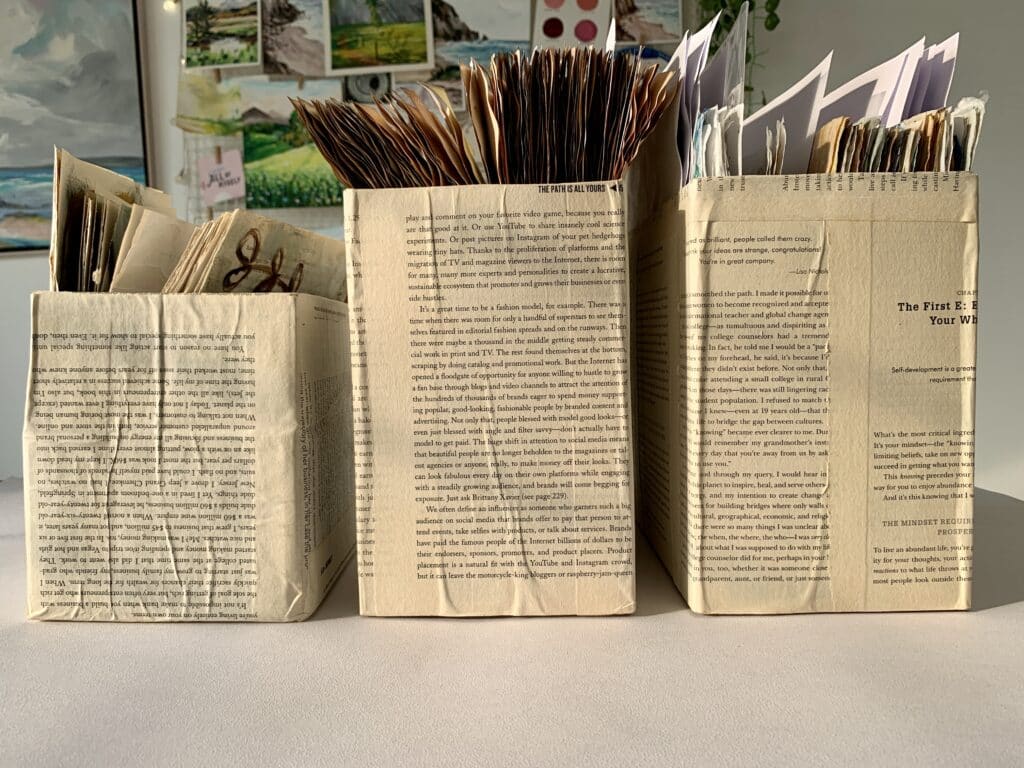
Q7: How should I store my dyed collage papers?
A: Keep them flat in a drawer or portfolio folder, separated by protective sheets (parchment or glassine) to prevent sticking or transfer. If you’ve created different color batches, label each section so you can quickly find the hue you need.
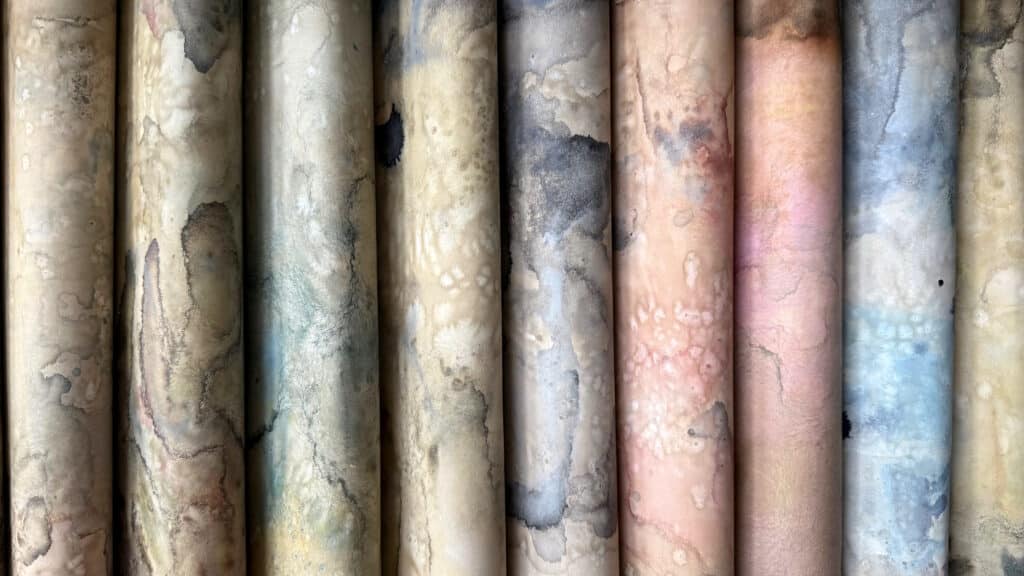
Q8: Can I use other additives besides acrylic paint?
A: Yes! While acrylic pigments offer predictable, vibrant tints, you can also experiment with powdered pigments, watercolor drops, or even a splash of food coloring. Just be sure whatever you add is water‑soluble and won’t damage your paper.


Now store all the papers in a storage box. I created this box by gluing old book pages and then I use a seperator to distinguish between the different types of papers, for easy use.
If you wana know how I created these boxes, check out this blog.


It doesn’t say what type of paper your using for this is it regular copy paper? Tysvm in advance 😊
Yes, Mostly it’s regular copy paper
Thank you so much for sharing! Can’t wait to try this.