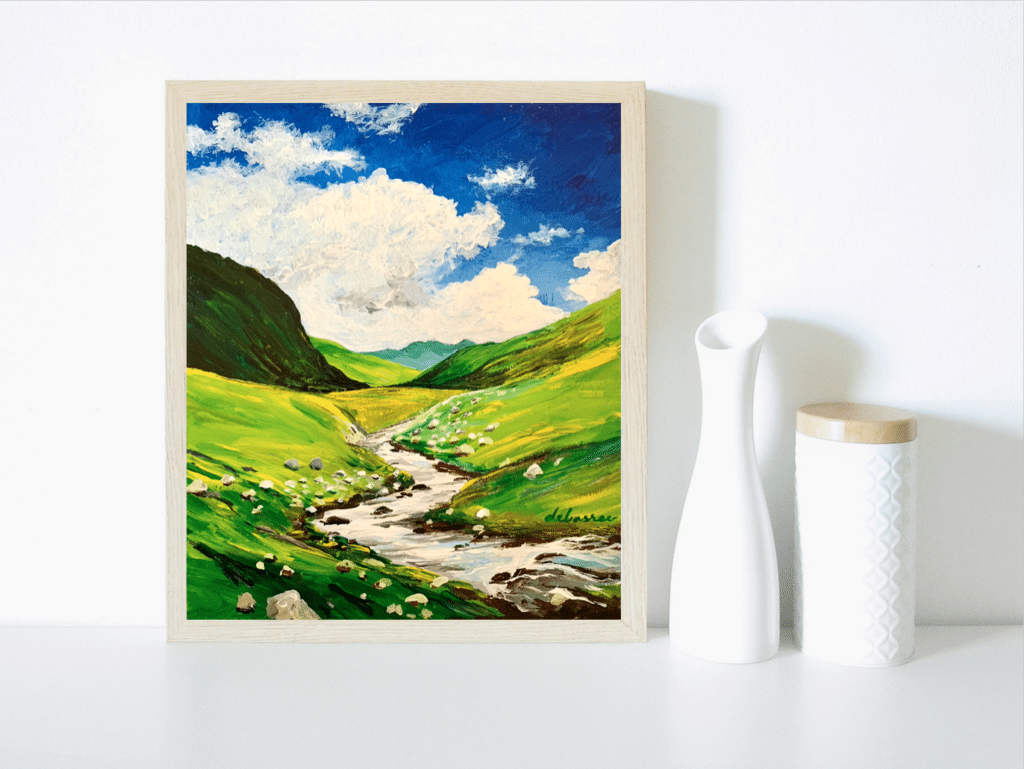
Acrylic painting is a fantastic way to capture the beauty of nature, and today, we’re diving into a step-by-step acrylic landscape painting tutorial to create a breathtaking mountain stream scene. Whether you’re a beginner or an experienced artist, this guide will help you understand the techniques needed to bring this scene to life.
This tutorial avoids the usual “prepare the canvas” step and goes straight into the painting process!
Let’s get started.
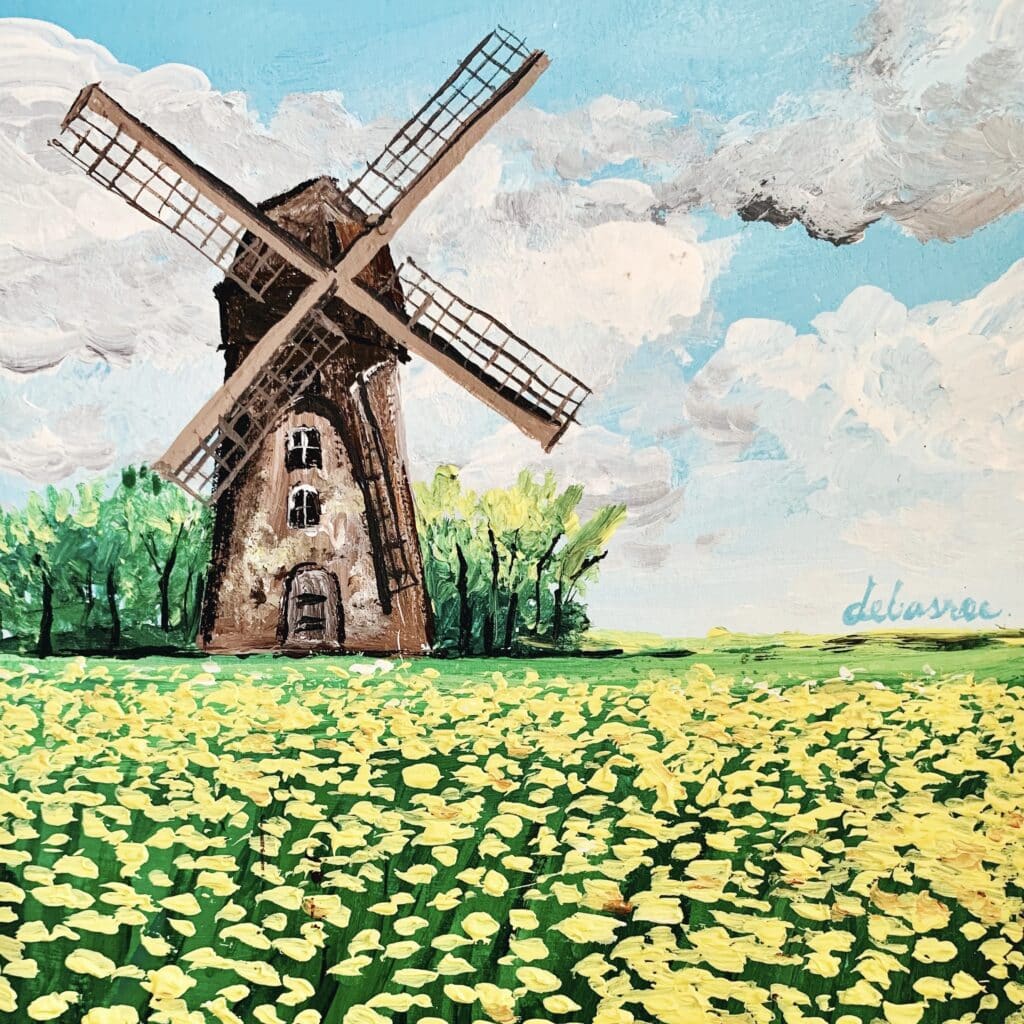
If you want to learn more about clouds, check out my 15 Days of Summer Sky Masterclass.
15 Days of Summer Sky
Transform Your Canvas into Breathtaking Summer Landscapes
Love this class. It is so well explained with simple and easy steps to follow. After the first couple of painting I could see an improvement in my clouds. I followed Debasree’s instructions using gouache and love the outcome. This is a fantastic class. Loved every minute of it. – Breda Hughes
Materials You'll Need 🖌️
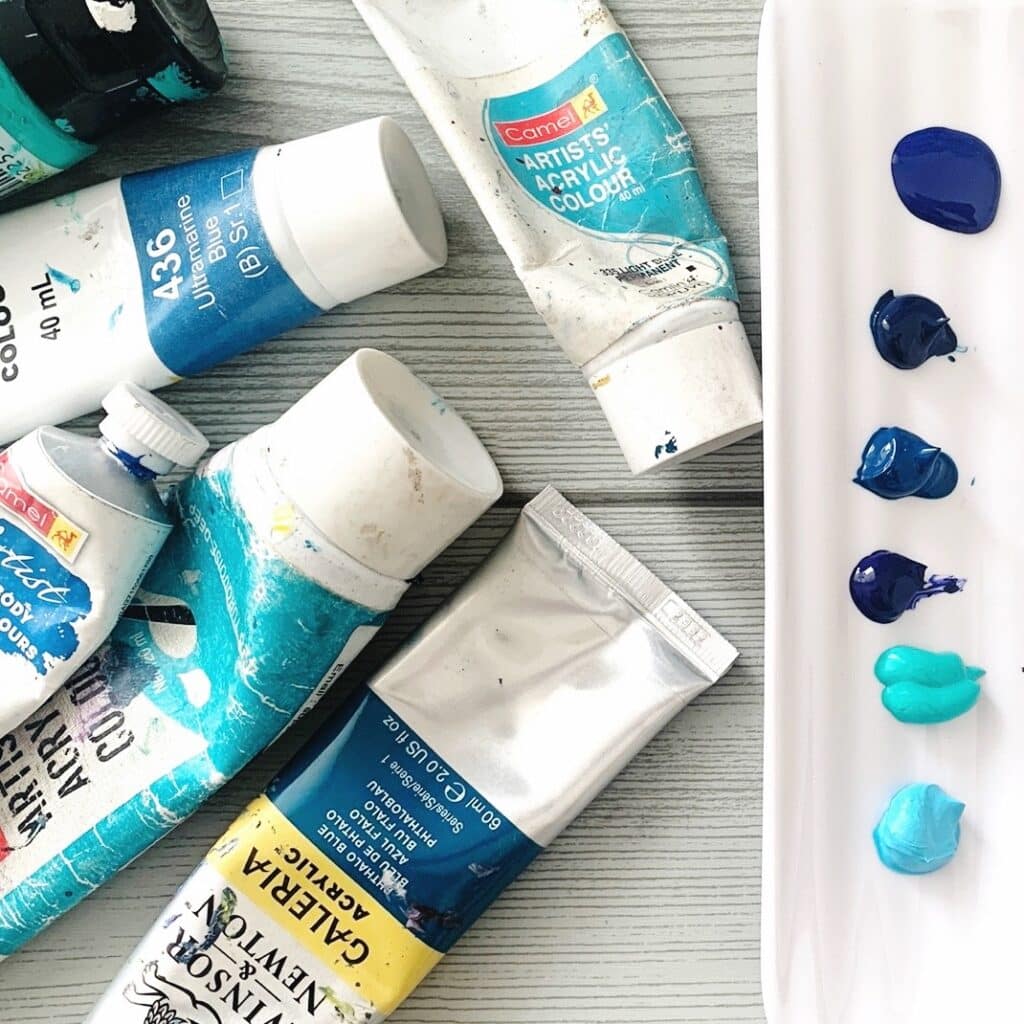
Acrylic Paints (Suggested colors):
- Titanium White
- Ultramarine Blue
- Phthalo Blue
- Burnt Umber
- Sap Green
- Lemon Yellow
- Black
- Raw Sienna
- Hooker’s Green
Brushes:
- Flat brush (for background washes)
- Round brush (for details)
- Fan brush (for textures)
- Palette knife (optional, for extra texture)
Palette & Water Cup
Paper Towel or Rag
Canvas or Acrylic Paper (8×10 or larger)
Love creating beautiful landscapes?
Explore more step-by-step painting tutorials to refine your skills & experiment with new techniques! From vibrant sunsets to misty mountains, there’s always something new to learn.
Pin for later

Painting Steps:
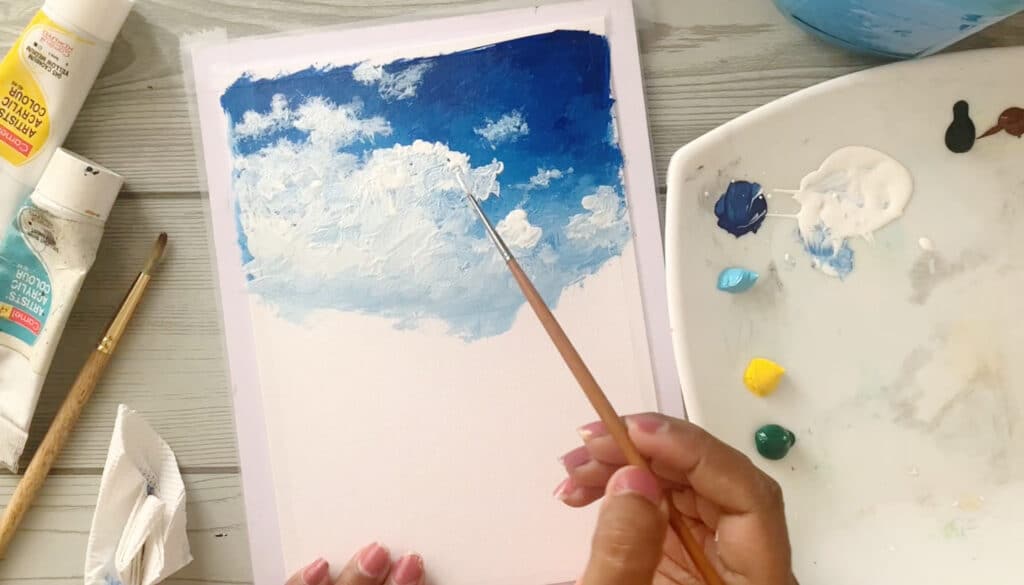
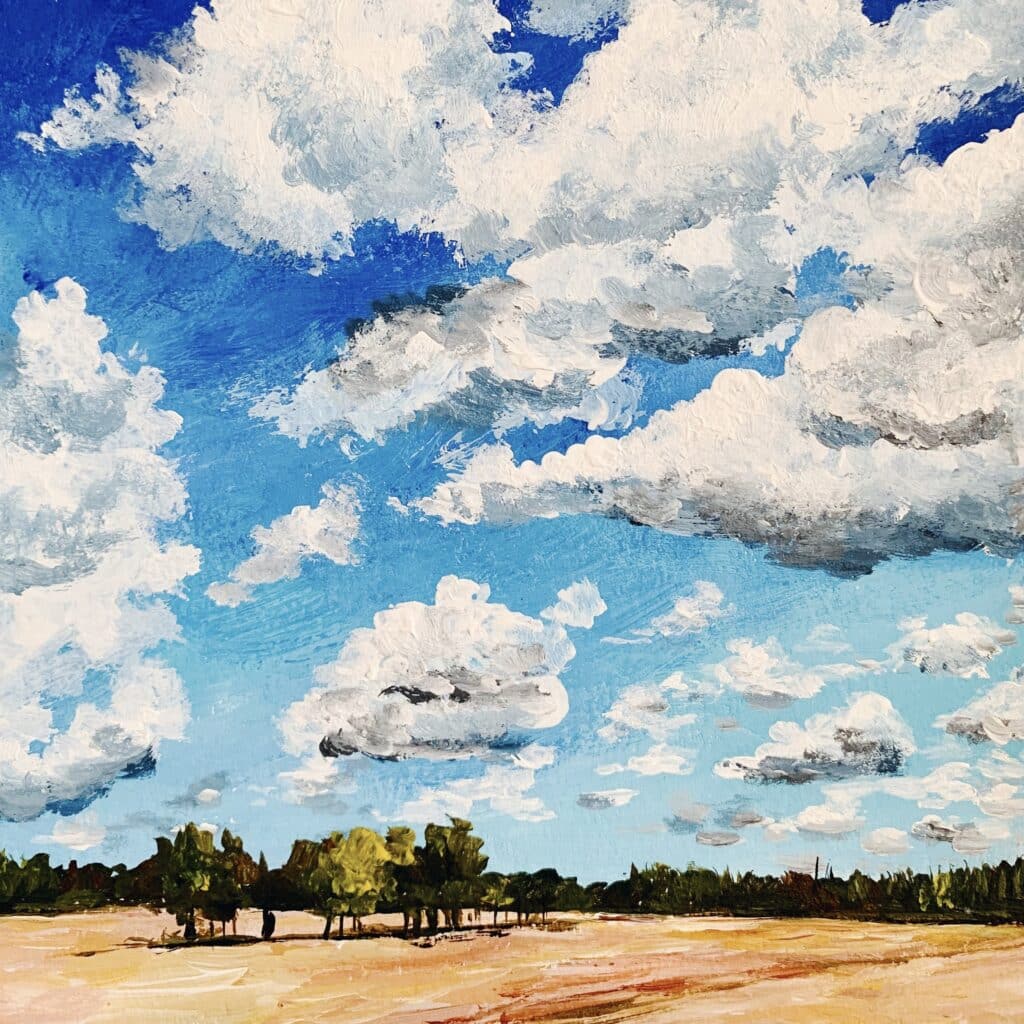
Step 1: Painting the Sky and Clouds
Start with the sky, as it sets the mood of the landscape.
- Base Layer – Mix Ultramarine Blue with a touch of Titanium White to create a rich sky blue. Apply it using broad horizontal strokes, making it lighter toward the horizon.
- Clouds – Use a round brush and apply thick Titanium White in circular motions. Add a touch of gray (White + Burnt Umber) for shadows within the clouds.
- Blending – Soften the edges of the clouds with a dry brush or sponge for a natural look.
Step 2: Blocking in the Distant Mountains
Now, let’s establish the background mountains:
- Mix Phthalo Blue + White to create a misty blue for the distant hills.
- Use a flat brush to paint soft, rolling shapes, keeping the color lighter near the horizon for atmospheric perspective.
- As you move closer, darken the mountains by adding a hint of Burnt Umber and Hooker’s Green.
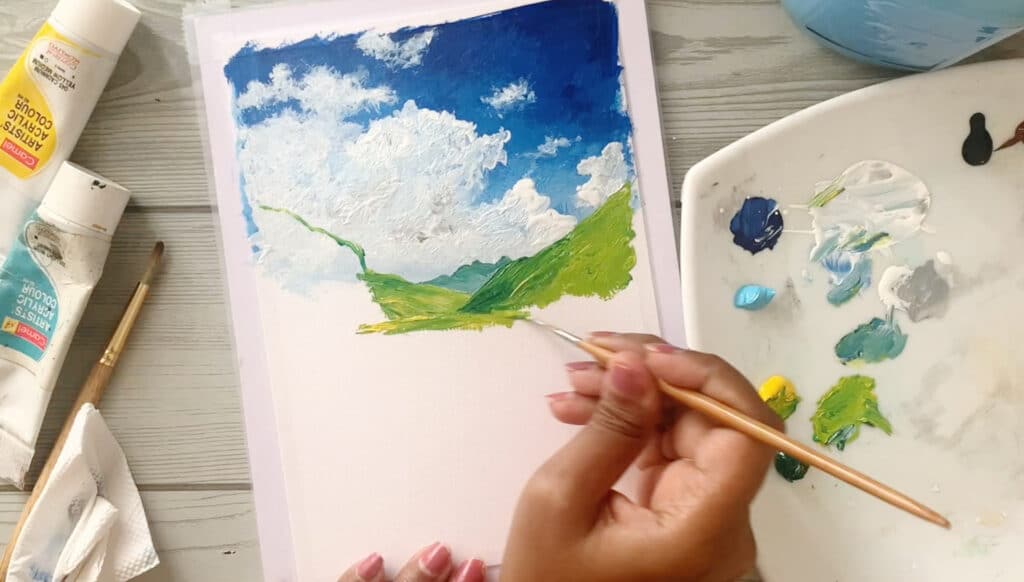
Step 3: Painting the Middle Ground Hills
This step brings in vibrant greenery:
- Mix Sap Green + Lemon Yellow for a fresh, sunlit effect.
- Use a flat brush to layer the green hills, following the slope direction.
- Add Raw Sienna + White in some areas for sunlit highlights.
- Use a fan brush to create grassy textures by gently tapping it onto the canvas.
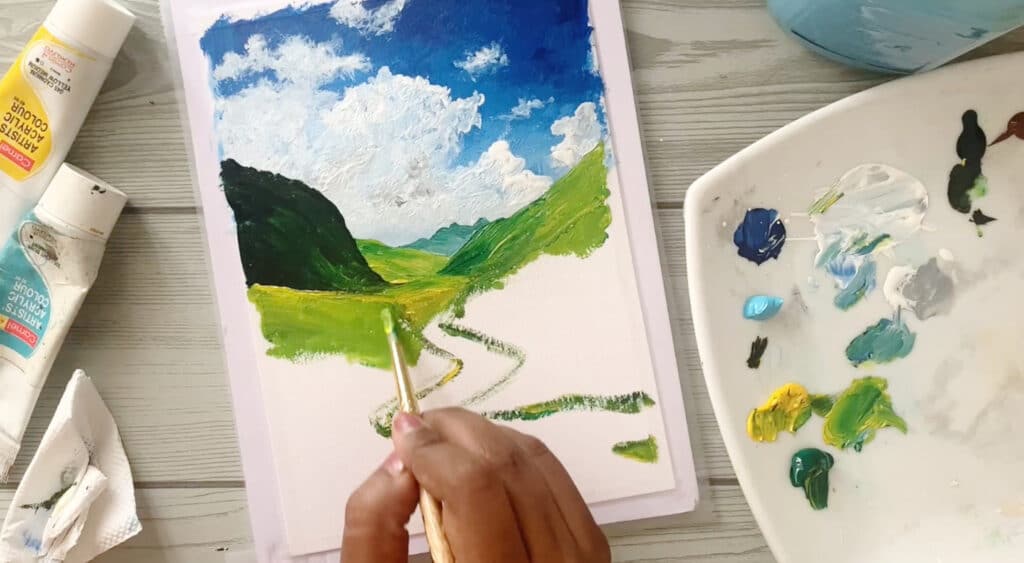
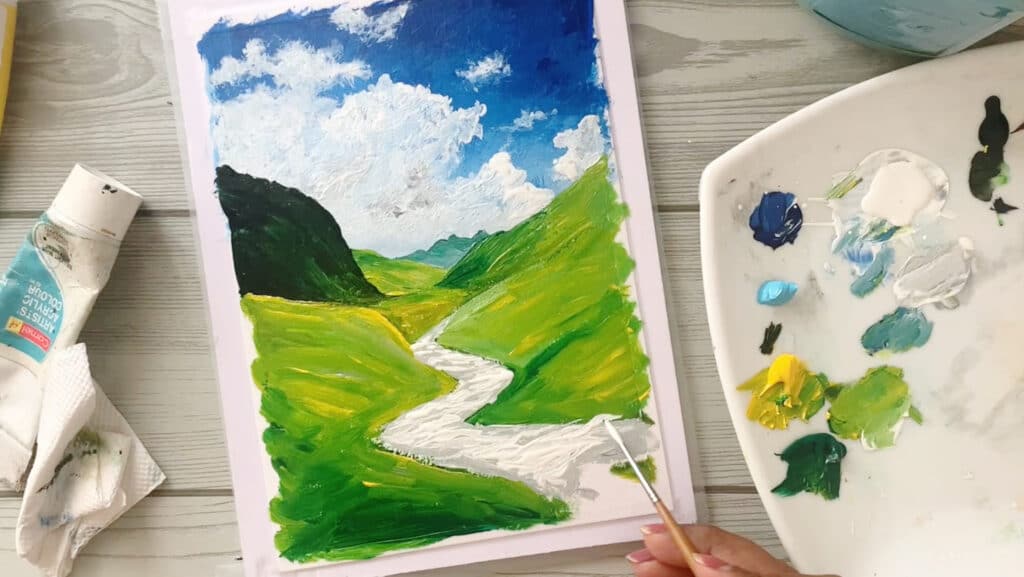
Step 4: Adding the Stream and Rocks
The flowing water is the focal point of this painting.
- Base Color – Mix Titanium White + a touch of Ultramarine Blue for the stream. Apply with a flat brush in horizontal strokes to create movement.
- Shadow Areas – Use a mix of Burnt Umber + Black to create rock formations along the banks.
- Details – Add small white highlights on the water’s edges for reflections.
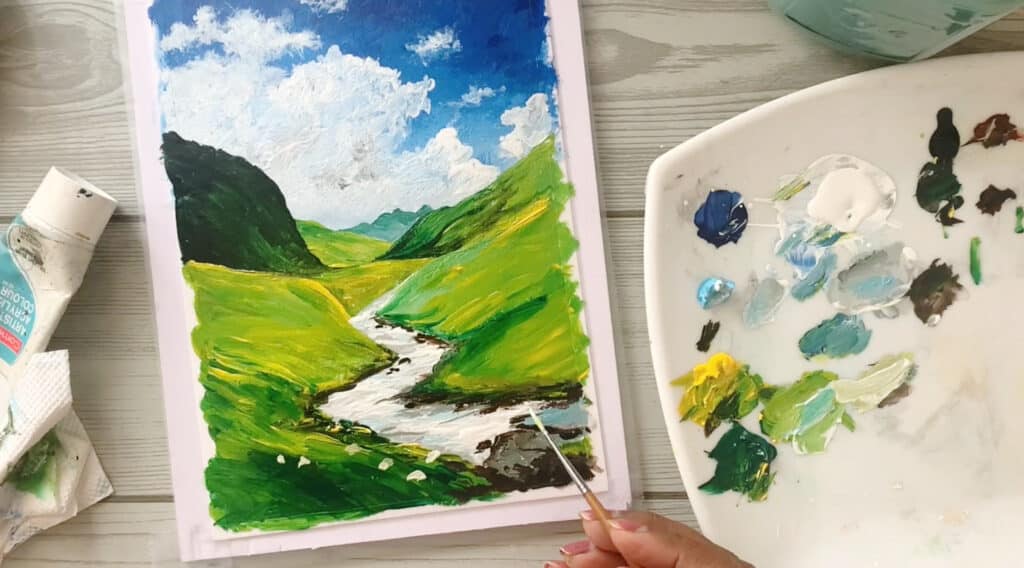
Step 5: Foreground Details – Adding Depth
Now, let’s bring the painting to life by adding depth and texture:
- Darken the foreground greens by mixing Hooker’s Green + Black for shadows.
- Use a palette knife to create rough textures on rocks with White + Burnt Umber.
- Highlight Details – Add small bright white dots on rocks for light reflection.
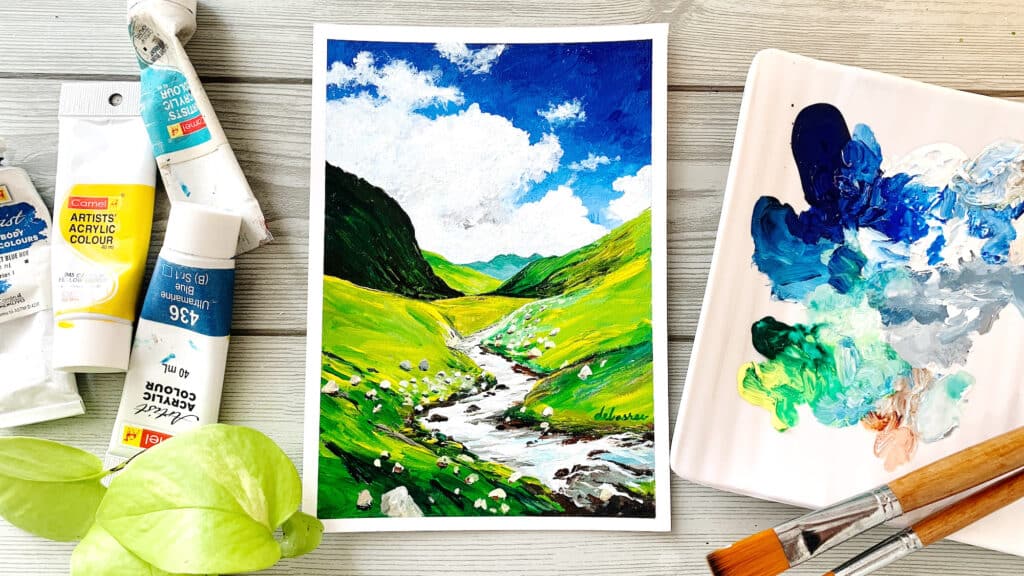
Step 6: Final Highlights and Finishing Touches
- Add bright yellow-green highlights on the grass for vibrancy.
- Use a small round brush to add tiny white reflections on the water.
- Soften the transitions between colors for a more natural, blended look.
Bonus Tips for a Stunning Acrylic Landscape
- Use layering to create depth—distant elements should be lighter and less detailed.
- Work from background to foreground for an organized painting process.
- Dry brushing and fan brushes help create realistic textures in landscapes.
- Don’t overblend—let some brushstrokes remain for a painterly effect.
- Step back and assess your painting from a distance to check balance and contrast.
FAQs 🤔
1. What’s the best way to blend acrylics for a smooth sky?
Use a soft brush and blend colors while they are still wet. Work quickly, and use a light hand to avoid harsh transitions.
2. How do I make my landscape look more three-dimensional?
Use atmospheric perspective—objects in the distance should have lighter, cooler tones, while closer elements should be darker and more detailed.
3. What’s the best brush for painting water?
A flat brush works well for horizontal strokes, while a round brush is great for details and highlights.
4. How do I add movement to my water stream?
Use horizontal white strokes to create ripples and highlights, and blend them softly for a natural flow.
5. Can I use other colors for this painting?
Absolutely! You can modify the color palette based on the mood you want to convey—warmer tones for a sunset effect or cooler tones for a wintery feel.
Final Thoughts:
This Acrylic Landscape Painting Step-by-Step guide breaks down the process into simple steps, making it easy for both beginners and experienced artists to create a beautiful mountain stream scene.
Now, it’s your turn! What part of this painting do you find the most challenging? Let me know in the comments below! 🎨✨
Don’t forget to check out my 15 Days of Summer Sky Masterclass.
What You'll Learn
☁️ MASTER CLOUDS THAT LOOK GOOD ENOUGH TO FLOAT AWAY
🌈 COLOR THEORY MADE SIMPLE (AND MAGICAL)
🌻 15 LANDSCAPES, 15 WAYS TO FALL IN LOVE WITH PAINTING
Pin for later