Looking for easy acrylic autumn pine tree painting?
This easy autumn pine tree tutorial will show you step by step how to paint a gorgeous autumn pine tree acrylic landscape with layers of textures, and its reflection in the lake. It is perfect for beginners who are looking for new ideas to paint!
But before learning how to paint autumn pine trees, you need to understand what are the basic steps for painting a pine tree.
Refer to my 6 step process of creating a snow pine tree.
If you are not painting a snow pine tree, then all you have to do is replace snow white color with orange or yellow to make it look like an autumn pine tree.
video:
Acrylic Autumn Pine Trees For Beginners:
Ok let’s get started with this painting!
Materials Needed:
Colors:
- Prussian Blue (for the sky)
- Pthalo Blue or Turquoise Green (for the lake)
- Black and White ofcourse
- Burnt Sienna
- Yellow Ochre
- Cadmium Yellow
Surface:
- I painted on a 4×5 inches acrylic paper.
- Cut this canson acrylic paper into 6 equal pieces and you’ll get the size I used.
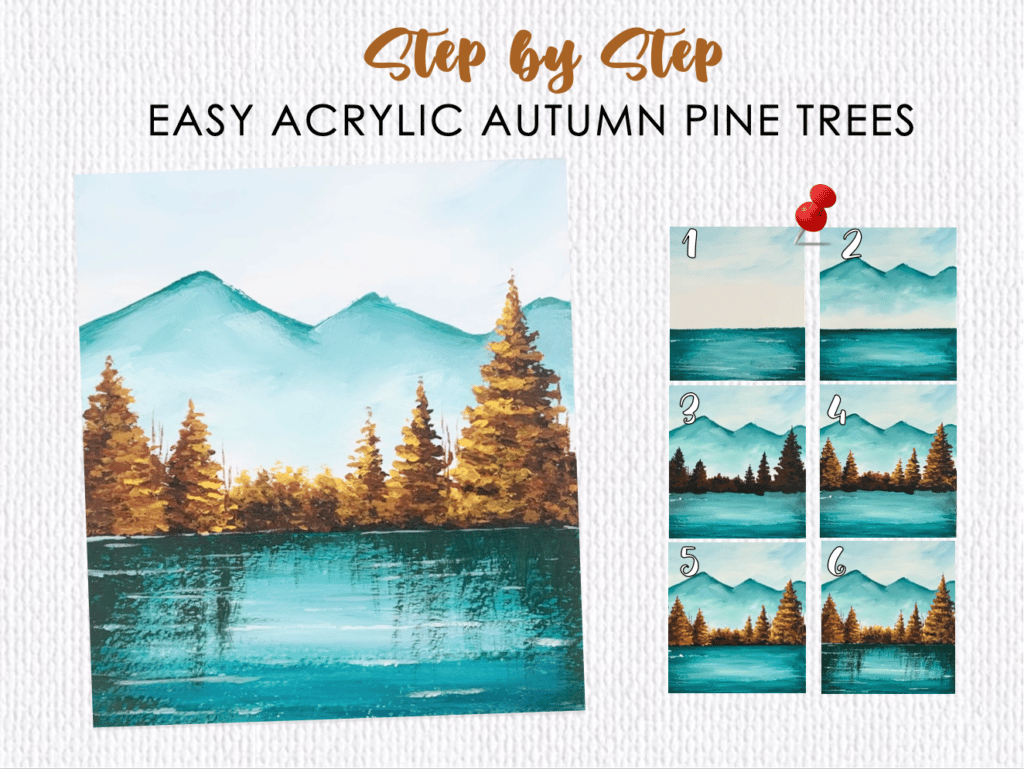
Step 1 - Cover the background

Paint the sky and the lake. For the sky, I mixed a lot of white with a tiny touch of prussian blue. For the lake, I used turquoise blue mixed with black for shading on the sides, and white for highlights in the centre.
Step 2 - Mountains

Outline the mountains and blend it in with the background. I used the same turquoise blue and mixed it with white to blend smoothly towards the horizon, keeping the top dark.
Step 3 - Outline the Pine Trees

Paint the basic structure of the pine trees with different heights, along the lake. I have added a masking take on the horizon line of the lake. Then used black and burnt sienna mixed to paint the pine trees.
Here I followed step 1, 2 & 3 from my snow pine tree tutorial.
Step 4 - Forms & Dimensions of the Pine Trees
Give dimension to the pine trees by adding highlights towards the direction of the light.
I considered the light source in the center, so the trees on the right have highlights on the left and vice versa. I used just burnt sienna for one layer, then mixed with yellow ochre for the next.
Here I followed step 4, 5 & 6 from my snow pine tree tutorial, but with different colors.
Step 5 - More Highlights on Pine Trees

Add more highlight by using lighter shades of yellow. The more layers you use, the better your autumn pine trees will look.
Pro tip: I’ve added atleast 4-5 layers here by lightening the shades from yellow ochre to cadmium yellow to mixing it with white to lighten it even further.
Step 6 - Water Reflections

Paint the shadow of the pine trees on the lake, by adding vertical strokes corresponding to the length of the trees.
Add white horizontal lines on top of the shadow, to create the water lines.
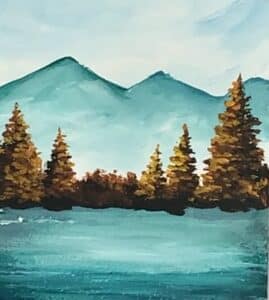
And that’s it… just by following these 6 steps, you can now created your very own autumn pine tree landscape painting.
Let me know how it turned out for you by commenting below.
If you liked this tutorial of autumn pine trees landscape painting, please pin the below images on Pinterest !


