Are you ready to capture the serene beauty of fall with an easy autumn tree landscape?
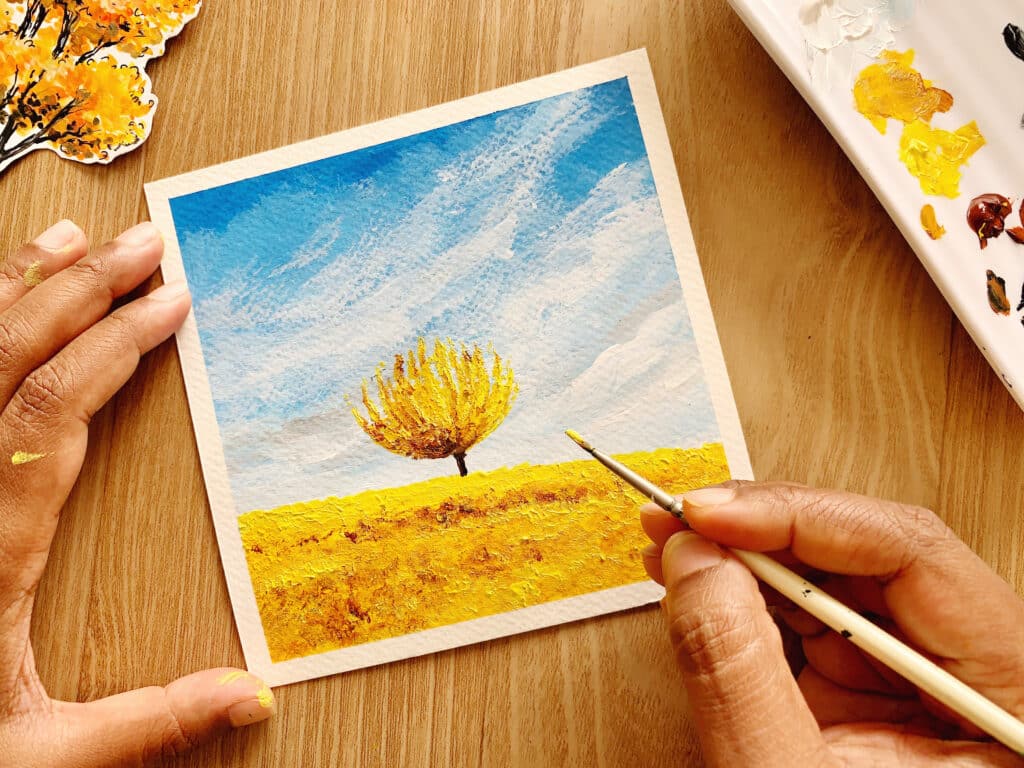
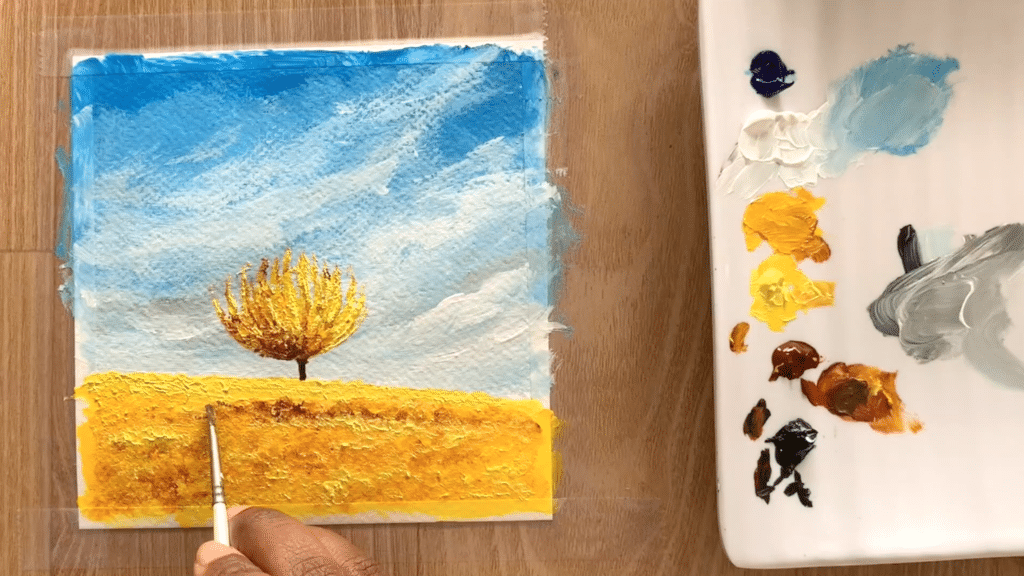
In this step-by-step guide, we’ll walk through painting a vibrant autumn scene with a clear blue sky, a golden-brown field, and a yellow fall tree standing tall in the center.
This easy autumn tree landscape captures the essence of the season—the calm skies, the warmth of the earth, and the bold colors of fall. Whether you’re a beginner or a seasoned painter, this tutorial is designed to guide you through every step, helping you recreate the beauty of fall with ease.
So grab your brushes, palette knives, and let’s start creating a beautiful fall landscape.
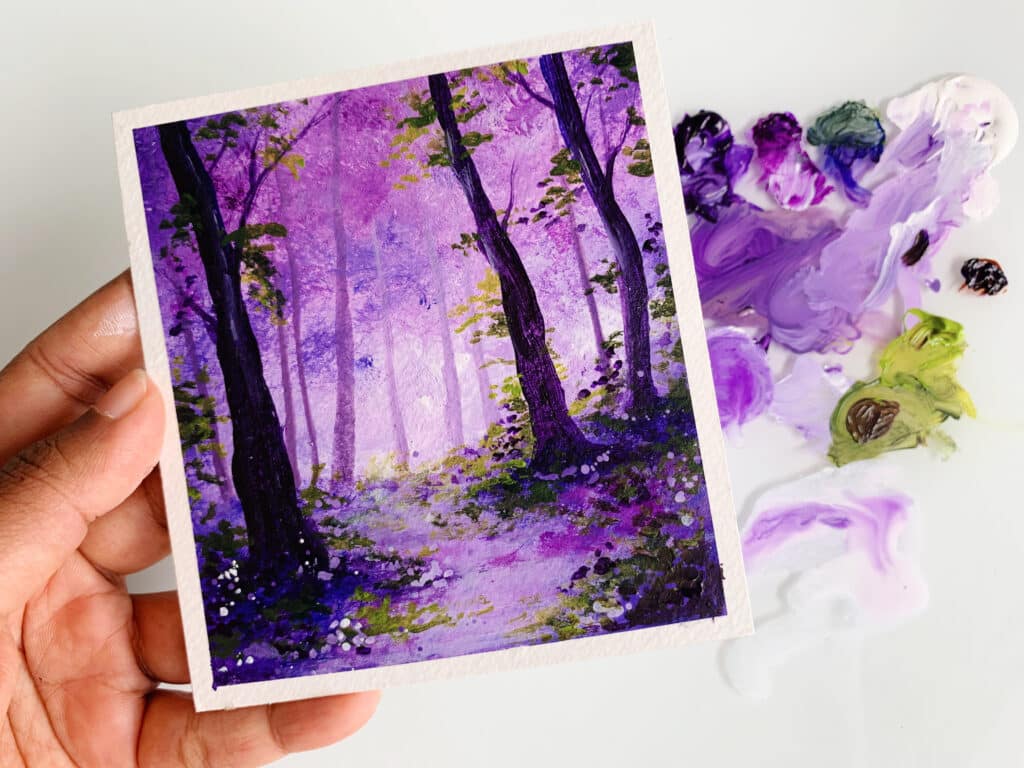
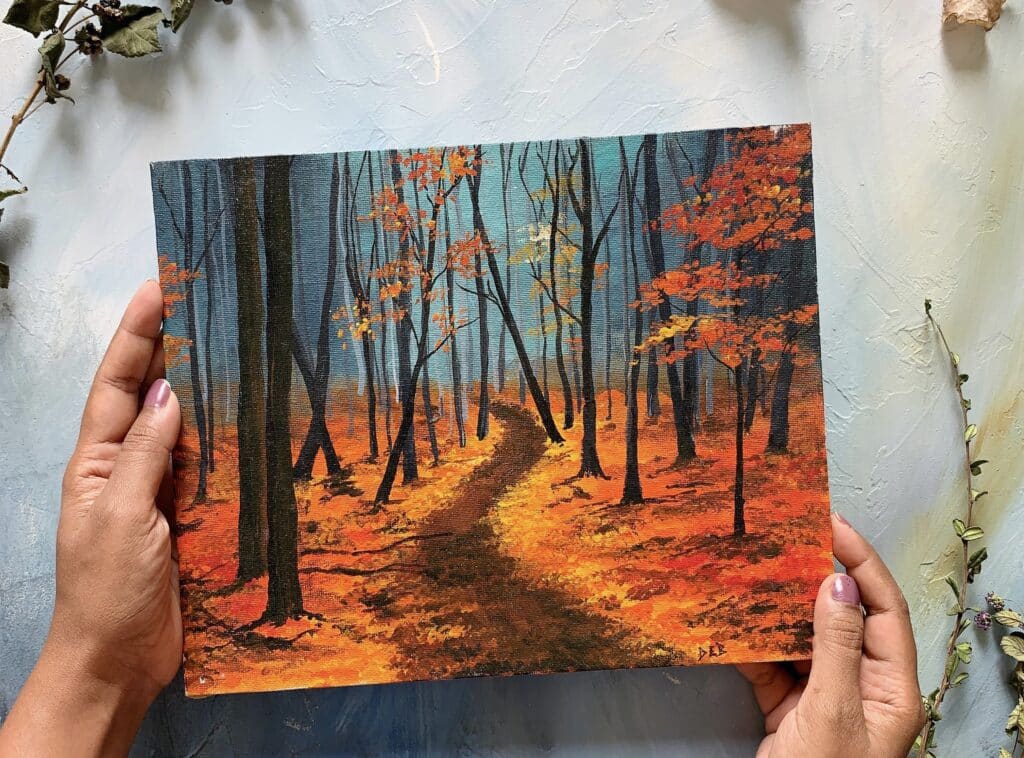
If you love autumn paintings, check out Fall Foliages.
Fall Foliages: Mastering Autumn Trees & Landscapes
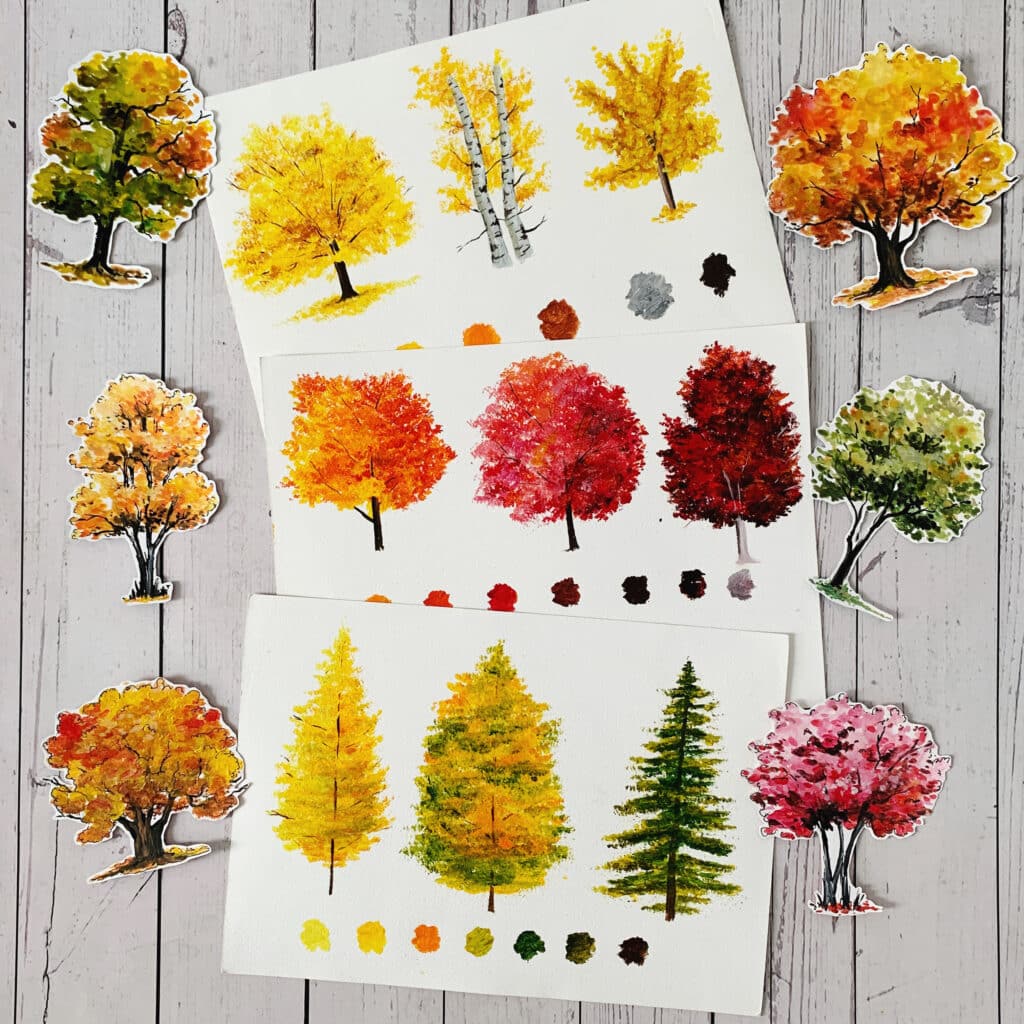

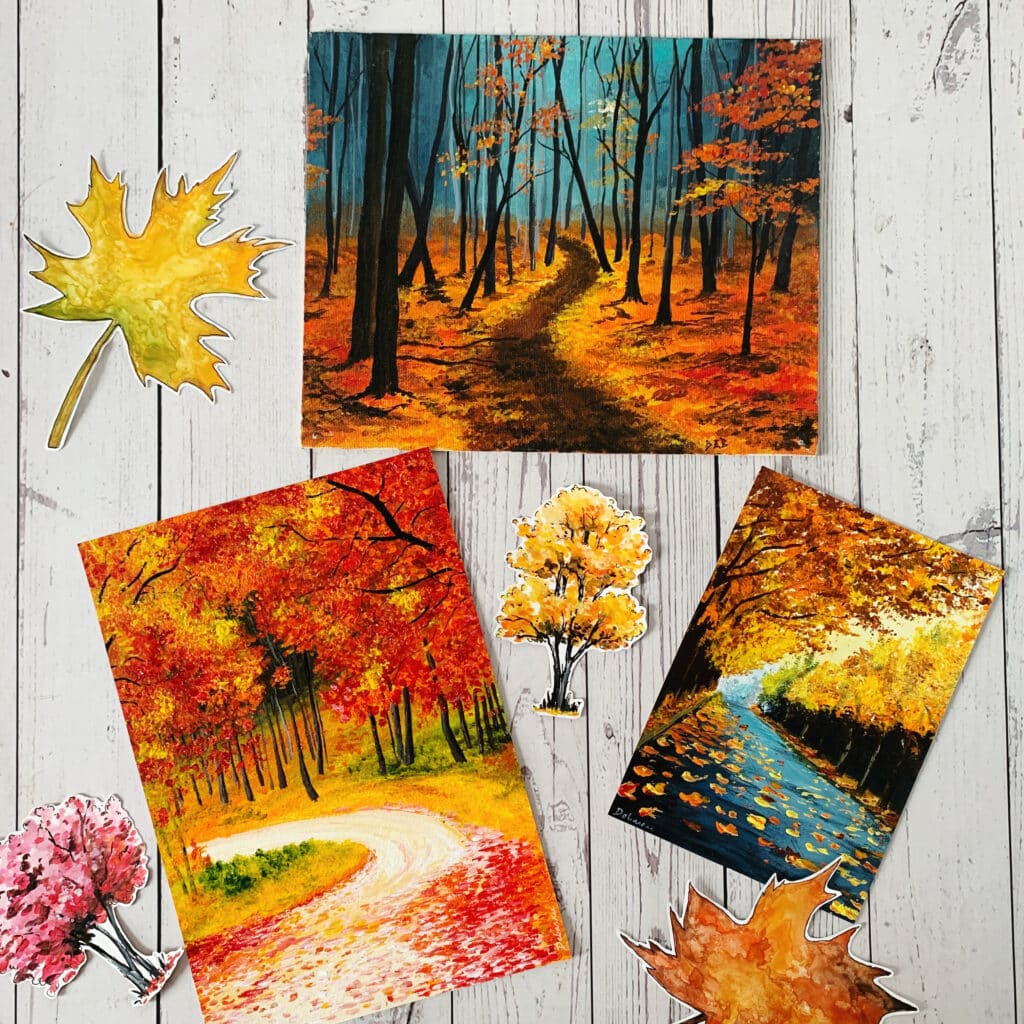
“The autumn road paintings were my favorite part of the class. Learning to use a palette knife for the fallen leaves opened up a whole new world of texture for me!” — Emily S
Pin for later

MATERIALS YOU NEED
Acrylic Colors:
- Phthalo blue
- Burnt Sienna
- Lemon yellow (cool)
- Cadmium yellow (warm)
- White
- Black
Surface:
- I painted on a 6″x6″ watercolor paper.
Acrylic Brushes:
- I used a size 4 flat brush (flat brush set) which is perfect for this canvas size. If you are painting bigger, then switch to a size that is proportionate with your painting surface.
- Size 2 round brush (round brush set)
Get my exact supply list for acrylic paintings, with helpful color mixing tips that you can start implementing right away!
painting steps:
Here’s a quick overview of how to create your easy autumn tree landscape:
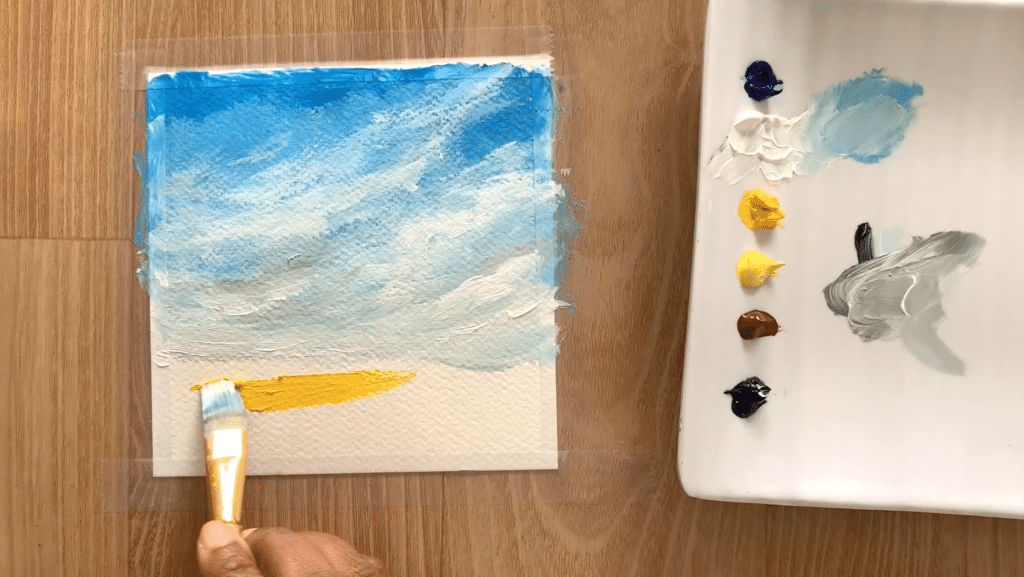
Start with the sky: Begin with a soft wash of clear blue across the top of your canvas. Use lighter shades of blue near the horizon for depth and a gradual transition.
Paint the field: Using a mix of yellow ochre and burnt sienna, create the golden-brown field with broad strokes. Layer the colors to add texture and contrast with the blue sky.
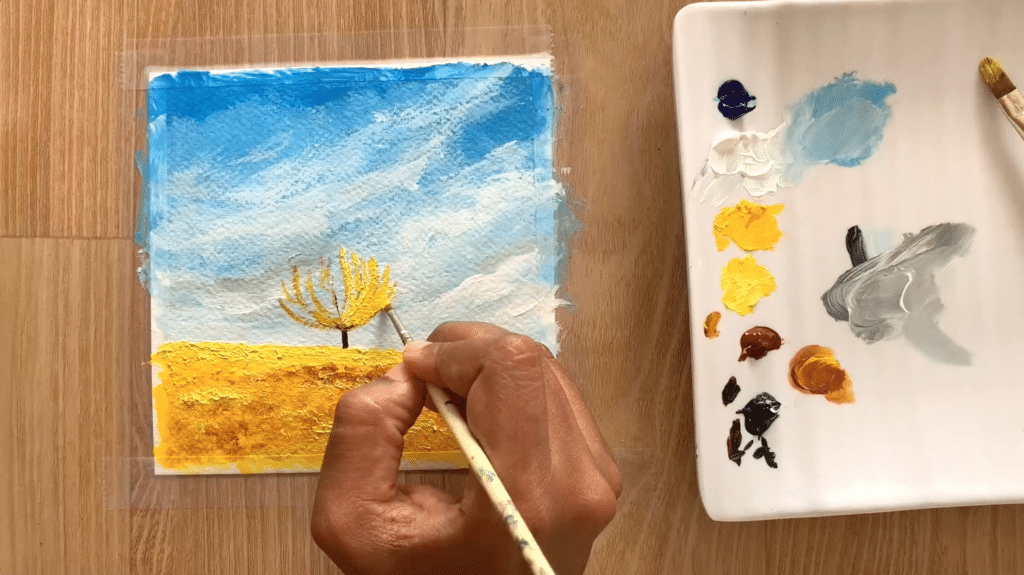
Add the fall tree: Focus on the structure of the tree, starting with the trunk and branches. Use a rich yellowpalette for the foliage, adding highlights to give the tree dimension and make it the focal point of your landscape.
Final touches: Blend the edges where the tree meets the field and add any final details to the sky or ground to enhance the realism of your painting.
Step 1

Step 2

Step 3
Step 4

Step 5

Step 6

Step 7

Step 8
Step 9

Step 10
If you’re enjoying this easy autumn tree landscape tutorial, imagine what you can achieve with even more detailed guidance!
In my Fall Foliages class, I’ll walk you through nine different trees and nine unique autumn landscapes, showing you how to capture the beauty of fall with acrylics.
You’ll learn various techniques to bring fall scenes to life, from bold brushstrokes to detailed knife work. This class will help you develop the confidence to paint stunning autumn landscapes step by step.
Join now and discover how to master your painting skills in no time!
I hope this step-by-step guide inspires you to create your own easy autumn tree landscape.
The process of painting fall scenes invites a deeper connection to the natural beauty of the season.
Every brushstroke, whether it’s the clear blue skyor the vibrant yellow tree, brings you closer to your own unique expression of autumn. If you want to explore more about autumn landscapes and refine your skills, don’t forget to check out my Fall Foliages class, where you can dive into even more inspiring projects.
Happy painting, and let’s bring the colors of fall to life together!
Pin the below image in your Pinterest board for future reference.


