In this tutorial, we will embark on a creative journey through a beautiful purple bluebell forest painting. As a beginner, you might be overwhelmed with the thought of creating intricate landscapes, but fear not! This step-by-step guide is designed to make the process enjoyable and achievable, even if you’re new to painting.
The purple bluebell forest is a whimsical and magical setting, where delicate bluebells carpet the forest floor, casting a dreamy hue. The combination of vibrant purples and soothing blues will transport you to a tranquil realm, allowing you to unleash your imagination and express yourself artistically.
Using acrylic paints, which are known for their versatility and quick drying time, we will create layers of colors to bring this mystical scene to life.
By following along with the simple instructions and techniques, you’ll learn how to blend shades, create depth, and add texture, all while developing your own unique style.
Whether you’re seeking a creative outlet, a way to relax, or simply want to try your hand at painting, this tutorial will provide you with the guidance and encouragement you need.
So grab your brushes, prepare your canvas, and let’s dive into the world of acrylic painting as we embark on this mesmerizing journey through the purple bluebell forest.
MATERIALS YOU NEED
Acrylic Colors:
- Prism Violet (reddish violet)
- Dioxazine purple (bluish purple
- Ultramarine Blue
- Burnt Sienna
- Light Olive Green
- White
Surface:
- I painted on a 4×5 inches acrylic paper.
- Cut this Canson acrylic paper into 6 equal pieces and you’ll get the size I used.
Acrylic Brushes:
- I used a size 4 flat brush (flat brush set) which is perfect for this canvas size. If you are painting bigger, then switch to a size that is proportionate with your painting surface.
- Size 3 round brush (round brush set)
Get my exact supply list for acrylic paintings, with helpful color mixing tips that you can start implementing right away!
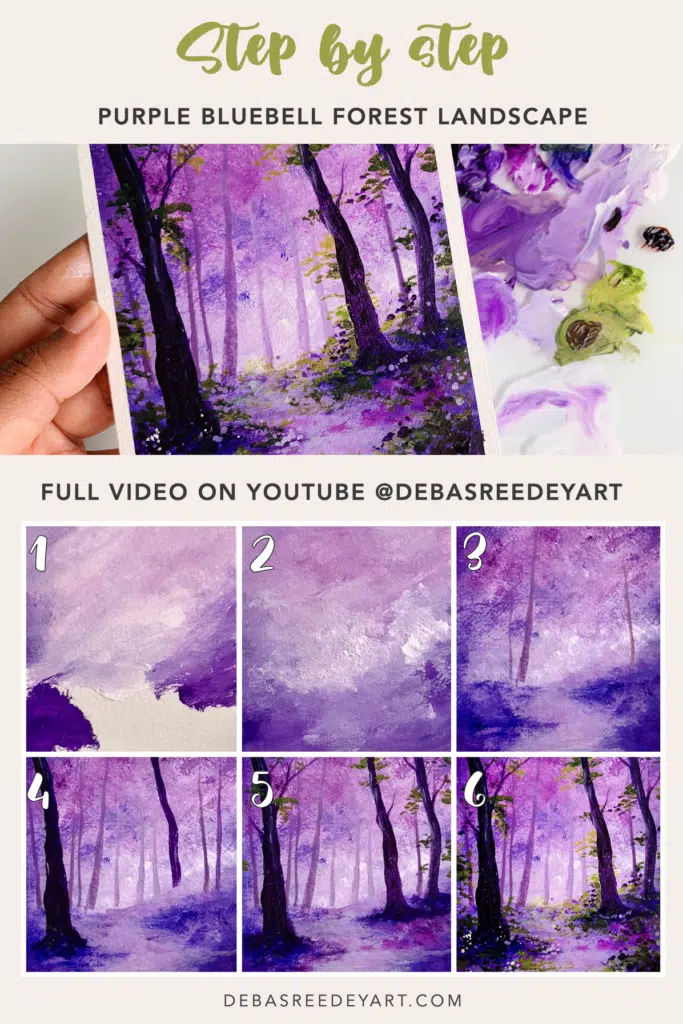
Pin the below image in your Pinterest board for future reference.

painting steps:
1. Start by mixing both the Violets with White
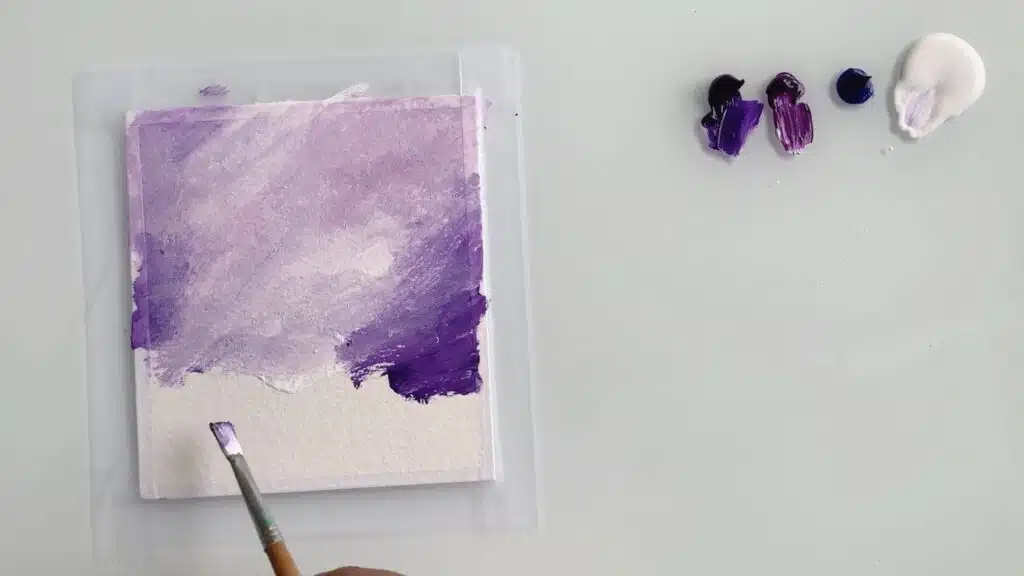
2. Paint the entire background with different values
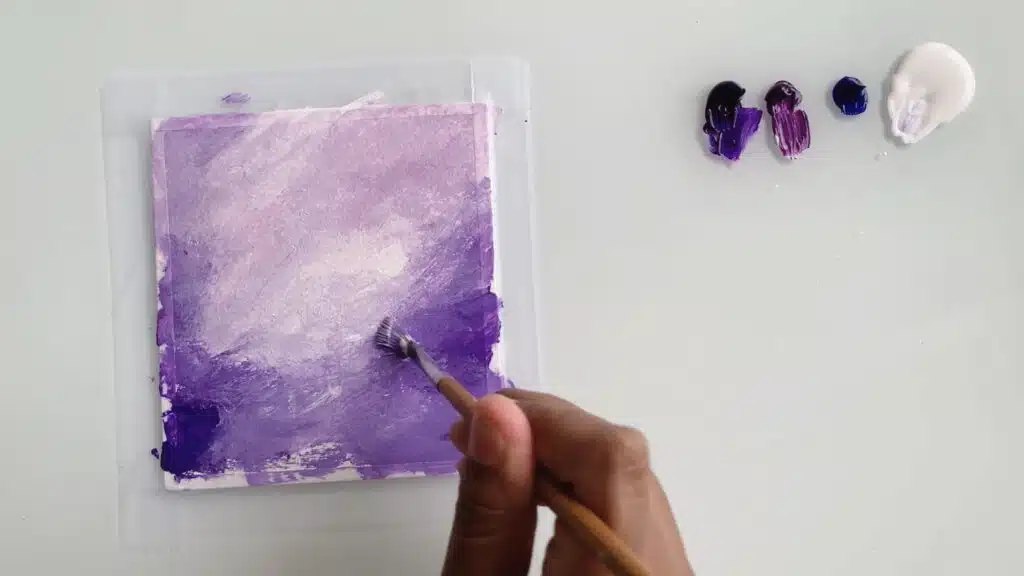
3. Add blue to create the forest land
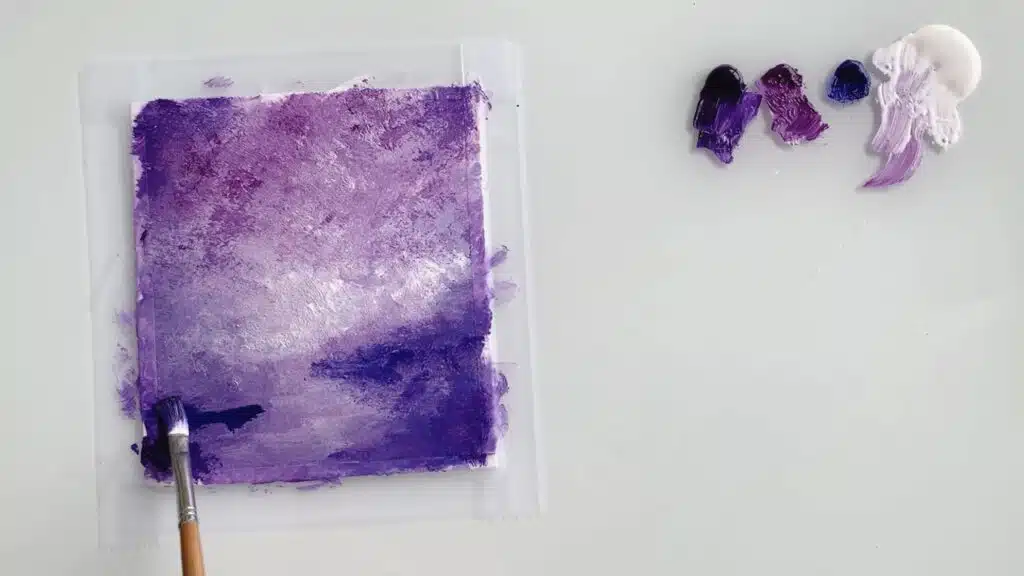
4. create the distant trees with a desaturated purple (by adding Burnt Sienna & white)
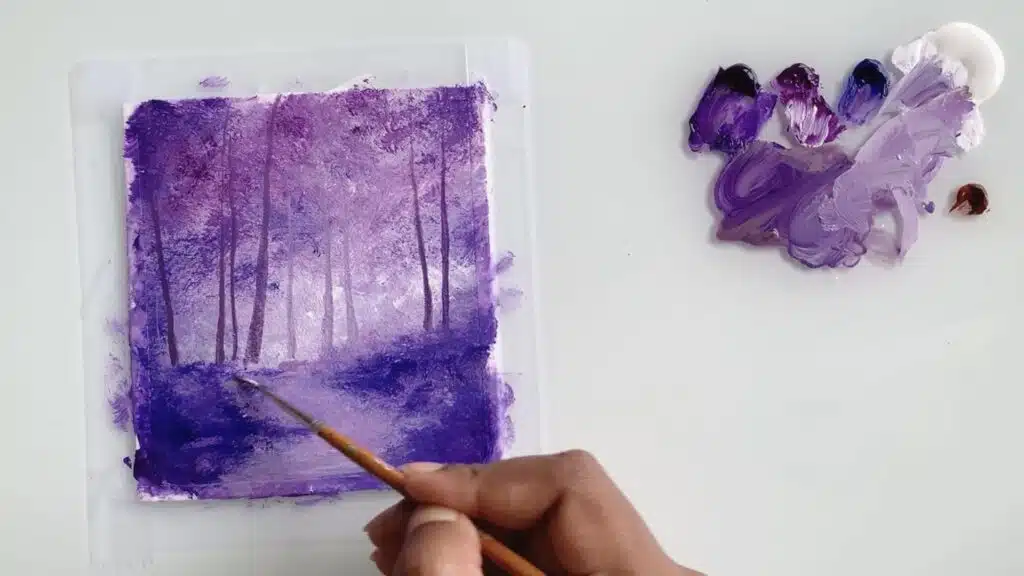
5. Foreground trees & branches with purple + burnt sienna (no black)
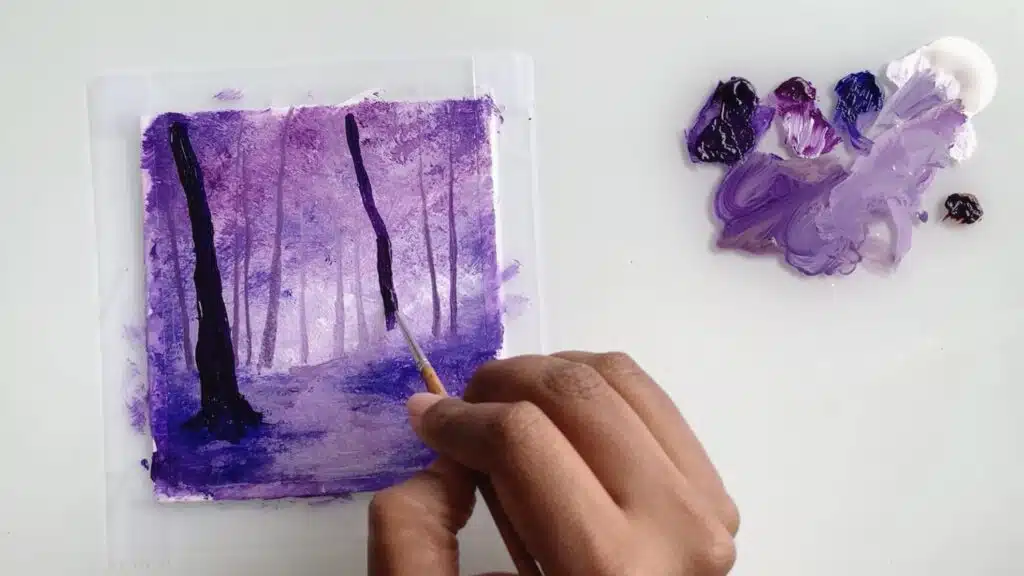
6. some more textures to blend the trees with the forest floor
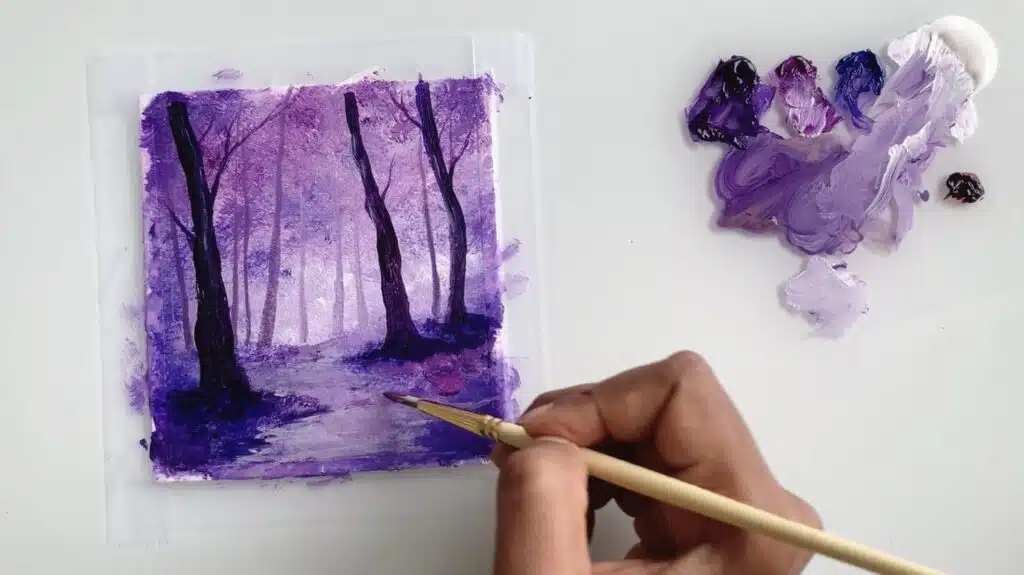
7. add green with different values to create the leaves
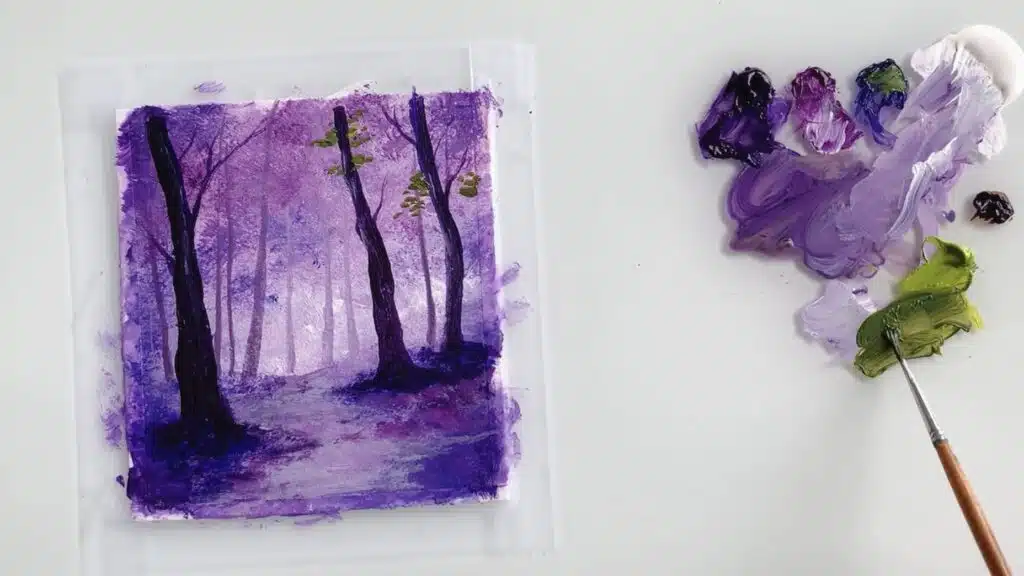
8. Use white + burnt sienna to create the different values
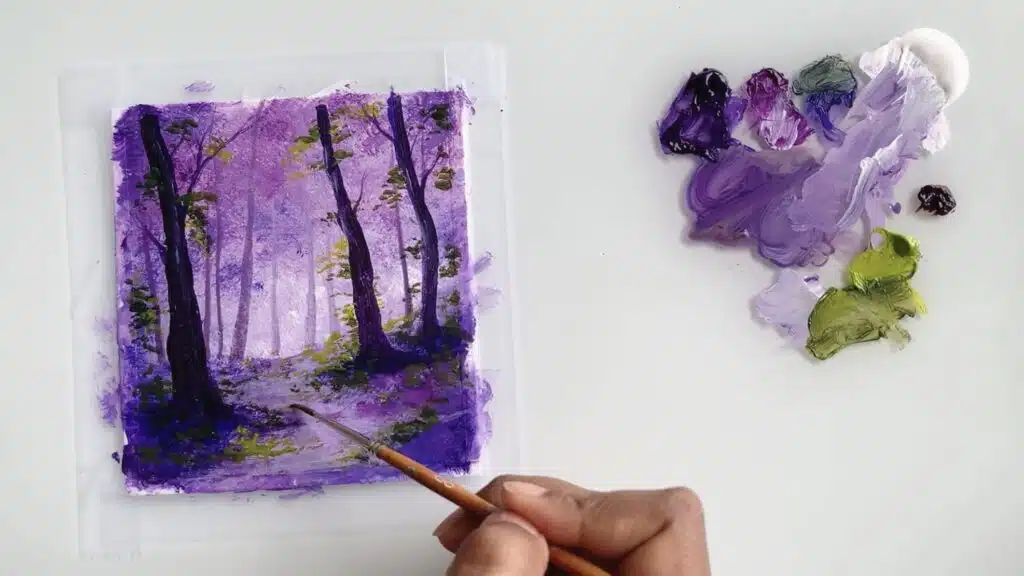
9. White + light purple to create the wildflowers
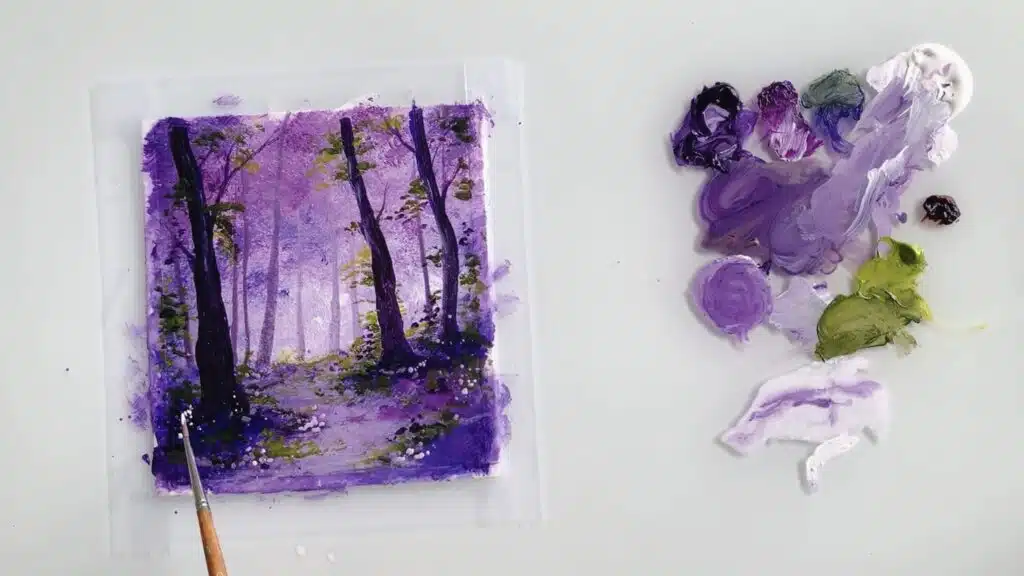
10. Sprinkle some more white flowers

And there you have it, my fellow artists! You’ve successfully completed the journey through the purple bluebell forest. I hope you had as much fun painting as I did guiding you through this tutorial.
Remember, the most important thing is to enjoy the process and embrace your own unique style. Don’t be afraid to experiment, try different color variations, or add your personal touch to make this painting truly yours.
I would love to see how your purple bluebell forest turned out, so please share your masterpieces with me in the comments section below. And if you have any questions or suggestions for future painting tutorials, don’t hesitate to let me know.
Thank you so much for joining me on this artistic adventure. Keep painting, keep exploring, and never stop creating. Until next time, take care and happy painting!
And now, I have a question for you: What other magical landscapes or nature scenes would you like to see me paint in future tutorials? I’m always looking for new ideas to inspire our creative community.
Don’t forget to leave your suggestions and thoughts in the comments below. I can’t wait to hear from you and continue this artistic journey together.
PS. Painting reference from Pinterest!
Pin the below image in your Pinterest board for future reference.
Video:
Watch my process here:
Thank you!

