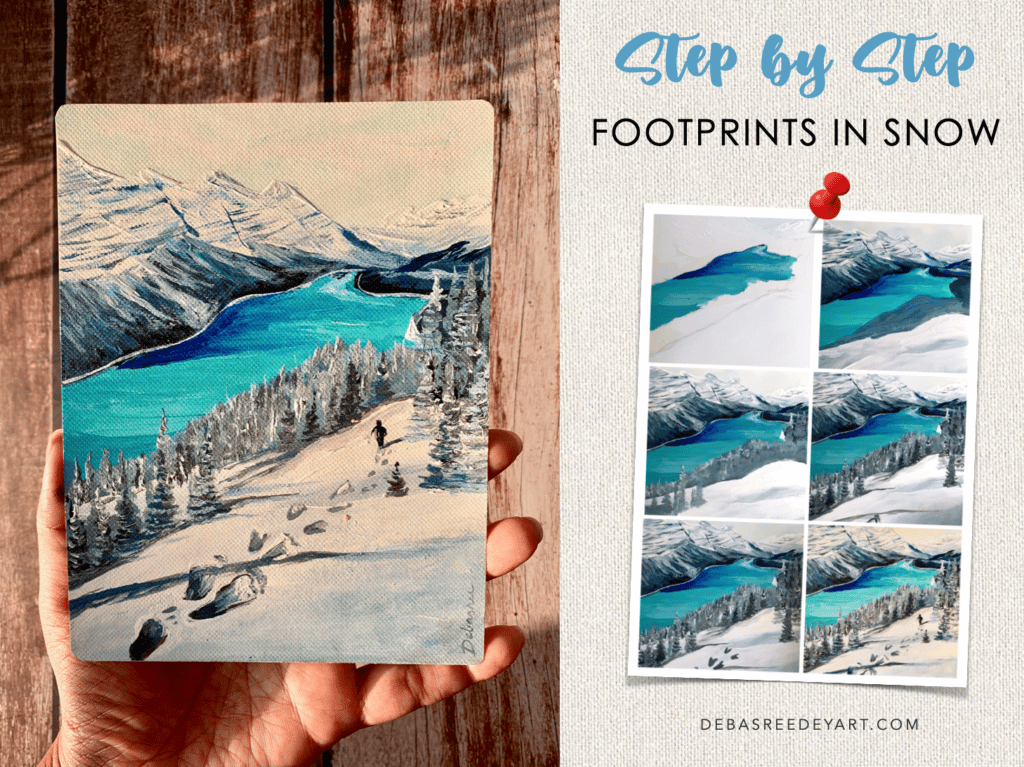
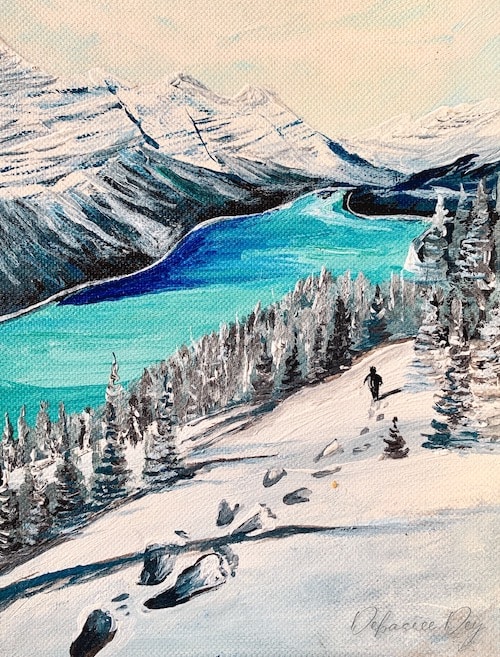
Footprints in snow painting might seem like a daunting task. When I first saw this reference photograph I was too afraid to try. But after I painted it, I understood it isn’t as difficult as my mind conjured it to be.
And in this blog, I’ll show you my step by step progress for you to understand and paint on your own.
There is a full video at the end of this blog post for you to watch my entire process.
P.S. You can see my entire collection of winter paintings here.
Ok let us learn to create this gorgeous footprints in the snow painting step by step with photos and a video.
Snowy Pines Masterclass
Master the Art of Snowy Pine Trees & capture Winter landscapes with ease
The Snowy Pines Masterclassis your complete guide to mastering snowy pine trees and creating breathtaking winter landscapes, covering 11+ hours of instruction and inspiration!
Master snowy pine trees: Learn to paint 9 unique styles using 4 different brushes
Perfect your winter landscapes: Create 10 stunning projects
“This class has been a game-changer for me. I’ve tried painting pine trees before, but they never turned out right. Now, thanks to Debasree’s tips, I can finally create the winter scenes I’ve always wanted.” — Priya S.
I used a size 4 flat brush from this flat brush set which is perfect for this canvas size. If you are painting bigger, then switch to a size that is proportionate with your painting surface.
Pin the below image in your Pinterest board for future reference.
painting steps:
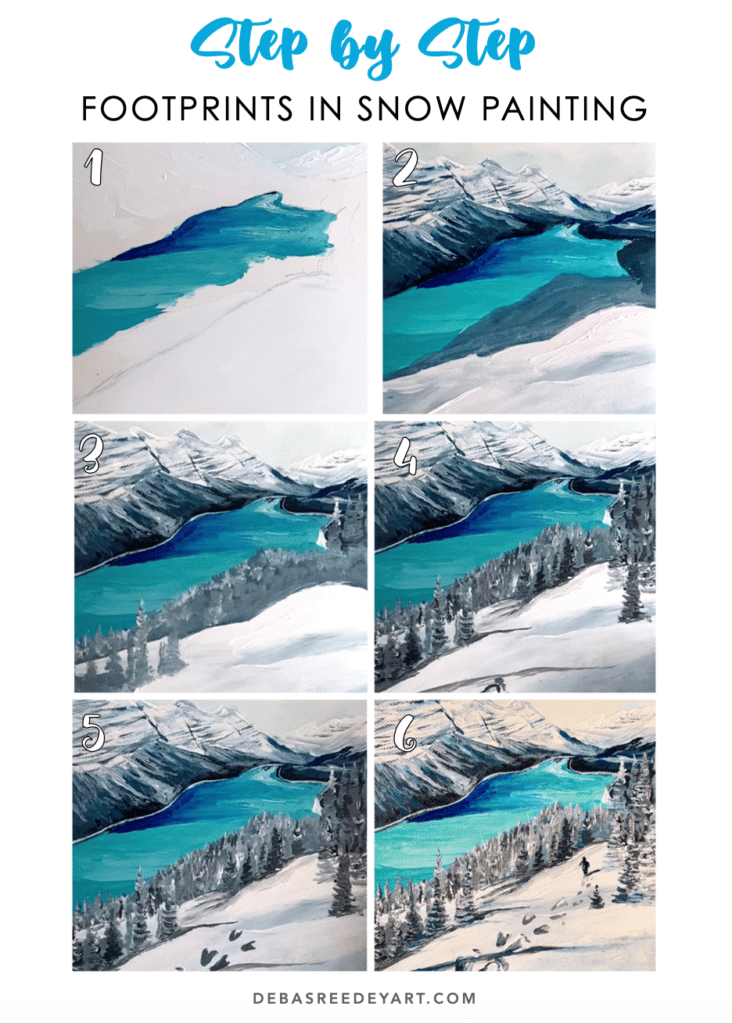
1. Outline
Start by sketching out the lines of the different layers of the landscape.
2. Distant layers
Add layer by layer, starting with the farthest layer first. Add the mountains with white first. Then add the lake with teal blue and add a border with prussian blue and blend it in with teal.
3. Mountain textures
Next with a small round brush, add the textures on the mountain. Keep your brush dry as dry brush texturing will create the perfect textures for this mountain.
Don’t just use gray, but add in a touch of blue to make a dark greyish blue and use that for texturing.
4. Front land
In this step we cover the entire background of this footprints in snow painting. Start by the darker layer of grey first and then add a lot of white to create the snow ground for the footprints to appear! Mix the white with light grey to create some shadows and show the undulating land structure.
5. distant pines Structure
There are a lot of pine trees in this landscape. In this step I created an illusion of the distant pine trees and did not paint them properly. I followed the overall structure of the pine trees but not getting into too many details at once.
6. Prominent distant pines
In this step, go over the pine structures we created in the previous step and add a layer of shadow to bring out the contrast of the distant pine trees.
If you want to learn painting snowy pine trees with a round brush in detail, check out this article.
Ok I know this looks scary, but trust me. Start with creating the foot shape and fill it in with a shadow blend of white and grey.
In this step, I’ve also added the shadow of the pine trees fall on the land from the left. Adding this shadow helped me determine where exactly the footprints in snow should come.
8. More Footprints
Once you have one or 2 footprints, you will understand how easy it is. And then you can proceed with confidence. The distant the footprints in snow goes, keep making them smaller keeping the depth of the landscape in mind.
9. the human
Now add the small human at the distance where the footprints end. Do not leave him out because he is the creator of these footprints in our painting 😉
And that’s it… just by following these 9 steps, you can now created your very own footprints in snow landscape painting with snowy pine trees.
Did you enjoy following this tutorial? What is the next painting you want me to teach? Let me know how it turned out for you by commenting below!
Happy Painting!
Pin the below image in your Pinterest board for future reference.