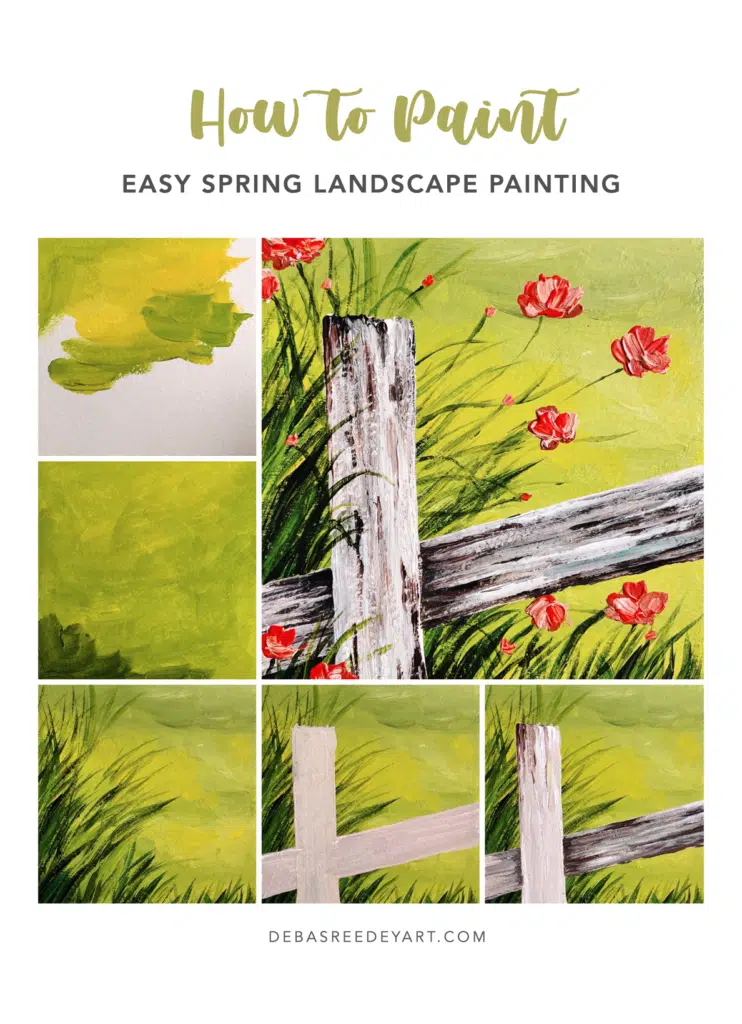
In this blog, I’ll guide you step by step to create this easy spring landscape painting with a fence and red flowers using acrylics.
MATERIALS YOU NEED
Acrylic Colors:
- Cadmium Yellow
- Yellow Ochre
- Light Olive Green
- Hooker’s Green Deep
- Turquoise green
- Burnt Sienna
- Burnt Umber
- Cadmium Red
- White
- Black
Surface:
- I painted on a 4×5 inches acrylic paper.
- Cut this Canson acrylic paper into 6 equal pieces and you’ll get the size I used.
Acrylic Brushes:
- I used a size 4 filbert brush which is perfect for this canvas size. If you are painting bigger, then switch to a size that is proportionate with your painting surface.
- Size 4 liner brush from my favorite miniature brush set
Pin the below image in your Pinterest board for future reference.
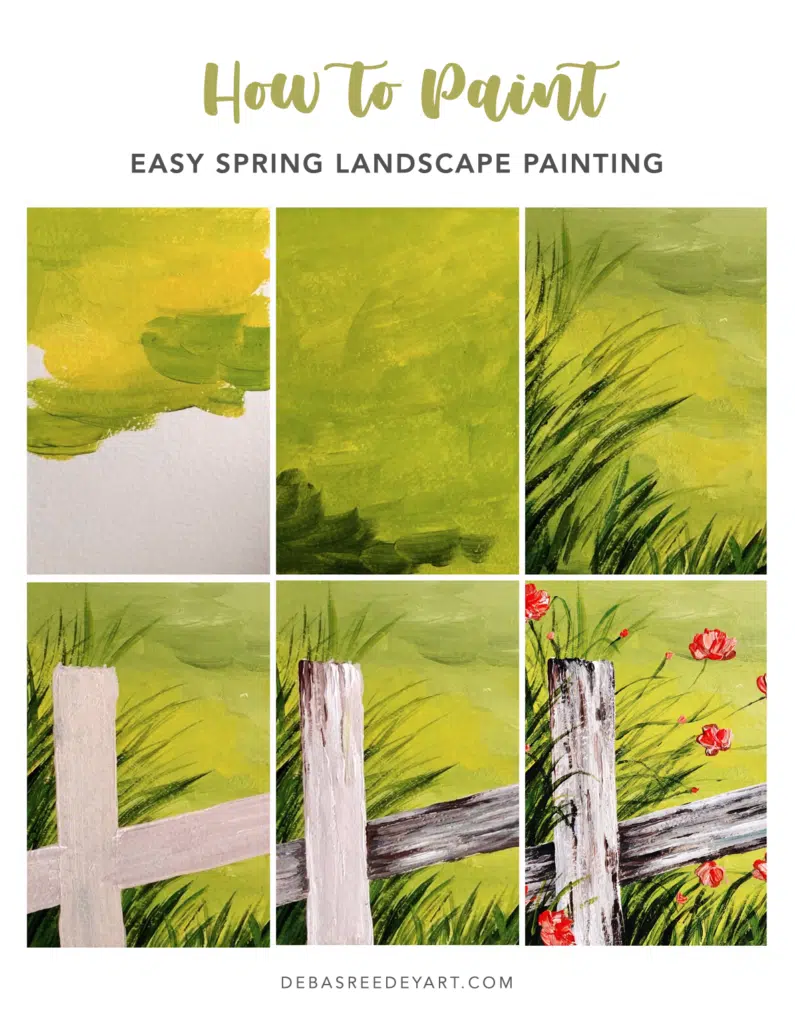
Pin the below image in your Pinterest board for future reference.
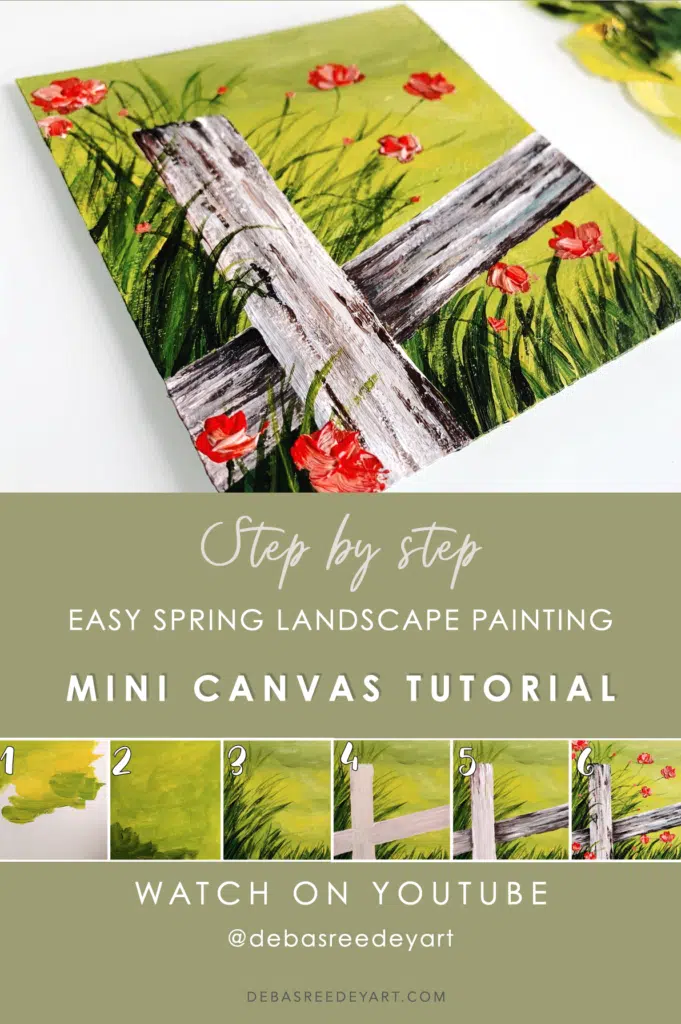
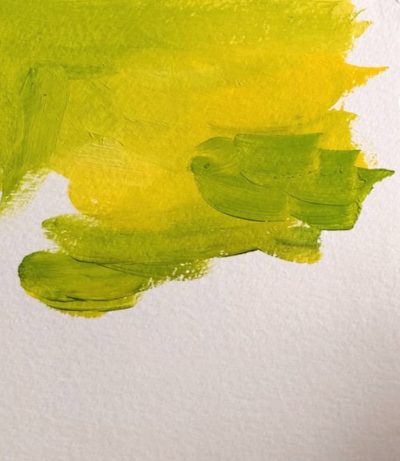
painting steps:
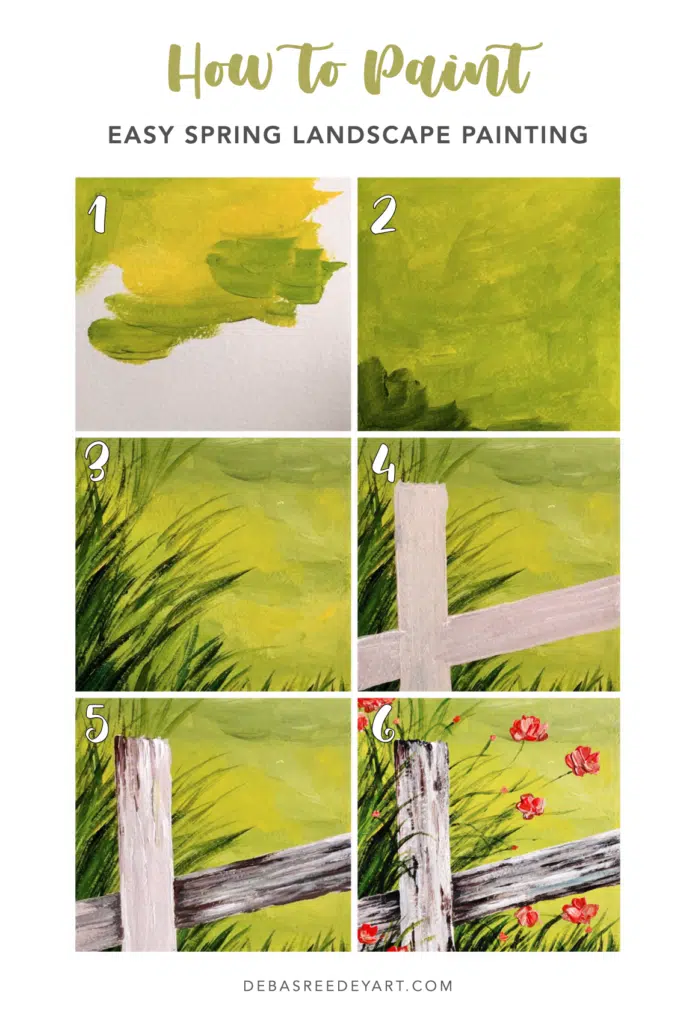
1. Create a light background
To create the first layer of the background, I worked with a mix of cad yellow, white and light olive green. Just keep blending and mixing the 3 colors in any way you like – this will create a background greenish layer for this spring painting.
I love this light olive green color, but if you dont have this color, you can create it by mixing cad yellow with sap green.
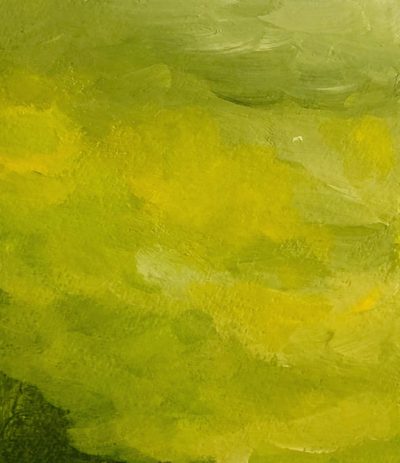
2. background layer 2 with textures
After the first layer is done and almost dried, I painted a second layer with textures of my choice. Here I made sure that I like the textures that are coming up, which I wasn’t paying attention to in the first step. Also here I introduced a bit of hooker’s green deep in the mix, to create a contrast.
3. Background layer 3
Continuing with the previous step, I added a bit more of the hooker’s green in the bottom left corner, still blending it in with the background colors. Making the a corner darker will help creating the grasses in the next step.

4. Grass leaves
Now switch to a small round brush and create the green grass leaves textures. Try to keep it thicker towards the bottom and pointed at the ends. That will make the leaves look realistic. I used mostly hooker’s green deep to create the dark leaves. If you don’t have this color, you can mix sap green with black.

5. Fence outline
I switched back to my filbert brush to create the highlight of this spring landscape painting – the fences crossing each other. Add tiny bit of burnt umber with a lot of white to create this color and then with just a few strokes create the 2 big fences outline. Don’t get into any detailing at this step. Just focus on creating the straight lines now, and later we will get into the details.

6. Horizontal fence texture
Now that we have got the fence outlines in place, let’s go over each of them to give them a nice dimension and texture. To create the textures, I used a mix of burnt umber, burnt sienna, black and white. All these colors mixed together gives a huge contrast that helps in creating highlights and shadows.
So with your small round brush, just take one color at a time and create strokes after strokes in the horizontal direction.
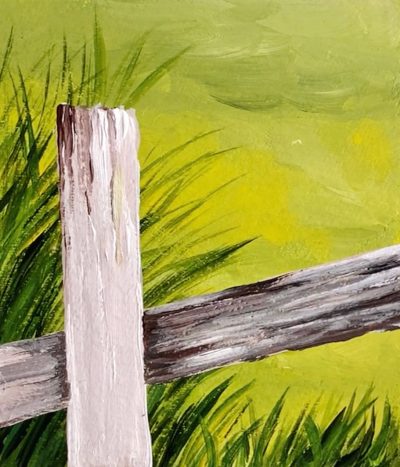
7. vertical fence texture
Now go over the vertical fence and create the similar textures. Keep your brush dry, don’t take too much water and just use your paints. That will ensure nice broken textures on the fence.
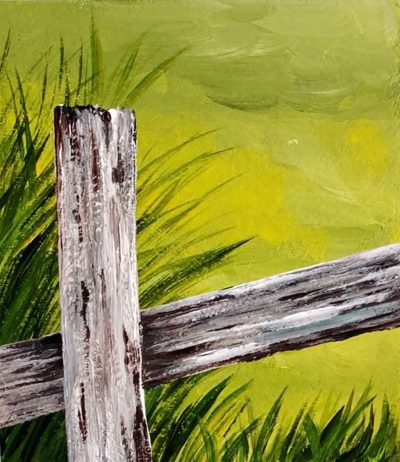
8. add the red flowers - layer 1
To add the red flowers, all i did is picked up thick acrylic paints in the tip of my round brush and added one stroke for each petal of the flowers. I did not go into detailing here, but used the thick texture of the acrylic paints to create the flowers for me.
I used a mix of cadmium red and burnt sienna to paint the red flowers, but you can use any colors of your choice.
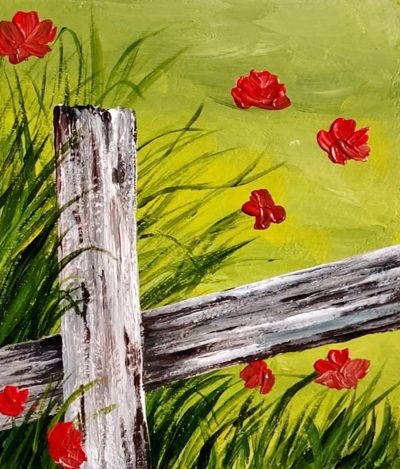
9. Red Flowers - Layer 2
After adding the red and burnt sienna mix in the first layer of the flowers, I went over it again with some white mixed, and created another layer to show the dimension of the flowers.
And finally with a liner brush, I added some green stem with all the flowers and also added some small red buds.
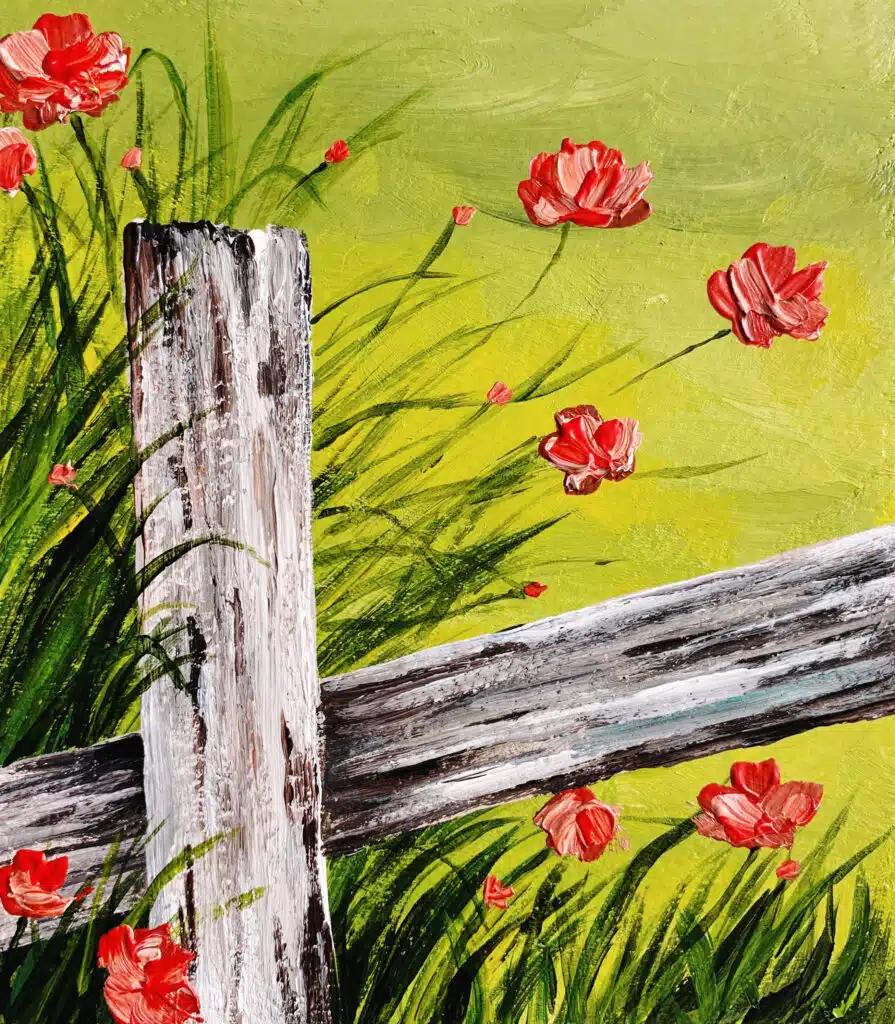
And that’s it… just by following these 9 steps, you can now created your very own spring landscape painting.
Did you enjoy following this tutorial? What is the next painting you want me to teach? Let me know how it turned out for you by commenting below!
Happy Painting!
Pin the below image in your Pinterest board for future reference.
Pin the below image in your Pinterest board for future reference.
Video:
If you need more guidance, watch my process here:
Thank you!


