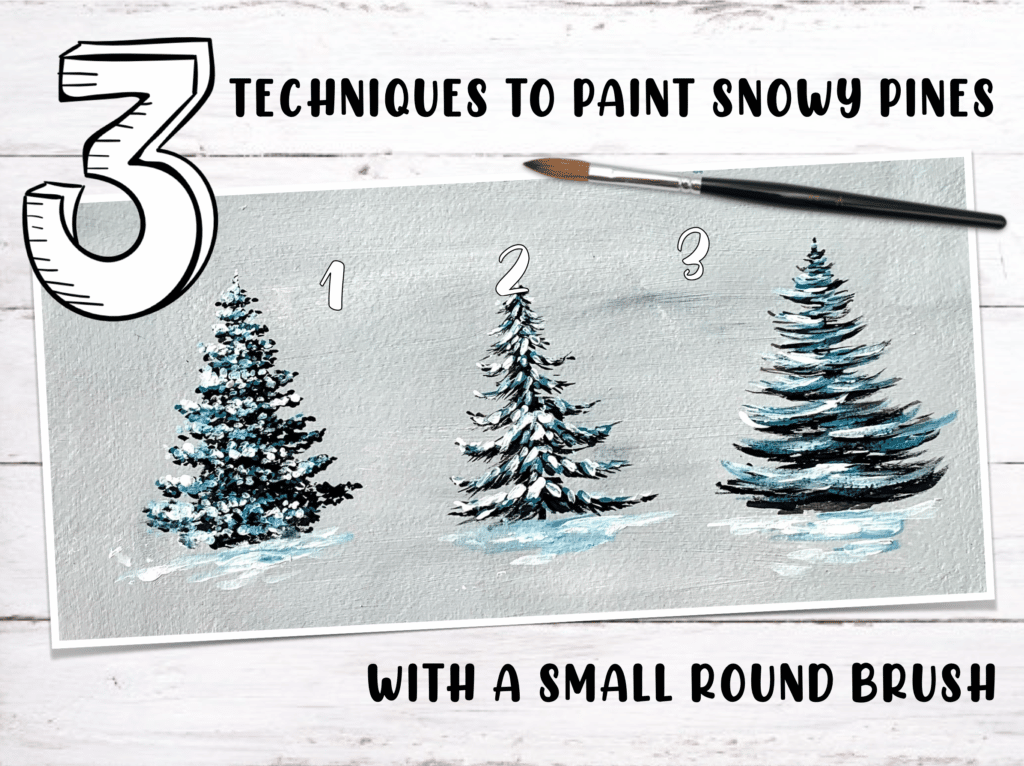
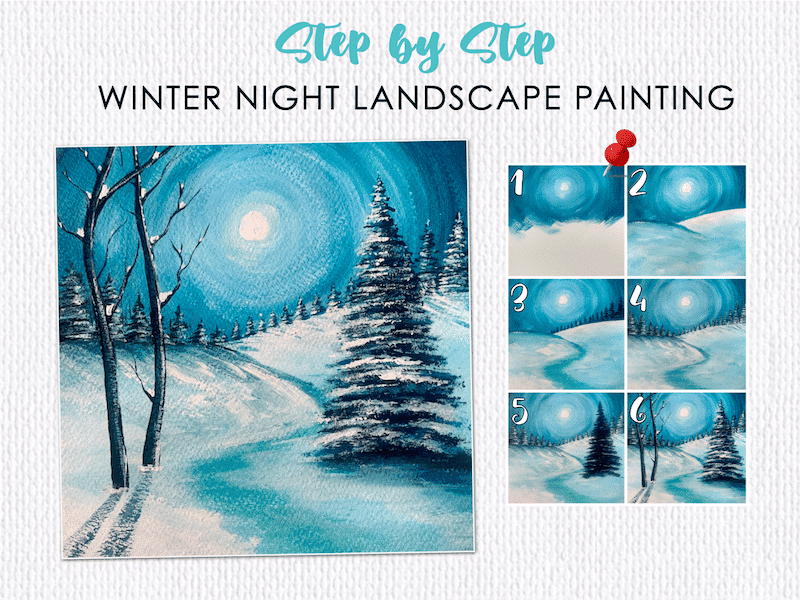
If you like painting on a small surface, then probably learning to paint the snowy pine trees with the round brush is the best learning! Once you understand these 3 techniques, you will be able to create any delicate snowy acrylic winter pine tree in any landscape painting with a round brush!
This blog will cover 3 basic techniques of painting snowy acrylic pine trees with a small round brush. If you want to paint big snowy pine trees in your landscape, check out this article on how to paint snowy pine trees with a flat brush, filbert brush and a fan brush!
Materials needed:
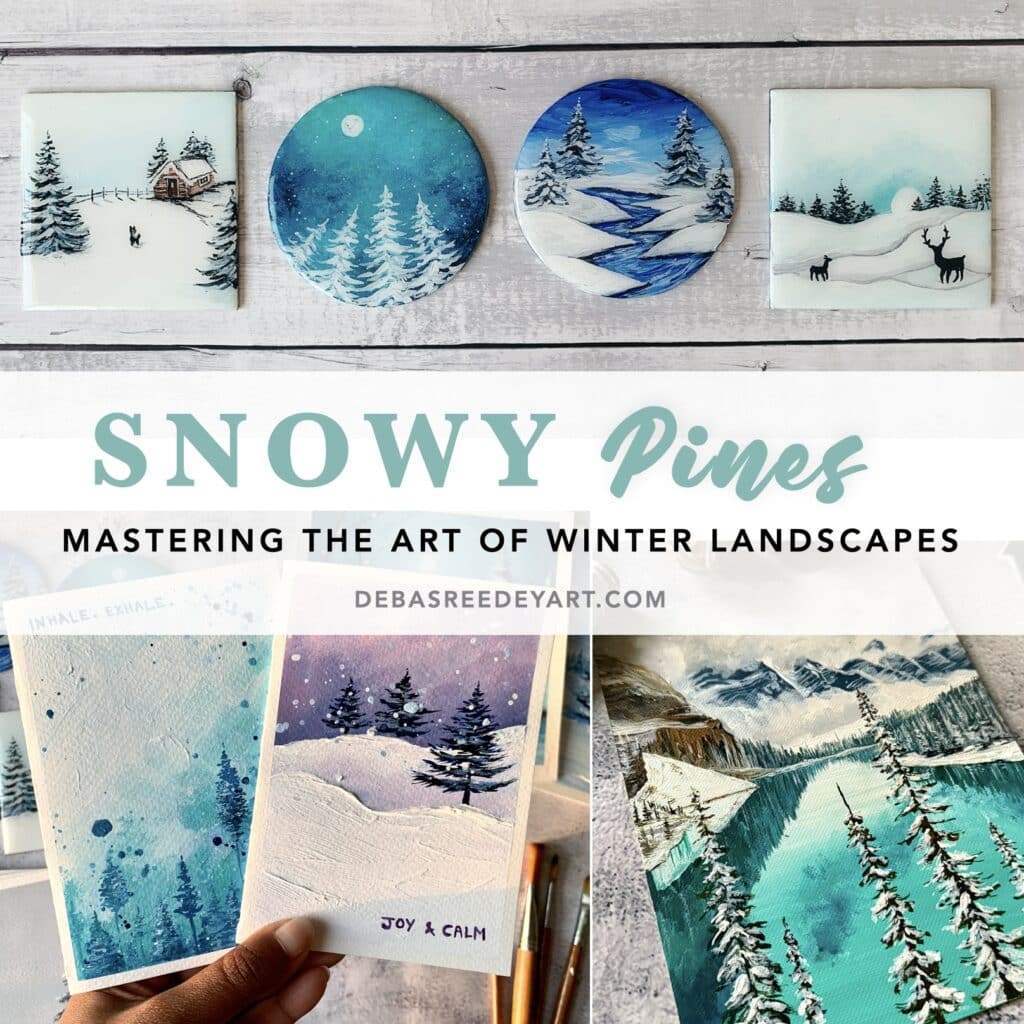
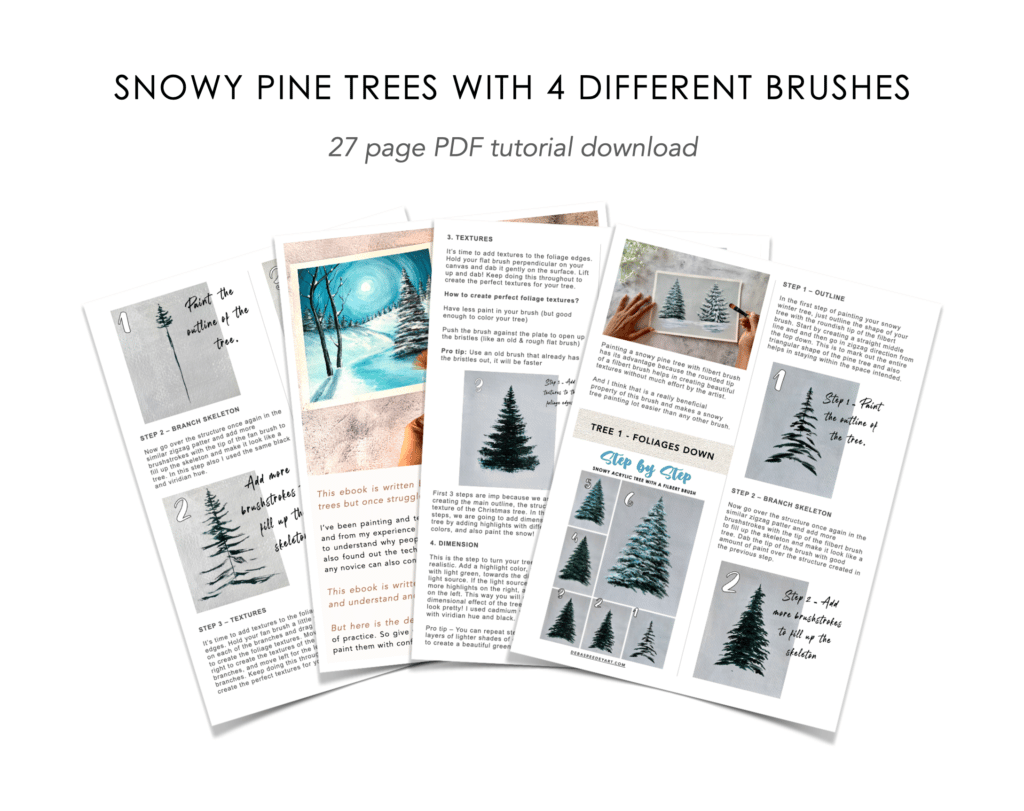
Snowy Pines Masterclass
Master the Art of Snowy Pine Trees & capture Winter landscapes with ease
- Master snowy pine trees: Learn to paint 9 unique styles using 4 different brushes
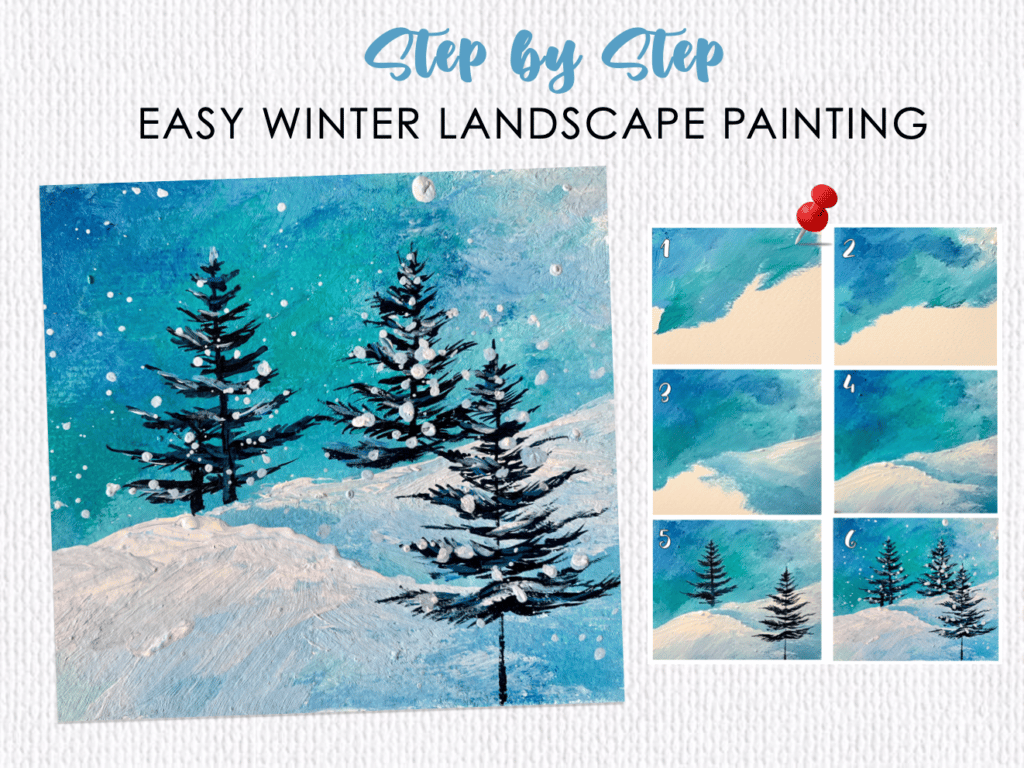
- Perfect your winter landscapes: Create 10 stunning projects
- Bring your winter vision to life
“This class has been a game-changer for me. I’ve tried painting pine trees before, but they never turned out right. Now, thanks to Debasree’s tips, I can finally create the winter scenes I’ve always wanted.” — Priya S.
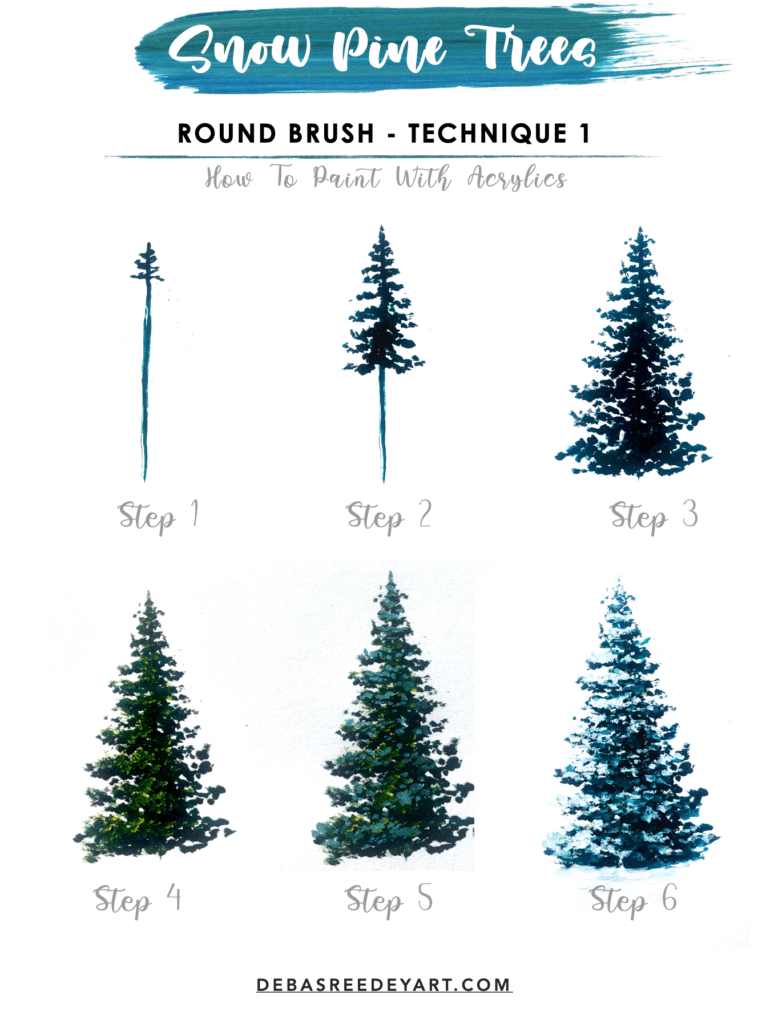
Technique 1 - Dots
In technique number 1, we are going to create small dots by dabbing the tip of our small round brush repeatedly multiple times on the canvas.
It is almost like stippling.
We will move the brush either in zigzag motion or move equally on either side of the centre line, depending on the structure of the pine tree.

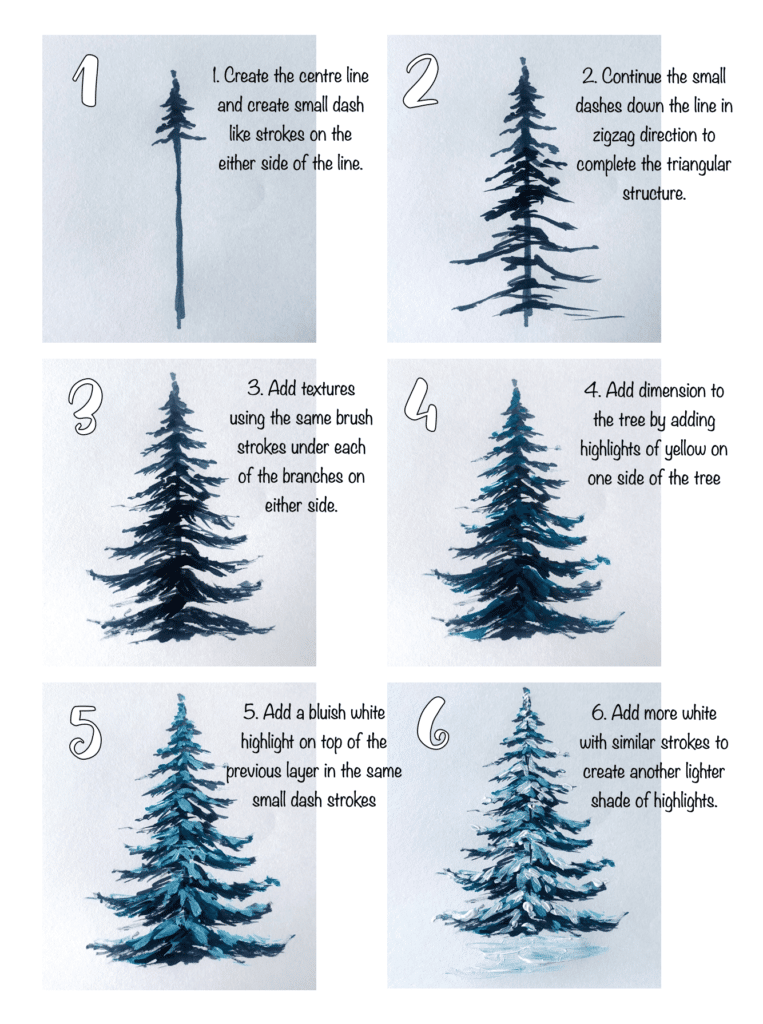
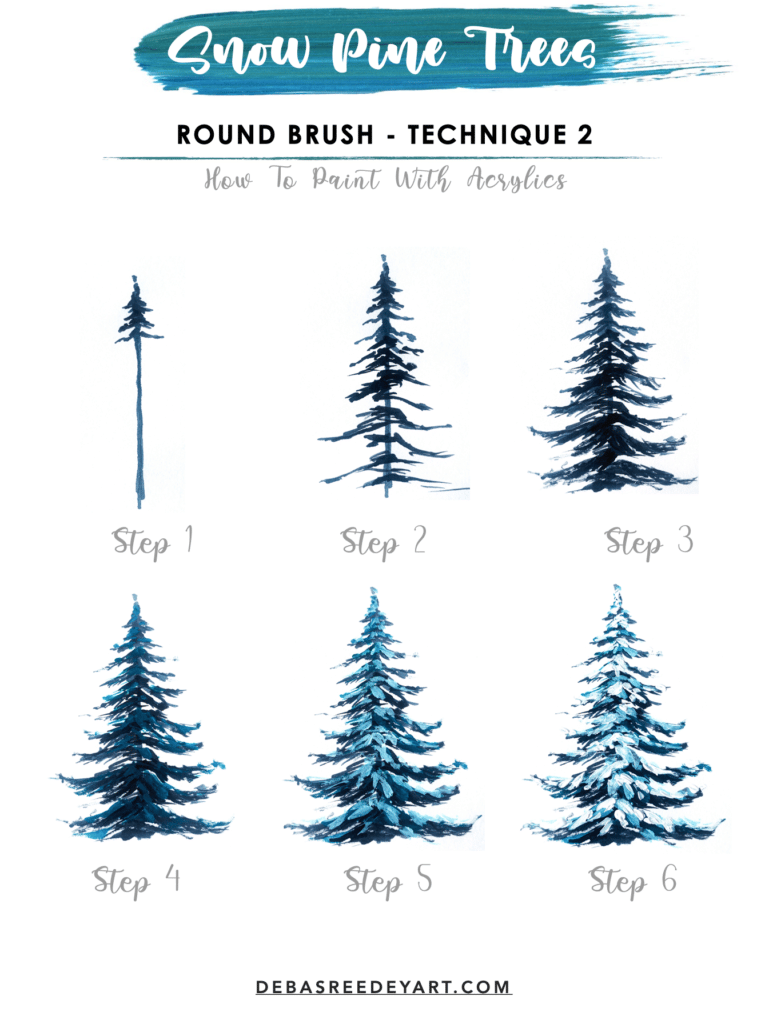
Technique 2 - Dashes
In technique number 2, we are going to create small dash like strokes by dragging the tip of our small round brush. Multiple such small strokes gathered together will create the texture of the tree.
We will move the brush either in zigzag motion or move equally on either side of the centre line, depending on the structure of the pine tree.
Here I’ve reduced the number of steps to 6, because the last 3-4 steps are just repetition of the highlight layer with different shades of blue. You can create as many layers as you like – more the layers, better your tree will look.
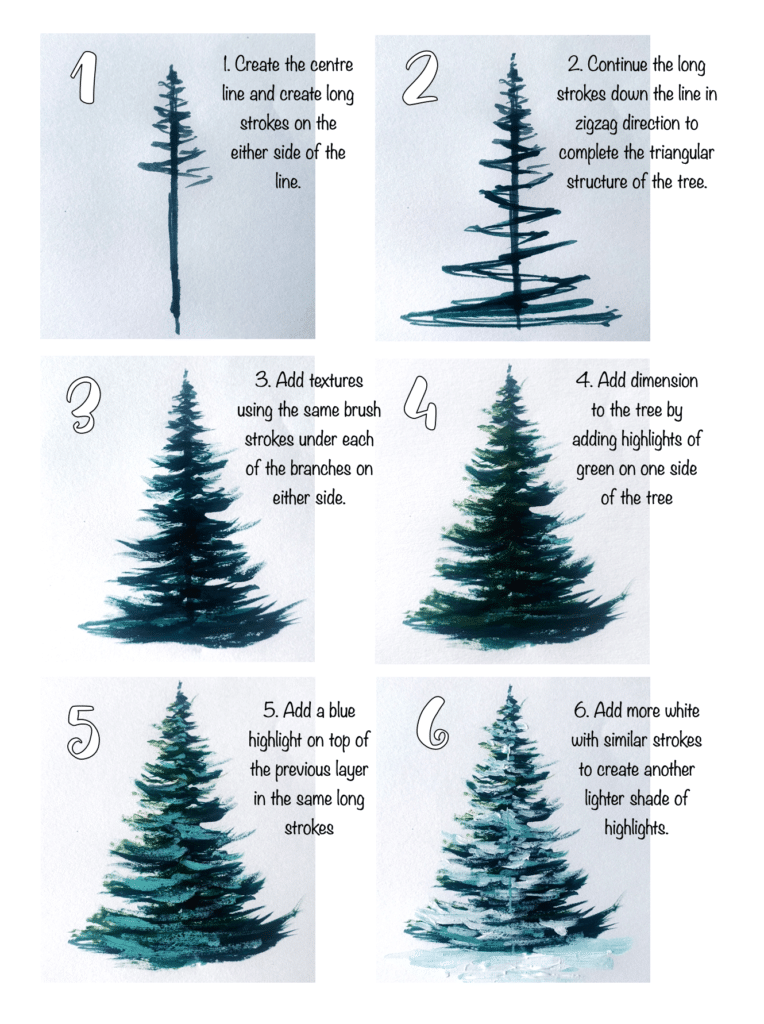
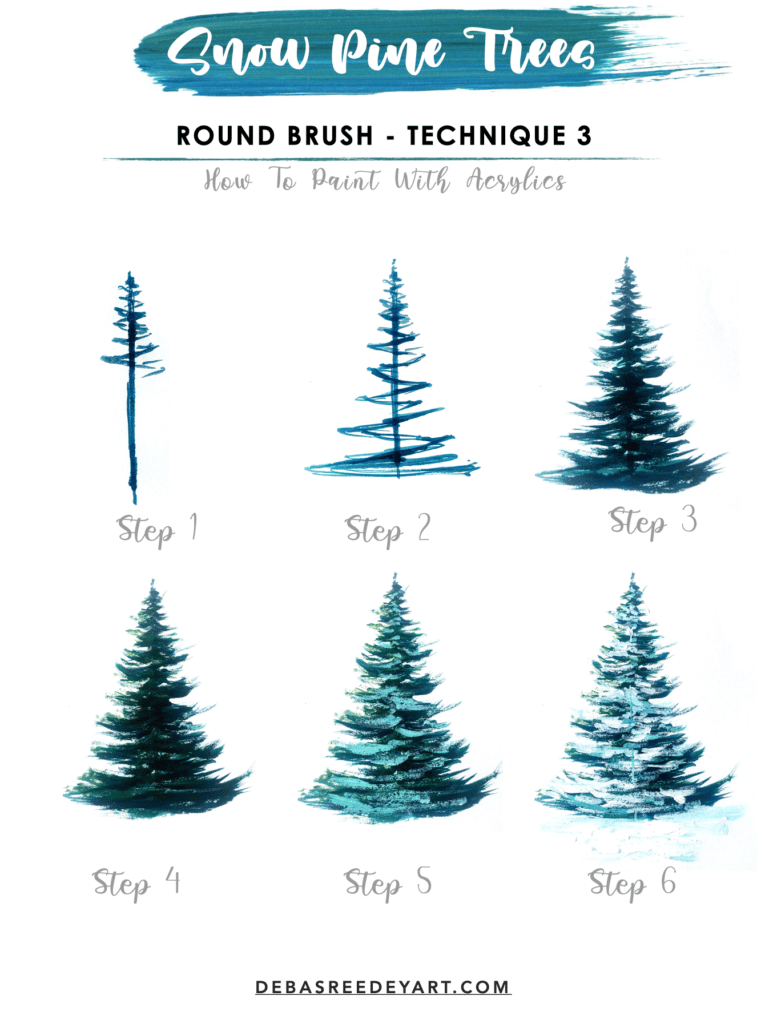
Technique 3 - long strokes
In technique 3, we are going to create long strokes by dragging the small round brush. Multiple such long strokes gathered together will create the texture of the tree.
We will move the brush either in zigzag motion or move equally on either side of the centre line, depending on the structure of the pine tree. I feel a zigzag motion is best suited for this technique.
This is the easiest of the 3 I feel, because with just one whole stroke you create the one entire branch and also it is faster to create the entire structure, instead of creating small stroke like in technique 2 or creating dots like in technique 1. However, technique 1 is my most favorite way of painting snow pine trees!
So there it is – all the 3 techniques of painting a small snow pine tree using a small round brush.
Use these techniques only when you are painting a small tree in the landscape, or a cluster of snow pine trees or a pine tree forest.
Which one you liked the most or which one resonated with you the most? Let me know by commenting below. Like I said, technique 1 is my all time favorite!
If you liked this tutorial of acrylic snowy pine tree with fan brush, please pin the below images on Pinterest !
Video:
If you need more guidance, watch my process of painting all the 3 techniques.
I’ve colored the A4 acrylic paper grey by mixing a lot of white with a tiny amount of black, so that the white snow stands out on the paper. You can ignore this grey background step!
Thank you!

